DIY and Crafts
DIY Doll Making Step by Step Easy Tutorial for Kids

Learn how to easily make your own dolls with this step-by-step DIY Doll Making Tutorial for Kids! From supplies to assembly, this tutorial covers all the basics to get you started on your own handmade dolls.
Welcome to our DIY Doll Making Step-by-Step Easy Tutorial for Kids! Dolls are popular toy for children, and making your own doll can be a fun and rewarding project. This tutorial will provide step-by-step instructions on how to make a simple doll. With a few supplies and some creativity, the possibilities are endless! Let’s get started!
Easy To Make Doll Craft With Step-By-Step Tutorial

Read More: Super-Easy Bookmarks Crafts That Kids Can Make Themselves
Materials Required
- Construction paper
- Jute Rope(Thin)
- Black marker
- Scissors
- Glue
- Tape
- Flower design punching machine
Procedure
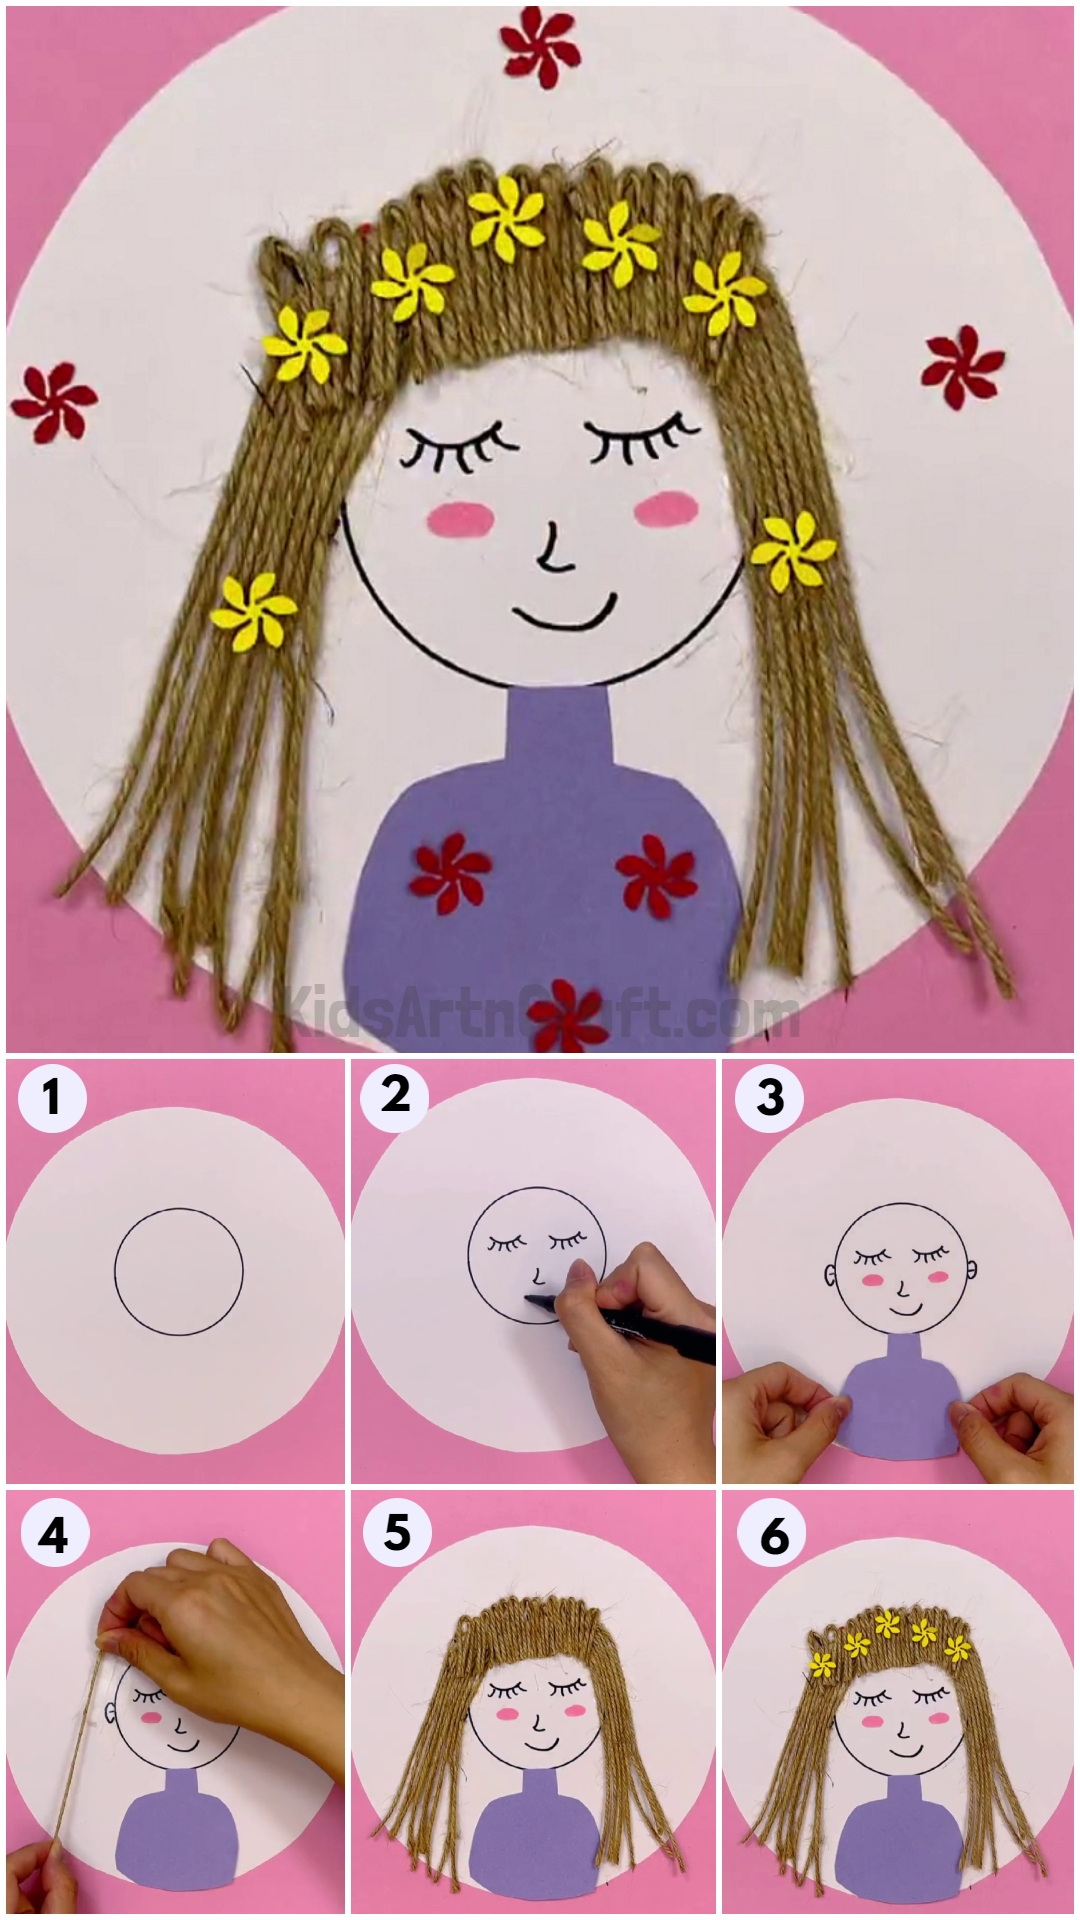
Step 1: Cutting A Big White Circle
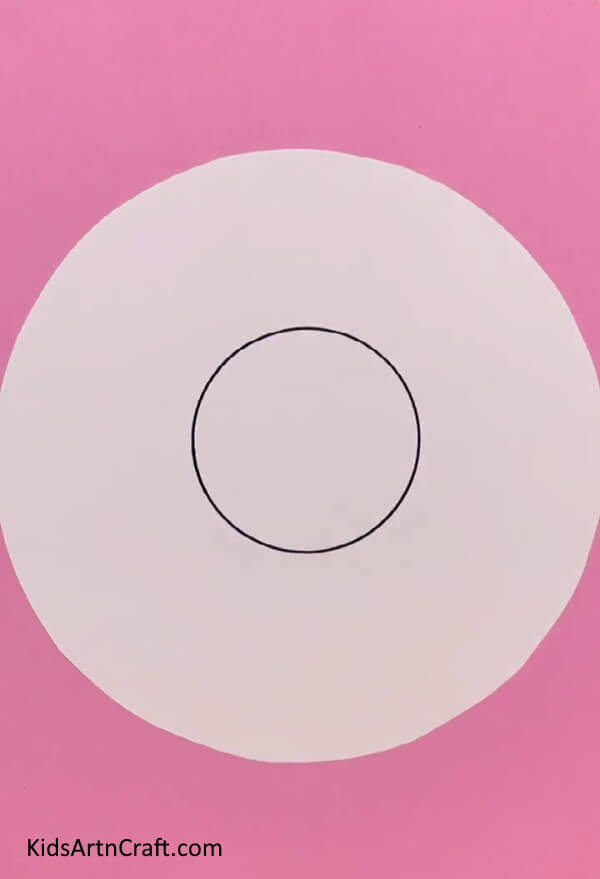

Let’s begin the process of making our doll craft by taking a white paper. Cut a big circle out of it. Using a black marker, draw a mini circle in the center of the big circle.
Step 2: Drawing The Doll’s Face
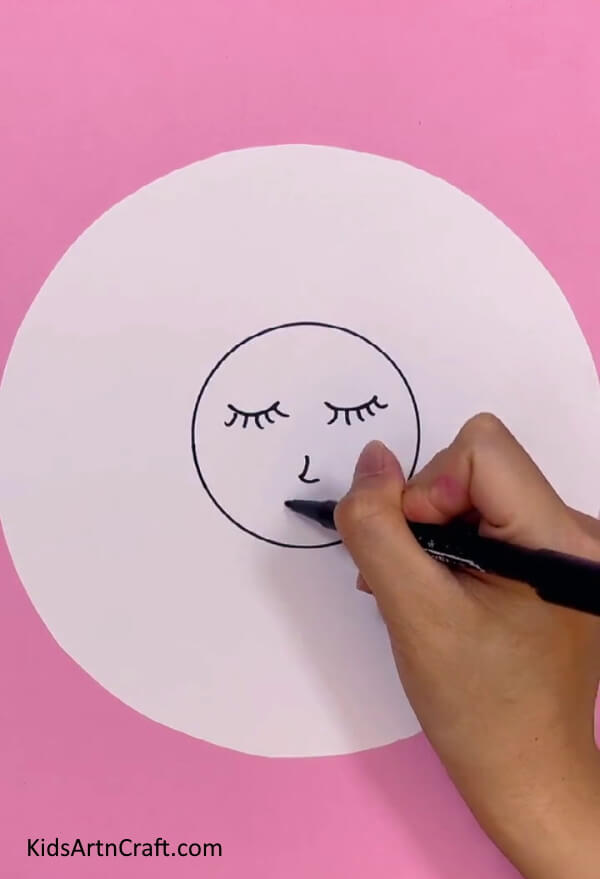
Using a black marker, draw the eyelashes, nose, and smile on the doll’s face. To make the cheeks, cut two small ovals out of pink paper. Paste them on the face. And also, make ears for the doll.
Step 3: Making The Doll’s Body
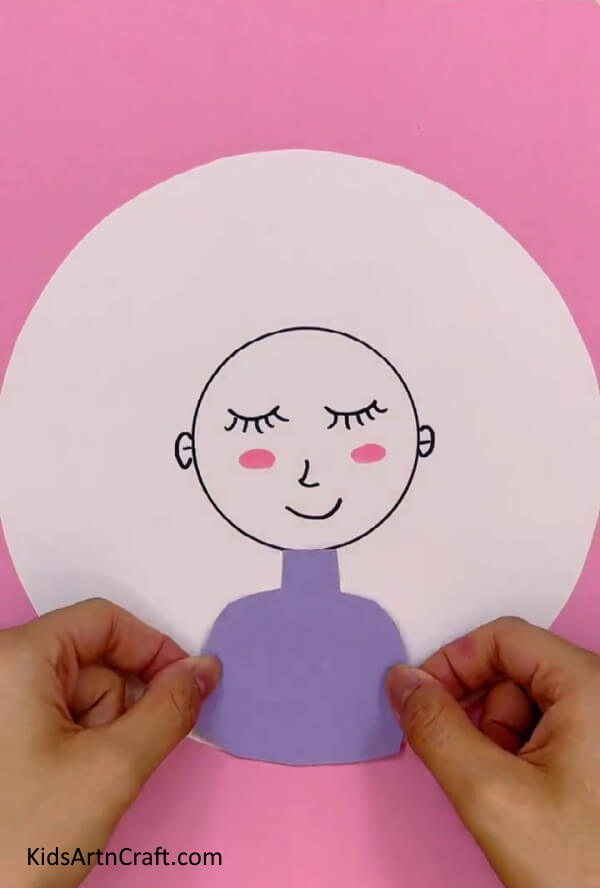

To make the doll’s body, take purple paper. Cut the shape of the body out of it. Paste it below the doll’s face as shown.
Step 4: Getting A Transparent Tape
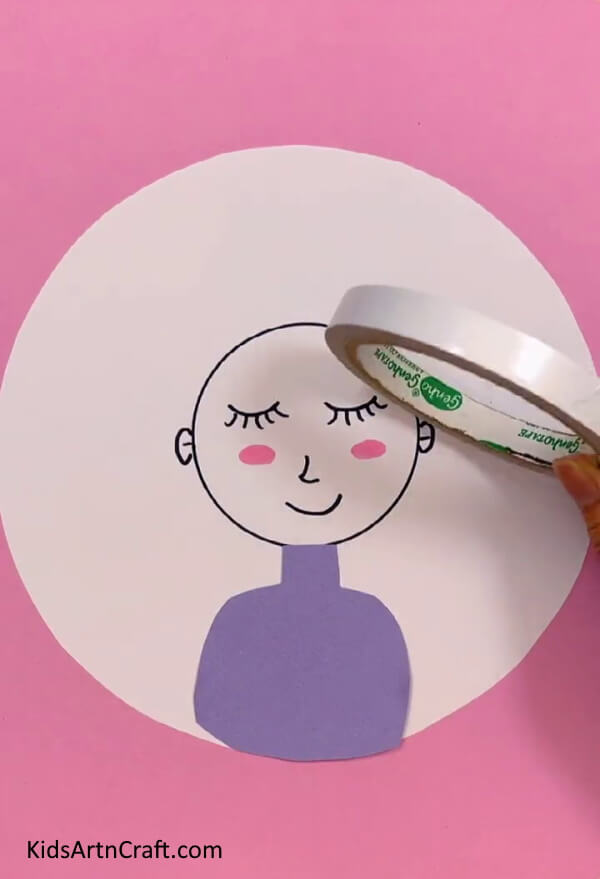
Now, to paste the hairs of the doll, take a transparent tape.
Step 5: Making The Doll’s Hair
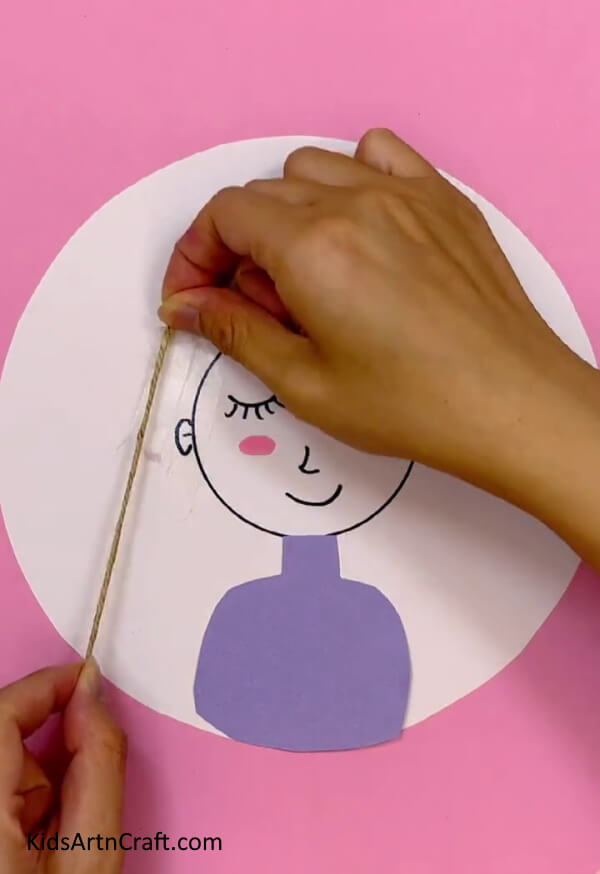

To make the hair strands, take a thin jute rope and cut different lengths from it. Paste the strands close to each other.
Step 6: Getting The Hair On Both Sides
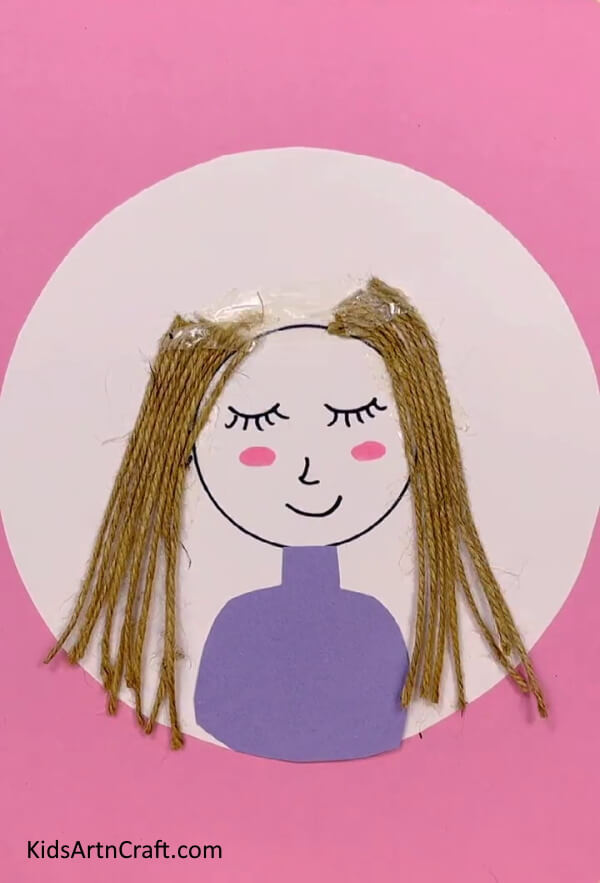

Keep pasting the jute rope strands, close to each other to get hairs for the doll on both sides. Secure the strands with tape.
Step 7: Adding Hair On The Top
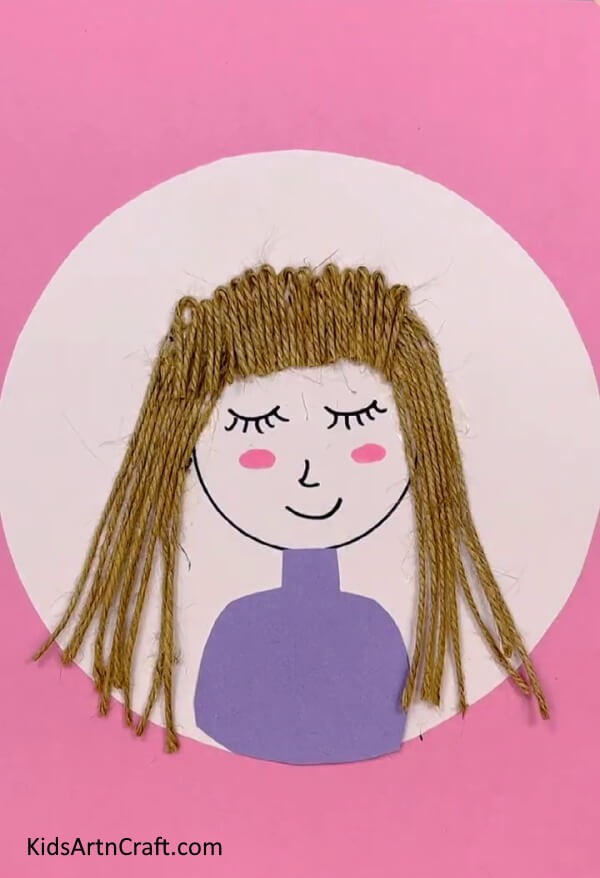

Now, cut smaller strands from the jute rope. Fold each strand in half. Paste them on top of the doll’s head to complete it.
Step 8: Cutting Paper Flowers
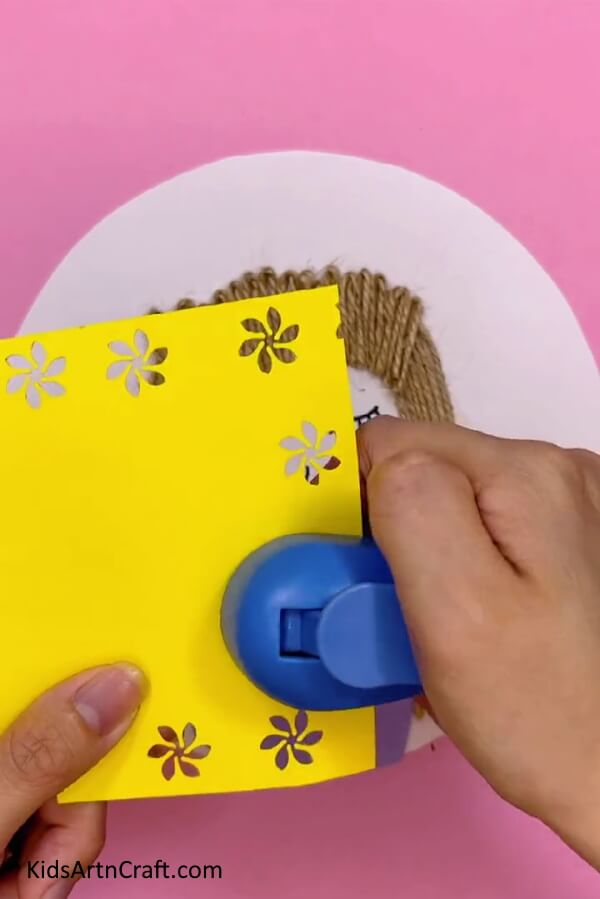

To enhance the beauty of our doll we will add paper flowers to the hair. For this, take yellow paper and a flower design punching machine. Punch some flowers from the paper.
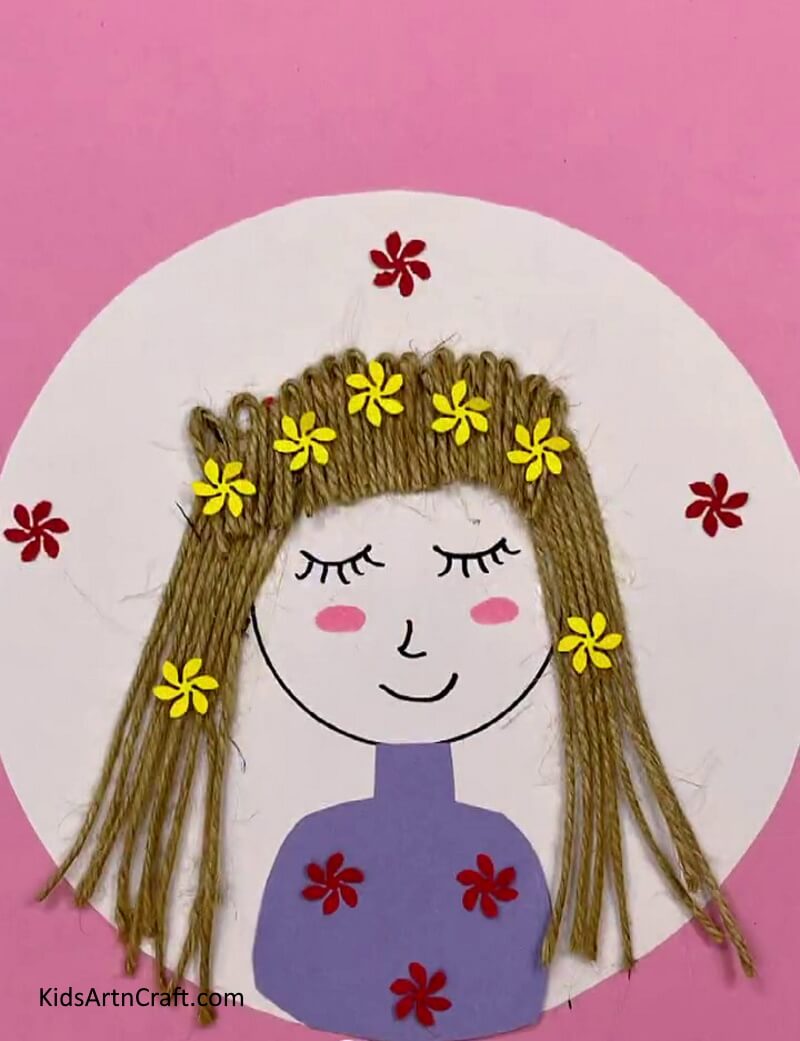
Step 9: Pasting The Paper Flowers
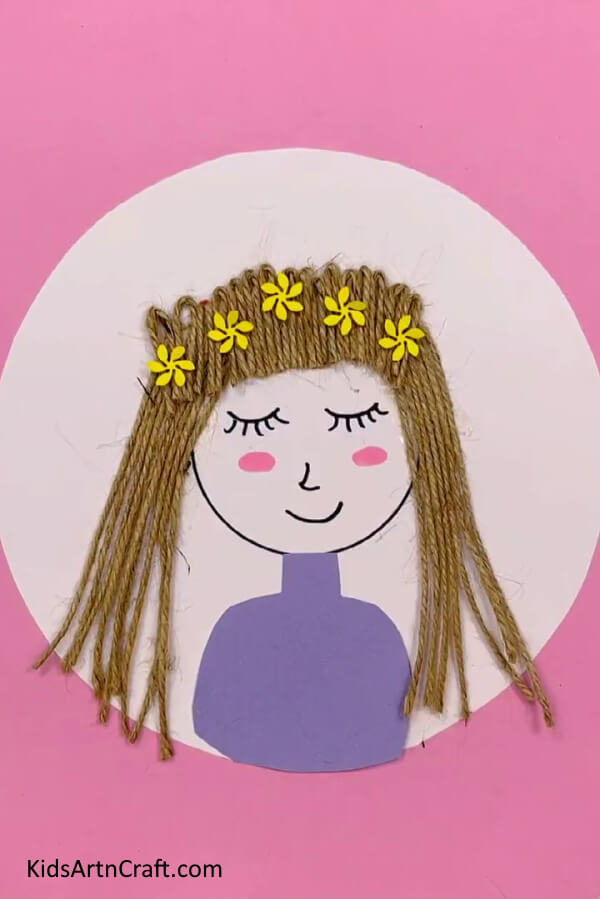
To give the final touch, paste the paper flowers on top of the doll’s head as shown in the image. Take red paper, and punch more flowers. Paste these red flowers on the doll’s body and on the white circle.
And That’s It! Our Beautiful Doll Craft Is Ready!

Congratulations, on completing our DIY easy doll craft!
Some More Doll Craft Tutorial
DIY Paper Cup Doll Craft For Kids

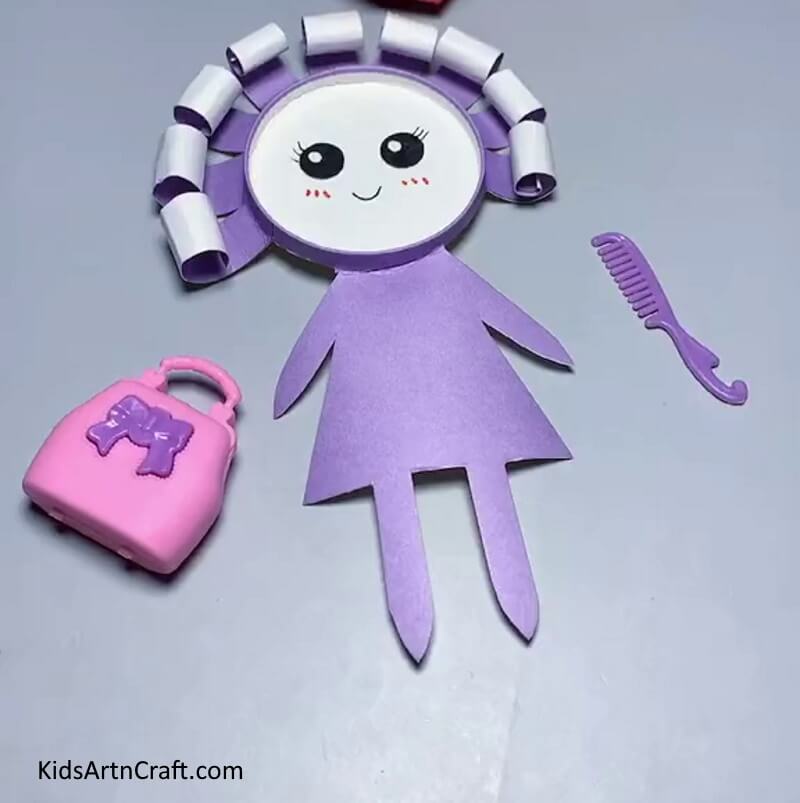
Image Source/Tutorial: Kids Art & Craft
This easy DIY paper cup doll craft is a great way to get kids creative juices flowing! With just a few materials, kids can make their own unique dolls with colorful hair and faces. This project is simple enough for even young kids to make and enjoy.
FAQs Related To DIY Doll Making Step-by-Step Tutorial
1. What materials do I need to make a doll?
To make a doll, you’ll need basic materials like fabric, stuffing, thread, scissors, and a needle. Additionally, you may want to include items like buttons, ribbon, and felt for added decoration.
2. How do I make the head of the doll?
To make the head of the doll, start by gathering the necessary supplies such as fabric, stuffing, thread, and a needle. Cut the fabric and sew it together, then stuff the head and sew the opening. Lastly, attach the head to the body of the doll.
3. What kind of fabric should I use for the body of the doll?
For the body of the doll, it’s best to use a fabric that is lightweight and durable, such as cotton or muslin. It should also be easy to wash and wrinkle-resistant. Additionally, the fabric should be breathable and soft to the touch.
4. What is the best way to stuff the doll?
The best way to stuff a doll is to use polyester fiberfill and to make sure to stuff the body firmly, but not too tightly, in order to keep its shape. Add stuffing to the arms and legs, and make sure to use enough stuffing to make the doll look fluffy.
5. What kind of paint or markers should I use to decorate the doll?
For the best results, use acrylic paints or permanent markers specifically designed for use on dolls and fabric. These are available in a variety of colors and will provide a durable finish that will last for years.
6. What are some creative ways to add accessories to the doll?
Accessorizing a doll can be a fun and creative activity. You can use ribbons, fabric scraps, buttons, and beads to create a unique look for the doll. You can also use other items such as small toys, jewelry, and even craft supplies to make the doll stand out. It’s a great way to get creative and customize the doll to your own specifications.
Follow us on Youtube for art and craft tutorials and much more.
More Articles from Kids Art & Craft
- Easy Crafts for 2nd Graders
- DIY Fun Craft Activities At Home Video Tutorial
- Easy Paper Robot Craft Step-By-Step Tutorial
- DIY Easy Paper Strawberry Tutorial For Kids
- Fun To Make Dinosaur Toilet Roll Paper Crafts