Fall & Autumn
Beautiful Fall Leaf Landscape Art Tutorial For Kids

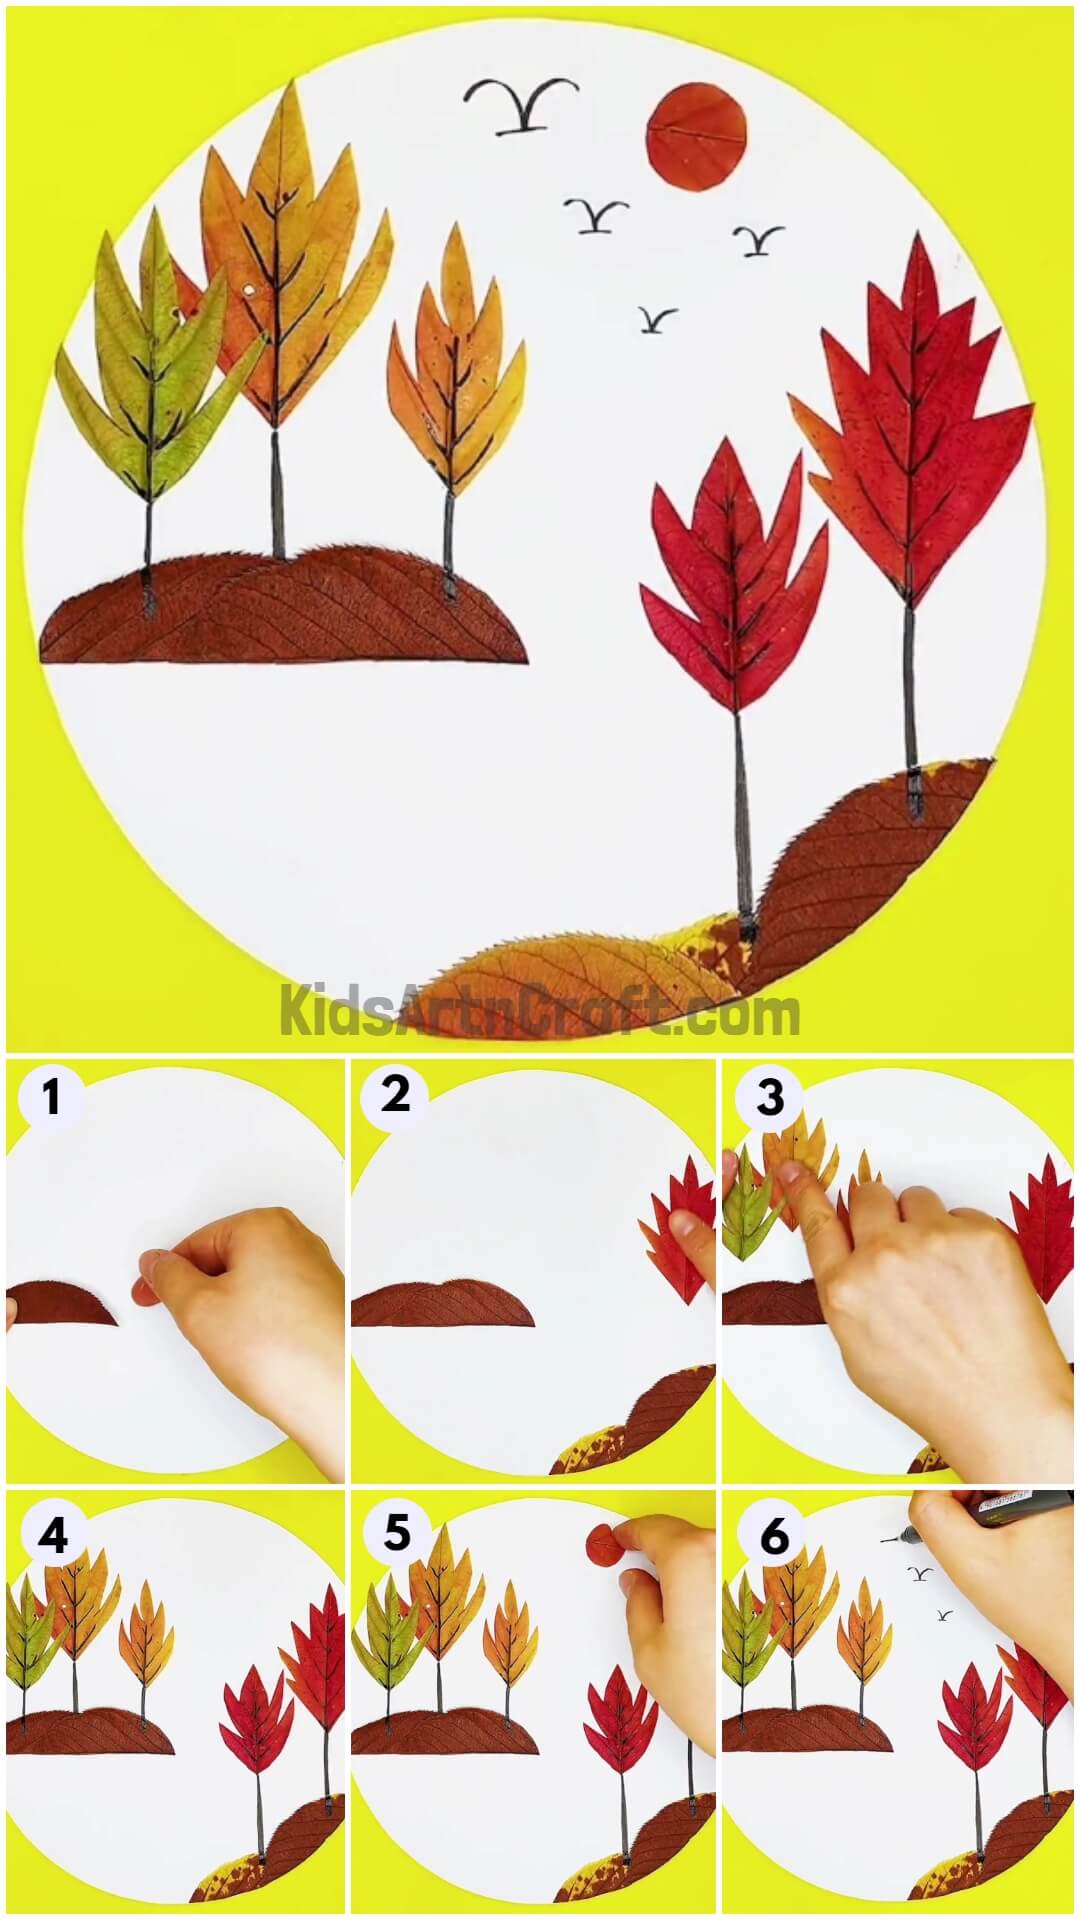
This art tutorial is great for kids and teaches them how to make a fun, colorful picture using leaves from fall and some art supplies. It’s perfect for a fun day indoors or out!
Do you know you can create a beautiful piece of artwork craft with merely waste!? Yes, this landscape is made of the waste fall leaves in your garden! This landscape involves scenery of some rocky mountains with pretty trees! This is the perfect fit for your summertime afternoon activity or even a school project, it will definitely rock everywhere! So, what are you waiting for? Hurry in your garden and collect all the fallen leaves from the ground grab up those crafty supplies at home and make this excellent craftwork with our easy instructions!
Easy Fall Leaf Landscape Art

Read More: Simple Fall Leaf Boy Craft Tutorial For Kids
Materials Required
- Colorful Fall Leaves
- Scissors
- White Paper Sheet
- Glue
- Black Marker
Procedure
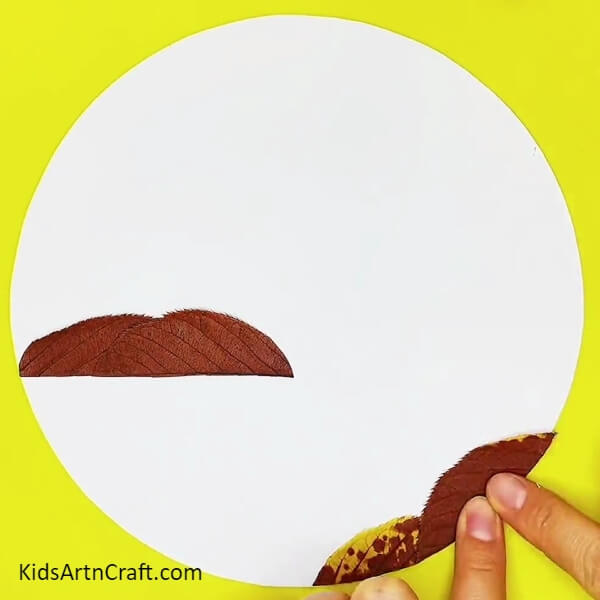
Step 1: Pasting A Half Leaf
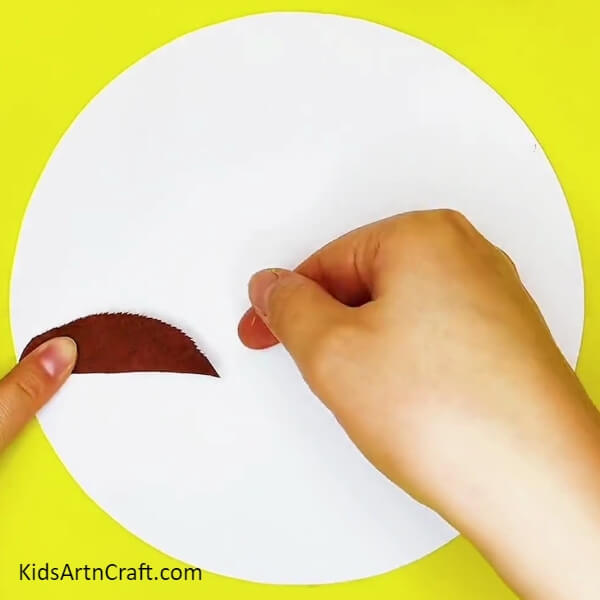

Let’s begin with this craft by taking a white sheet and cutting it down in a circle using scissors. Now, take a brown-colored fall leaf and cut it into half from the center line, and using glue paste it over the white sheet on the left side.
Step 2: Pasting The Other Half
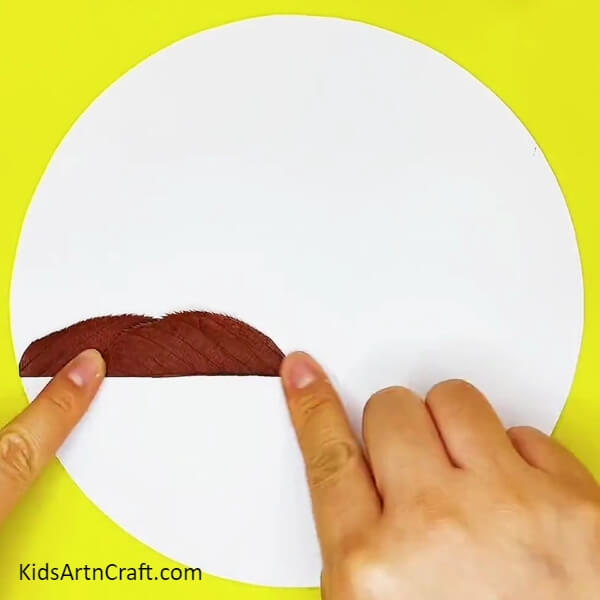
Paste the other half of the leaf slightly over and beside the previously pasted leaf, to make it look like a mountain.
Step 3: Making A Mountain Rock
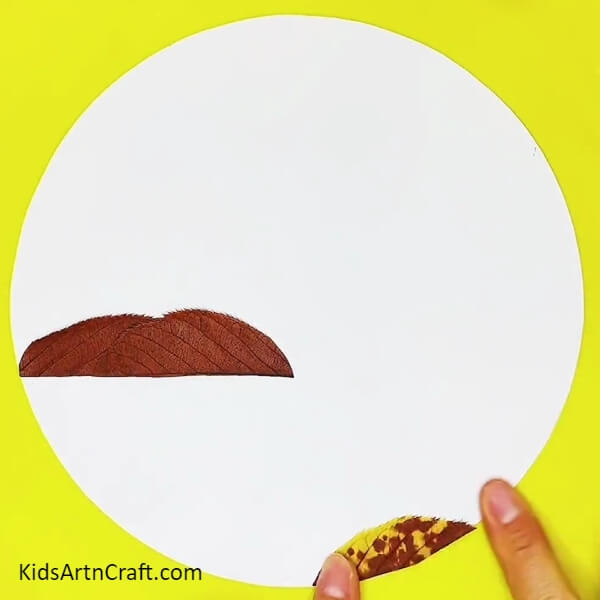
Make a mountain rock by pasting a yellow-brown leaf over the right bottom of the circle.
Step 4: Completing The Mountain Rock
Complete the mountain rock by pasting another brown leaf slightly over the previously pasted leaf.
Step 5: Making Tree Leaves
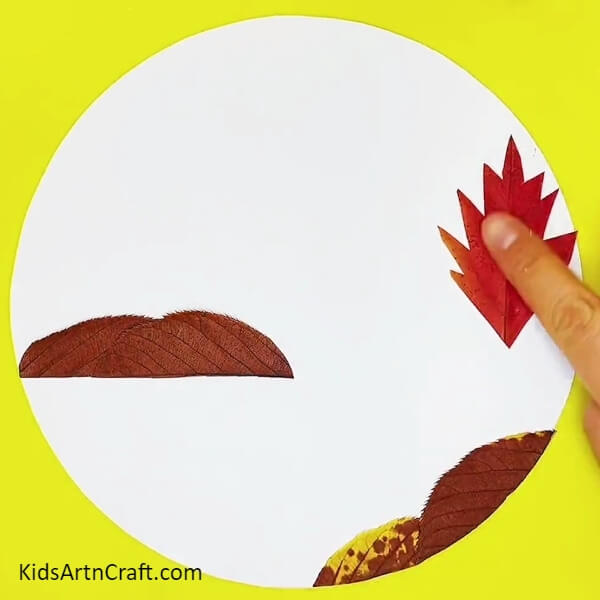
Shape a red-colored fall leaf into a tree leaf and paste it on the mid-right of the paper.
Step 6: Making Another Tree
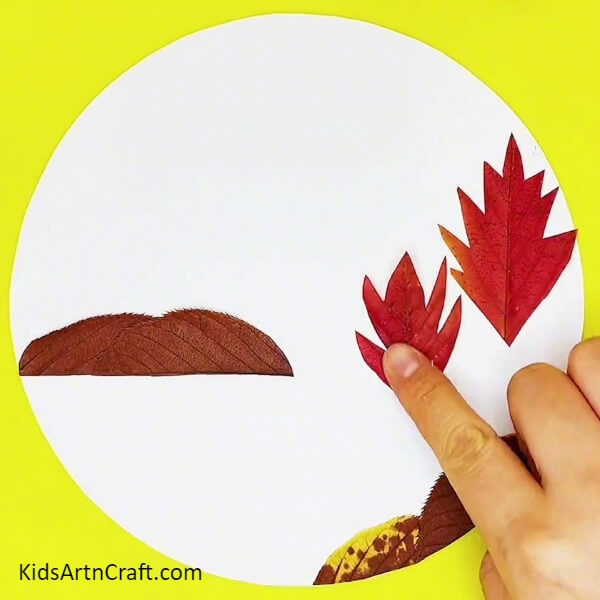
Make another tree leaves using another red fall leaf and paste it beside the other tree leaves.
Step 7: Making More Tree Leaves
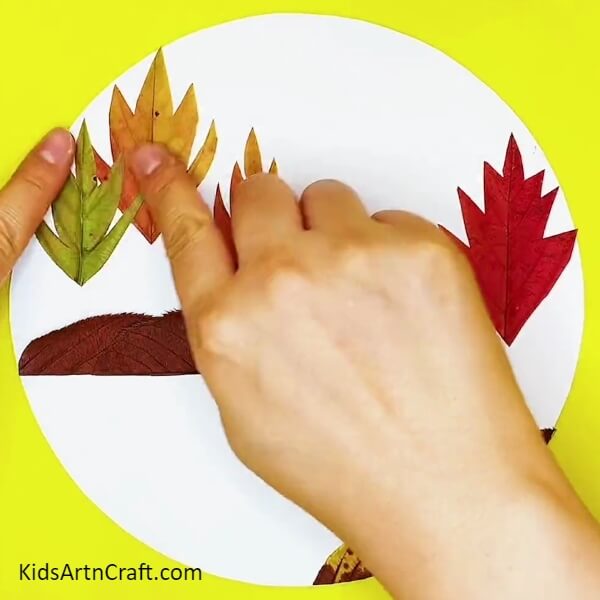
Now using other fall leaves make 3 more tree leaves and paste them above the firstly made rock mountain.
Step 8: Making Branches And Trunk
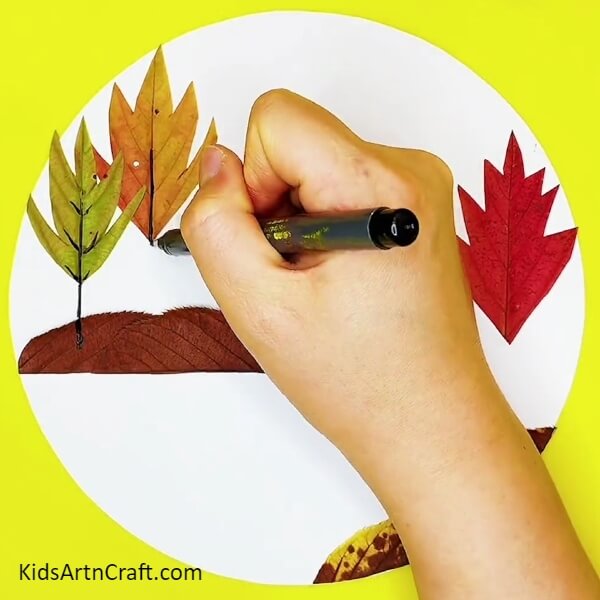
Using a black marker, draw the tree branches and trunk from the leaves to the rocky mountains.
Step 9: Completing All The Trees
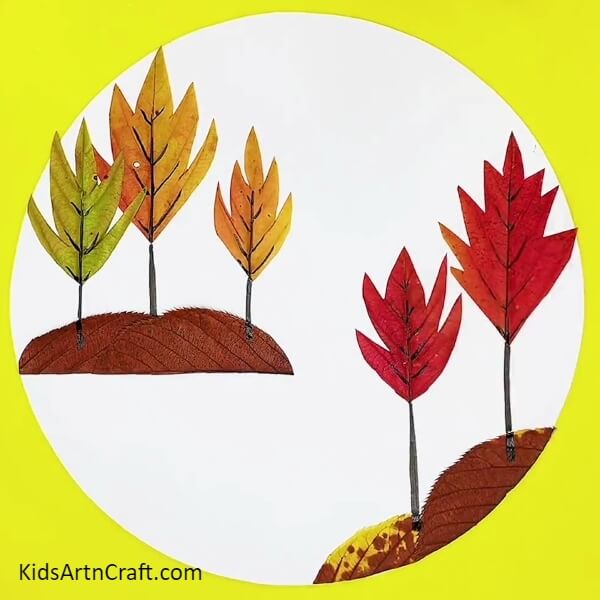
Complete the tree branches and trunks of all the trees, make sure to make the trunk a little thick than the branches.
Step 10: Adding A Sun

Cut out a round red sun from fall leaves using scissors and paste it over the paper on the top right using glue.
Step 11: Drawing Birds
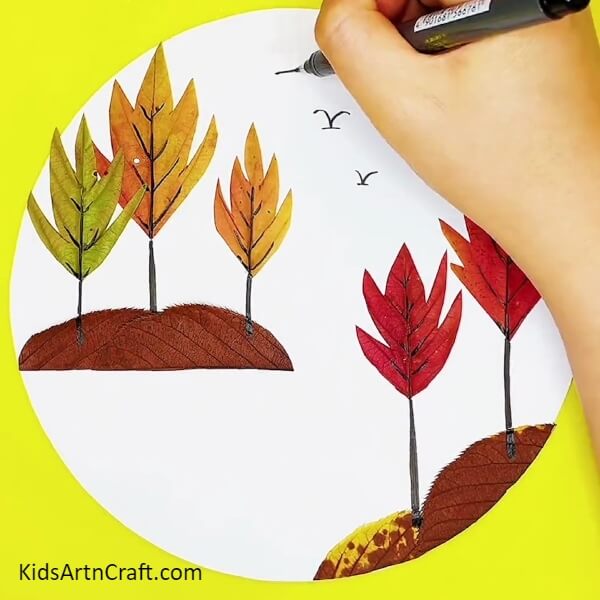
Using the black marker, draw little curvy birds in the sky as shown.
Your Amazing Landscape Is Ready!
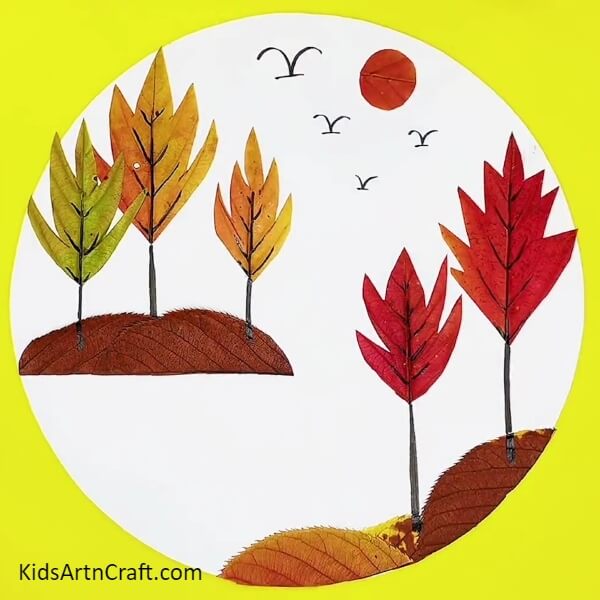
Congratulations! Your landscape scenery is ready to be showcased! Take your time to mesmerize your beautiful artwork craft! Can you believe you made it with just fall leaves? Shocking right?! Showcase it over your wall and stun everyone with your amazing creation!
F0r More Leaf Craft Tutorial
Exciting Fall Leaves Craft For Young Ones

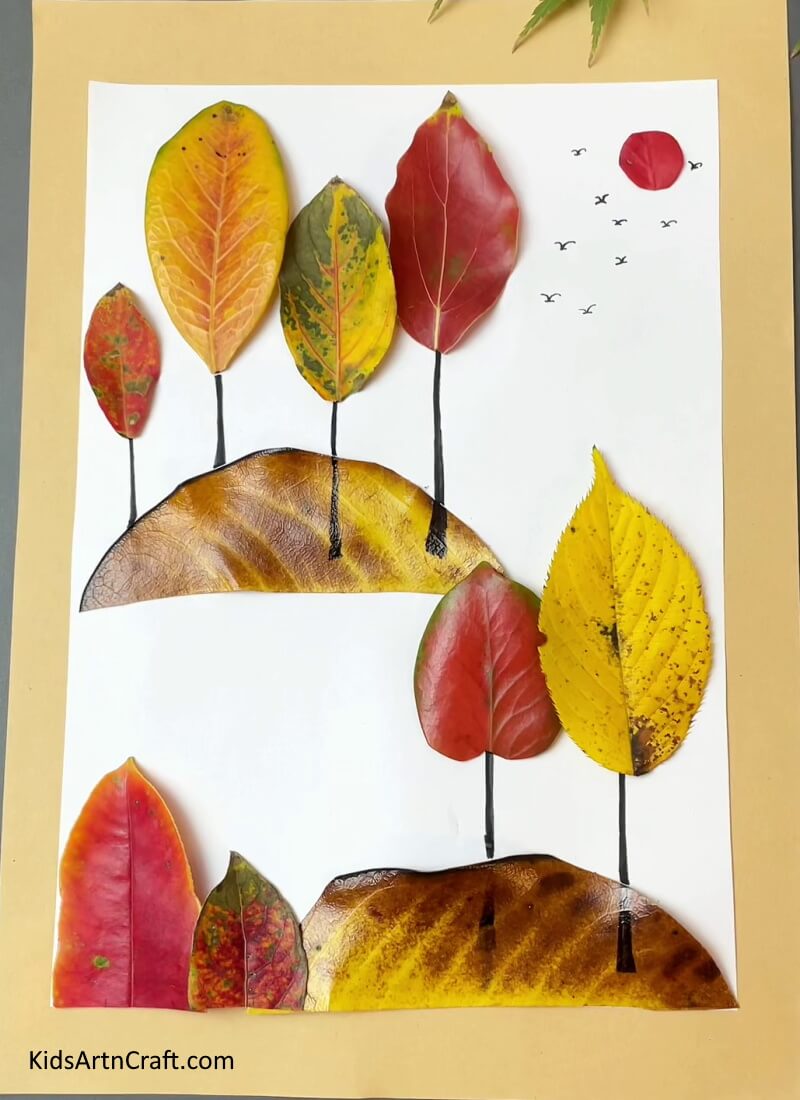
Image Source/Tutorial: Kids Art & Craft
This Fall Leaves Craft is perfect for young ones to enjoy! With simple and easy instructions, children can create beautiful Fall-themed decorations that will add charm and colour to their home. It’s a great way to get creative and have fun during the season!
Follow us on Youtube for art and craft tutorials and much more.
More Articles from Kids Art & Craft
- Easy Fall Leaf Craft Step by Step For Kids
- Easy Leaf Fall Artwork And Craft for Kids
- How To Make Easy Fall Tree Craft From Leaves
- How to Make a Paper Fall Leaf for Kids
- Green Leaf Frog Craft Step by Step Tutorial