Drawing
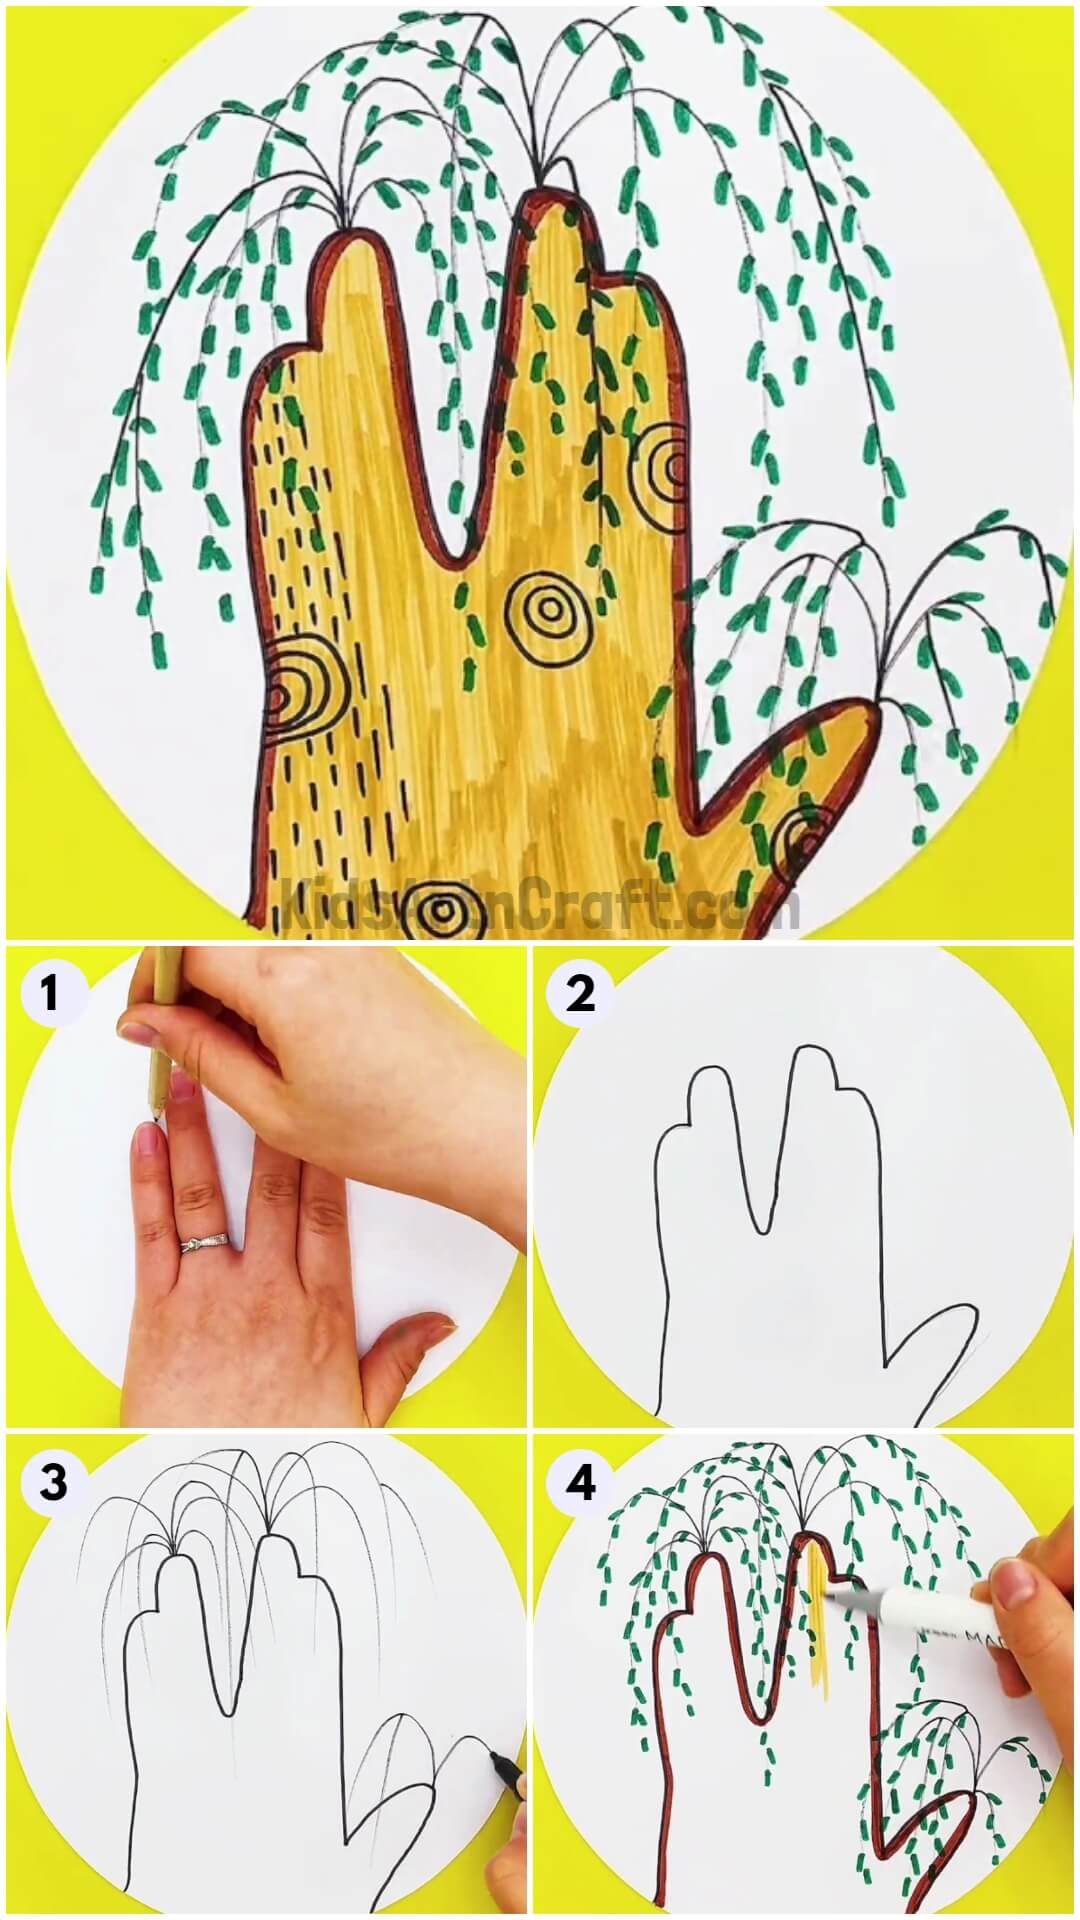
Unique Hand Outline Tree Drawing Step by Step Tutorial

Create a unique tree with us! This step-by-step tutorial involves a hand outline trick to make your tree drawing artwork like a pro!
Rise and shine art and craft lovers! Today, we brought you this amazing tree drawing that will blow your mind! Not only this tree has a unique and attractive appearance but also it is very easy to make with our step-by-step tutorial! This tutorial involves a hack that will turn your drawing super easy to make and you will be able to create it in no time! All you need is your art supplies and use your hand trace over the boundary to create a base for the tree! Hand outline will surely make the whole drawing pretty easy and also you won’t require any adult’s help and supervision using this hack!
Easy Hand Outline Tree Drawing Idea

Read More: Easy Carrot Growing Artwork Craft Step-by-step Tutorial
Materials Required
- White Circular Paper Sheet
- Black Marker
- Pencil
- Sketch Pens (Green, Brown, And Beige)
Procedure
Step 1: Outlining The Hand Using A Pencil

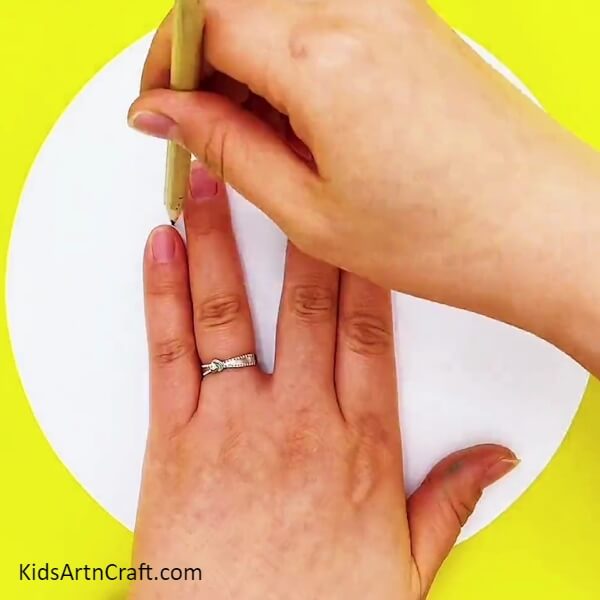
To begin this artwork, take a white circular paper sheet as the base of your artwork and a pencil. Place your hand over the center of the sheet in a way forming a ‘V’ while both the front fingers are together and both the back fingers are together. Using the pencil, outline your hand over the base.
Step 2: Overdrawing The Pencil Outline With Black Marker
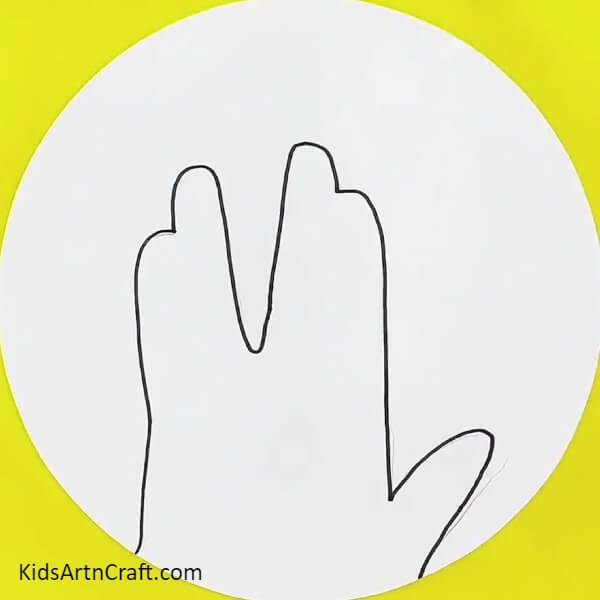
Using a black marker overdraw the pencil outline made earlier with it. This will be the trunk of your tree.
Step 3: Making Branches Of The Tree
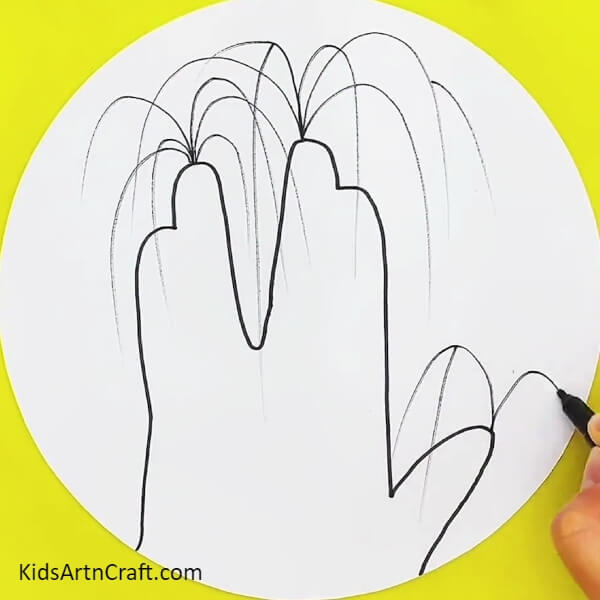
Using a black sketch pen, make falling strokes over the top of the longer fingers and thumb outline.
Step 4: Making Leaves Over The Finger Branches
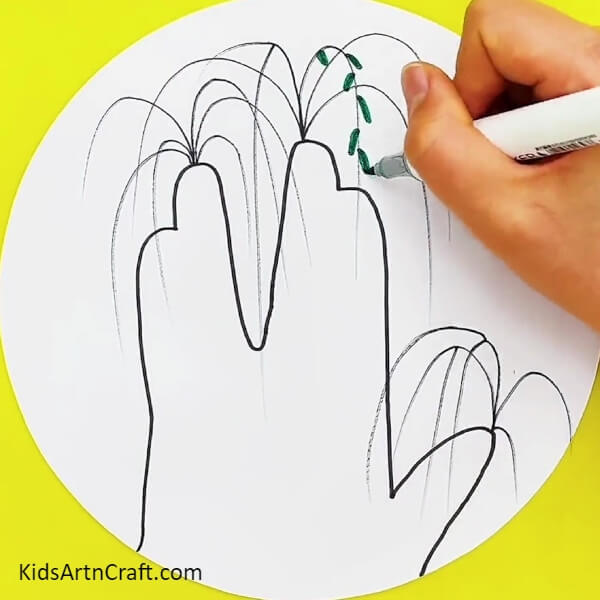
Using a green sketch pen, draw small-small lines on each side of the branches at a certain distance to make leaves over the falling branches of the finger outline.
Step 5: Making The Leaves Over Thumb Outline
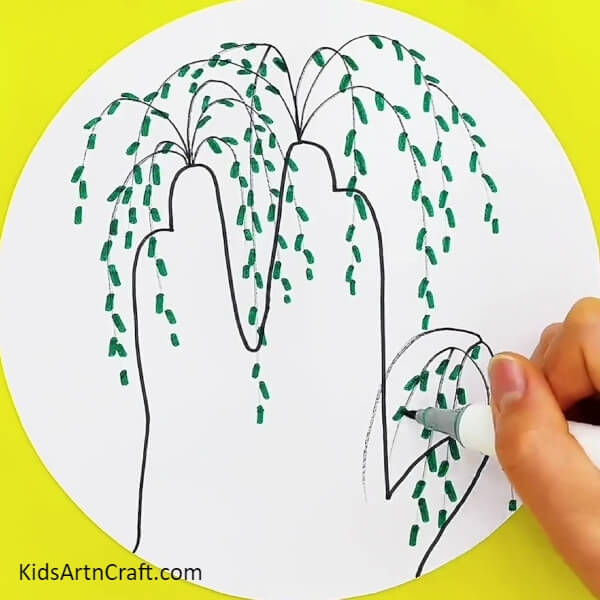
Make the leaves, the same way, over the branch strokes of the thumb outline.
Step 6: Completing Making The Leaves
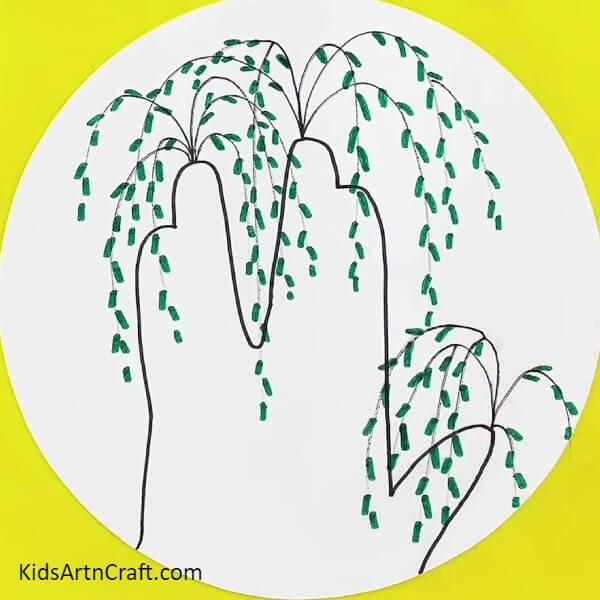
Make the leaves on each stroke branch from the start to the end
Step 7: Coloring The Tree Trunk
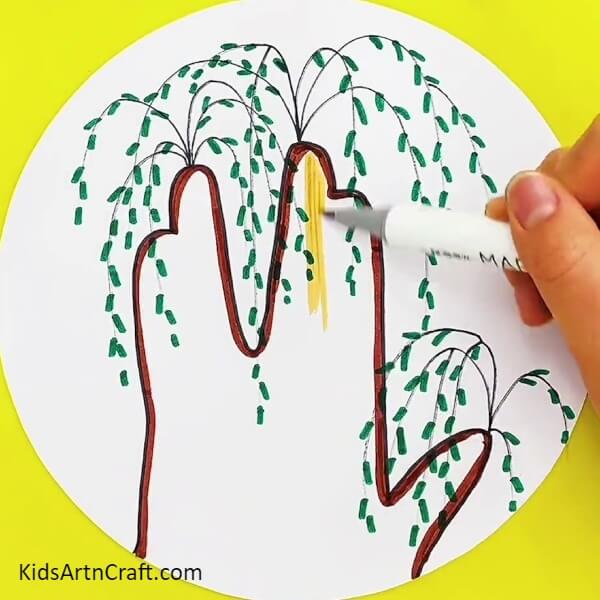
Using a brown sketch pen, double outline the tree trunk from the inner side. Now, using a beige-colored sketch pen, make straight line strokes in the tree trunk to color it.
Step 8: Making Tree Trunk Details
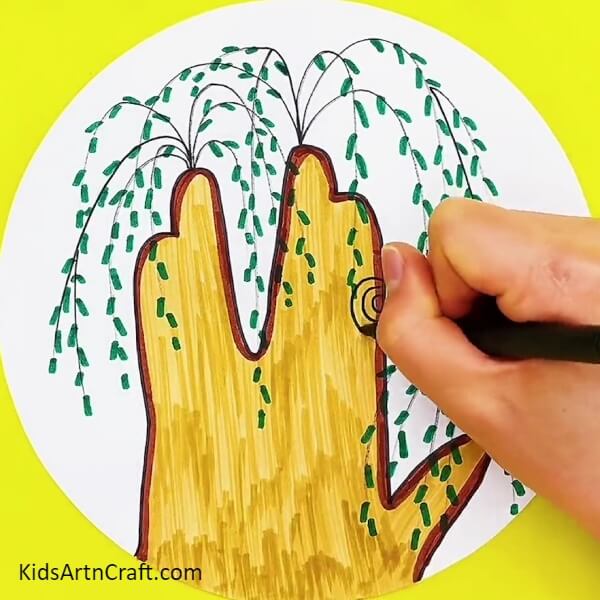
Using the black marker, draw irregular circles/ loops over the tree trunk to add details to it.
Step 9: Making Dashed Lines
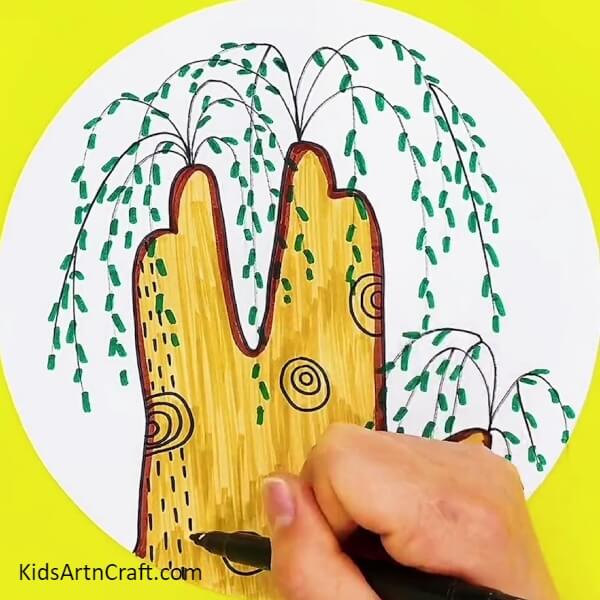
Using the black marker, on the left side of the tree trunk make 4-5 layers of dashed lines.
Hurray !Your Tree Drawing Is Ready!
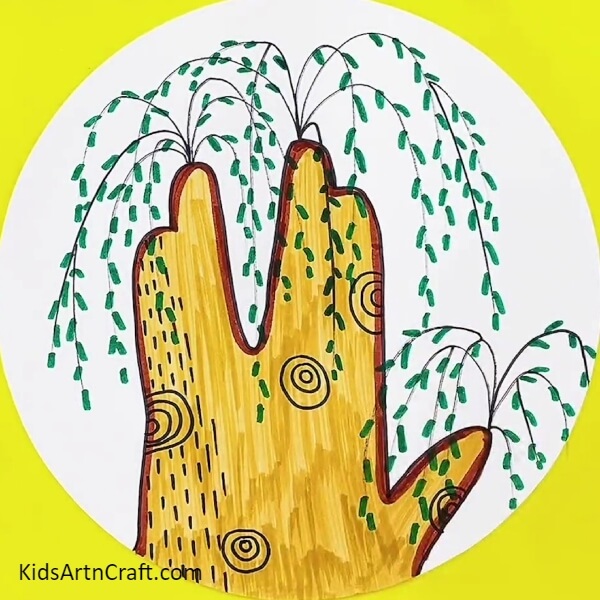
Voila! Your tree is ready! This brings an end to the tutorial for making this tree drawing!
Are you too stunned by the amazing results?! Now you can decorate this piece of artwork in your room to brighten up the boring simple wall! You can also customize this drawing any way you like! Use this drawing as your school project and show off your drawing and innovation skills through it! Let everyone envy you for being the favorite of your drawing teacher! Hehe!
Follow us on Youtube for art and craft tutorials and much more.
More Articles from Kids Art & Craft
- Easy Drawing Tricks With Your Parents Video Tutorial for Kids
- Easy Drawing Tricks Video Tutorial for Kids
- Easy Art And Crafts Activities Video Tutorial for All
- DIY Foam Net Home Craft For Kids
- Easy Frog Paper Craft For Kids Easy Tutorial