Clay Crafts
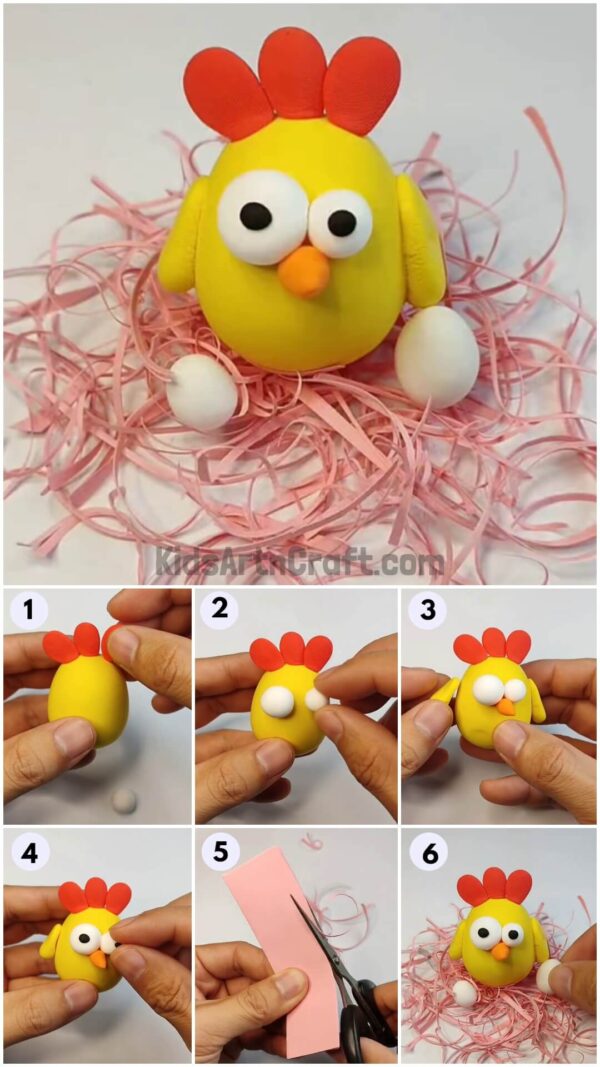
How To make Hen And eggs Using Clay For Kids

Learn how to make a fun, clay hen and eggs craft project with your kids! With a few simple supplies, your children will have fun creating adorable hen and egg sculptures. Perfect for Easter or a spring-themed project, this clay craft is sure to be a hit!
Making clay hens and eggs may be a fun and interesting project for children. Clay is a versatile medium that can be molded and formed into a variety of forms, making it an ideal medium for artistic endeavors. In this lesson, we will walk you through the steps of making a hen and eggs out of clay, with step-by-step instructions ideal for children of all ages. It can be an excellent method to introduce themes like farm animals, birds, and reproduction in a fun and creative way. Furthermore, working with clay may be a soothing experience, encouraging mindfulness and attentiveness while allowing children to experiment with various textures and shapes. So, let’s begin!!
DIY Hen & Egg Craft Using Clay

Read More: Simple & Tasty Ice-Cream Craft Using Clay – Step-by-Step Tutorial
Materials Required
- Clay Dough
- Scissors
- Colored Paper (Pink)
Procedure
Step 1: Creating An Oval Shape

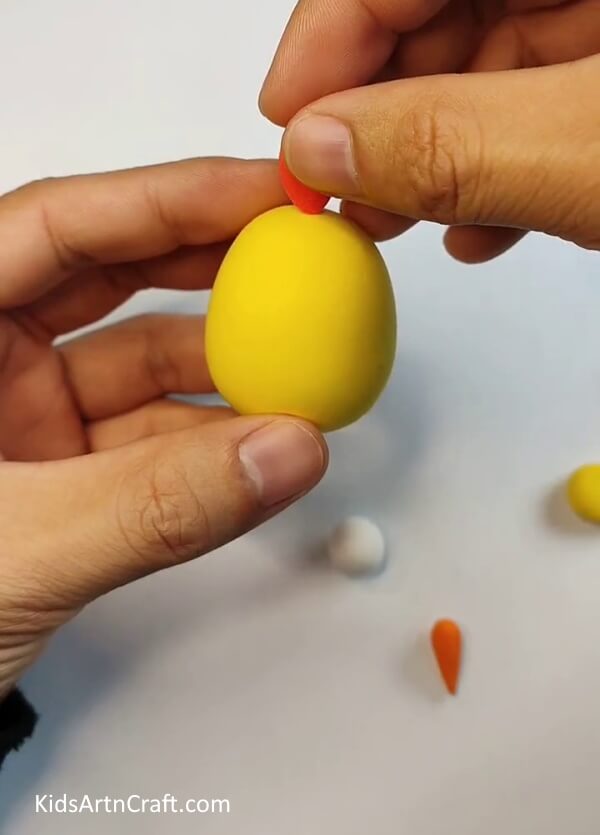
Firstly, take a large amount of yellow clay dough and mold it into an oval shape. This will be the body of the hen!
Step 2: Adding The Comb

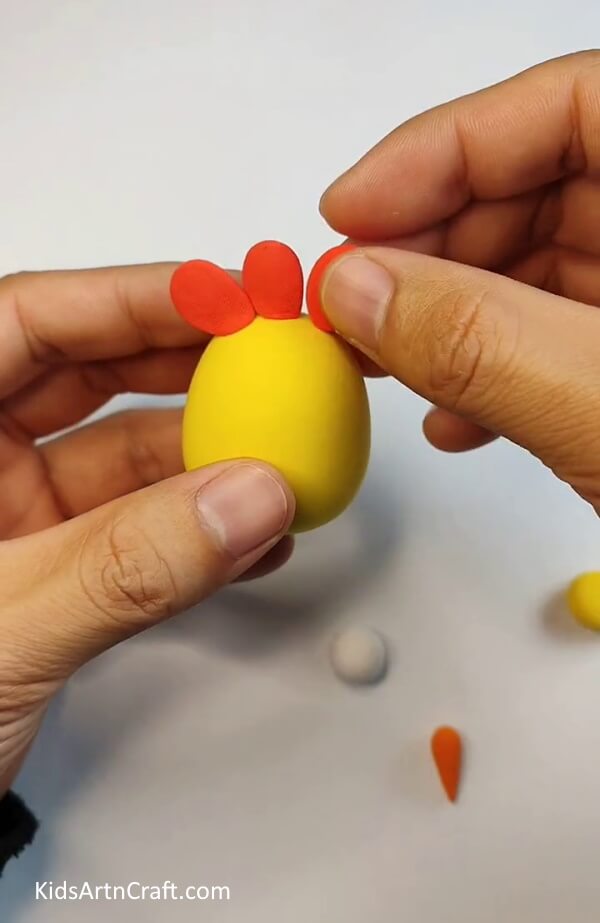
Then, take a smaller quantity of red dough and mold it into three different circles. Next, press and flatten the circles using your fingers and then stick them on the body of the hen, this will be the comb of the hen!
Step 3: Adding The Eyes

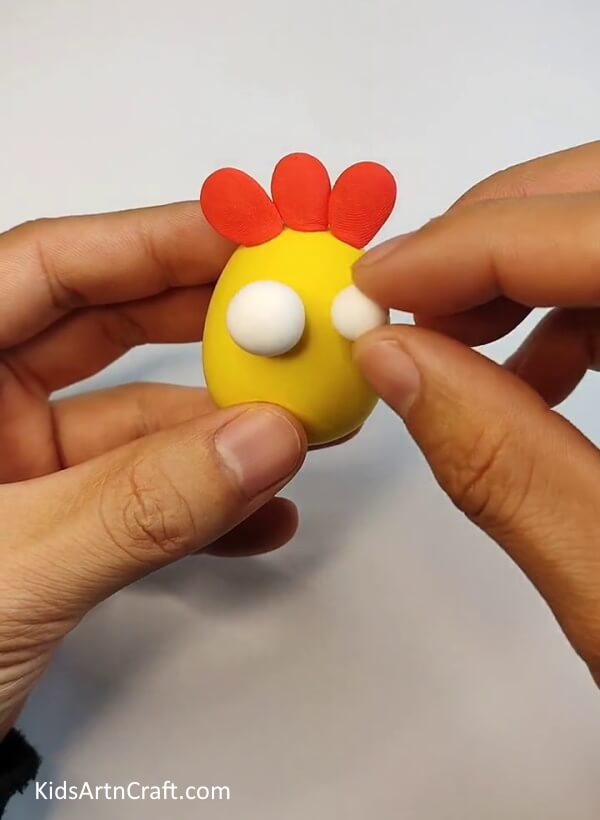
Here, you are supposed to take some white dough and mold it into the shape of two circles. Attach them to the body of the hen as shown in the image, these will be the eyes of the hen!
Step 4: Adding A Beak

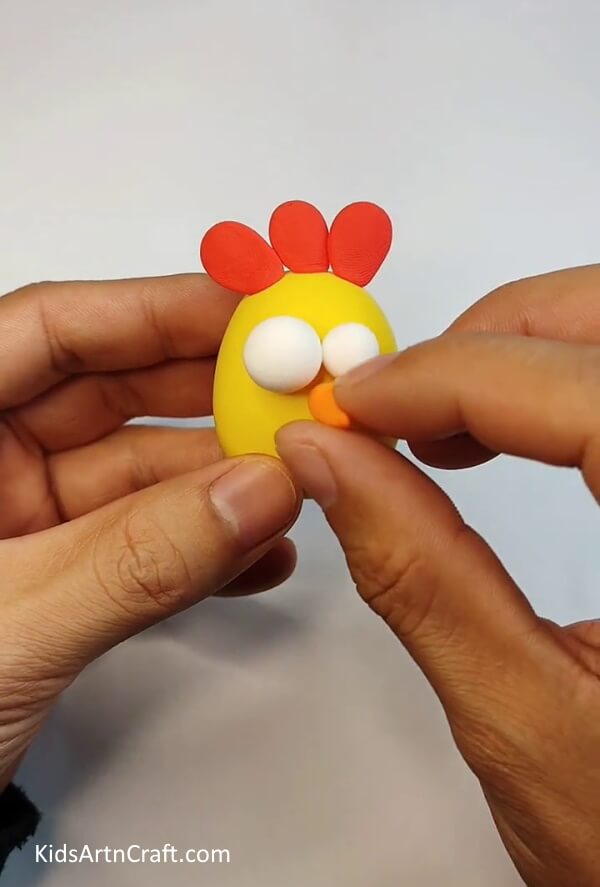
Now, you are supposed to take the orange dough and mold it into the shape of a small cone. This will become the beak of the hen!
Step 5: Adding Wings On Both Sides

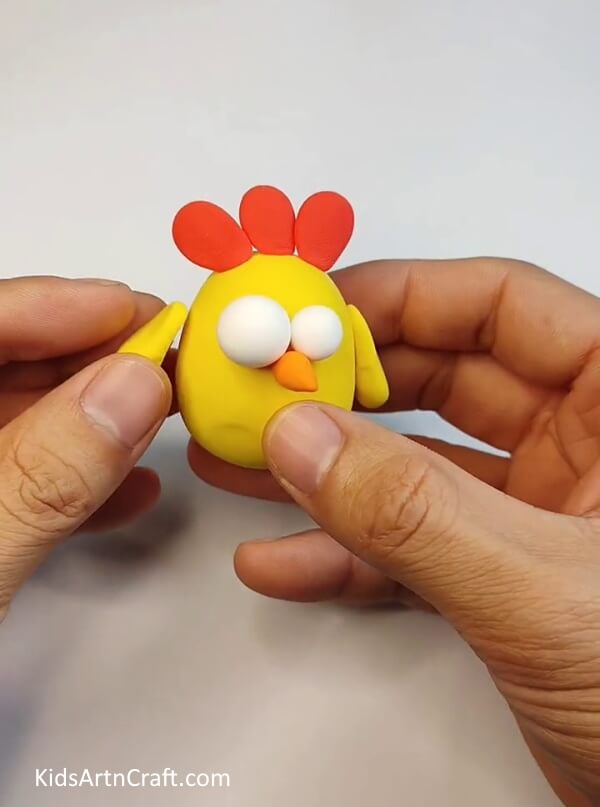
Again, take the yellow dough and mold it into the shape of two wings. Secure them on both sides of hen’s body. The wings are ready!
Step 6: Adding Black Circles On The Eyes

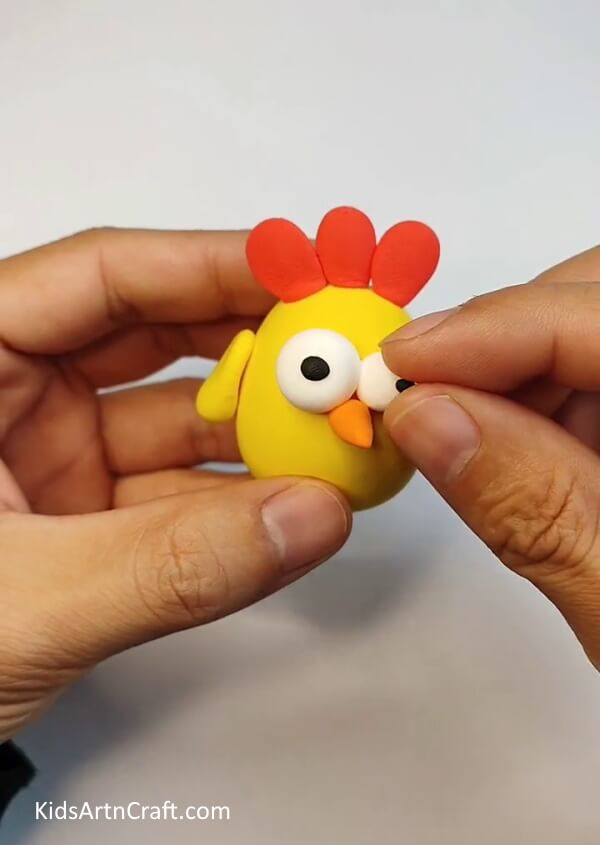
Now, take a small pinch of black dough and shape it into two smaller circles. Then, paste them on the eyes of the hen!
Step 7: Taking a Piece Of Paper And Cutting It

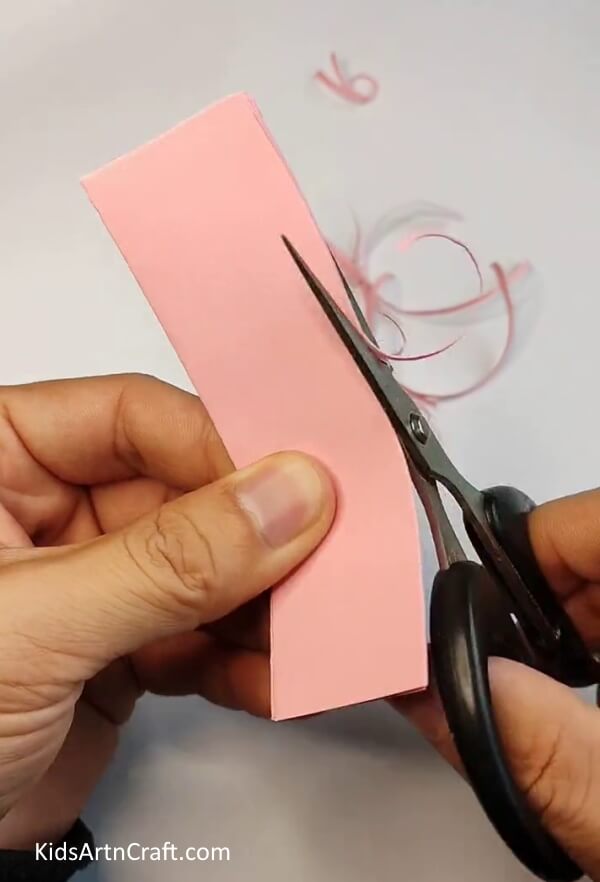
Take a pink-colored sheet of paper and using a pair of scissors, shred it into thin strips.
Step 8: Keeping The Hen On The Shreds

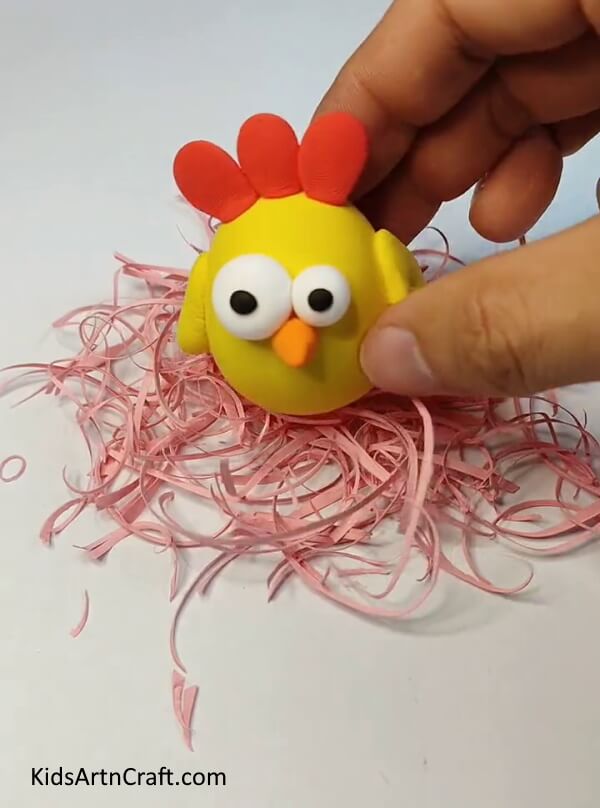
Now, place the hen on the shreds, look at the farm touch we just gave to our craft!
Step 9: Creating The Eggs

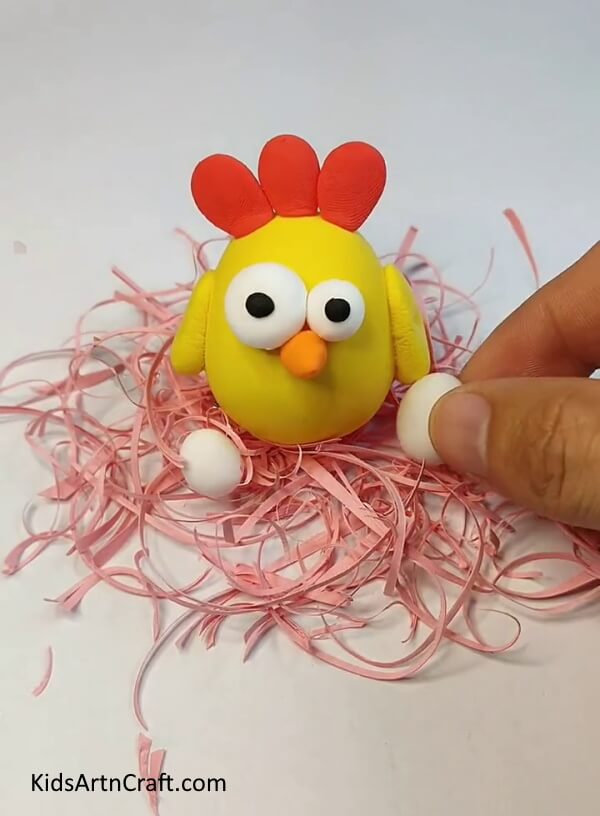
Lastly, take a white dough and mold it into two oval shapes, these are going to be the eggs of our hen!
Look At The Amazing Clay Art!


Making a hen and eggs out of clay is a fun and knowledgeable hobby for children of all ages. We have explained the step-by-step tutorial throughout this guide, inviting children to express their creativity and participate in a hands-on experience.
It can pique their interest and start conversations about the natural world, creating a better awareness of the ecosystem and the species that live in it. Making hen and eggs out of clay is an amazing alternative for a rainy day activity, a classroom project, or simply a chance to spend quality time with your child. So grab your supplies and let your imagination run free!
Follow us on Youtube for art and craft tutorials and much more.
More Articles from Kids Art & Craft
- How to Make a Clay Bird Easy Artwork tutorial for kids
- How to Make Clay Flower Easy Tutorial for Kids
- How to Make Worms Using Clay For Kids
- DIY Miniature Clay Cake Craft Activities for Kids
- DIY Clay Giraffe Step-by-Step Tutorial For Kids