Recycled Crafts
How to Make a Paper Cup Flower Easy Tutorial for Kids

This easy-to-follow paper cup flower tutorial is perfect for kids! Learn how to make this cute craft with nothing more than paper cups and a few simple supplies. Perfect for a spring or summer crafting project – get creative and make something special!
This tutorial is perfect for kids who want to learn how to make a Paper Cup Flower. It is easy and requires only a few materials. With a few simple steps, your kids can make their own beautiful Paper Cup Flowers in no time!
Paper Cup Flower Craft – An Easy Step-by-Step Tutorial

Read More: Recycled Cardboard & Plastic Straw Chair Craft Step-By-Step Tutorial
Materials Required
- Pink And Yellow Colored Paper cups
- Green And Black Paper Sheet
- Pink and Yellow Colored Fruit Foam Nets
- Scissors
- Pen, Pencil, And Scale
- Glue And Double-sided Tape
- Toothpick
Procedure
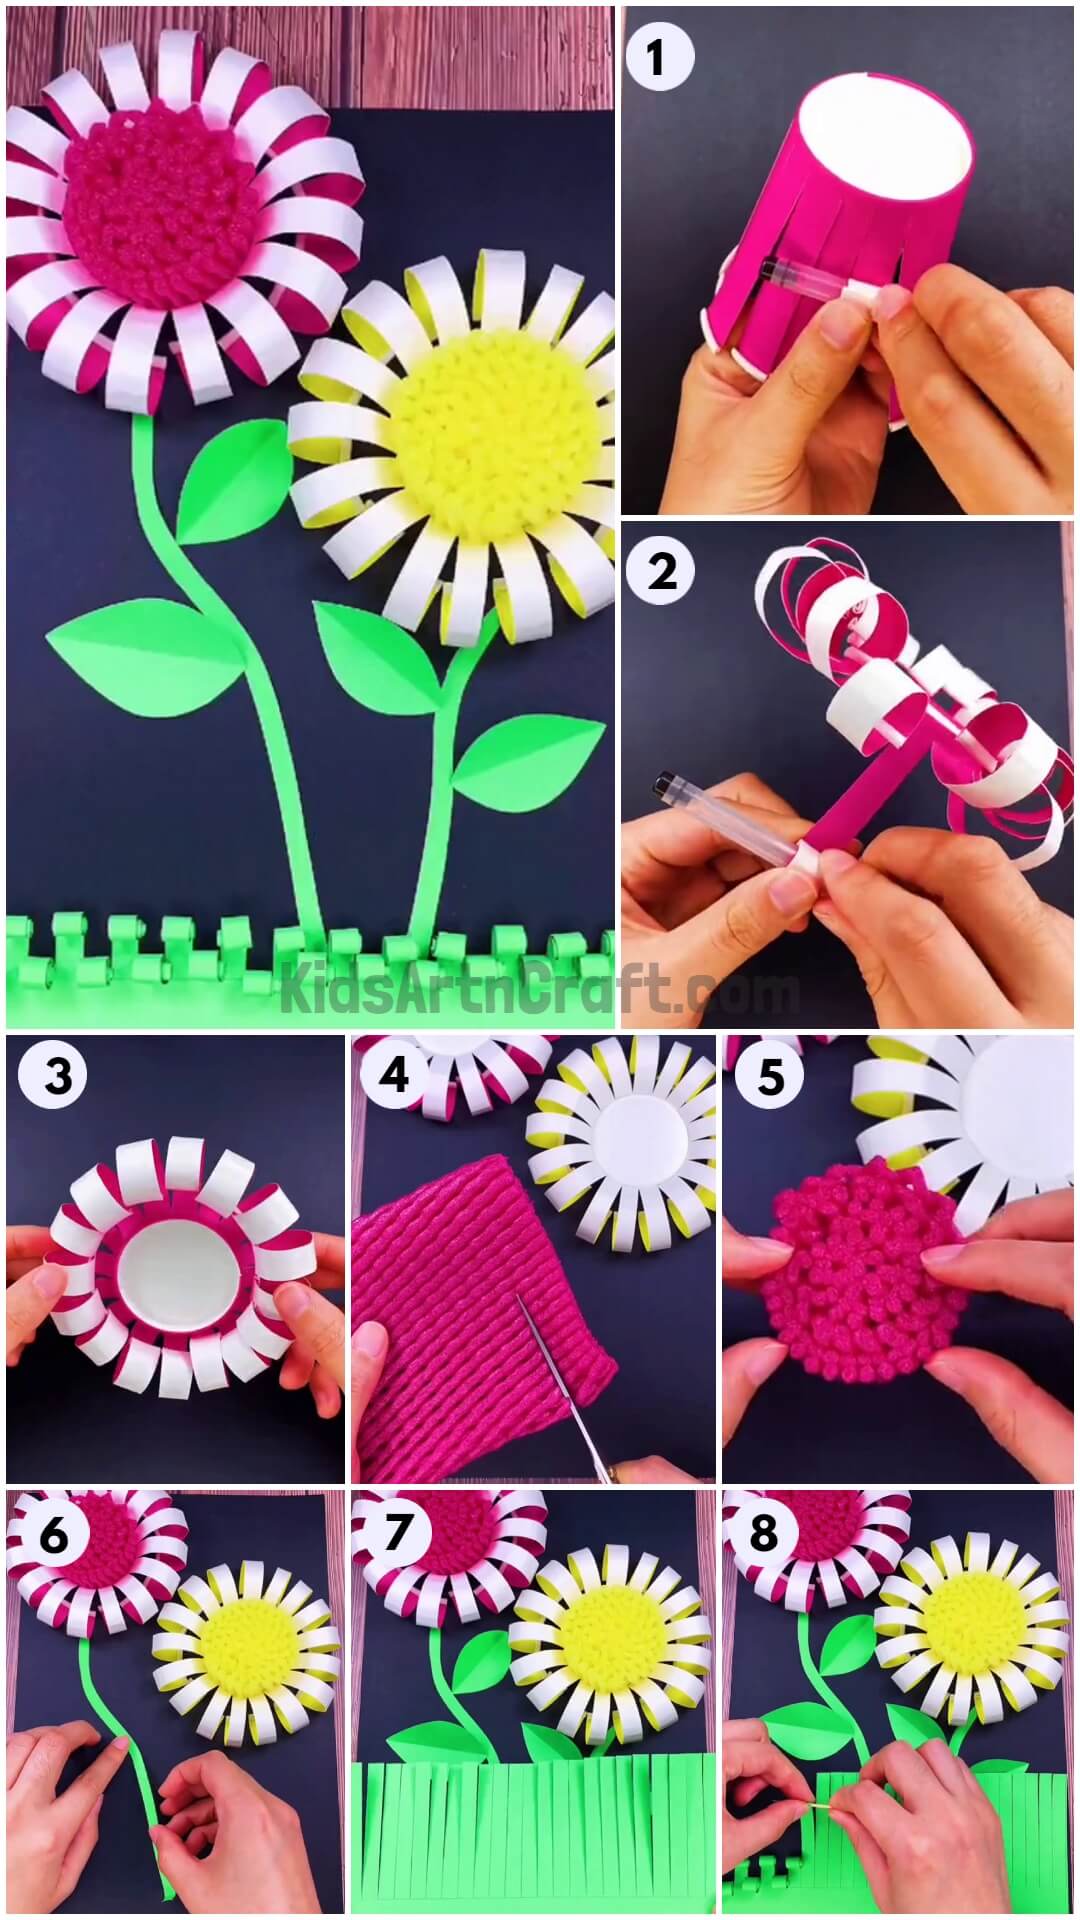
Step 1: Cutting Strips Of Paper Cup

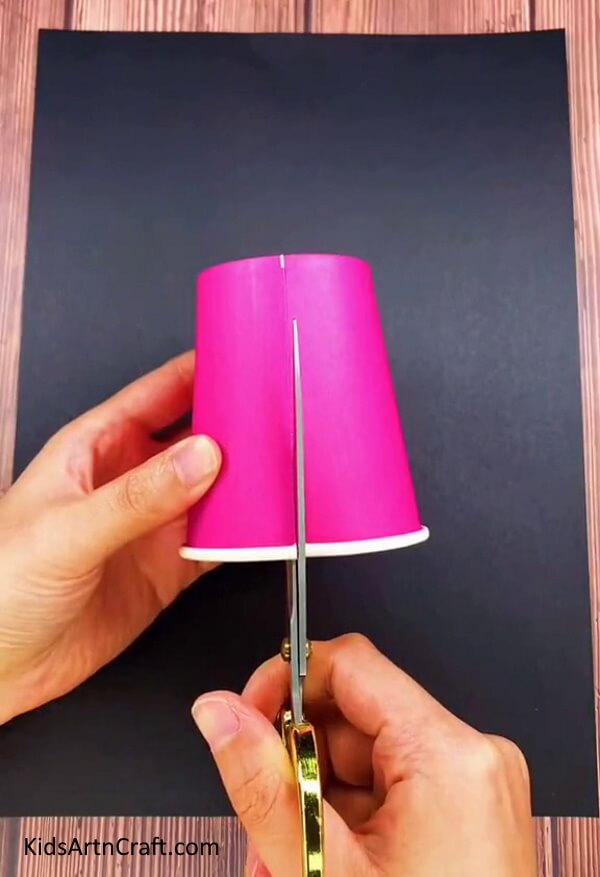
Let’s start with our first step! Grab your pink paper cup upside down and using scissors, cut strips to the base of the cup. Remember, don’t detach the strips from the base of the cup.
Step 2: Curling Paper Cup Flower Petals


Take a pen and use it to curl each strip.
Step 3: Completing Curling
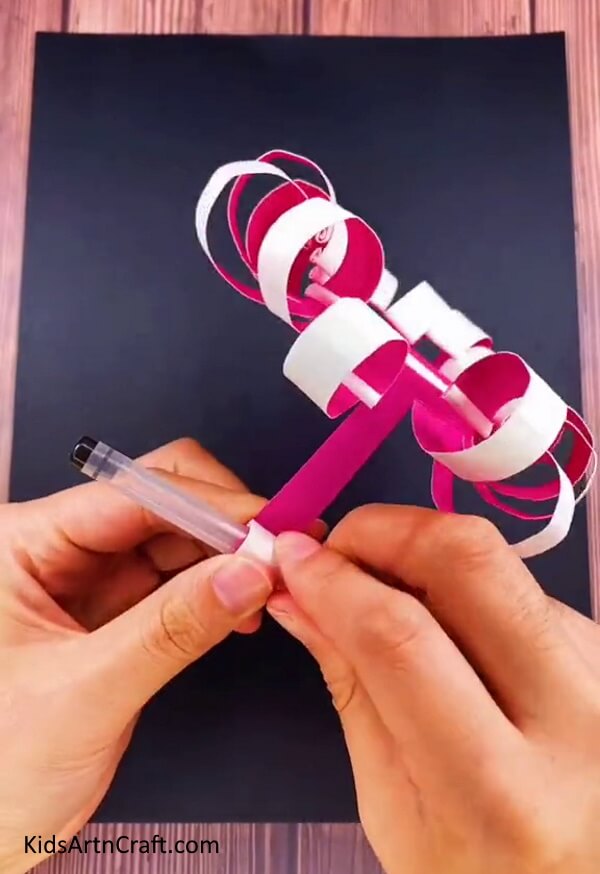

Keep curling until every strip is done.
Step 4: Sticking the Flower
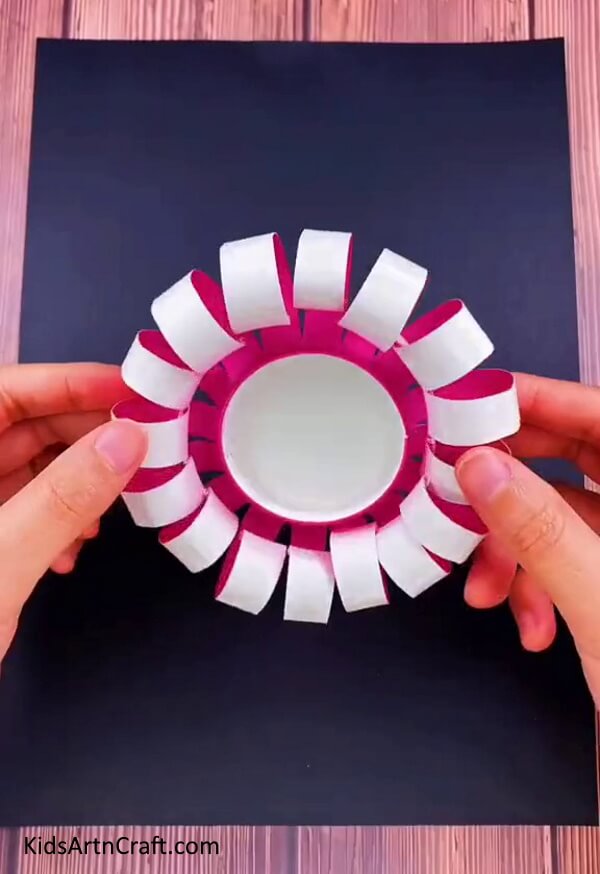
Once your flower is ready apply glue to the base and stick it over the left-top corner of the black sheet.
Step 5: Adding Another Paper Cup Flower
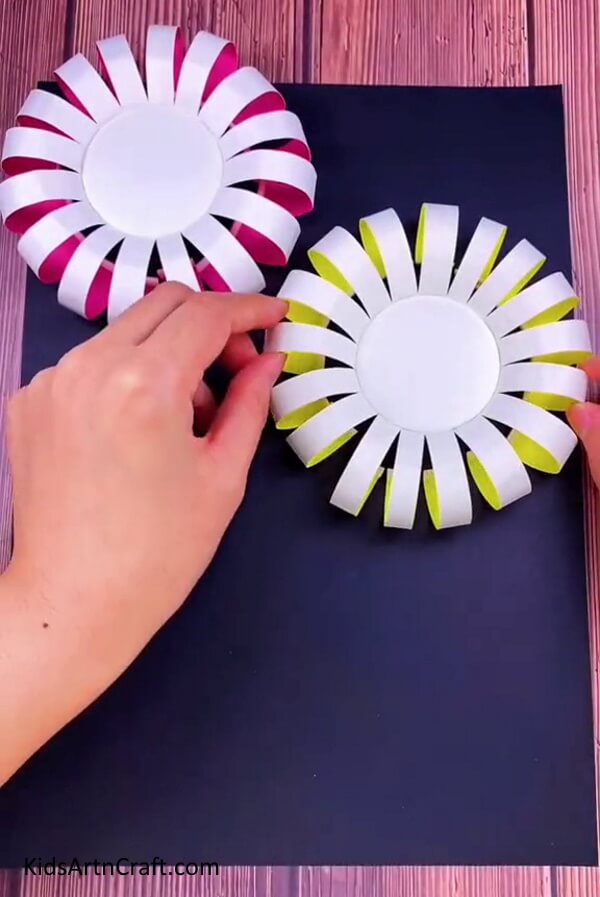

Repeat the steps to make another yellow paper cup flower. Using glue, stick it on the sheet alongside and little down your first flower.
Step 6: Making Centre Of Flowers
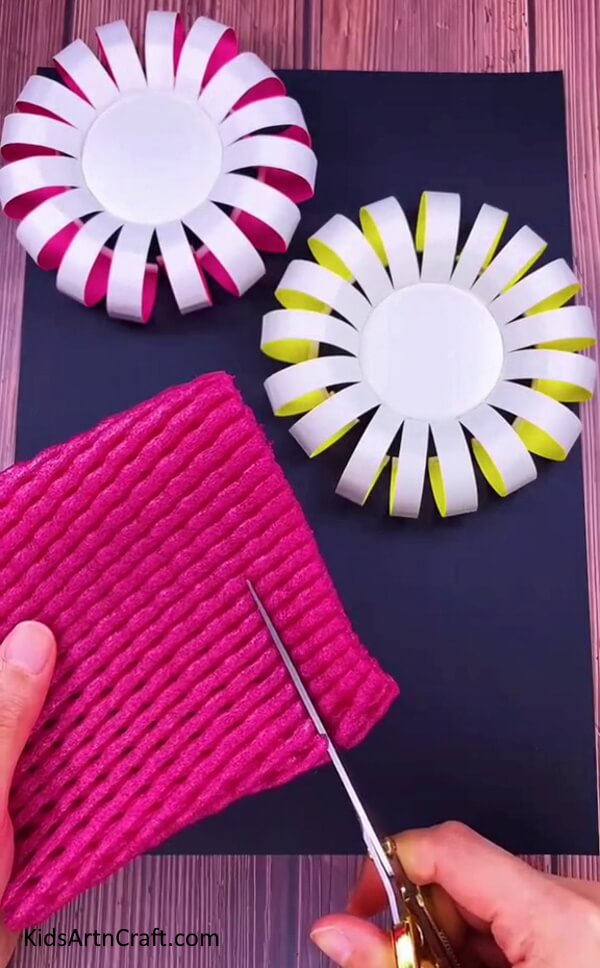

You will now grab your pink fruit foam net and cut out a thick strip from it.
Step 7: Applying Double-sided On Strip
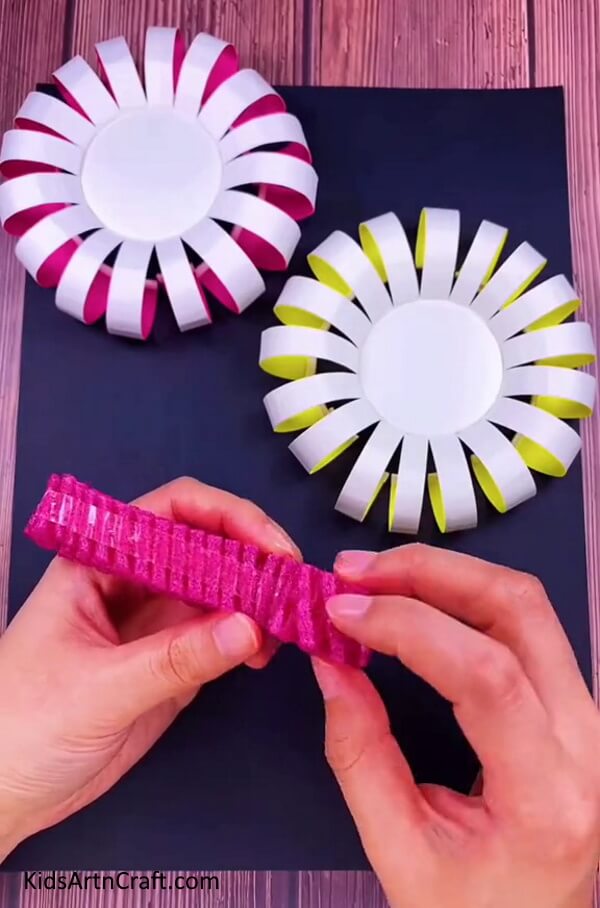

Apply double-sided tape on the strip.
Step 8: Rolling Over The Strip
Roll over the strip to form a circle.
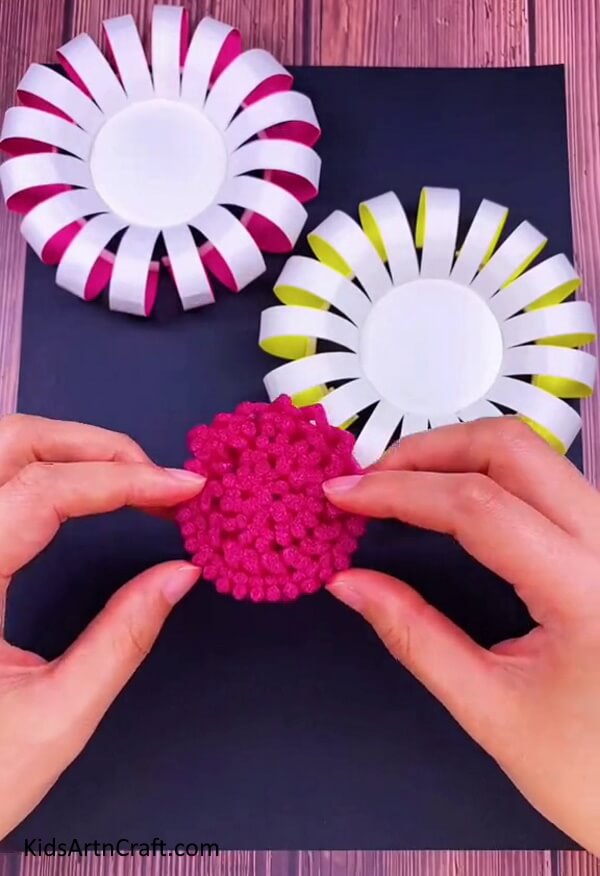
Step 9: Making Another Circle And Pasting
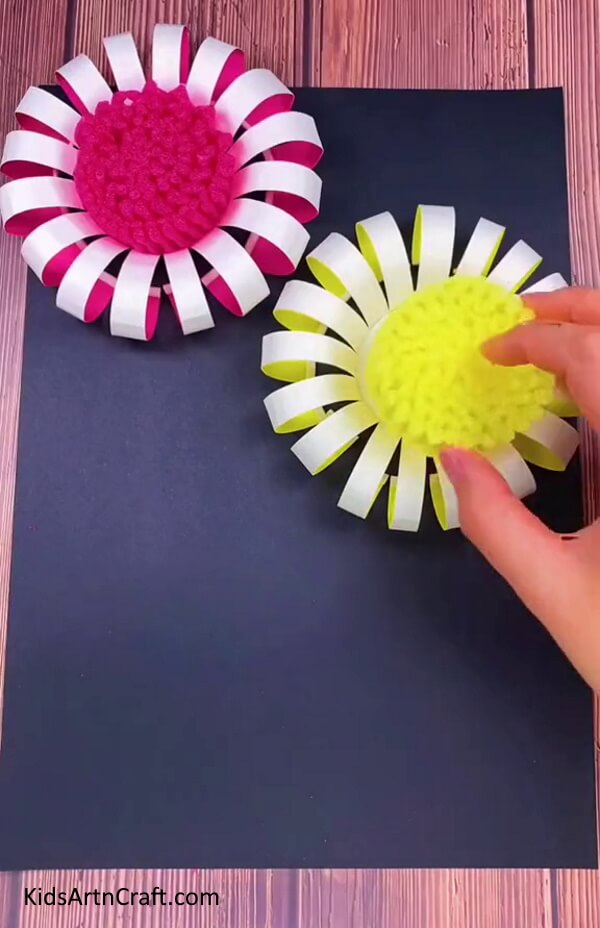

Using a yellow foam net make another circle, repeating the steps. Stick both of them accordingly over the paper cup base in the center.
Step 10: Adding The Stems To The Flowers
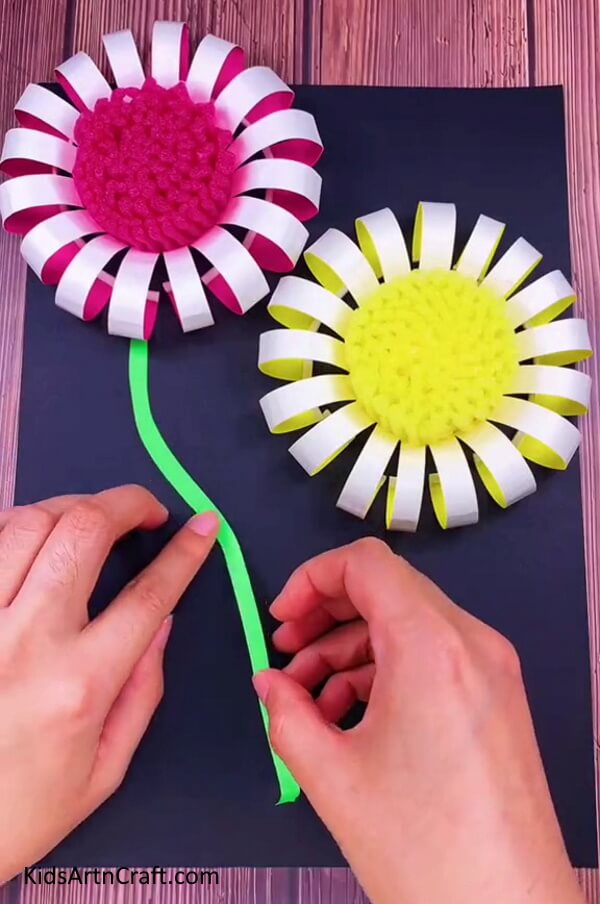

Using pencil over green paper draw two long, wavy stems for your flowers. And carefully cut it with your scissors. Stick these stems beneath your flowers.
Step 11: Adding Leaves
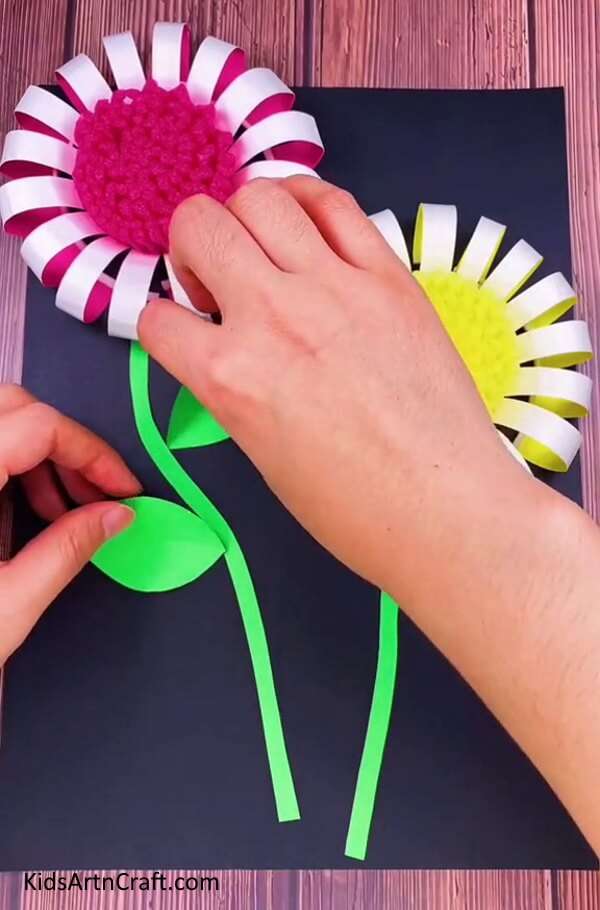

Now, draw four leaves on the same green paper and cut them out. Using glue, stick two leaves on each stem.
Step 12: Making Grass
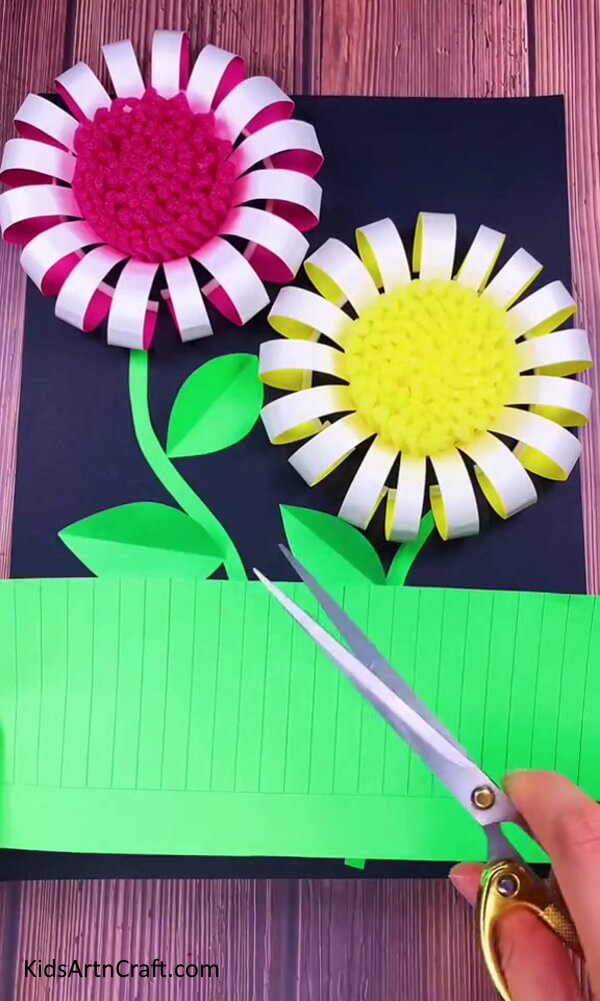

Grab a scale and pencil and draw a horizontal line then draw tall strips, that will be your tall grass, on the green paper. Using scissors, cut each strip to the line you have drawn at the bottom.
Step 13: Sticking Grass
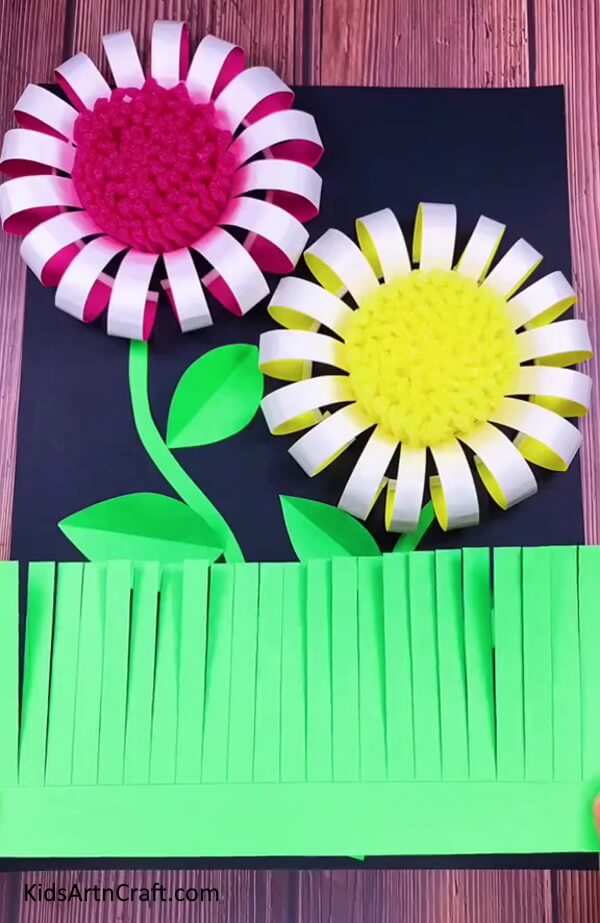

Apply glue below the horizontal line and paste it at the end of the paper.
Step 14: Curling The Grass
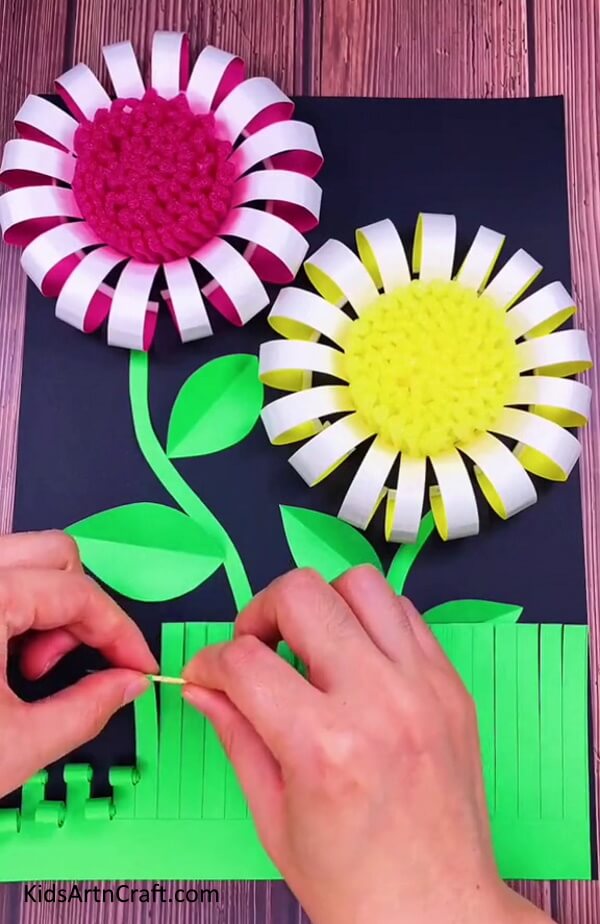

Using a toothpick curl each strip, alternating between two sizes of curls.
Your Paper Cup Flower Craft is Ready!
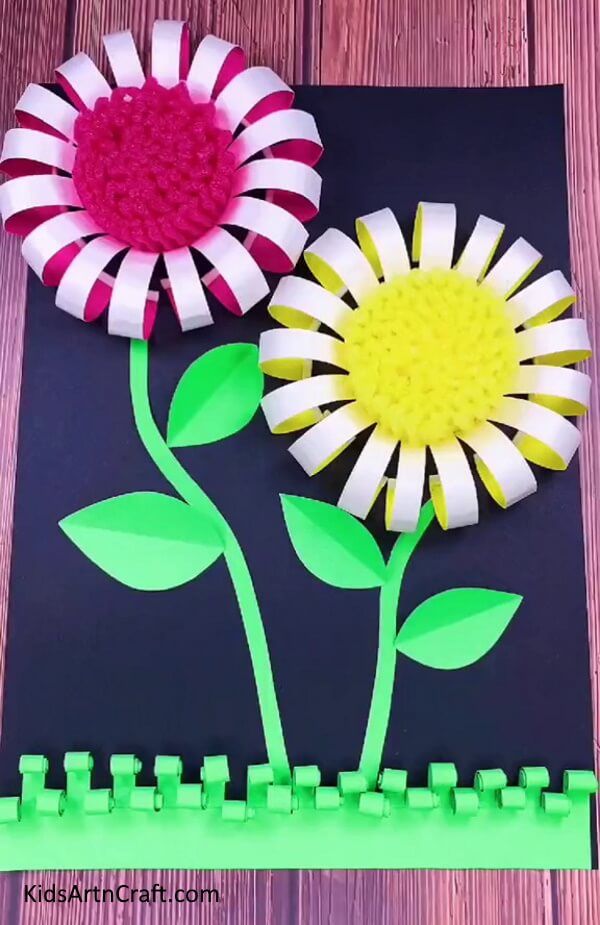

Your paper cup Flower Craft is ready!! Following this step-by-step tutorial, kids can make a beautiful craft in minutes. Use it as gifts or craft decorations. This craft is engaging, fun and creative and will be liked by kids and adults alike! So give it a try and engage your kids and yourselves in a fun craft-learning activity!
Hope you like this Paper Cup Flower craft step-by-step tutorial. We would love to hear your thoughts in the comment section below. And be sure to visit our other articles for more ideas!
Some More Flower Craft Tutorial
Simple Foam Net Flower Craft Project

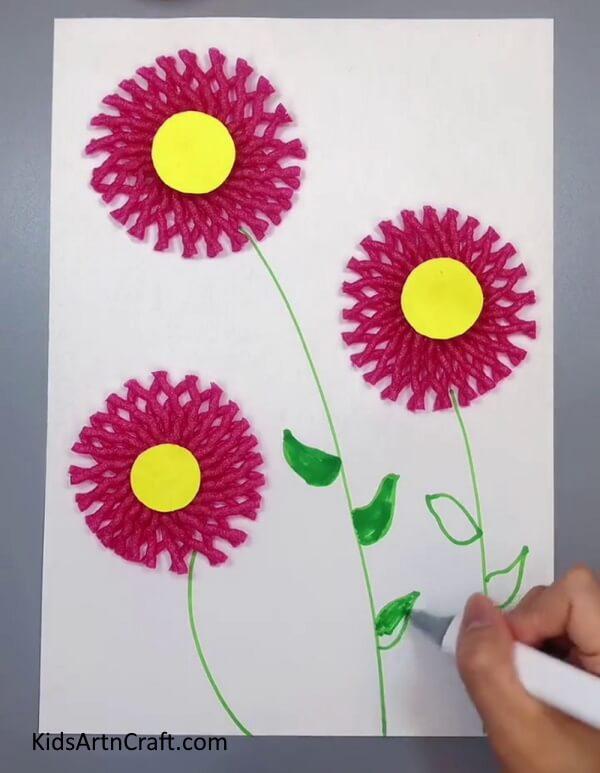
Image Source/Tutorial: Kids Art & Craft
This craft project is perfect for children and adults alike. It is an easy and fun way to create beautiful 3D flower decorations with simple foam nets. With a few supplies and a few minutes of your time, you can create lovely decorations that will look great in any room.
Sweet Sunflower Activity for Children with Paper Cup

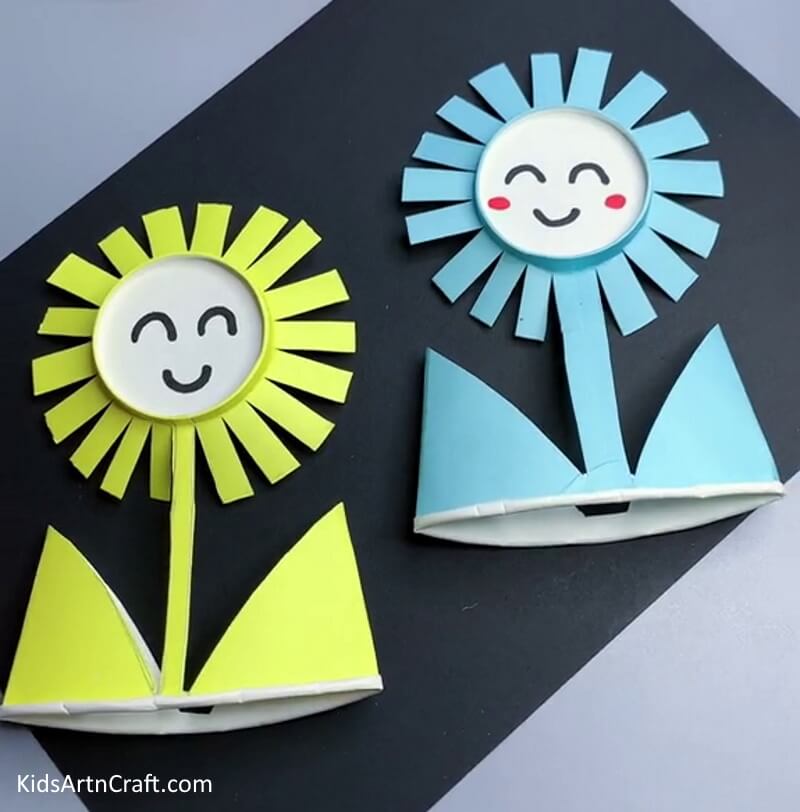
Image Source/Tutorial: Kids Art & Craft
This activity is an easy and fun way to create a unique sunflower craft with kids using just paper cups and paint. It is a great activity for children of all ages as it can be adapted to their skill level. It is a great way to spend quality time together and create something beautiful.
Affordable Paper Rose Ornament Craft

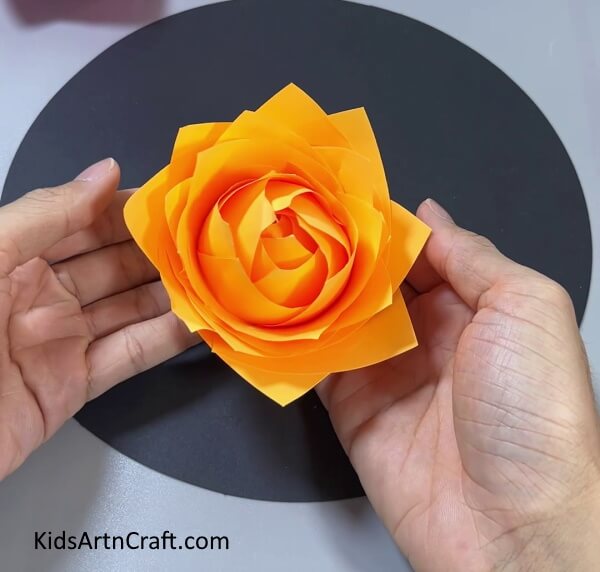
Image Source/Tutorial: Kids Art & Craft
This craft is perfect for any occasion! Make a beautiful paper rose ornament with a few simple materials. It’s an affordable craft that will add a special touch to your home decor. With just a few supplies, you can make this stunning piece of art.
Home-made Tulip Blossoms from Paper

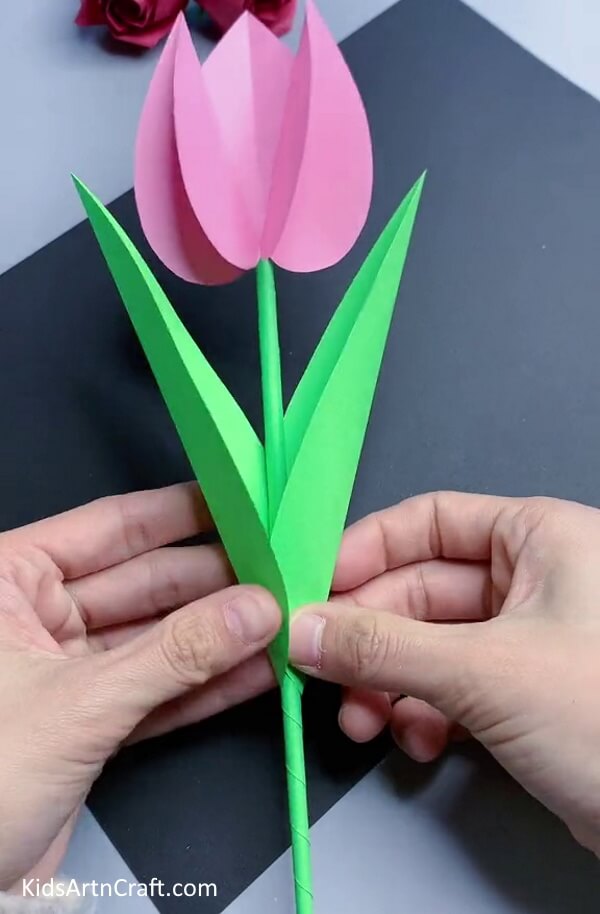
Image Source/Tutorial: Kids Art & Craft
Making home-made tulip blossoms from paper is an easy and enjoyable craft activity. It is a great way to add a splash of color to your home without spending too much money. The end result of this craft can be used to decorate walls, tables, and more.
Make Your Own Egg Carton Flowers Craft For Kids Using Paper

Image/Tutorial: Kids Art & Craft
This fun and creative craft is a great way to help kids learn how to be resourceful. Kids can make their own egg carton flowers using paper and a few other simple materials. It’s a great way to get creative and have fun while learning a new craft.
Creative clay flower craft for kids

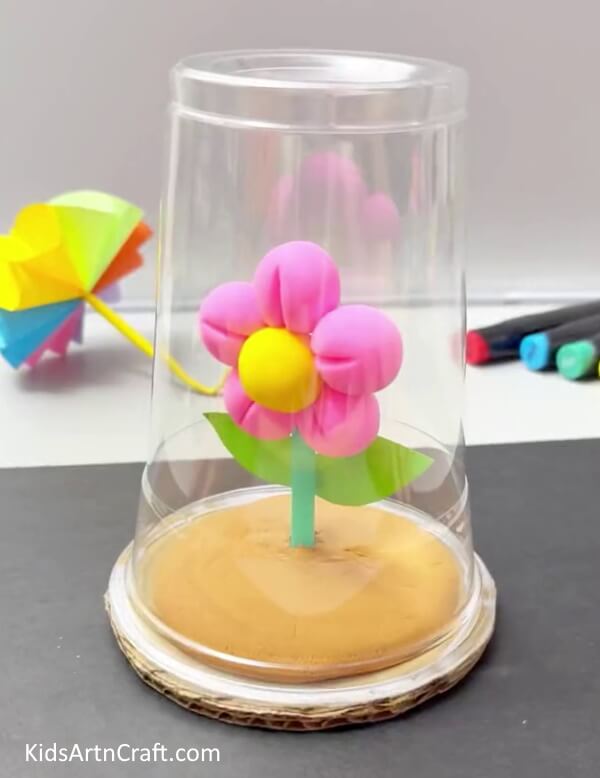
Image Source/Tutorial: Kids Art & Craft
This creative clay flower craft is a great activity for kids! It’s a fun and simple way to get creative with clay and make beautiful flowers that can be used as decorations or gifts. Kids will have a blast making these colorful and unique creations.
Follow us on Youtube for art and craft tutorials and much more.
More Articles from Kids Art & Craft
- How to make Paper cup sunflower crafts for kids
- Recycled Turtle Craft With Sun Using Leaves
- Recycled Plastic Bottle Bird Feeders – Easy DIYs
- Paper Cup Flower Craft Using Cotton Swabs & Bottle Cap
- How to Make Paper Cup Doll Craft for Kids