Painting
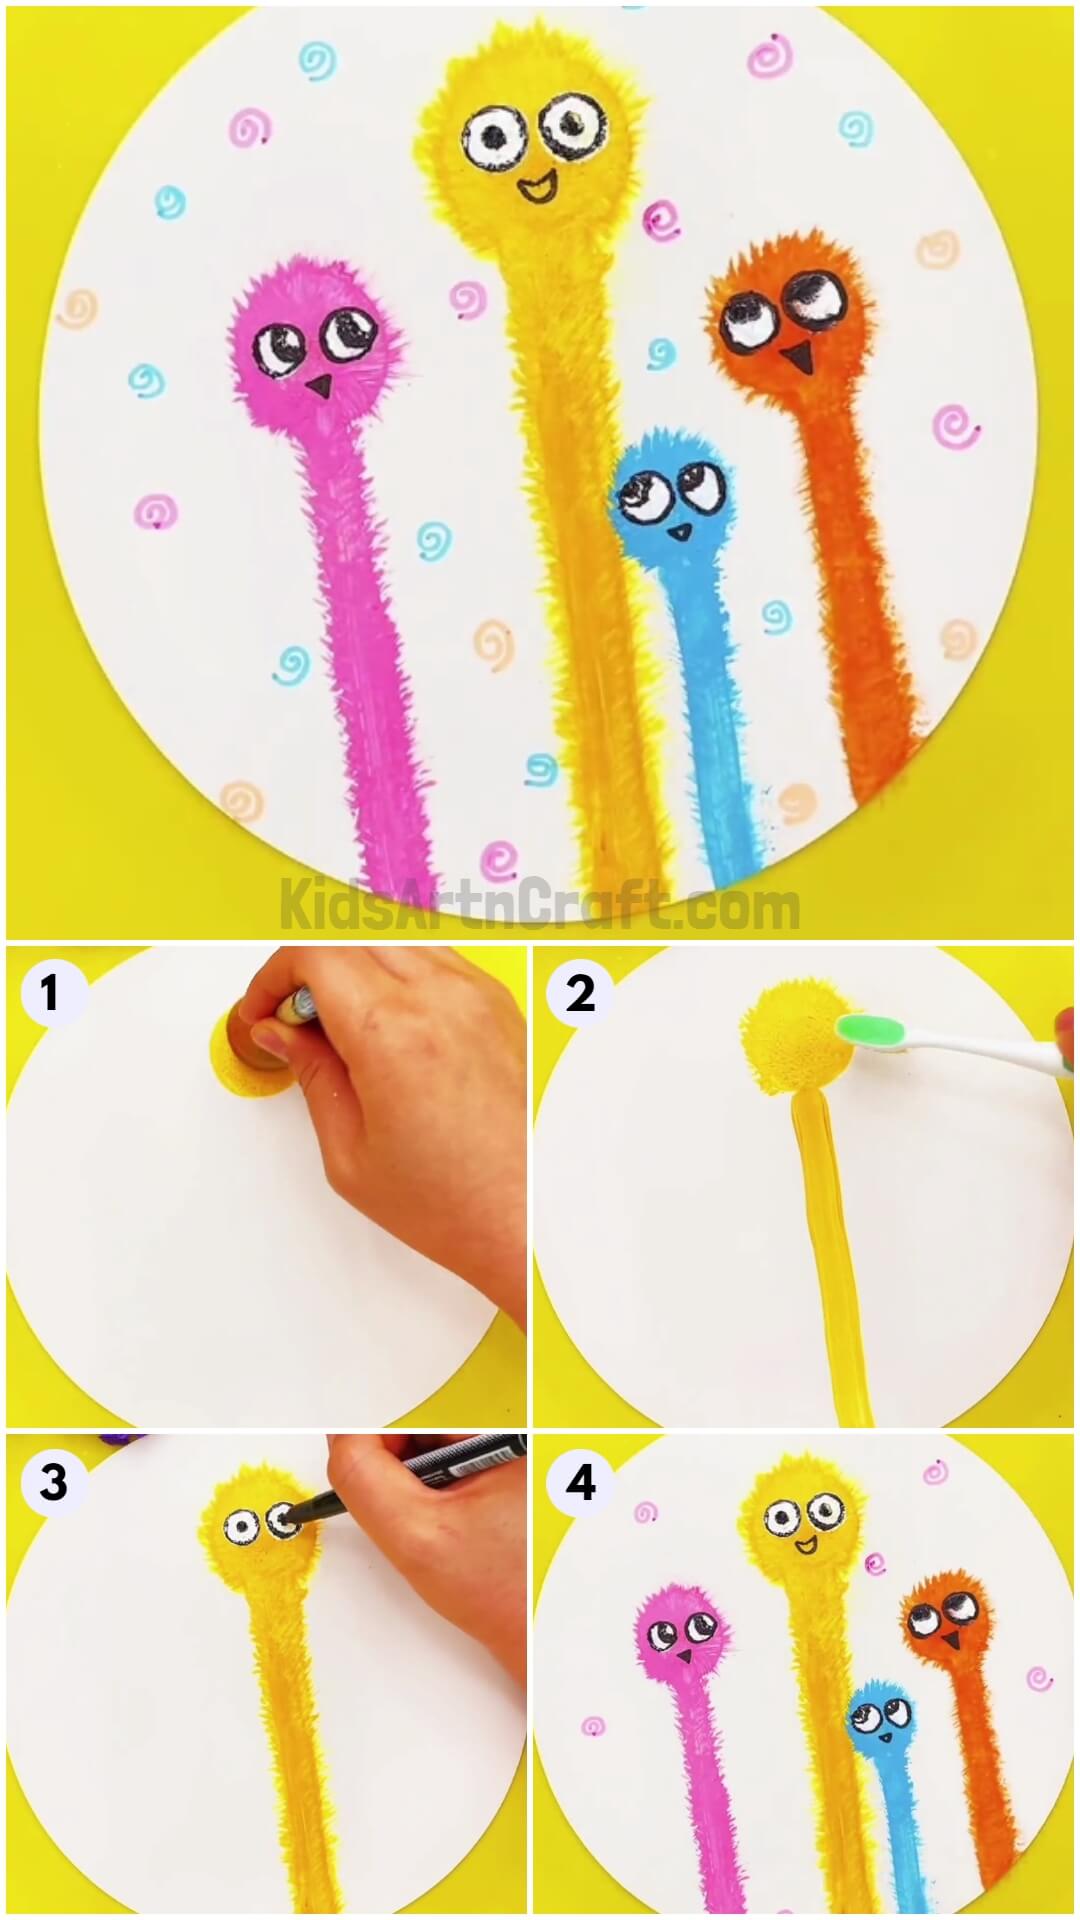
Adorable Worry Worms Painting Step-by-step Tutorial

This tutorial teaches you how to make adorable worry worms out of paint. It’s suitable for all ages and helps bring out the creativity in everyone.
Here, we present to you an amazing step-by-step guide on making an adorable worm family using watercolors! This is purely a beginner-friendly painting art. It can be easily followed by the kids and the preschoolers. They will enjoy the whole process and will love the final outcome. It is a great way to start an interaction about worms and their characteristics with children and expand their knowledge by teaching them about different kinds of worms and their impact on human beings and nature. So, grab your art supplies, and let’s get started!
Easy To Make Adorable Worry Worms For Kids

Read More: Okra Stamping Art Ideas for Kids
Materials Required
- Craft sheet(White)
- Watercolors
- Paint brush
- Toothbrush
- Sketch pen(Black, Pink, Blue, Orange)
- Scissors
Procedure
Step 1: Making A Yellow Circle
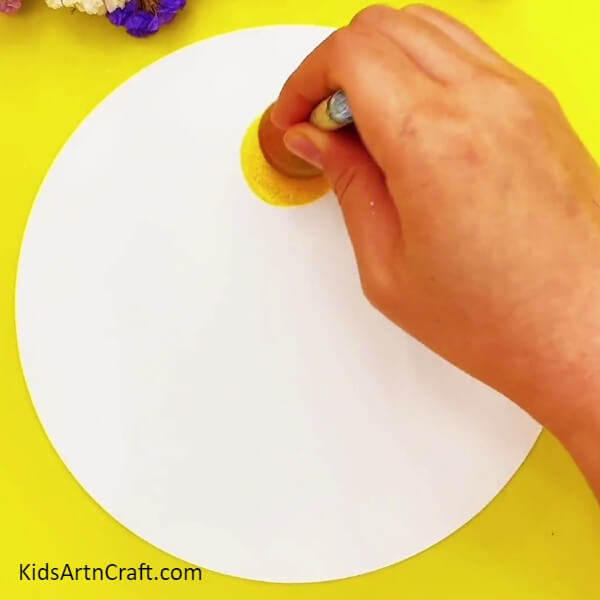

Let’s begin this craft by taking a white sheet of paper. Cut it into a circle. This will become the base of our drawing. Take a wide paintbrush and dip it in yellow paint. Hold the paintbrush vertically and press it firmly on the top of the circle to make a circle as shown. This will become the head of the worm.
Step 2: Making The Worm’s Body
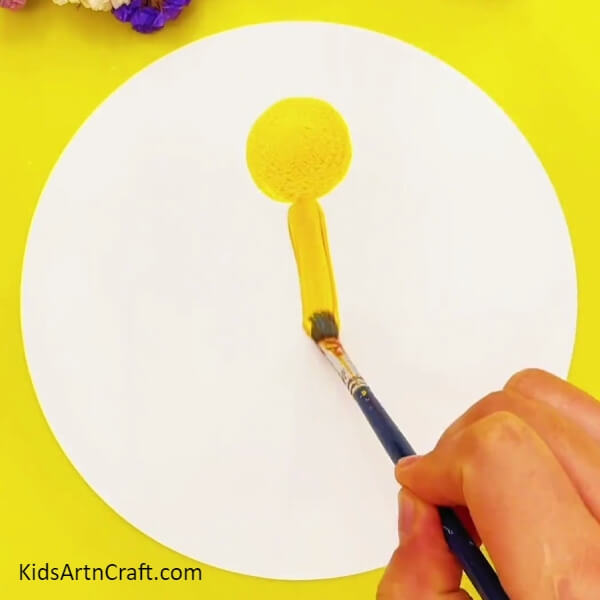
Next, take a narrow paintbrush and dip it in yellow paint and make a long straight line below the head to make the long and slender body of the worm.
Step 3: Making The Bristles On The Worm’s Head
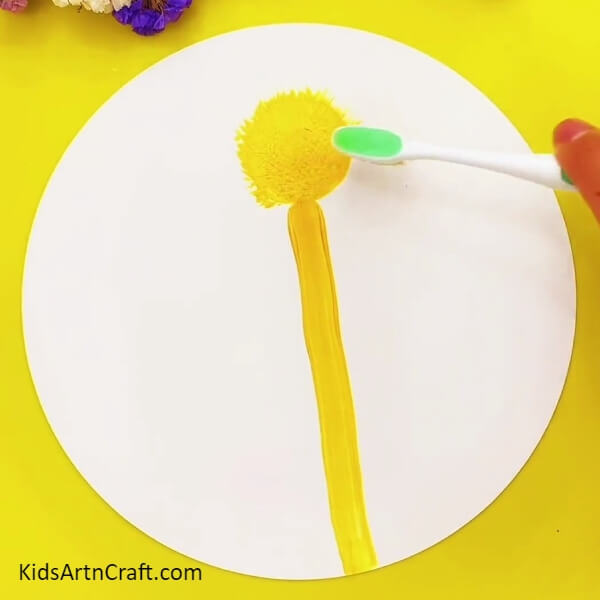
To add bristles on the body of the worm, take a toothbrush and gently make strokes on the outer edges of the circle facing outwards as shown. Do this step, while the paint is wet and it hasn’t dried completely. This will form small bristles on the entire boundary of the head as shown.
Step 4: Making The Bristles On The Body
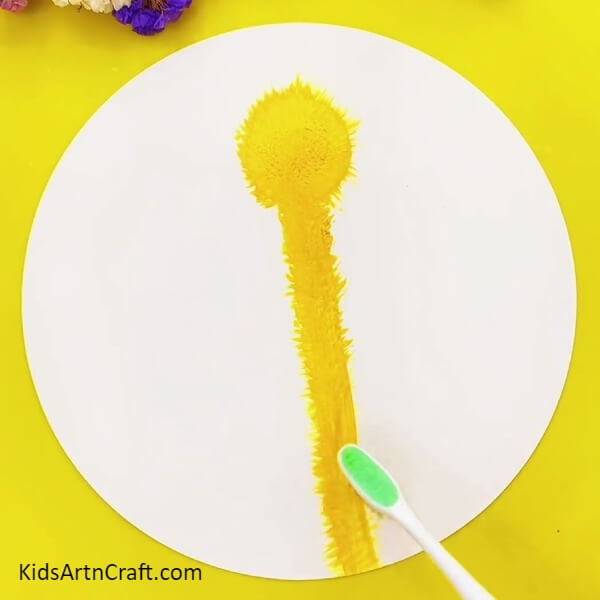
Take the toothbrush and start making the bristles on the entire surface of the worm’s body as shown in the image.
Step 5: Outlining The Eyes
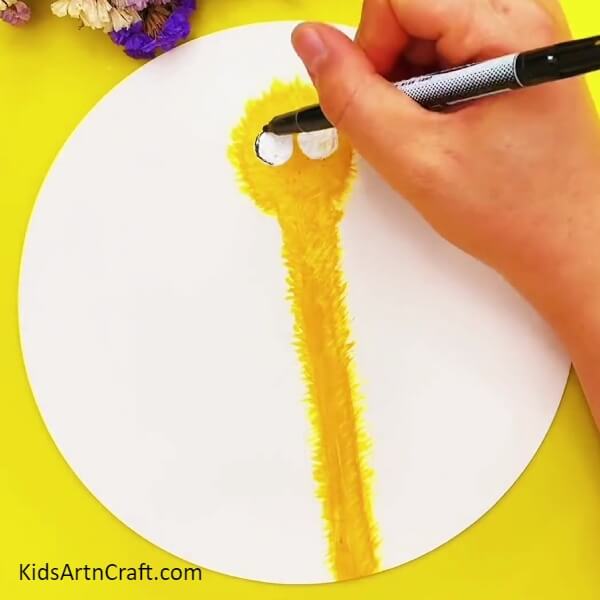
Using white paint make two small circles on the worm’s head. Take a black marker and draw the outlines inside the circles.
Step 6: Making The Eyes
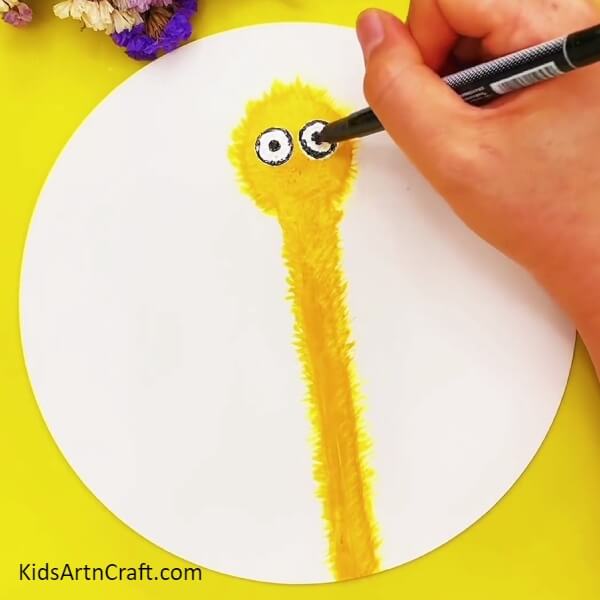
Make small circles inside both of the white circles to make the eyes of the worm.
Step 7: Making More Colorful Worms
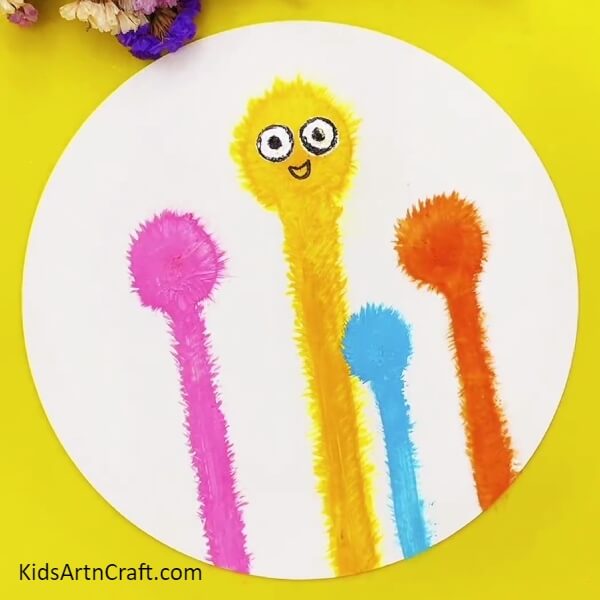
Using the black marker, make a smile on the worm’s head. Repeat the above steps, and make more worms of different colors and sizes on the white circle.
Step 8: Making The Eyes And Mouth On The Worms

Follow the above steps, and make eyes and mouths on the worms with different expressions as shown. Using the pink sketch pen, make spiral shape designs on the entire white background as shown.
The Adorable Worry Worms Painting Is Ready!
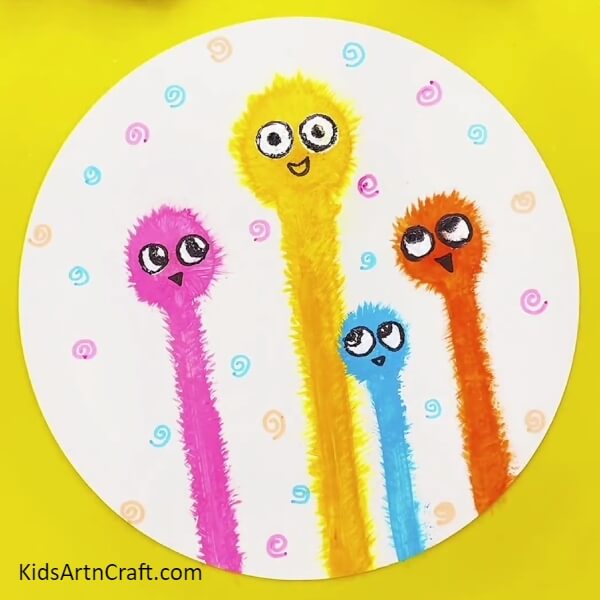
You can also use blue and orange sketch pens to make more spiral shapes on the white background. This will elevate the overall look of the painting. And that’s it, you have completed the adorable worm painting.
This painting will be loved by the kids as it is very vibrant and colorful. The cute worms are enough to bring a smile to anyone’s face. The cute and sweet expressions made on the worm’s face make the painting look more amazing and eye-pleasing. Kids will have fun doing this painting activity and they will learn the new technique of making bristles with the toothbrush. This will help them develop their motor skills and will enhance their painting dexterity. Keep following our website for more creative ideas.
Thank you for visiting our website!
Follow us on Youtube for art and craft tutorials and much more.
More Articles from Kids Art & Craft
- Awesome Canvas Painting Video Tutorial for Beginners
- Easy Painting Video Tutorial for Beginners
- Bubble Wrap Printed Pomegranate Craft For Kids
- Handmade Rainbow Painted Rock Ideas
- Silhouette Landscape Paintings