Clay Crafts
Super-clay Cheery Blossom Tree Craft From Toilet Paper Roll

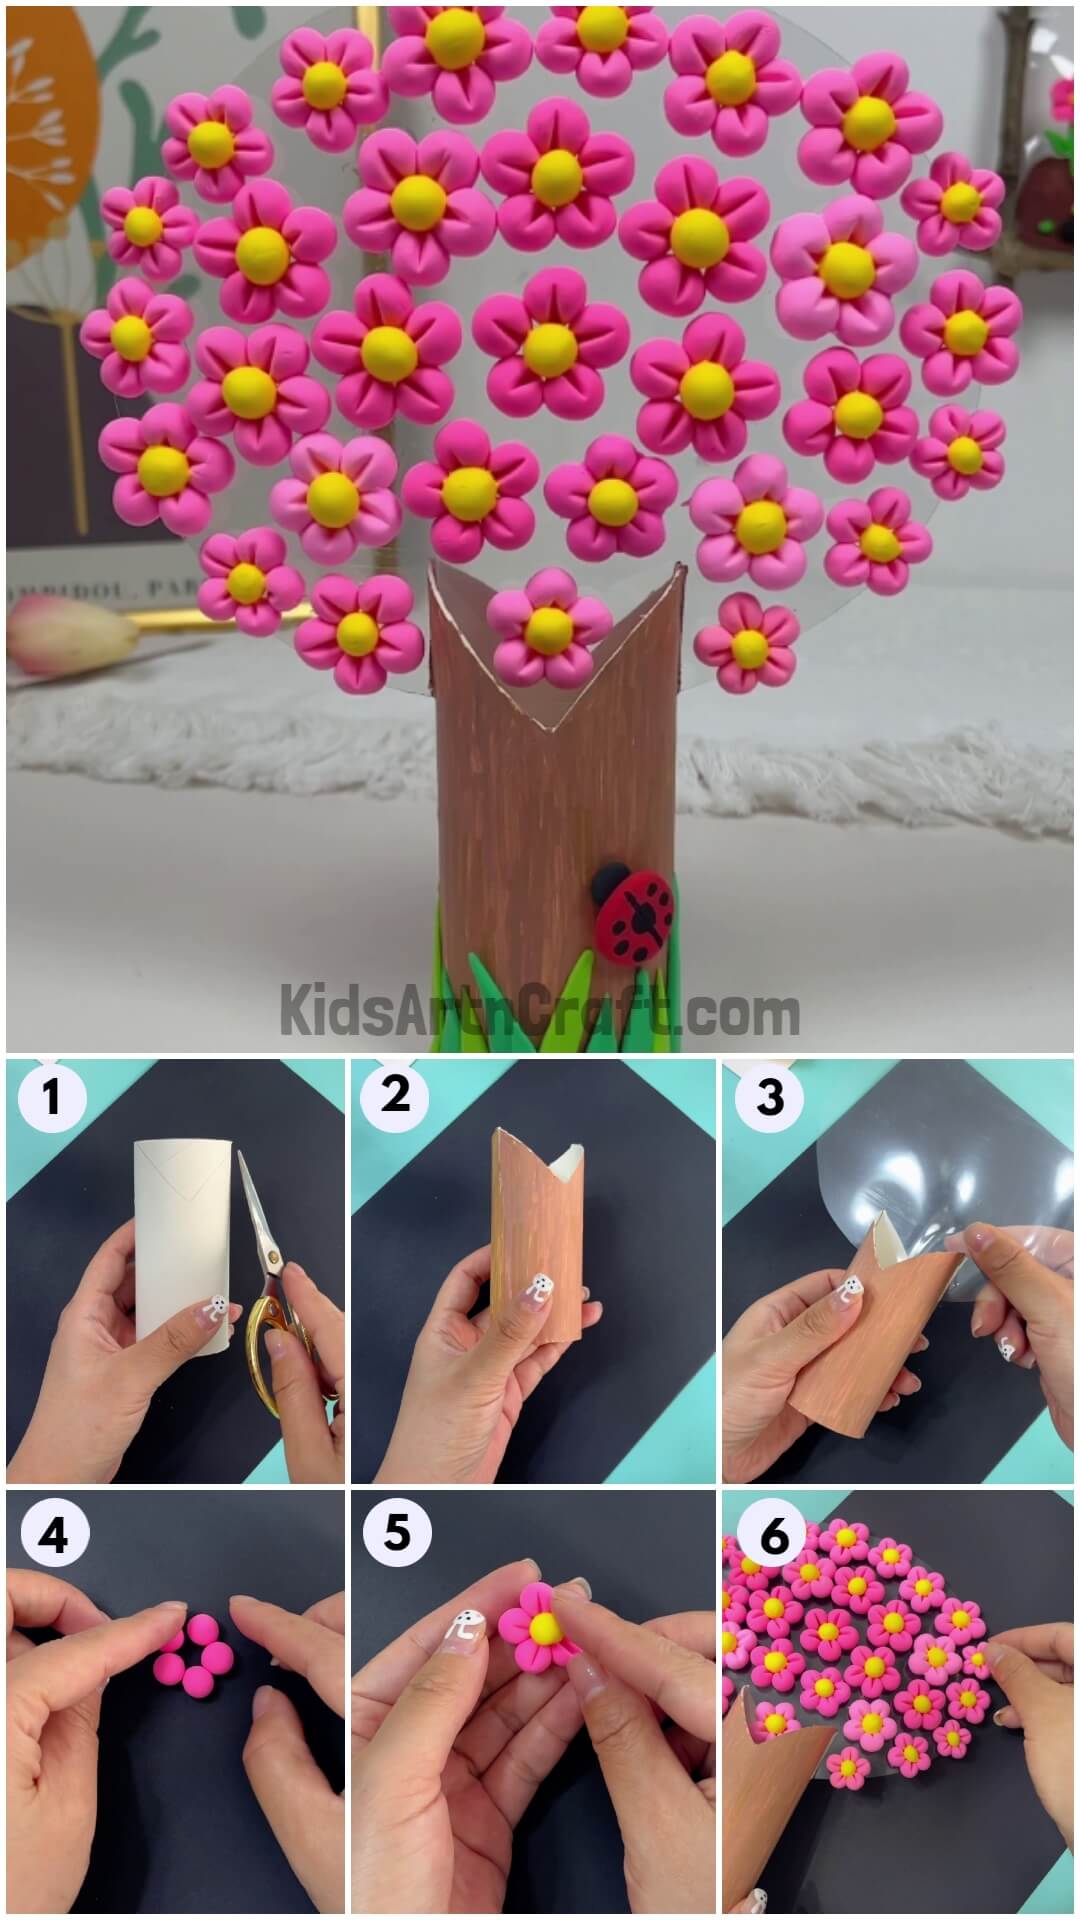
Make a cute cherry blossom tree from an empty toilet paper roll! This project is easy for kids of all ages and is a great way to have fun while being creative. Follow the steps to make it out of special clay.
Welcome to this step by step tutorial on how to make super-clay cheery blossom tree craft. This craft is very simple yet you will enjoy playing with clay to make flowers. This craft will require very simple craft skills. This can be made by beginners too. This will require very basic materials which will be available easily in any art and craft store. So without any further ado , lets get started and come let us make it together.
Super-clay Cheery Blossom Tree Craft

Read More: How to Make Clay Flowers Artwork for Beginners
Materials Required
- Transparent Sheet
- Paper toilet roll
- Pink Clay
- Yellow clay
- Brown sketch pen
- Dark green and light green clay
- Scissor
- Red clay
- Black clay
Procedure
Step 1: Take Transparent Sheet And Paper Toilet Roll


Start this craft by taking transparent sheet and paper toilet roll.
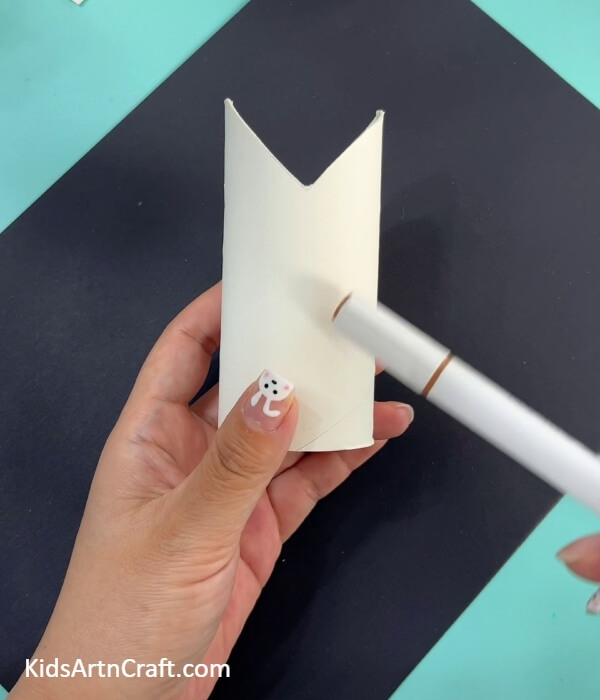
Step 2: Making Inverted Triangle In The Paper Toilet Roll
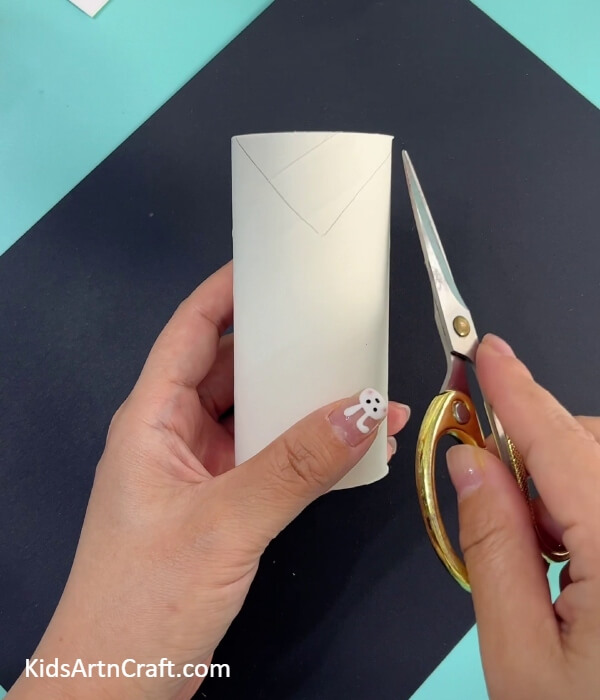
Now draw inverted triangle in the roll with pencil as shown in the photo above.
Step 3: Cutting The Inverted Triangle With Scissor
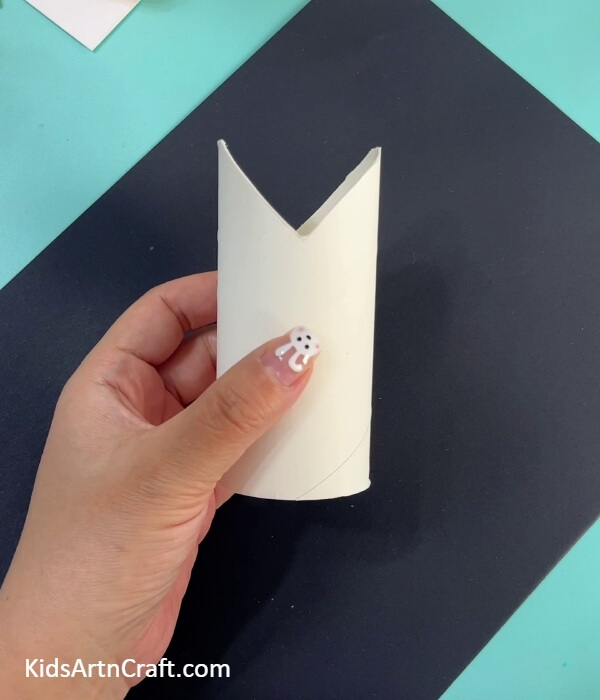
Now start cutting the inverted triangle along with the lines we have drawn in the previous step as shown in the photo above.
Step 4: Making Small Cut In The Triangle With Scissor
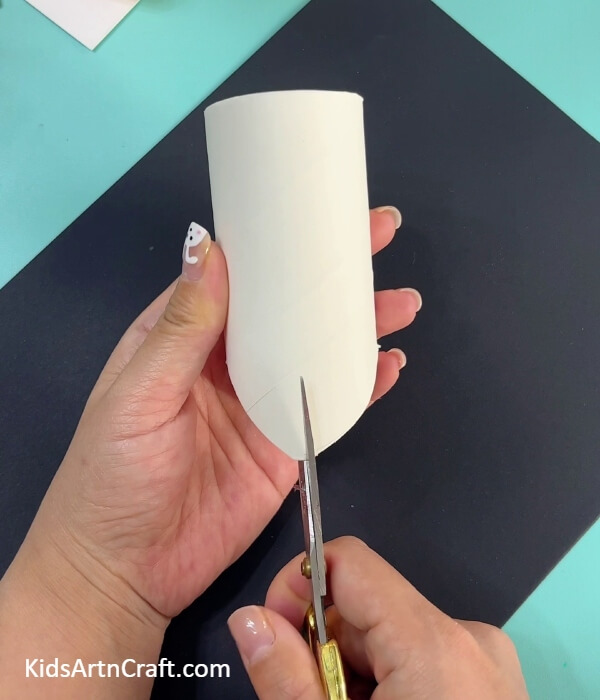
Now make take scissor and make small cut in the triangle from both the side as shown in the photo above.
Step 5: Filling The Paper Toilet Roll With Brown Colour
Now after making the small cut , start filling the paper toilet roll with the brown sketch pen to make it stem of the tree as shown in the photo above.
Step 6: After Filling With Brown Colour
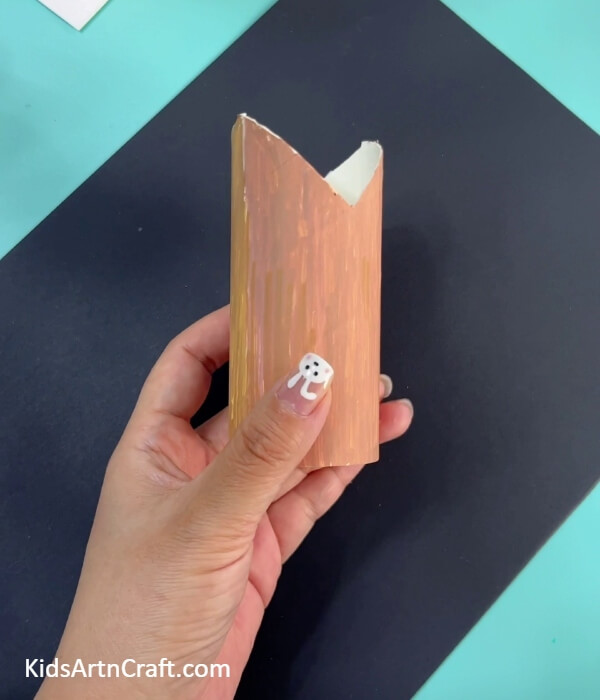
After filling the paper toilet roll with the brown sketch pen , our stem will look like this as shown in the photo above.
Step 7: Placing The Transparent Sheet Above The Stem
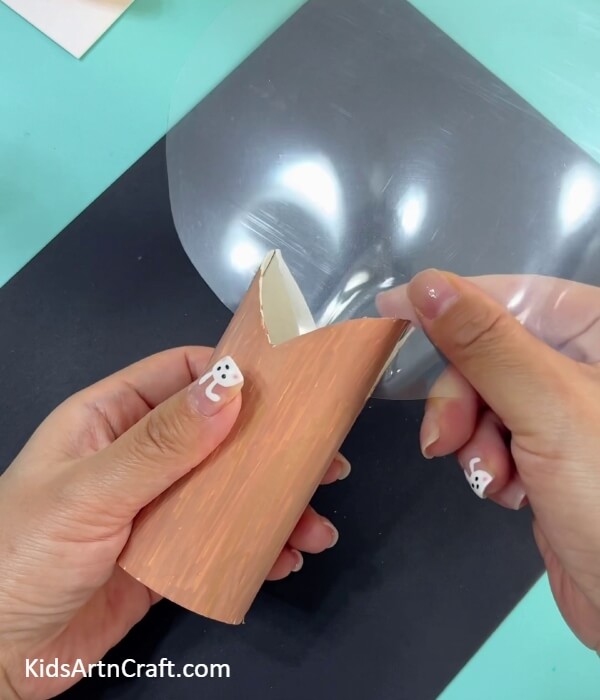
Now start placing the transparent sheet in the cuts we made in the stem . Place the sheet in the middle with the hands in the cuts as shown in the photo above.
Step 8: Take Pink Clay
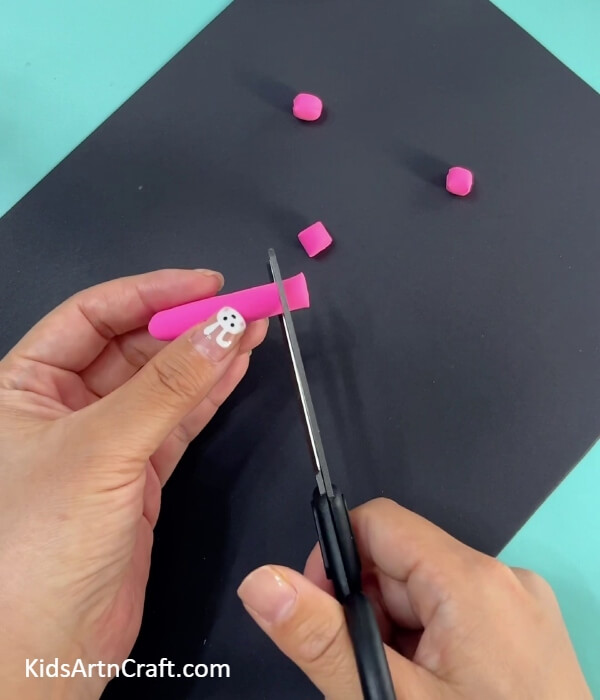
Now take pink modeling clay and start cutting it in small pieces with the scissor as shown in the photo above.
Step 9: Making Small Balls Of The Pink Clay
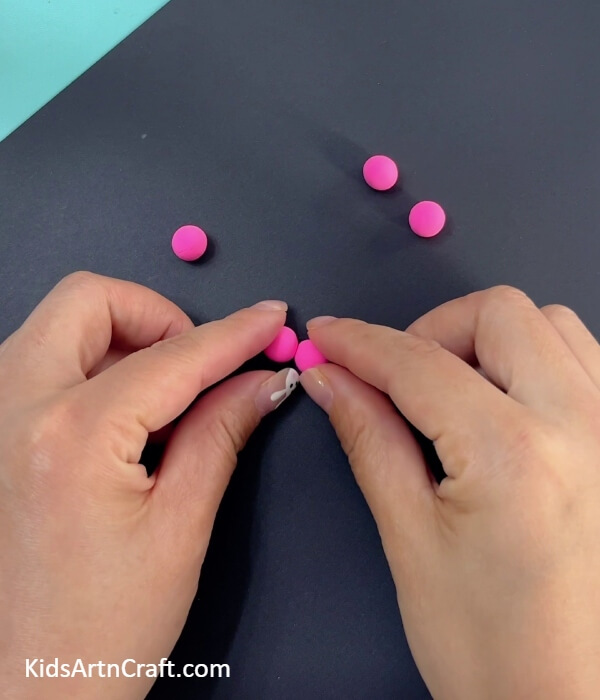
Now after cutting the small pieces of the modelling clay , now its time to shape them in small balls. For this take small pieces shape them in small circles with the palms as shown in the photo above.
Step 10: Making Flowers With The Small Clay Balls
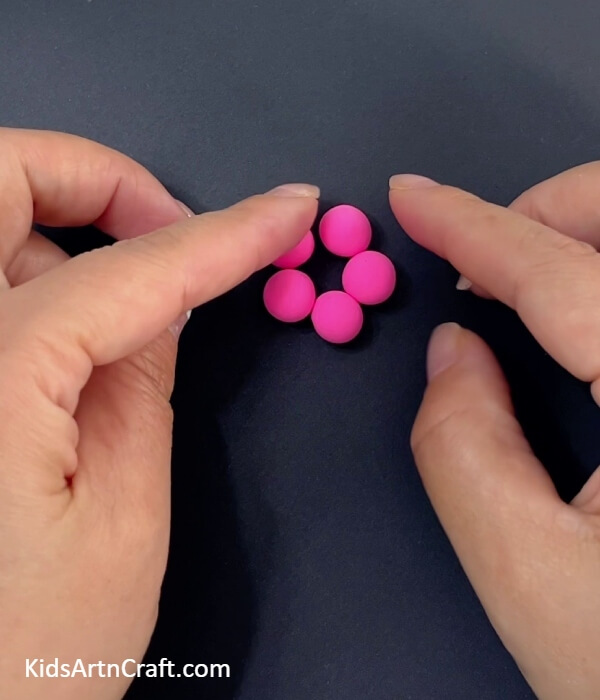
Now take them and arrange them in the shape of the flower as shown in the photo above.
Step 11: Making Lines In The Flower With Tip Of The Paint Brush
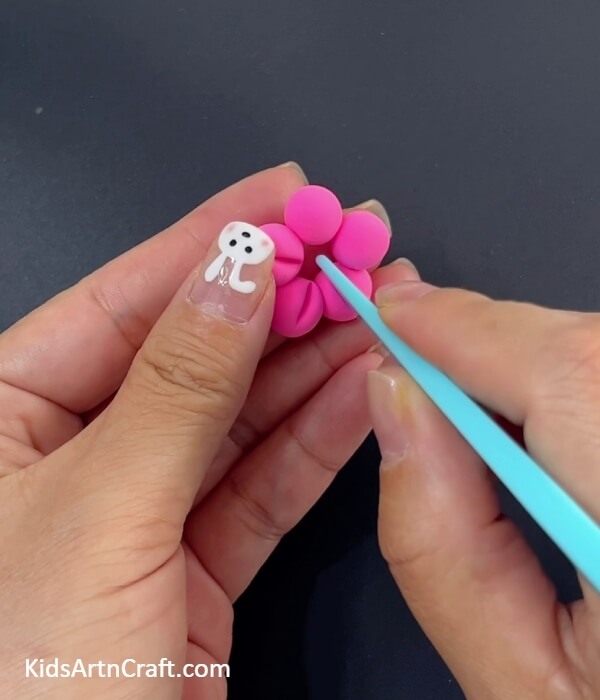
Now after making the flower , now start making lines in each of the balls by taking back side of the brush and make lines in each of the balls as shown in the photo above.
Step 12: Sticking Yellow Modeling Clay Ball In The Middle Of The Flower
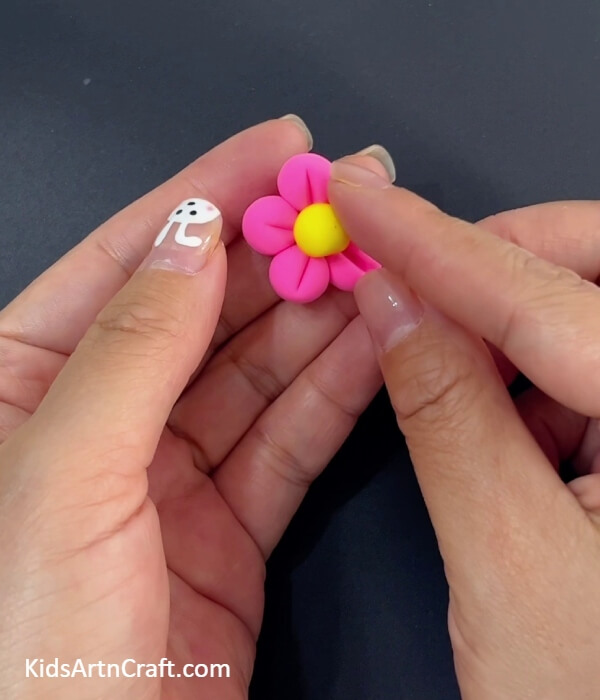
Now take yellow modeling clay . Then shape it in form of circle and stick it in the middle of the flower.
Step 13: Placing Flower In The Transparent Sheet
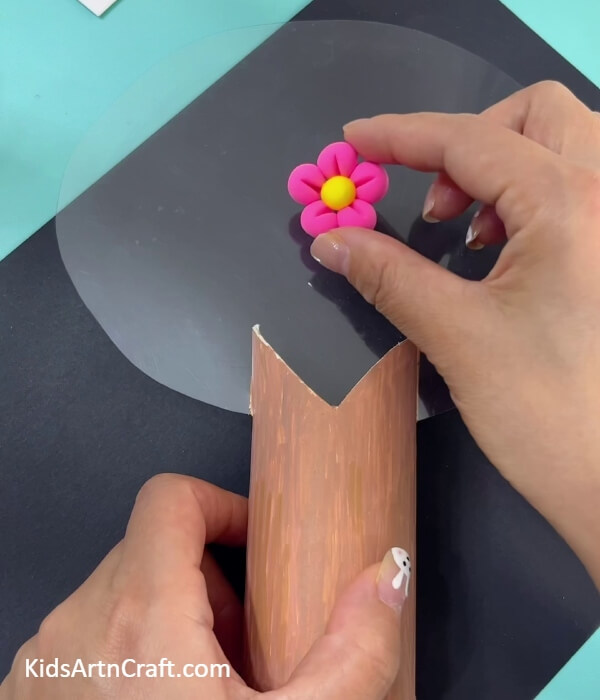
After making the flower , now its time to place them to make the tree. Now for this start placing the flower in the transparent sheet and sticking it in the transparent sheet as shown in the photo above.
Step 14: Placing More Flowers In The Transparent Sheet To Make Blossom Tree
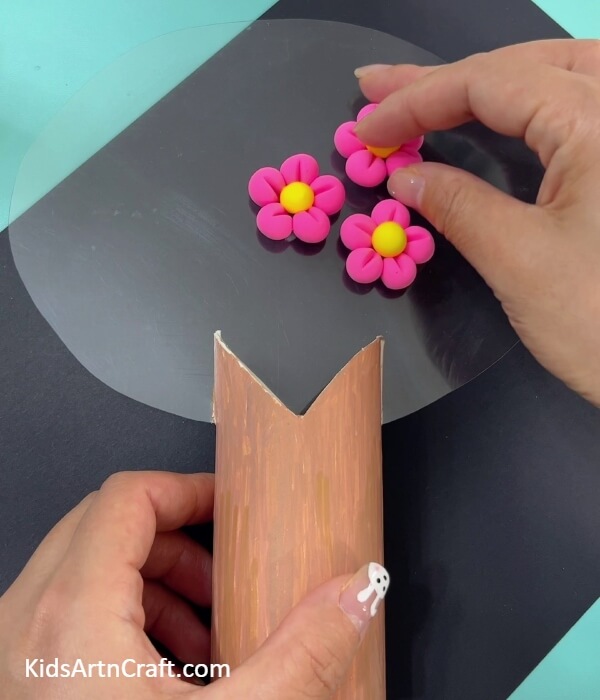
In the similar way make more flowers for the cherry blossom tree. And then start sticking them in the transparent sheet in random places as shown in the photo above.
Step 15: Sticking More Flowers To Make Cherry Blossom Tree
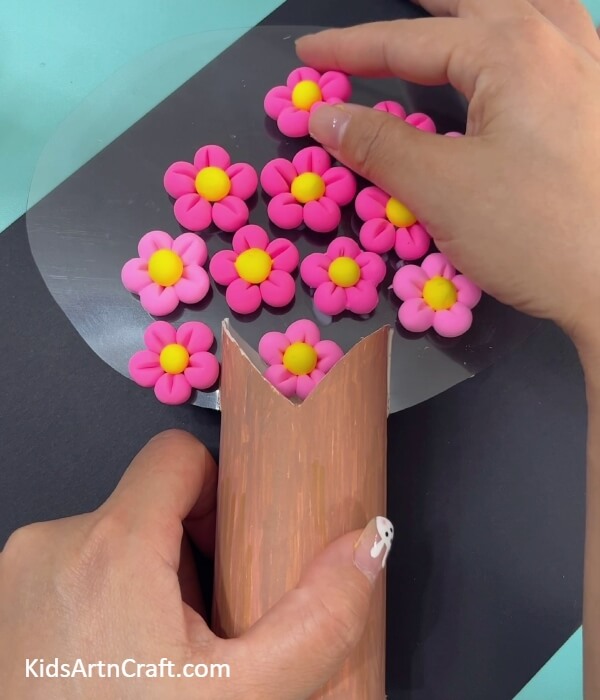
After making more flowers ,keep on sticking more flowers of different shapes big and small as shown in the photo above.
Step 16: Keep On Sticking More Flowers
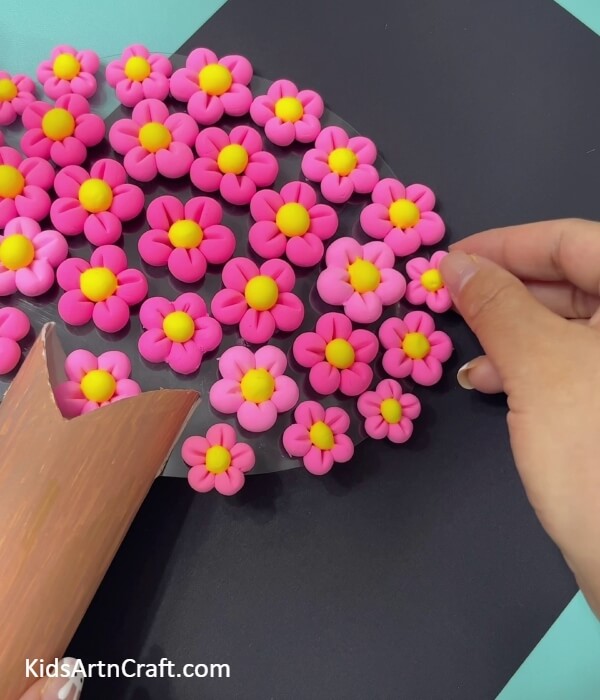
Now make more small flowers in the similar as way as made earlier . Now all the places remaining in the transparent sheet fill them with the smaller flowers and start sticking the flowers as shown in the photo above.
Step 17: Making Grass With Dark And Light Green Modeling Clay
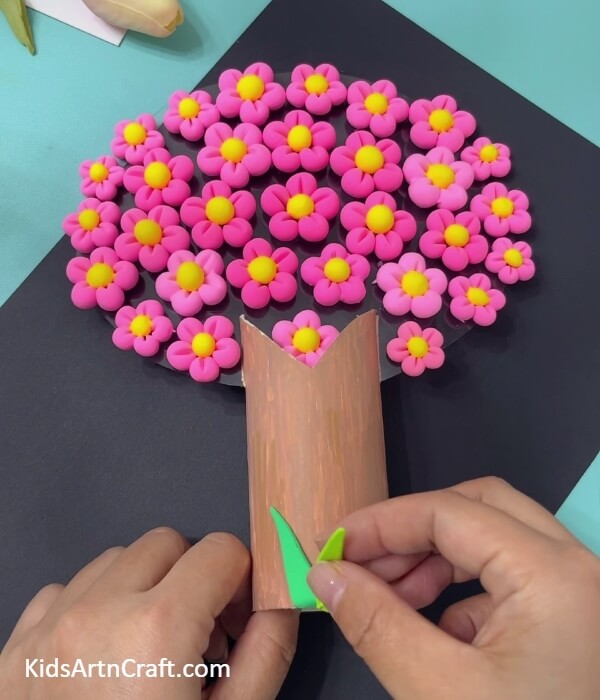
Now after completing the cherry blossom tree , now its time to make some grass in the ground. For these take dark green and light green modeling . Shape them in the form of small grass as shown in the photo above. Now stick them in the bottom of the stem as shown in the photo above.
Step 18: Making Insect With Red And Black Modelling Clay
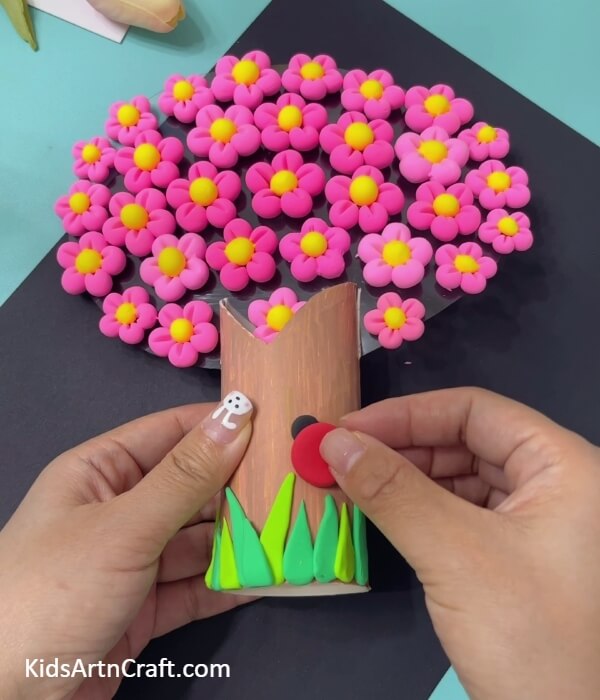
Now after making the grasses , start making the insect with red and black modeling clay. For this take red modeling clay make it in circle by flattening it . Then stick it above the grasses . Then make half circle with black modeling clay stick it above the red flattened clay as shown in the photo above.
Your Craft Is Ready!!
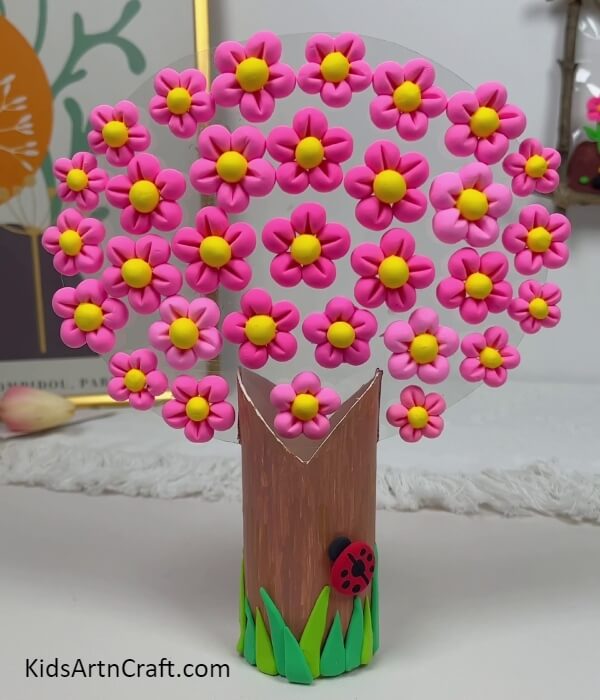
Tada! our beautiful cherry blossom tree is ready . This vibrant cherry blossom tree is very easy to make. Don’t forget to make changes as per your liking. Be more creative and make more insects you want. Also don’t forget to enjoy the process all along the way. Now its time for you to try them out and let us know in the comment section. This craft is very useful for all those who enjoy making DIYs and playing with modeling clay. Also let us know much you enjoy the process and how helpful you find the tutorial. We would love to read your comments.
Thank you for visiting our website!
Also make sure to visit other articles as well .
Follow us on Youtube for art and craft tutorials and much more.
More Articles from Kids Art & Craft
- How to Make Clay Flower Easy Tutorial for Kids
- Plant Garden Artwork Craft Using Clay And Peanut Shells
- DIY Miniature Clay Cake Craft Activities for Kids
- DIY Clay Giraffe Step by Step Tutorial For Kids
- How To Make Caterpillar Eating Apple Using Clay