DIY and Crafts
DIY Hair Scrunchies for Girls

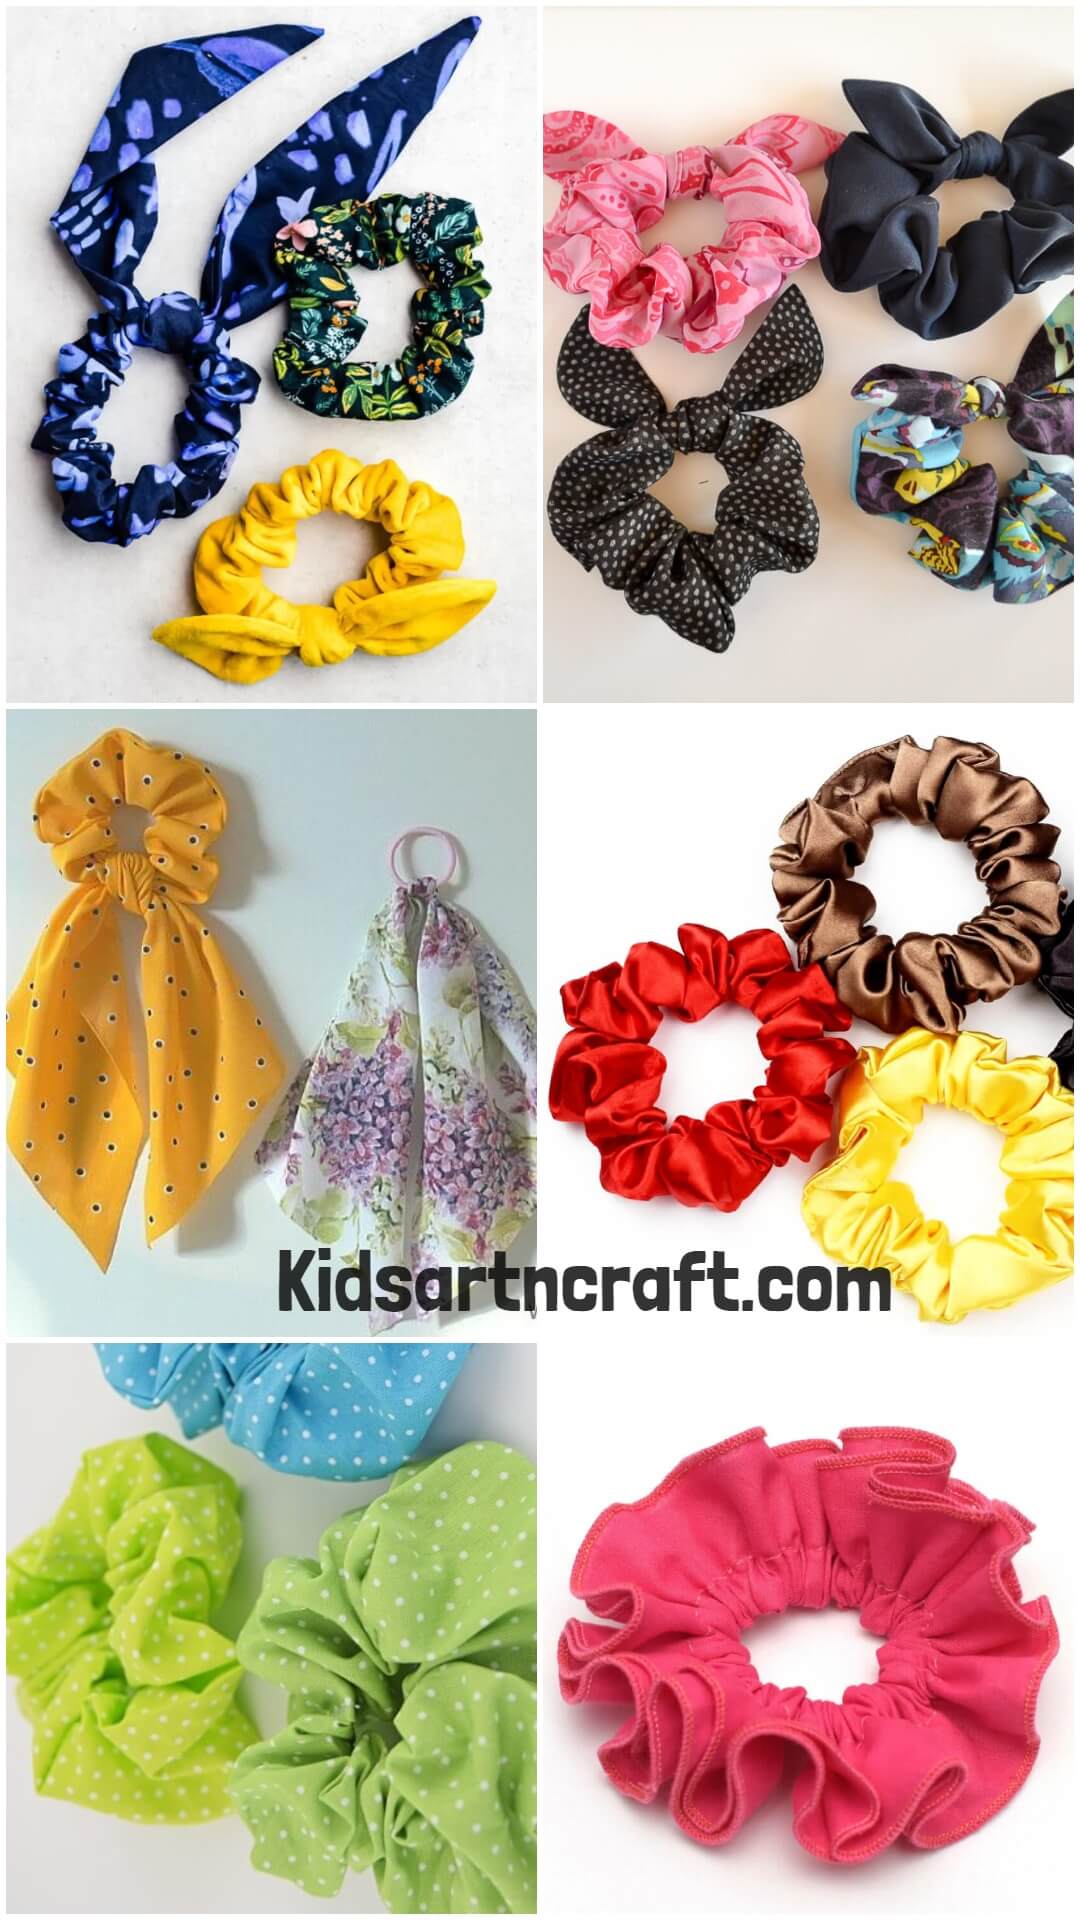
Make your own hair scrunchies and add a touch of color to your look! This DIY guide will show you how to make these cute accessories at home with minimal supplies. Perfect for girls of all ages, these scrunchies are a fun and easy way to give any hairstyle a unique twist.
Presenting our guide on how to make DIY Hair Scrunchies for Girls! With this article, you will learn how to make scrunchies that you can customize and make your own. We will go through the materials needed to make the scrunchies, the step-by-step instructions, and the different style options available. So, if you’re looking for a creative and fun way to accessorize your hair, this guide is for you! Get ready to make a few scrunchies to add a little flair to your look.
DIY Hair Scrunchies for Girls

Read More: DIY Polymer Clay Earring Ideas
Quick & Easy Hair Scrunchies DIY Craft Idea for Girls

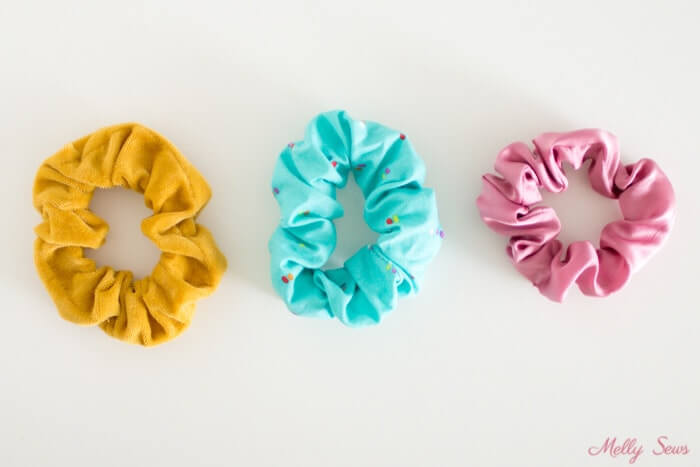
Image Source/Tutorial: Melly Sews
Materials Required:
- Safety Pin
- Fabric ( Yellow, Blue, and Pink)
- Thread
Procedure:
- We have to fold a piece of fabric in half,
- Then turn the tube halfway to the right side.
- Stitch around the short ends of the tube.
- Turn the right side to the seam gap, and lastly, we have to
- Insert an elastic using thread and close the stitch seam gap; colors should be chosen according to your choice.
This is a creative and fun craft activity, and everyone loves it.
Lovely Red Polka Dot & Ribbon Hair Scrunchies DIY Craft Idea for Girls
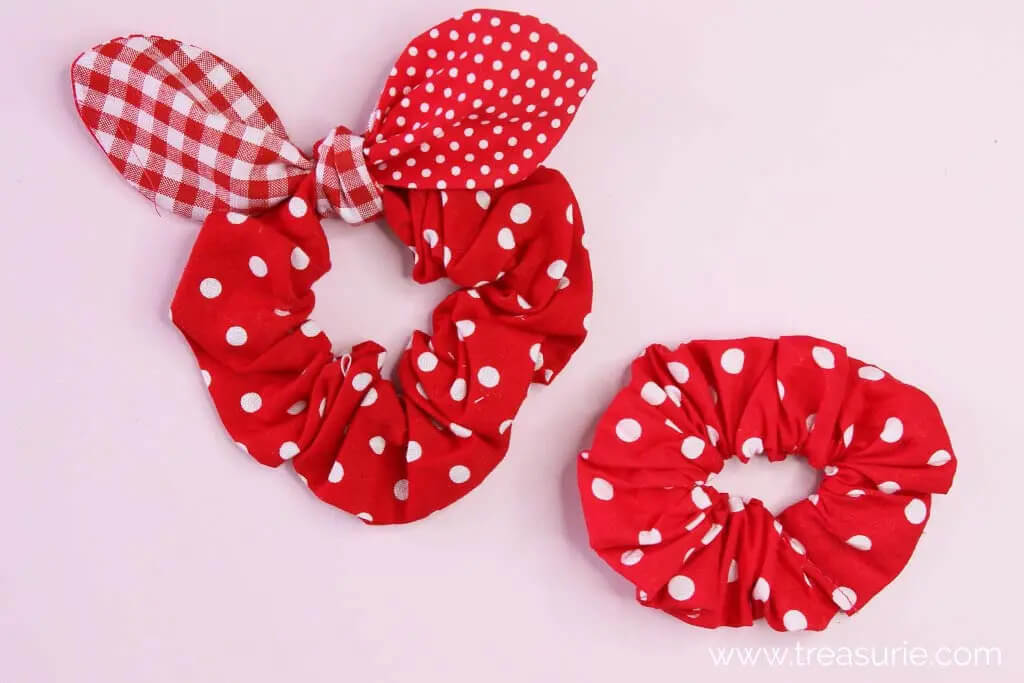
Image Source/Tutorial: Treasuries
Materials Required:
- Safety Pin
- Red Polka Dot Fabric
- Elastic
- Red or White Thread
- Scissors
- Red Ribbon ( Polka Dot and Check Piece)
Procedure:
- We have to cut the fabric into a rectangular shape according to your desired size.
- Fold along the fabric length with the right sides together
- Then turn the tube the right way out and press.
- Then, stitch or tie the ends of the elastic with a thread and a safety pin
- Insert fabric ends and stitch across
- Attach both types of ribbon to the fabric by using matching thread.
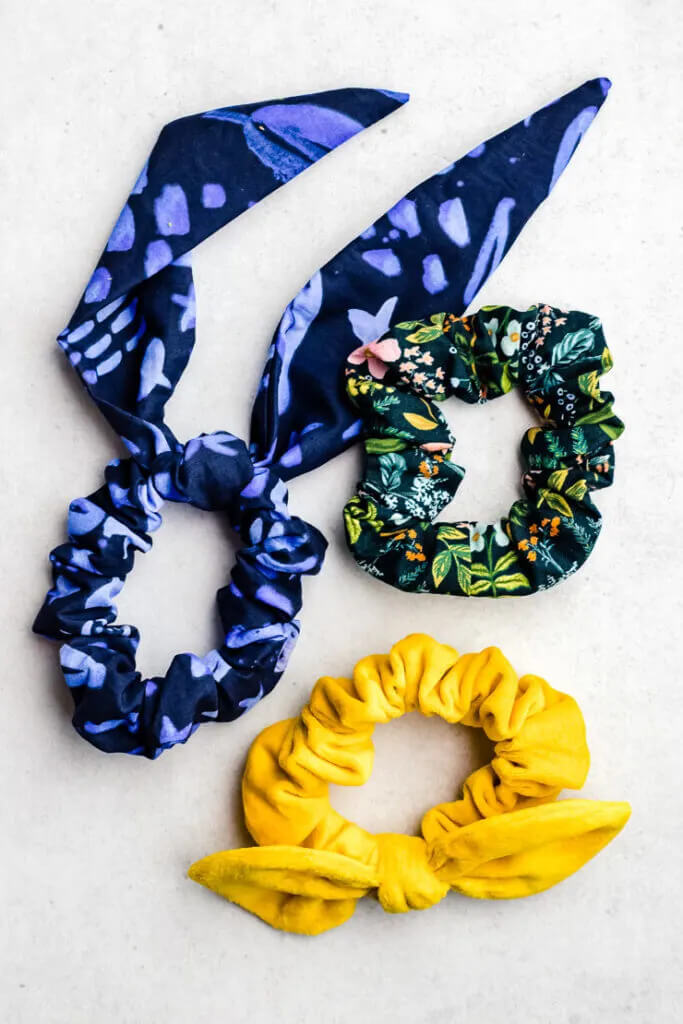
Amazing Hair Scrunchies DIY Craft Idea for Girls

Materials Required:
- Safety Pin
- Fabric (Yellow, Printed Flower in Blue Color)
- Matching Thread
- Needle
- Elastic
Procedure:
- Cut the fabric and elastic,
- Then fold and sew along a long edge.
- Then match the ends and turn the right side out.
- Insert the elastic and stitch the ends together using thread.
- Sew the remaining opening for a seamless finish with a needle’s help.
We can make these different types of scrunchies in only 20-25 minutes, and they look amazing. By using all these materials, you can make three popular styles: a scrunchie with a knot bow, a scrunchie with a classic bow, and a scrunchie with a tail. We use different colors, and we can quickly make this scrunchie in less time and enhance our creativity skills. So, kids between the ages of 5 and 7 can make it. Also, we can wear this accessory so we look attractive, and this handmade scrunchie can be a good gift idea for female friends, little girls, and kids who love it.
Simple & Easy Hair Scrunchies DIY Craft Idea for Girls
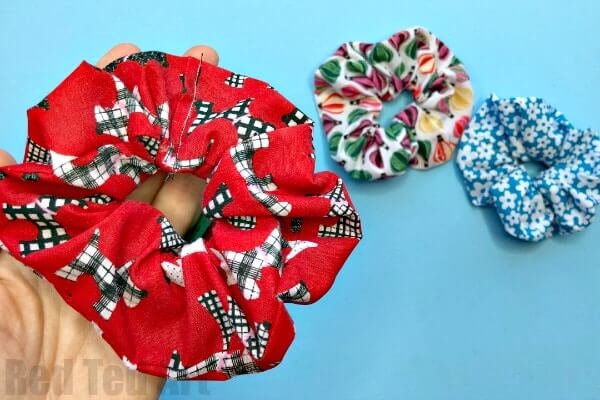
Image Source/Tutorial: Red Ted Art
Materials Required:
- Printed Colored Fabric
- Scissors
- Matching Thread
- Needle
- Elastic
- Safety Pin
Procedure:
- Cut a rectangle from the fabric
- Measure the elastic to the size of your wrist.
- Turn it over from both ends.
- Sew down and turn it to the right side out, and secure the end of the elastic with the safety pin.
- Attach the second safety pin to the right side
- Overlap and knot both ends of the elastic together with a thread.
It is quick and easy to make, and it is a fabulous way to use fabric from different patterns. Kids over the age of 10 can make these easy scrunchies, which make fabulous gifts for friends. Kids can also wear this accessory everywhere, and they look really cute, which shows their creativity.
Awesome Colorful Hair Scrunchies DIY Craft Idea for Girls

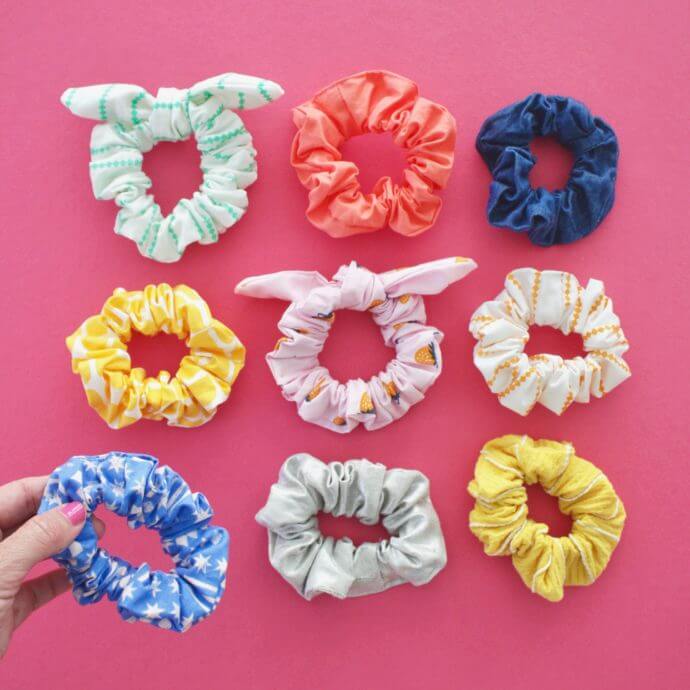
Image Source/Tutorial: Made Everyday
Materials Required:
- Fabric (Multiple Colors like Pink, Yellow, Blue, etc.)
- Safety Pins
- Elastic
- Thread
- Sewing Machine
Procedure:
- In this firstly, we have to cut a piece of fabric and elastic
- Then press the last two inches of each side, with the right sides of the fabric together, with a thread.
- Sew it into the long tube, then turn the right side out.
- Then, string the elastic through safety pins and sew both ends with a zigzag stitch
- Sew the opening closed using a straight stitch
It takes only 20-25 minutes to make these awesome, colorful scrunchies. They use different colors of fabric. There are two types: a classic scrunchie and a scrunchie with a bow. Both of them look great because they are handmade and attractive.
Read More: Cute Costume DIY Ideas for Kids
Cool Black & White Hair Scrunchies DIY Craft Idea for Girls

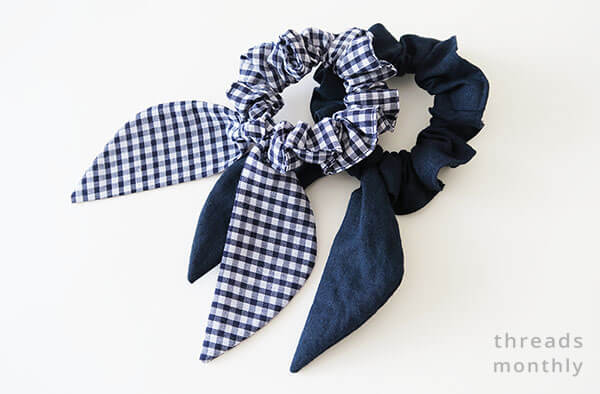
Image Source/Tutorial: Thread Smonthly
Materials Required:
- Rubber Band
- Scissors
- Needle
- Cotton Fabric ( Black and White Check)
- Rubber Band
- Matching Thread
Procedure:
- We have to cut a rectangle from the fabric.
- Fold both the top & bottom edges, then
- Sew the short ends together to create a tube.
- Place a hair tie over the fabric with a needle.
- Pin the folded edges together.
- Then sew the open edges closed with the help of thread.
It is the quickest and easiest way to make it, using only rubber bands, according to the color of your outfit. But white and black scrunchies look elegant on everyone, and we can wear this on any color outfit. These small scrunchies we can gift to our friends or family who love to wear all these kinds of things. This is a creative and fun activity made by kids who are above the age of 10 years old, and this whole process takes only 20 minutes.
Fun & Easy Hair Scrunchies DIY Craft Idea for Girls

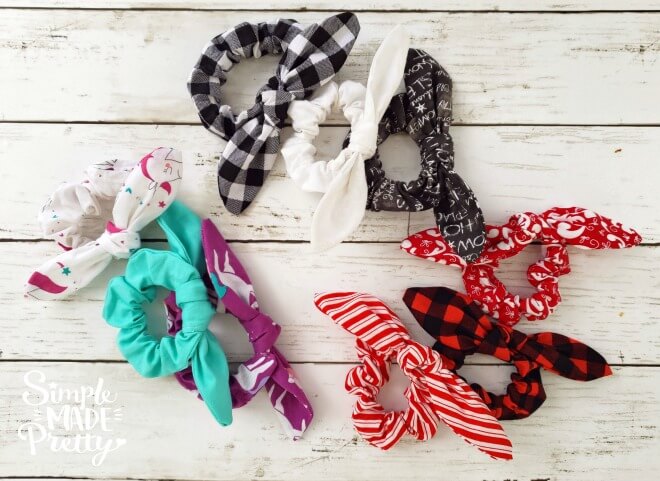
Materials Required:
- Fabric ( Multiple colors like White, Green, Printed Red, etc.)
- Safety Pin
- Threads
- Sewing Machine
- Scissors
Procedure:
- In this, we have to cut a rectangle from the fabric
- Fold both edges, top and bottom.
- Sew the short ends together to create a tube with a safety pin.
- Place a hair tie over the fabric and pin the folded edges together
- Then sew the open edges closed with the thread.
It takes only 20 minutes, and by doing this handmade craft, kids have fun and learn new skills to increase their creativity. These scrunchies make women more stylish and adorable, and they can also be worn on the wrist to give a classic look.
No-Sew Cute Hair Scrunchies DIY Craft Idea for Girls
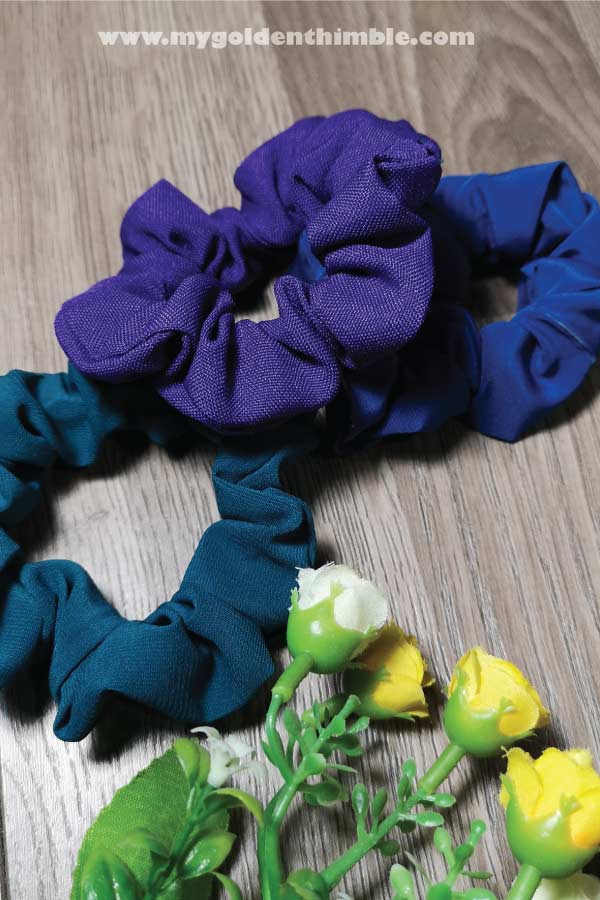
Image Source/Tutorial: My Golden Thimble
Materials Required:
- Thread
- Needle
- Fabric (Purple, Blue, and Green)
Procedure:
- First, we have to cut the fabric into a rectangular shape.
- Fold the strip in the middle with the right side inside
- Place the hair tie between the strips, and sew it.
- Turn the tube inside out.
- Fold the ends of the tube and put one end inside the other
- Close by hand or machine with an invisible seam.
Create adorable no-sew hair scrunchies effortlessly! Perfect DIY craft idea for girls, using simple materials for stylish, trendy hair accessories.
Fabulous Bow Hair Scrunchies DIY Craft Idea for Girls

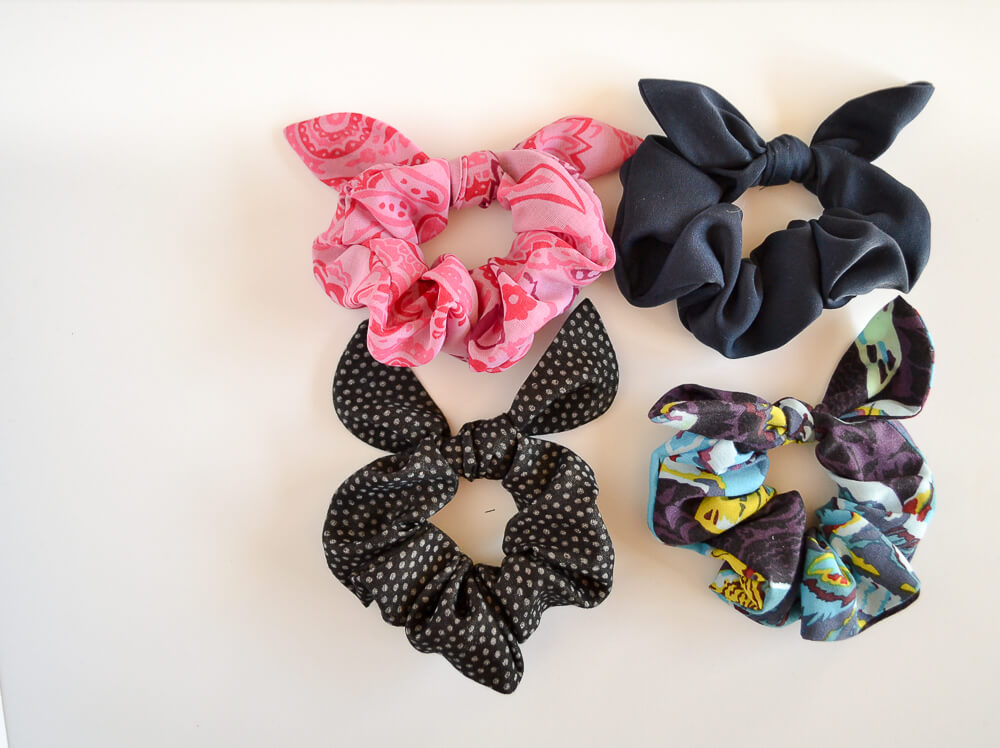
Image Source/Tutorial: Sew Can She
Materials Required:
- Fabric (Black, Pink, Dotted Black, Multi-color)
- Scissors
- Needle
- Machine
- Fabric Glue
- Elastic
- Tube Turning Tool
Procedure:
- First, fold the one short end of the strip toward the wrong side of the fabric.
- Then fold the strip in half lengthwise with the right sides together
- Turn the fabric tube right side out using a tube turning tool.
- We use the stick to push out the corners of the end of the tube and trim off the little seam so the tube is open again.
- Using a safety pin, thread the elastic through the tube.
- Sew the elastics together and sew 5-6 times to make sure the elastic is secure. Then
- Remove the pins and tuck the elastic seam into the tube at the last
- Stitch along the folded edge to sew the opening closed, backstitching at the beginning and end.
The above materials and the fabric can be of different types, like velvet, silk, cotton, rayon, etc. This is a fun and easy craft for girls who are 5 years old, and they all love it. This is a stretchable scrunchie that everyone can use with their hair. Can be made by kids aged 7 years old with the help of adults, and this whole craft takes 30 minutes. This is very creative and enjoyable work, and teaches new types of scrunchies, also. This bow-shaped scrunchie gives a cute look to every girl child.
Lovely Hair Scrunchies DIY Craft Idea for Girls
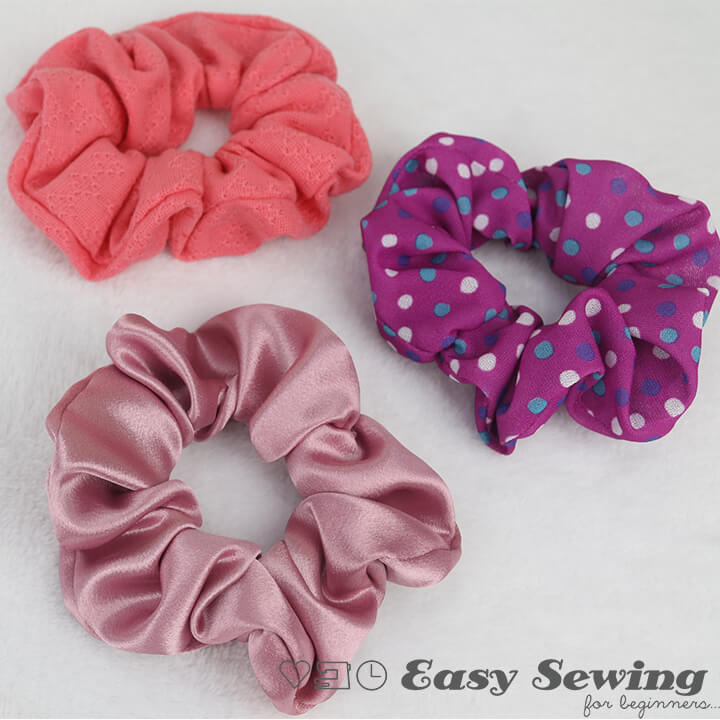
Image Source/Tutorial: Easy Sewing For Beginners
Materials Required:
- Fabric (Pink Silk, Printed Dot, and Red Cotton)
- Safety Pins
- Machine
- Hand Sewing Needle
- Thread
- Elastic
- Scissors or Ruler
Procedure:
- First, prepare your rectangular scrunchie fabric.
- Sew the long edges
- Turn the right side out using the safety pin.
- Thread the elastic through the tube.e
- Secure the elastic ends together with a needle
- Close up the opening.
By making these, kids show their creativity and interest in making crafts. They can also use that scrunchy in their daily life; it gives an amazing look and enhances their style, whatever they wear. Kids who are around 5-7 years old can easily make this, and it takes only 20 minutes.
Read More: Air Dry Clay Projects For Kids
Easy Scarf Hair Scrunchies DIY Craft Idea for Girls

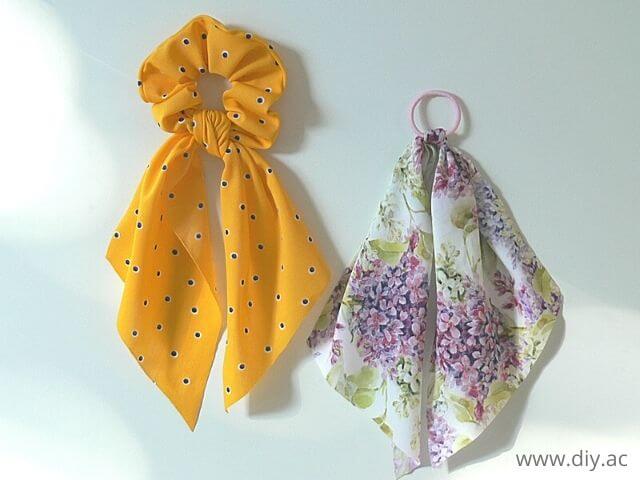
Image Source/Tutorial: DIY
Materials Required:
- Fabric (Yellow With Black Dotted and Printed Flower)
- Safety Pin
- Thread
Procedure:
- Cut the fabric and elastic
- Then tie a knot and fold to form a long edge.
- Turn the right side out with the safety pin.
- Insert the elastic, stitch the ends together with thread, and sew the remaining opening.
They can adjust it according to themselves, and it is easy to make for kids who are above the age of 5 years, and it takes 15 minutes. These types of cute crafts should be liked by small kids while wearing them, and they also suit them. We can also gift this scrunchie to our friends or family members.
Beautiful Satin Hair Scrunchies DIY Craft Idea for Girls

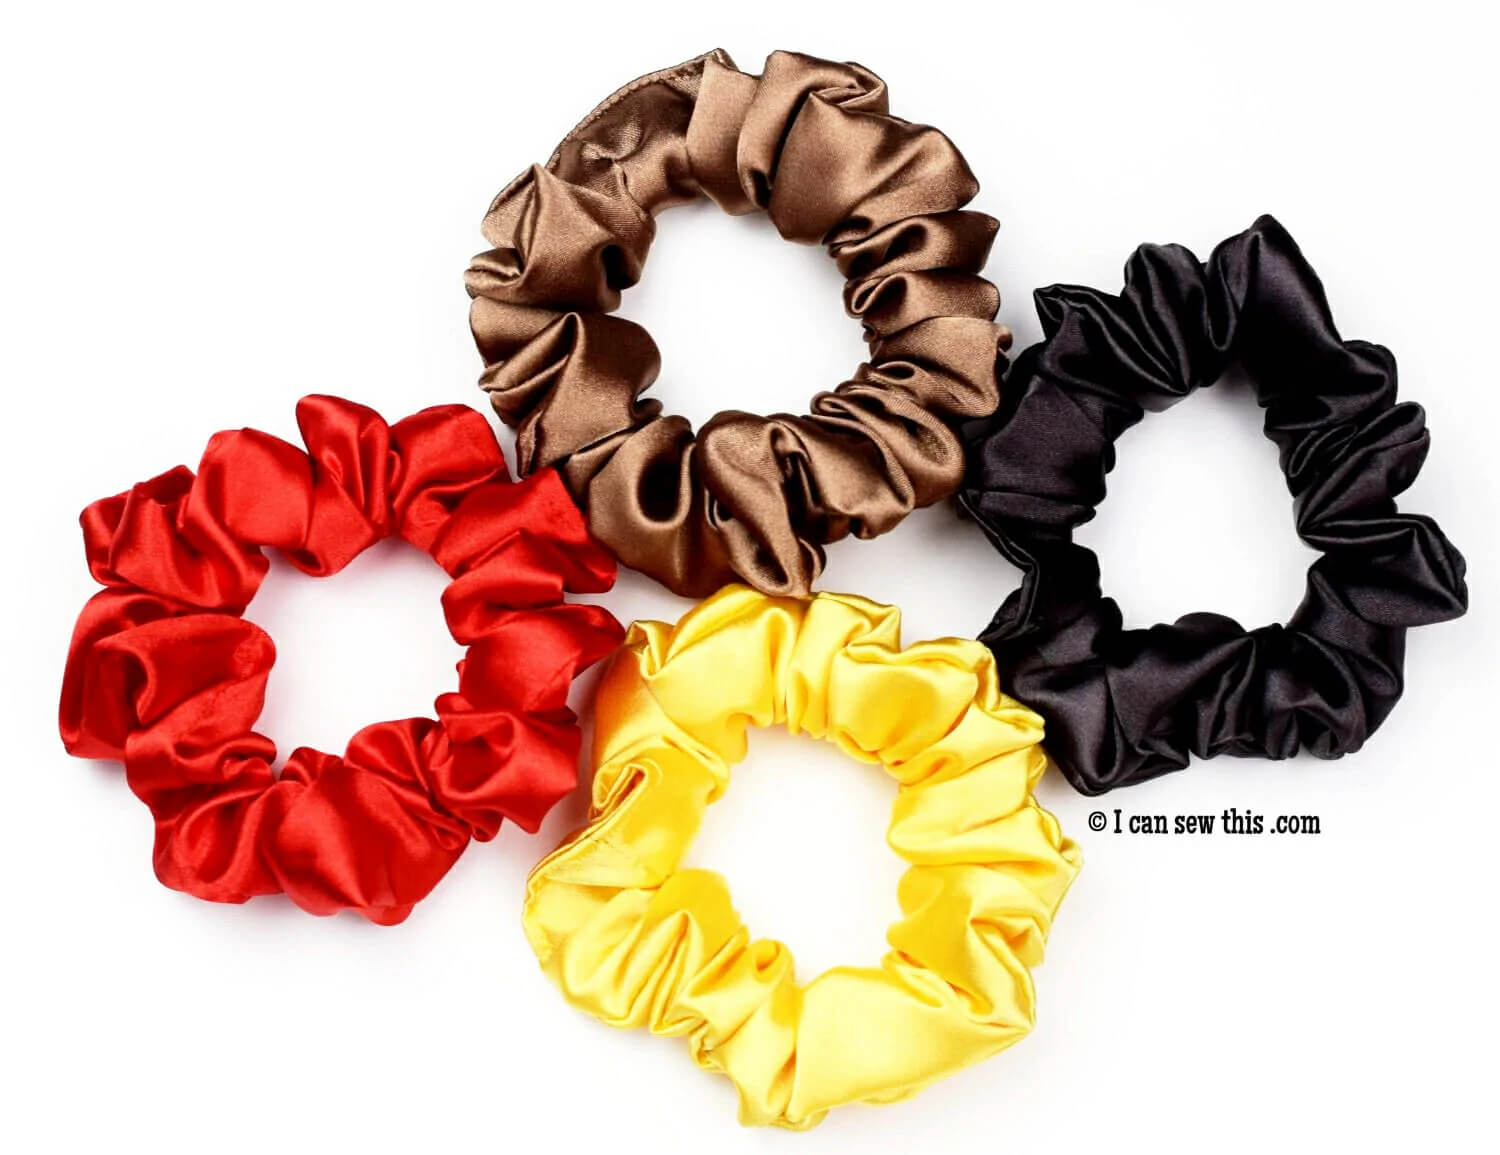
Image Source/Tutorial: I Can Sew This
Materials Required:
- Satin Fabric (Red, Yellow, Black, and Brown)
- Safety Pin
- Sewing Machine
- Matching Thread
- Needle
- Elastic
- Scissors
Procedure:
- First, we have to cut the long strip of fabric.
- Sew the long edge so that you create a tube and leave a gap near both ends.
- Turn the tube right side out using a safety pin.
- Use the safety pin to feed the elastic through the tube. We can also use a zigzag stitch with thread.
- Fold the unfinished edges and stitch the opening to close up your tube using the machine.
Discover how to make beautiful satin hair scrunchies! This easy DIY craft idea for girls adds elegance and style to any hairstyle.
Cute Ruffled Pink Hair Scrunchies DIY Craft Idea for Girls

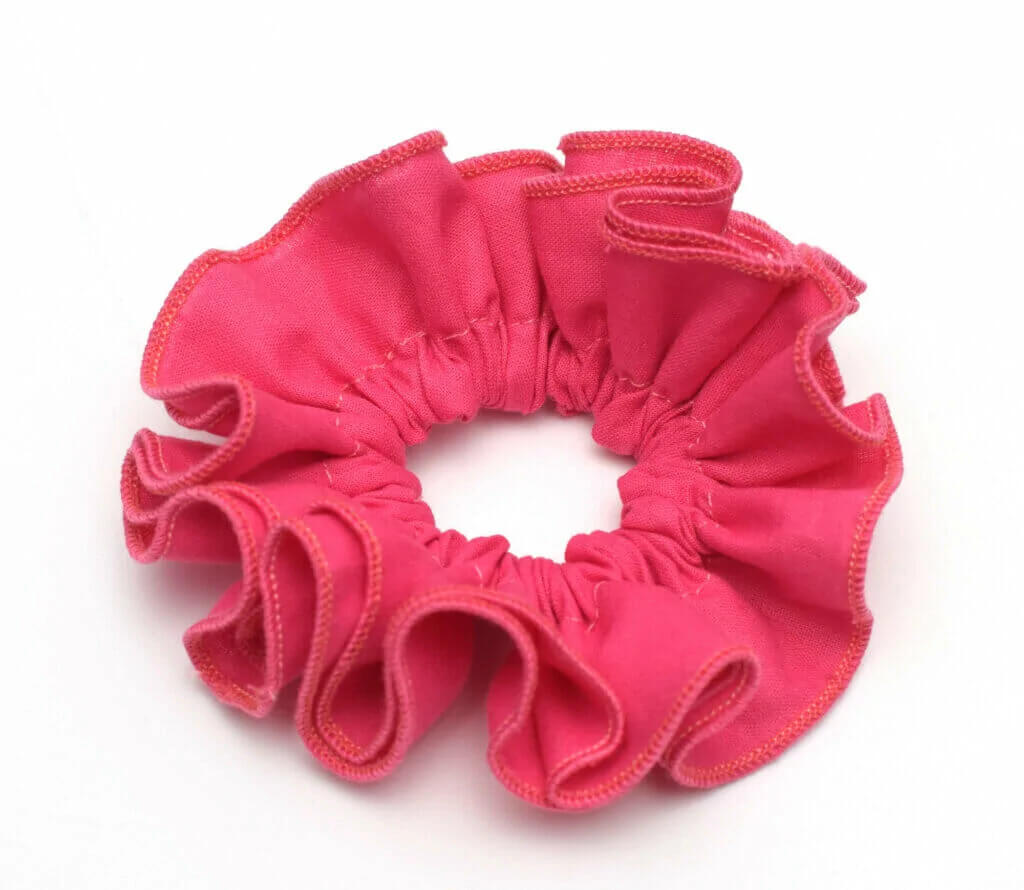
Image Source/Tutorial: I Can Sew This
Materials Required:
- Pink Fabric
- Matching Thread
- Safety Pin
- Elastic
- Scissors
- Sewing Machine
Procedure:
- Cut the fabric into rectangles, then fold each piece in half and repeat it 2 times.
- Use a serger to make a narrow hem on the outer edge of both circles
- Run a basting stitch on the inner edge of the circles.
- Pull the thread to gather the fabric pieces until both inner circles are gathered.
- Place two circles on top of each other, the right side of the former to the wrong side of the latter.
- Fold the circles with the seam on the edge of the right sides of the fabrics together by machine.
- Attach safety pins to both ends of the elastic to make sure you don’tlose theme.
Craft cute ruffled pink hair scrunchies with this fun DIY idea! Perfect for girls who love stylish, playful hair accessories for any occasion.
Chic & Easy White Satin Hair Scrunchies DIY Craft Idea for Girls

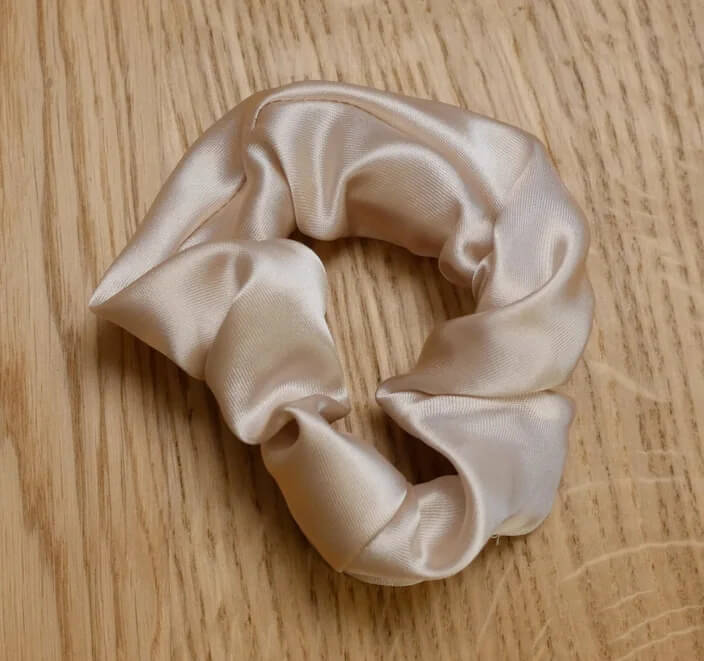
Image Source/Tutorial: Instructables
Materials Required:
- Satin Grey Fabric
- Matching Thread
- Needle
- Safety Pin
- Scissors
- Machine
Procedure:
- To make this first, we have to iron and cut the fabric.
- Pin and sew a long seam.
- Fold the tube in half.
- Pin & sew a short seam by machine.
- Thread the elastic through the safety pin
- Close the elastic together
- Close the final seam by threading
- Ready to wear.
This whole process takes 25 minutes. It is a simple and cute scrunchie, and it looks perfect when the kids are wearing it, making them more stylish in today’s world. In this fun craft, they enjoy themselves. For this white satin hair scrunchie, we have to use all these materials, and it is easy to make for kids who are above the age of 7 years with the help of elders.
Polka Dot Pastel Color Hair Scrunchies DIY Craft Idea for Girls
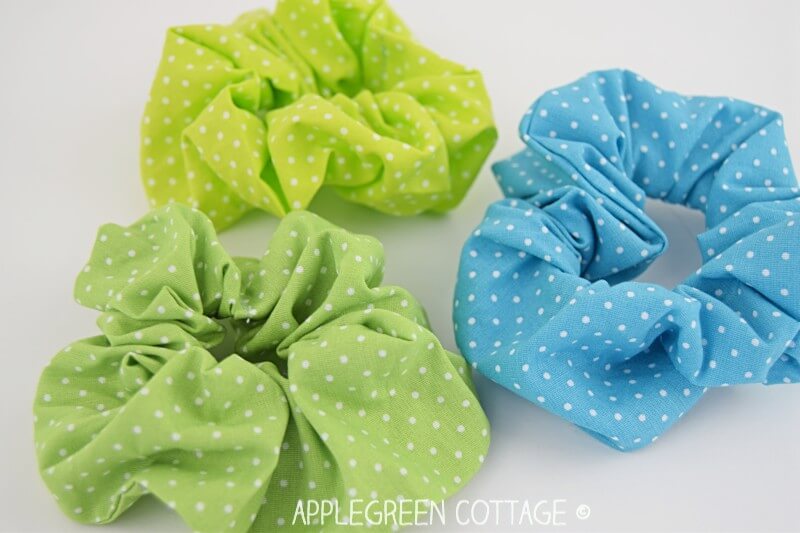
Image Source/Tutorial: Apple Green Cottage
Materials Required:
- Polka Dot Fabric (Green and Blue Color)
- Safety Pin
- Matching Thread
- Needle
- Sewing Machine
- Elastic
Procedure:
- First, we have to cut it according to the directions
- Finish the short edge using thread.
- Sew a tube with the help of a needle
- Turn it right side out.
- Add elastic by using a safety pin and close it; now it’s ready to wear.
Whip up charming polka dot pastel hair scrunchies with this delightful DIY craft! Ideal for girls wanting trendy, colorful hair accessories.
DIY Hair Scrunchies for Girls | Easy Cute Hair Accessories Tutorial
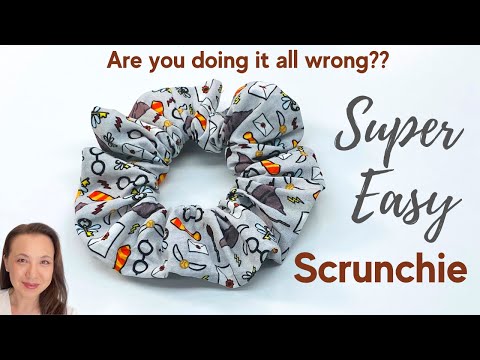
Learn how to make cute DIY hair scrunchies for girls with this easy handmade craft tutorial. Create stylish hair accessories using simple fabric and sewing ideas at home. Perfect for kids’ fashion, beginner sewing projects, school craft activities, gift ideas, and creative DIY accessories for girls who love colorful and trendy hairstyles.
Design Stylish DIY Hair Scrunchies for Girls
DIY hair scrunchies are a simple and creative sewing project that lets girls make colorful hair accessories using fabric scraps and basic craft supplies. These handmade scrunchies are perfect for everyday hairstyles, gifts, party favors, and beginner sewing practice while encouraging creativity and reducing fabric waste.
Materials You’ll Need
Most scrunchies can be made with a few basic sewing supplies available at home.
- Fabric scraps
- Elastic
- Needle and thread
- Sewing machine (optional)
- Scissors
- Safety pin
- Measuring tape
- Fabric clips or pins
Creative Ways to Personalize Scrunchies
- Mix bright and pastel fabrics.
- Add bows or ribbon tails.
- Use seasonal prints for holidays.
- Sew matching scrunchies for friends.
- Create sets with different colors.
- Decorate gift packaging with handmade tags.
Fun Ways to Use Handmade Scrunchies
- Birthday return gifts
- School craft fairs
- Friendship gifts
- Matching family accessories
- Holiday gift baskets
- Hair accessory collections
FAQs
Q1. What fabric works best for DIY hair scrunchies?
Answer: Cotton, satin, velvet, fleece, and lightweight printed fabrics are excellent choices for making comfortable scrunchies.
Q2. Are scrunchies easy for beginners to make?
Answer: Yes. Simple scrunchies are beginner-friendly sewing projects and can be completed with basic tools and adult guidance.
Q3. Can fabric scraps be used for scrunchies?
Answer: Absolutely. Small leftover fabric pieces are perfect for making colorful and eco-friendly scrunchies.
Q4. Why are DIY scrunchies a good craft activity?
Answer: They help children practice sewing, improve creativity, reduce fabric waste, and create useful handmade accessories.
DIY hair scrunchies are enjoyable beginner sewing projects that combine creativity with practical skills. These colorful handmade accessories make wonderful gifts, stylish hair essentials, and fun craft activities for girls of all ages. Make creativity a part of everyday life with simple crafts, inspiring ideas, and fun learning activities. Join us on YouTube, Telegram, & Facebook.
Reviewed By Yash Beniwal
More Articles from Kids’ Art & Craft
- Potato Stamping Art Ideas for Kids
- Super-Easy Bookmarks Crafts That Kids Can Make Themselves
- Simple & Tasty Ice-Cream Craft Using Clay – Step-by-Step Tutorial
- Nylon Rope Craft Ideas
- Fabric Animal Craft Ideas