Kids Activities
How To Make A Paper Tiger Easy Craft

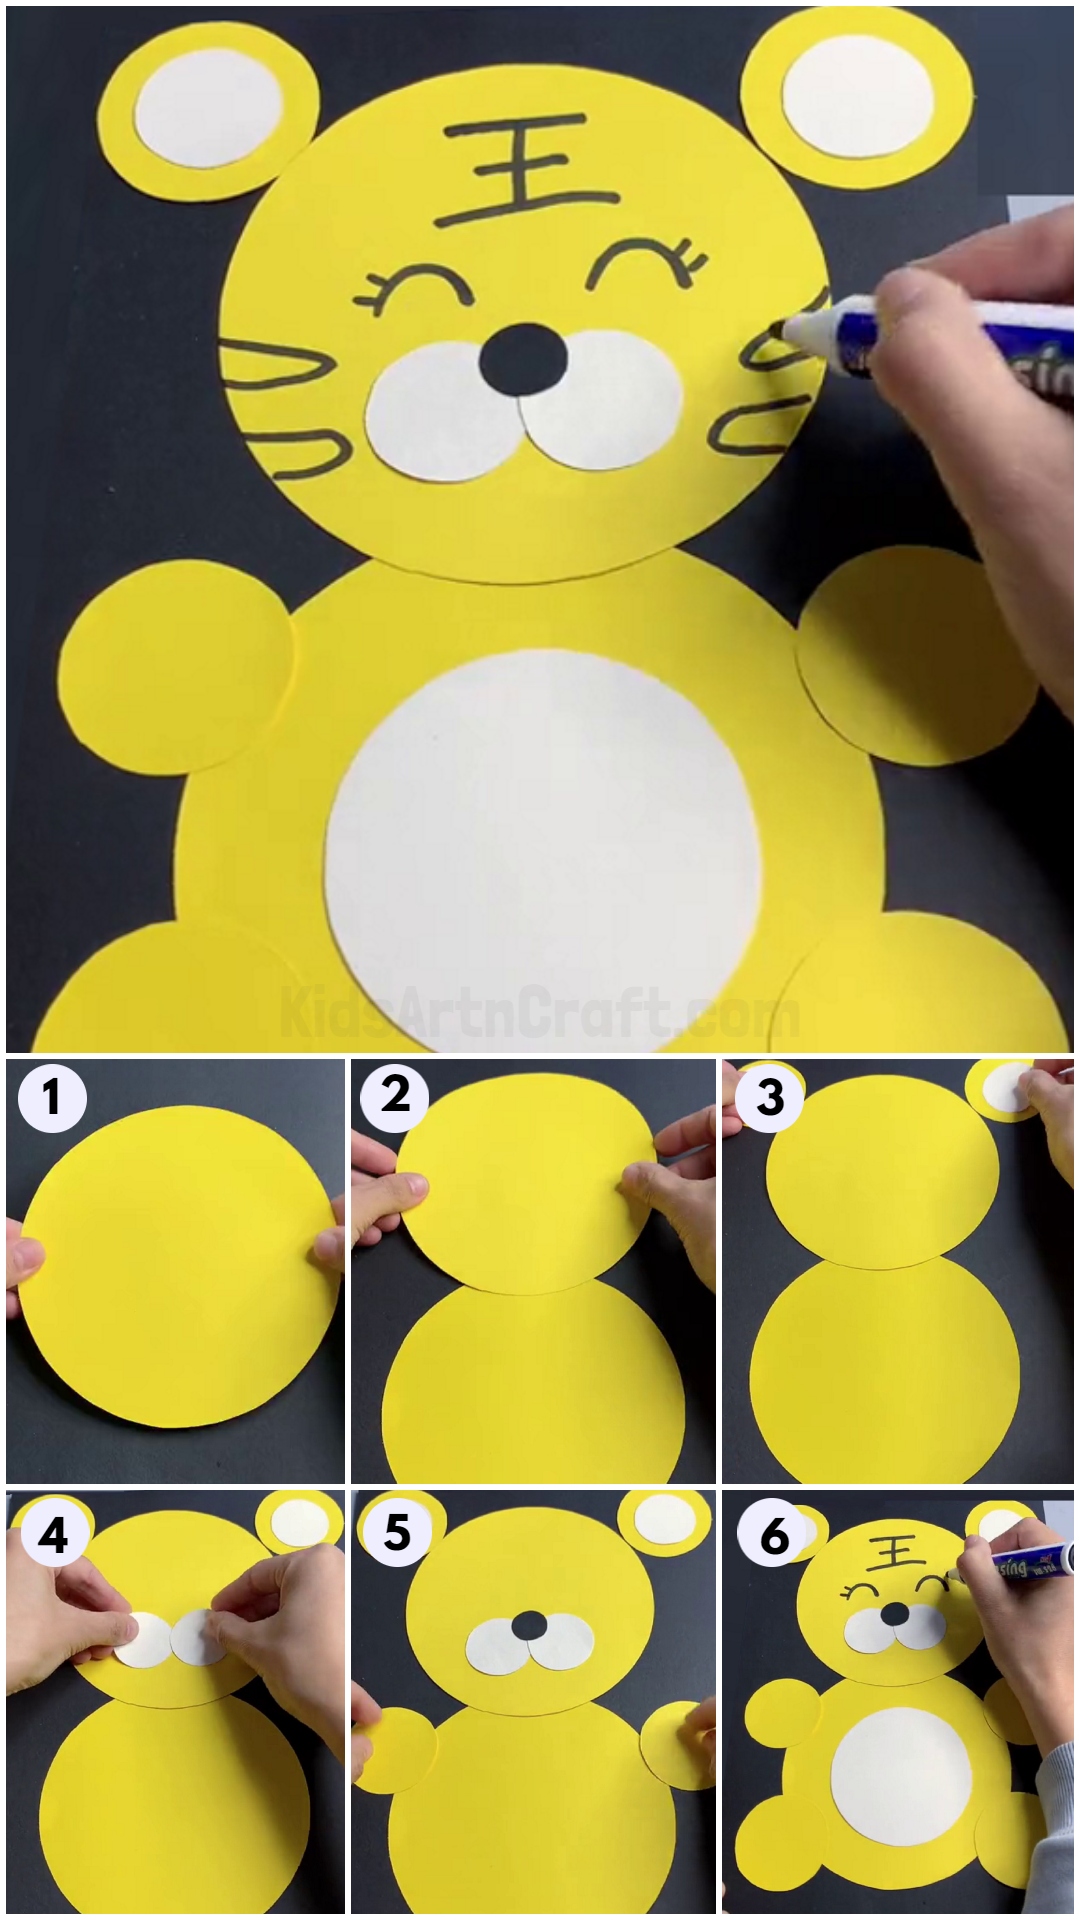
This easy craft tutorial will help you to make a paper tiger in just a few simple steps. Learn how to make a paper tiger with materials you have around the house and get creative with it in no time!
Welcome! If you are looking for a fun and easy craft idea, then this article is perfect for you! In this article, we will be going through the steps to make a paper tiger. We will be walking you through the process of creating this adorable paper tiger that can be used for a variety of projects such as scrapbooking, card-making, or even just a simple decoration. This craft is simple enough for even the youngest of children to make and is sure to be a hit with everyone. With just some basic supplies, you will be able to bring this paper tiger to life. So, let’s get started!
Simple To Make Paper Tiger Craft Idea For Kids

Read More: How To Make A Paper Heart Bee Craft Tutorial
Materials Required
- Construction Paper (Yellow and White)
- Black Marker
- Scissors
- Glue
Procedure
Step 1: Cutting A Big Yellow Paper Circle
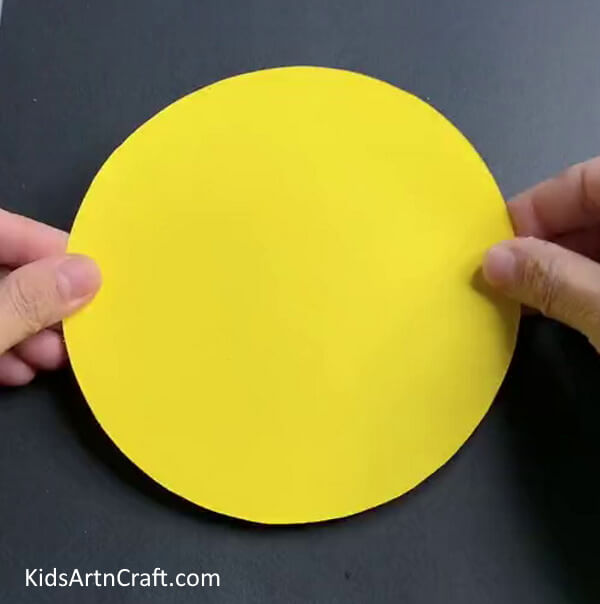

To begin, cut a big circle out of yellow paper using scissors.
Step 2: Pasting Another Yellow Circle
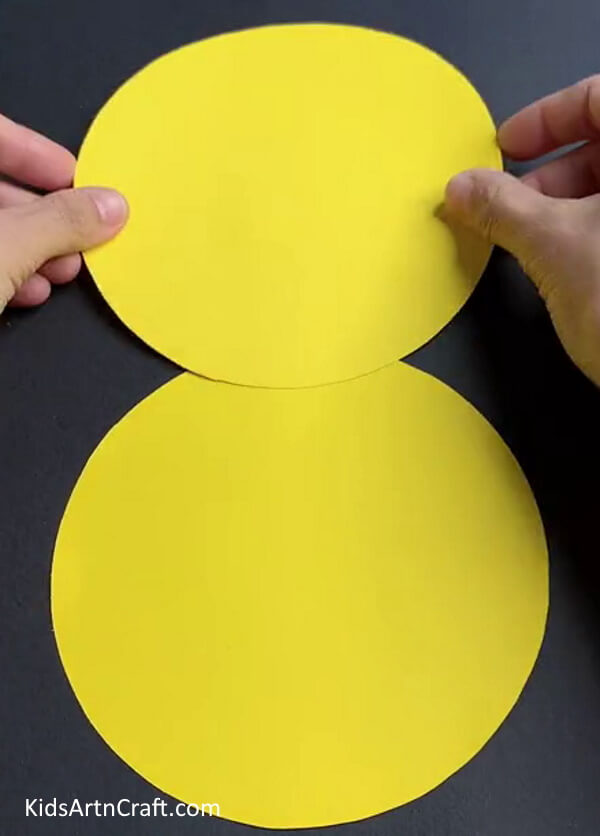

Cut out another yellow paper circle and paste it on top of the previous circle.
Step 3: Pasting Yellow Circle Paper Ears
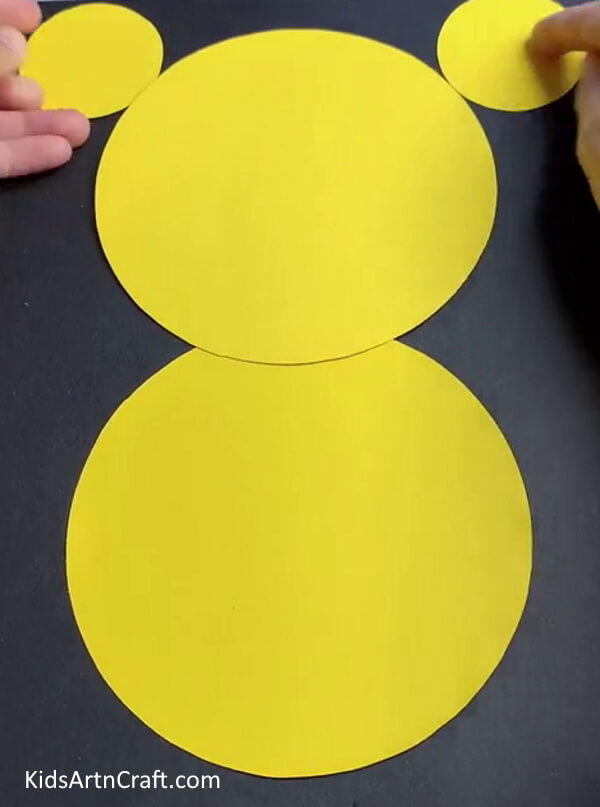

To make the ears of the tiger, cut two smaller yellow circles and paste them on each side of the top circle using glue.
Step 4: Pasting White Circle On Ears

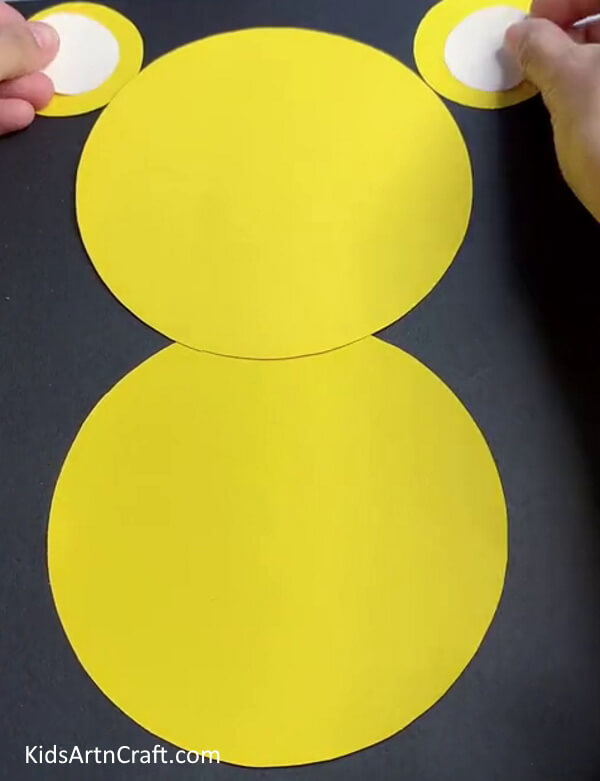
Complete the ears by pasting two smaller circles on the yellow circles using glue.
Step 5: Pasting Two White Circles On the Face

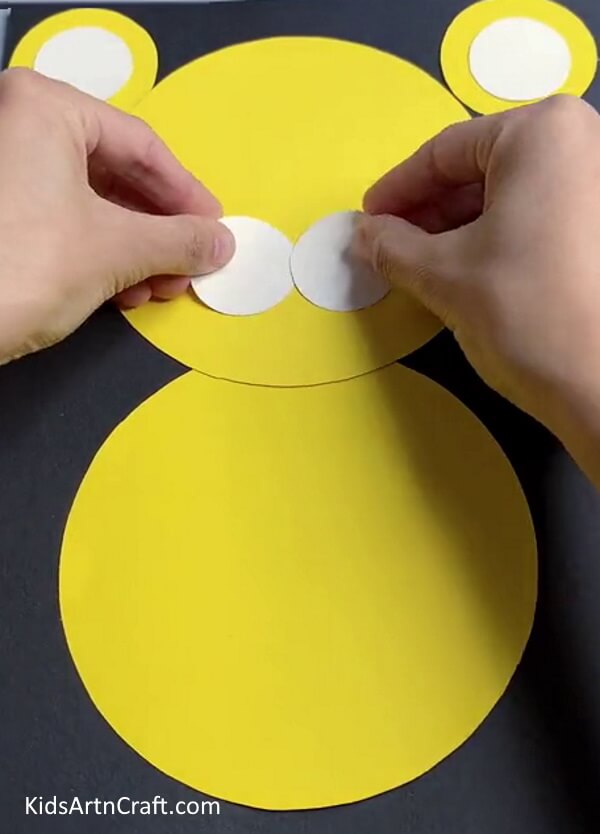
Now, make the nose of the tiger by cutting out two small white paper circles and pasting them on the face covering one’s white circle with another a little.
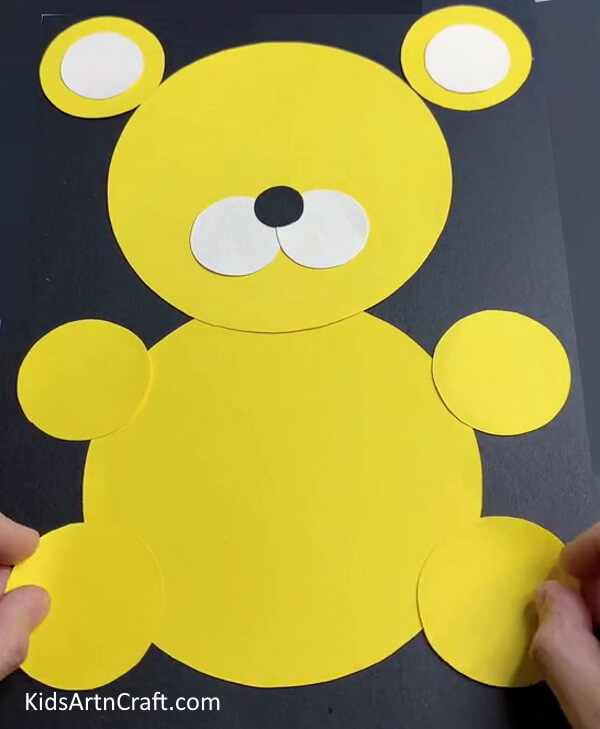
Step 6: Pasting A Black Circle On the Nose
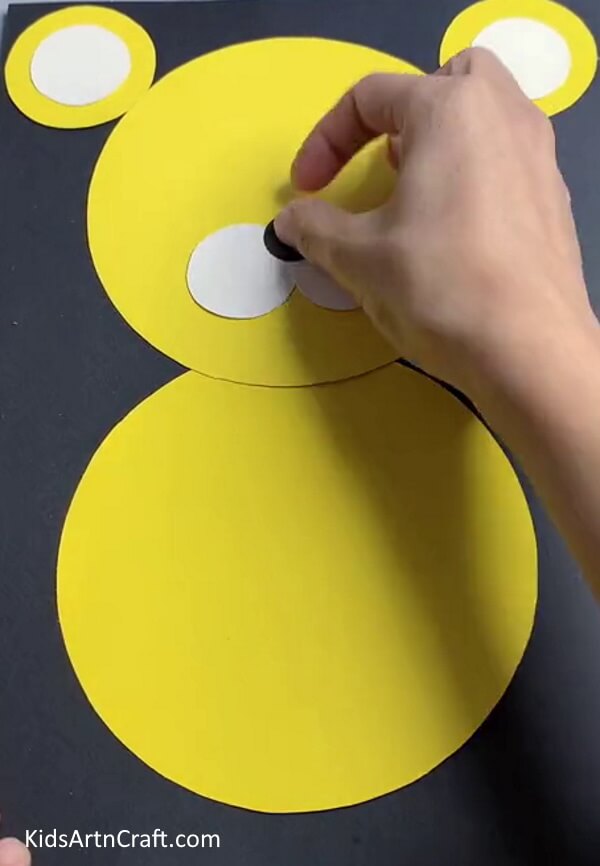

To complete the nose, paste a small black circle on the top middle of the two white circles pasted earlier.
Step 7: Pasting Circles To Make Hands
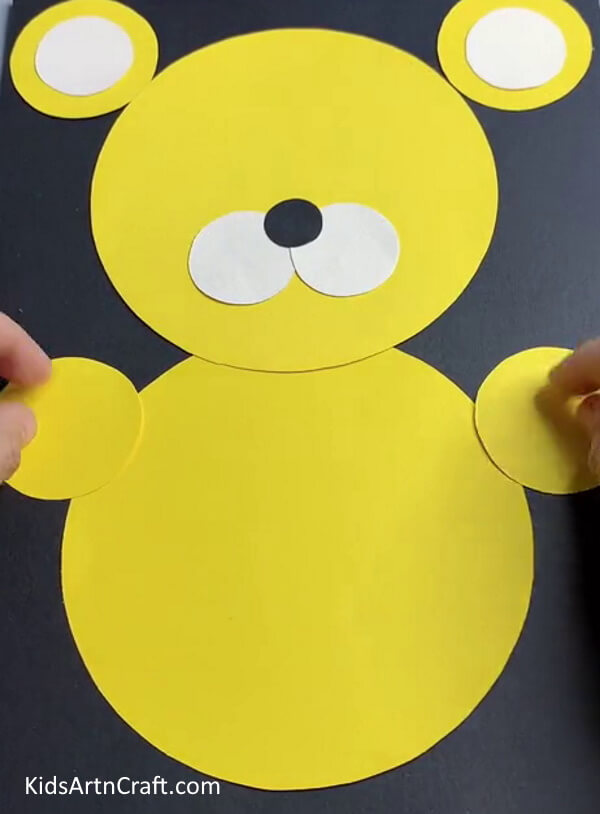

Paste two yellow circles on both sides of the bottom yellow circle to make the hands.
Step 8: Pasting Yellow Circles To Make Legs

Paste two yellow circles on the bottom sides of the body to make the tiger’s legs.
Step 9: Pasting White Circle On Body
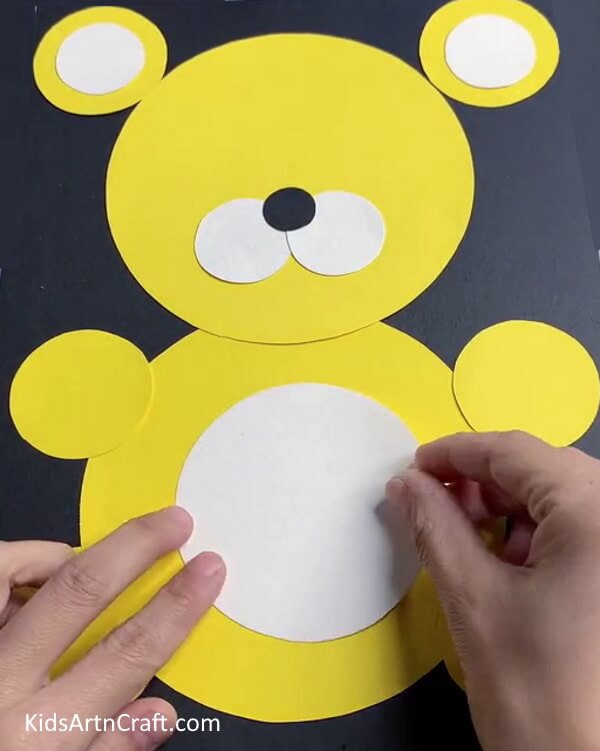

Now, take a medium-sized circle and paste it on the middle of the bottom yellow circle to complete the body of the tiger.
Step 10: Drawing Details
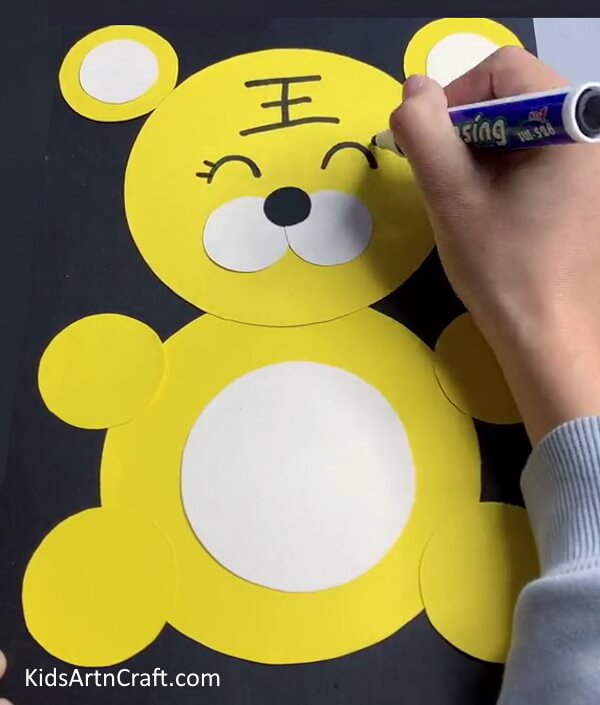

Using a black marker, draw eyes and other details on the face of the tiger.
Step 11: Drawing Black Strips On Face
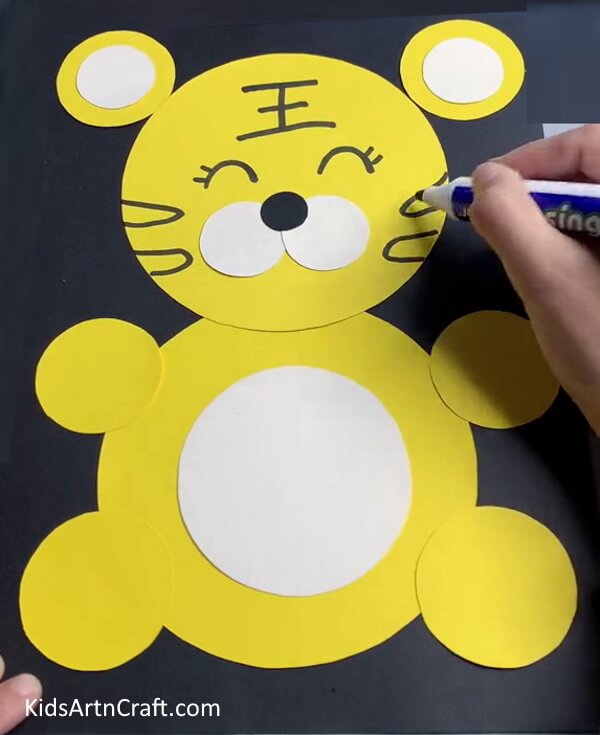

Complete the face’s details using a black marker.
Make a tail of the tiger by cutting a tail shape out of yellow paper and drawing black strips on it. Paste the tail at the back bottom of the tiger.
Cute Paper Tiger Craft Is Here!
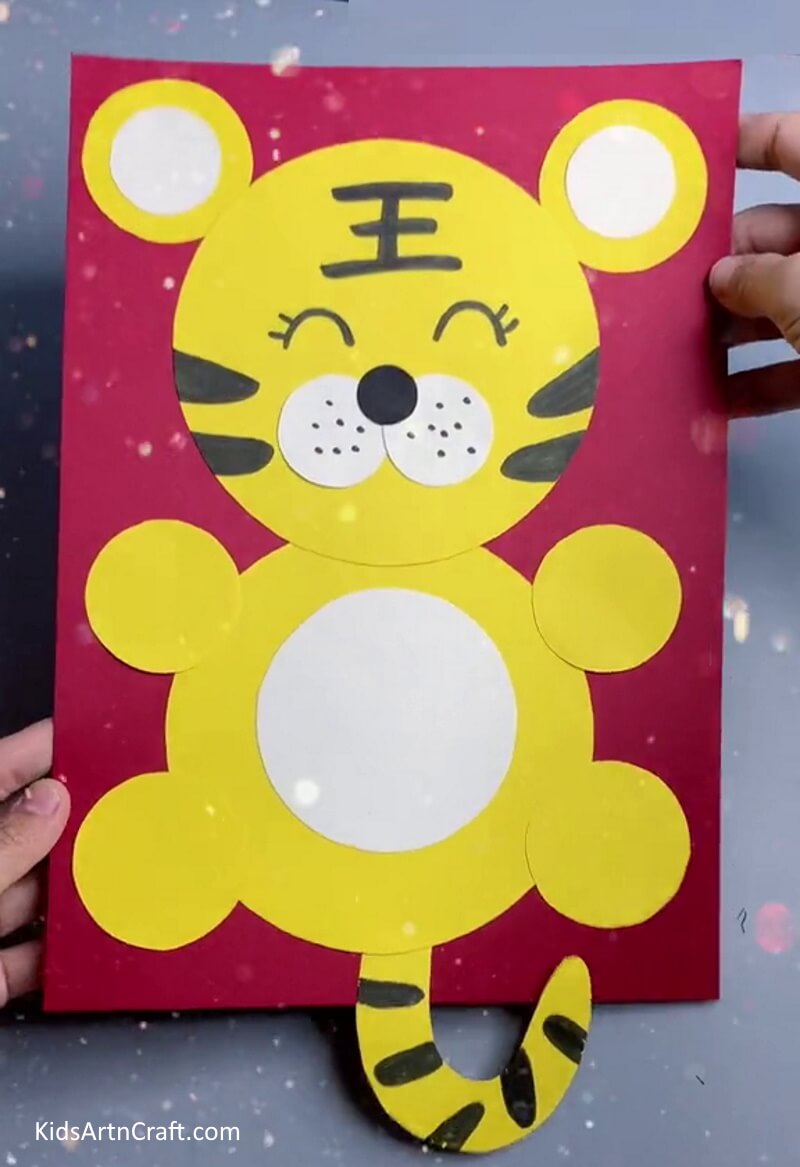

That’s great! The handmade cute tiger papercraft is finished and ready to showcase. This craft is perfect for kids of all ages. It’s easy to assemble and the end product is adorable! Get creative with this craft and create your unique paper tiger. We can’t wait to see what you come up with!
Some More Tiger Craft Tutorial
Making a Tiger Craft With Paper Cup for Children

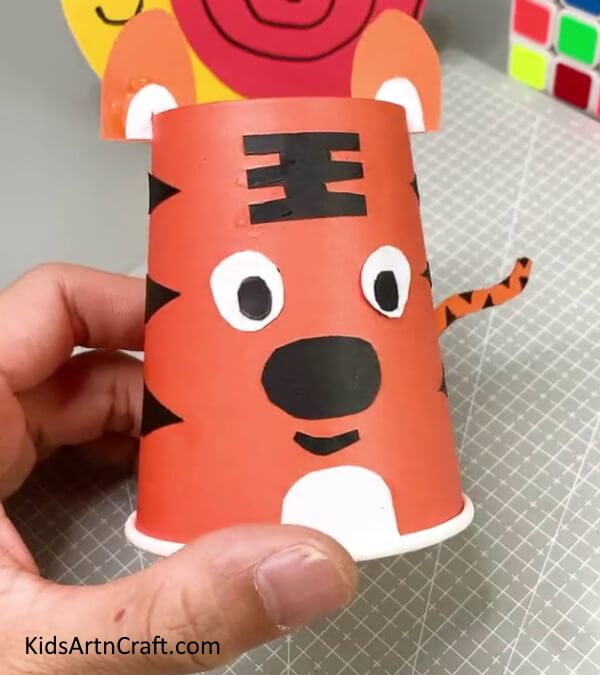
Image Source/Tutorial: Kids Art & Craft
Creating a tiger craft with paper cups is a fun and easy activity for children. It is a great way to keep kids busy and help them develop their creative skills. All you need are a few simple items and in no time your kids can have a cute tiger craft to show off!
DIY Tiger Wall Hanging with Paper For Toddlers

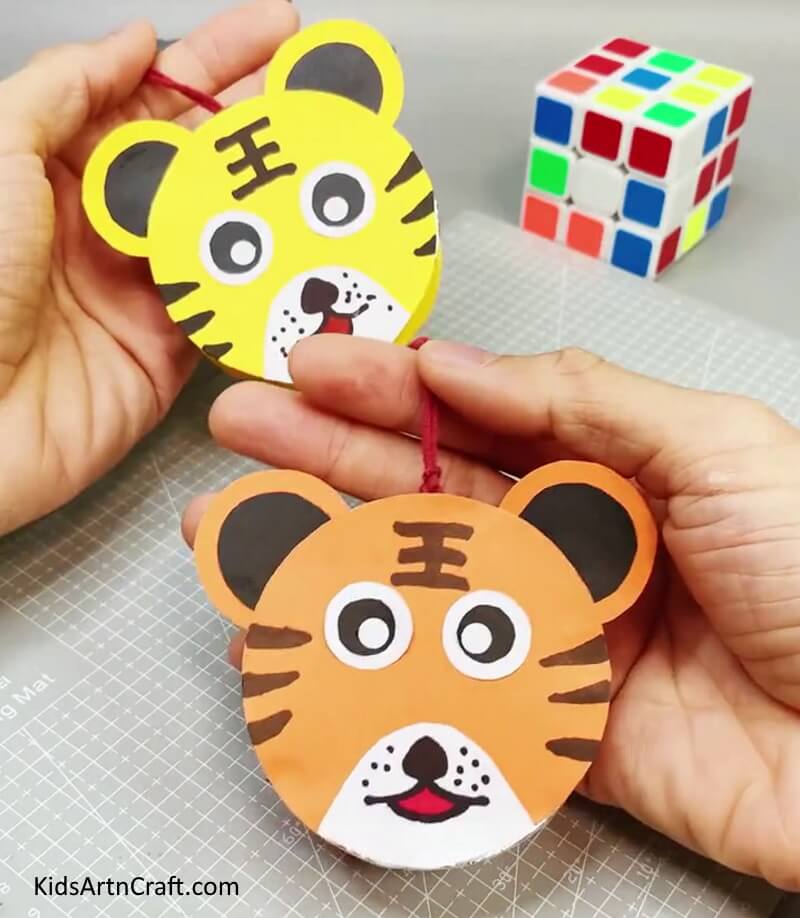
Image Source/Tutorial: Kids Art & Craft
This craft is perfect for toddlers! Create a fun and easy tiger wall hanging with paper for your little ones to enjoy. It’s a great way to inject some color and creativity into your home. Plus, it’s a great way to keep your kids entertained!
FAQs Related To How To Make A Paper Tiger Easy Craft
1. What materials do I need to make a paper tiger easy craft?
You will need a piece of paper, scissors, markers, and glue.
2. What colors do I need to make the tiger?
You can use any colors you like. However, yellow, orange, black, and white are the traditional colors for a tiger.
3. How do I make the stripes for the tiger?
You can use a marker or paint to make stripes on the tiger.
4. How do I attach the pieces of the paper tiger together?
You can use glue or staples to attach the pieces of paper together.
5. What kind of paper should I use for the paper tiger?
You can use any type of paper for the paper tiger, but cardstock or construction paper works best.
6. How do I add dimension to the paper tiger?
You can add dimension to the paper tiger by cutting out parts of the paper and gluing them back in place. You can also add texture to the paper with markers or paint.
Making a paper tiger is a simple and fun craft that can be enjoyed by both kids and adults. With the help of scissors, glue, and some paper, you can easily create a cute tiger that can be used as a decoration or as a fun toy.
Follow us on Youtube for art and craft tutorials and much more.
More Articles from Kids Art & Craft
- Easy Frog Paper Craft For Kids Easy Tutorial
- Paper Craft Idea to Make Video Tutorial for All
- Recycled Plastic Bottle Dragon Craft Tutorial for Kids
- Paper Rainbow Cloud Craft Step-by-step Tutorial
- Easy Paper Robot Craft Step-By-Step Tutorial