Home Decor
DIY paper Tiger wall hanging easy craft

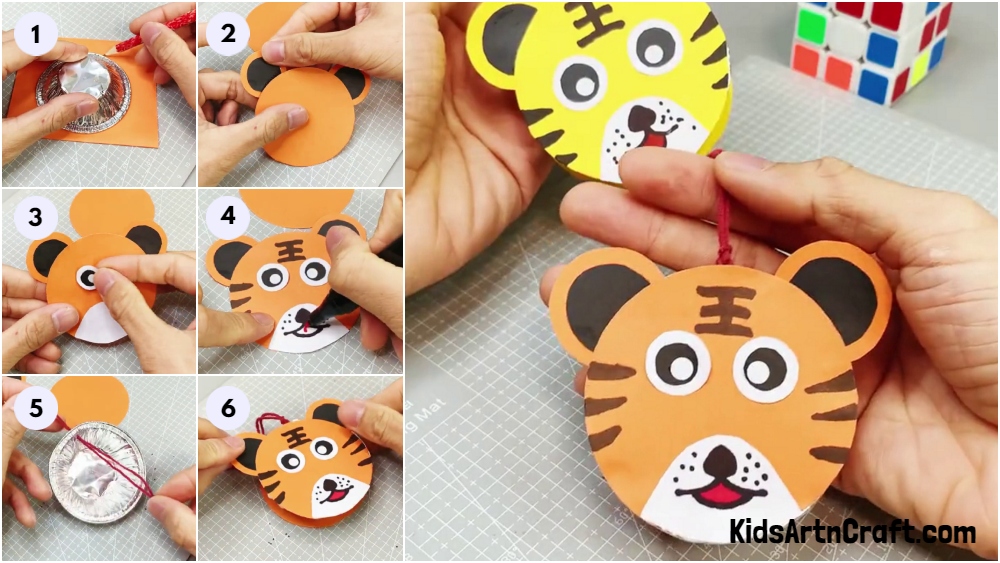
Create a unique and fun wall hanging with this DIY paper Tiger craft! This easy craft is perfect for beginners and uses basic materials to create a beautiful piece of art to hang on your wall. Learn how to make your own today!
Welcome to this fun and creative craft project that will transform your walls into something special! This Cute Paper Tiger Decoration Craft For Wall Hanging is a great way to add a unique touch to any room in your home. With just a few simple materials, you can create a beautiful and colorful wall hanging that is sure to be the envy of your friends and family. This craft is perfect for kids and adults alike. The best part is that you can customize the design to make it your own. So, if you’re looking for a unique craft project to do at home, this might just be the one for you! So grab your supplies and get creative, and in no time, you’ll have a fantastic new decoration for your walls!
Cute Paper Tiger Decoration Craft For Wall Hanging
Read More: DIY Creative Paper Craft Ideas Video Tutorial for All
Materials Required
- Colored sheets(Yellow, Orange, Black, White)
- Sketch pens(Black, Brown, Red)
- Thread
- Pencil
- Paper Bowl
- Glue
- Scissors
Procedure
Step-1: Folding The Orange Paper In Half
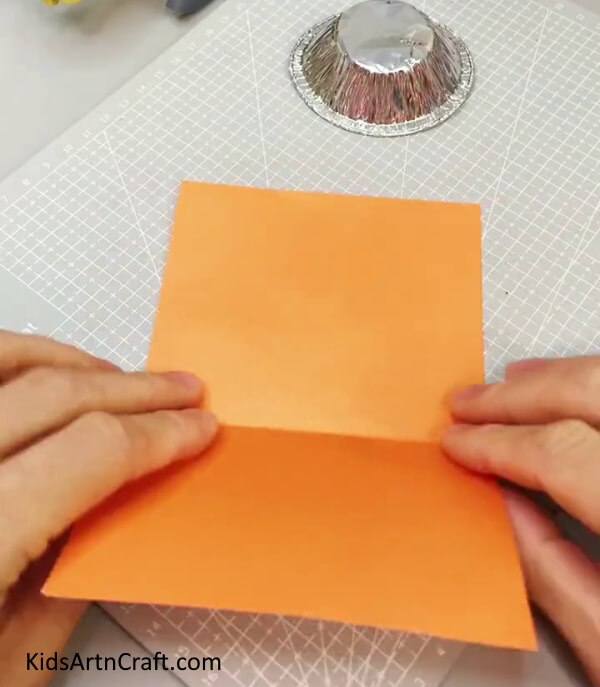
Let’s begin this craft by getting orange paper and a paper bowl. Fold the orange paper in half.
Step-2: Drawing The Outline Of The Paper Bowl
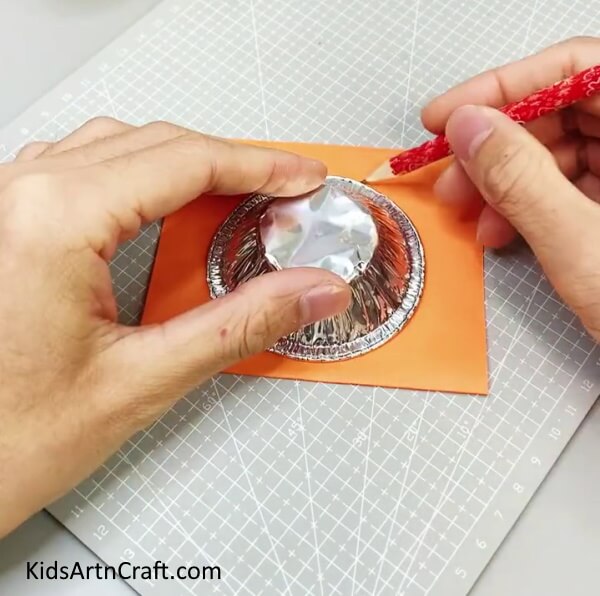
Invert the paper bowl and place it on the folded orange paper. Now, draw the outline of the boundary of the bowl.
Step-3: Cutting The Circle
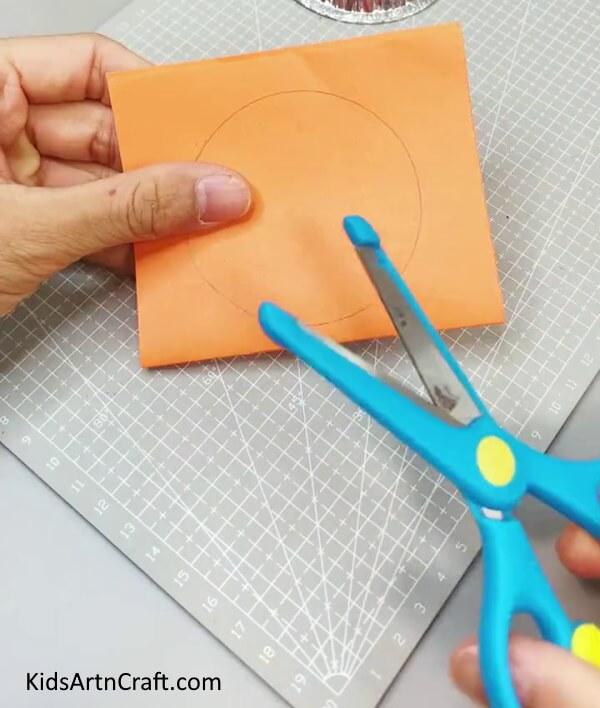
Now, cut along the outline with the help of scissors. You will get two orange circles.
Step-4: Adding Ears Of The Tiger
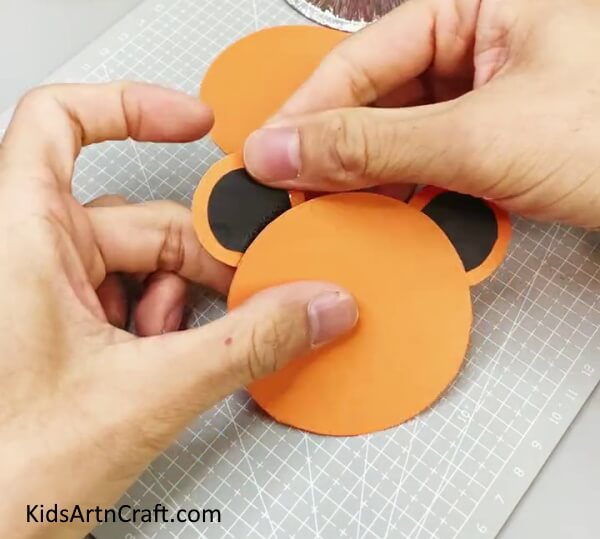
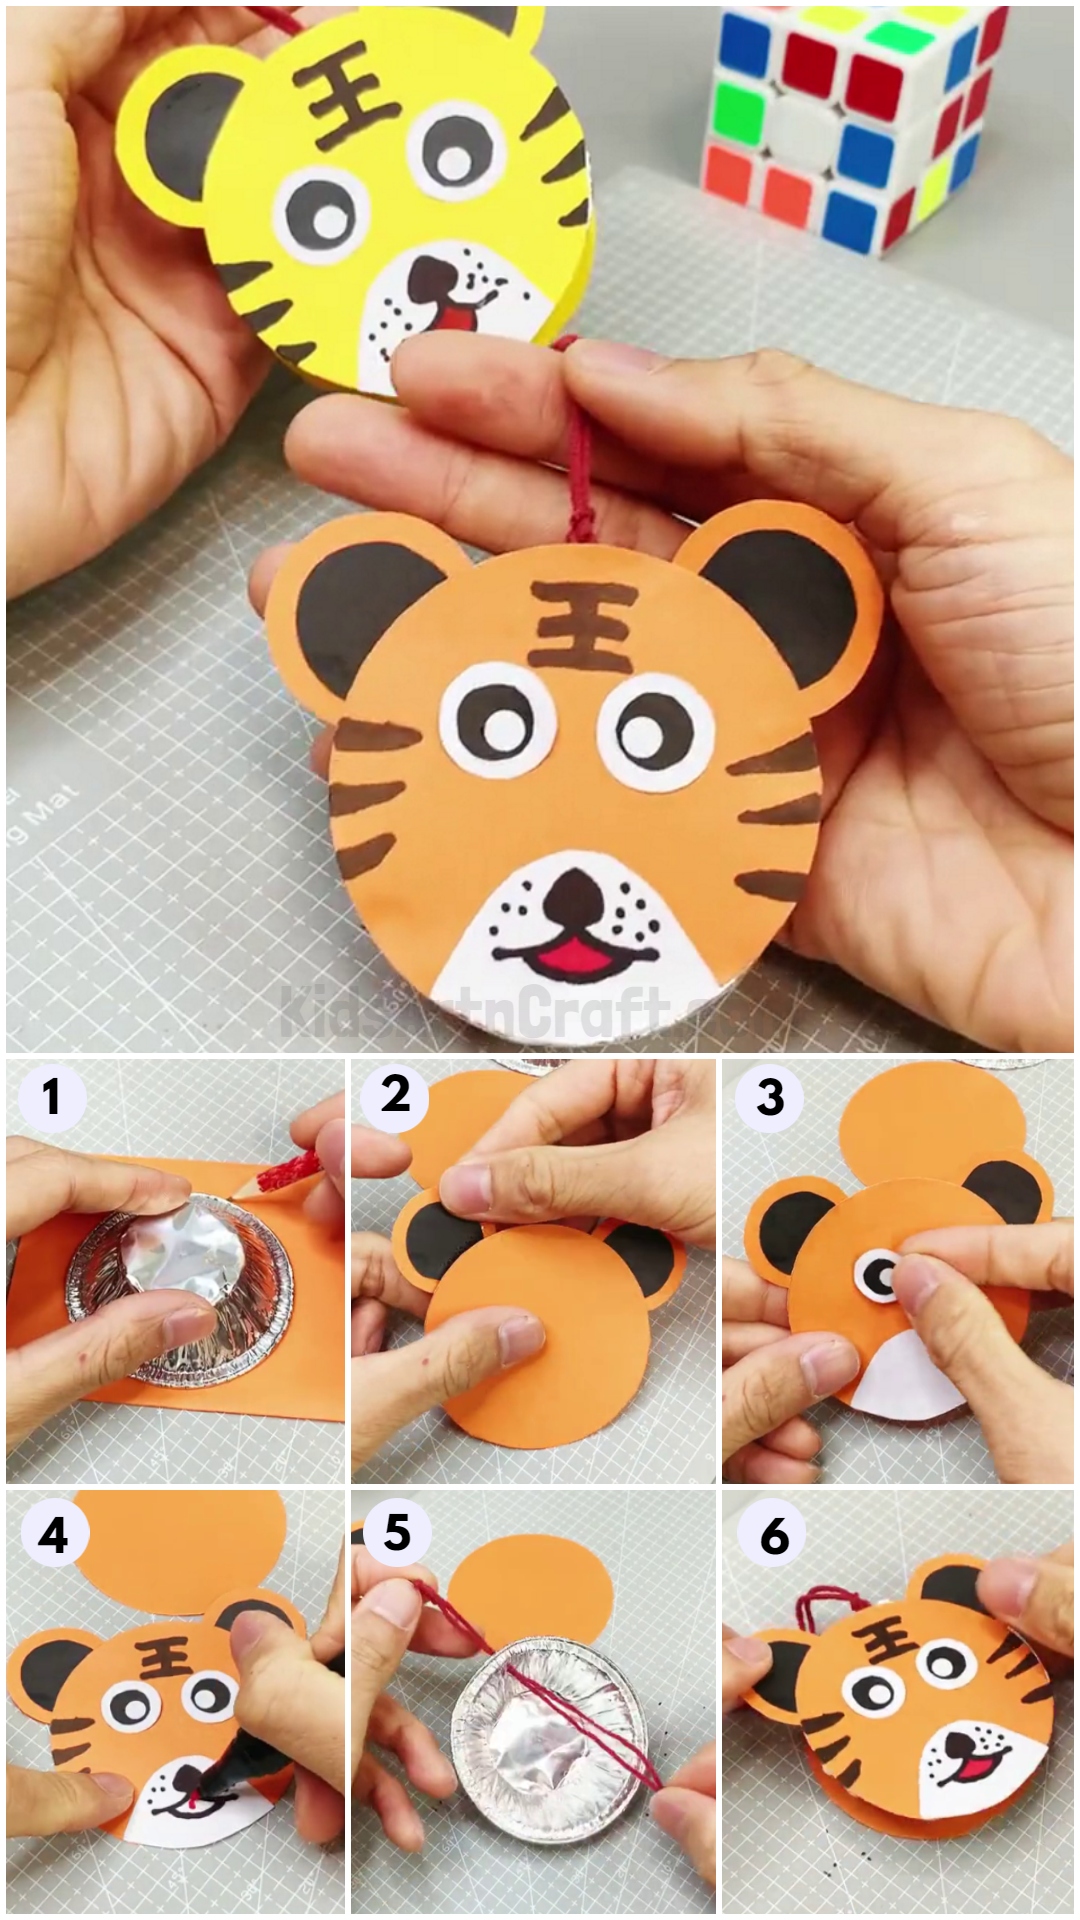
To make the ears, cut two orange circles and two smaller black circles. Paste the black circles inside the orange circles. Now paste the ears along the sides of the bigger orange circle as shown in the image.
Step-5: Adding Mouth Of The Tiger
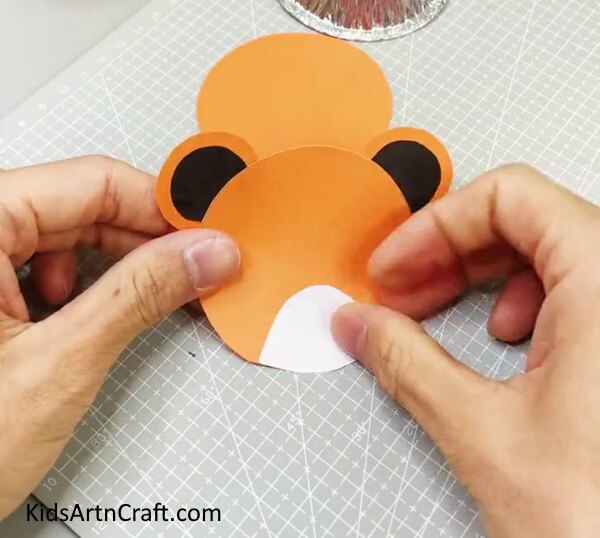
Take a white piece of paper, and cut out the mouth of the tiger as shown. Paste the mouth on the tiger’s face.
Step-6: Adding The Eyes On The Tiger
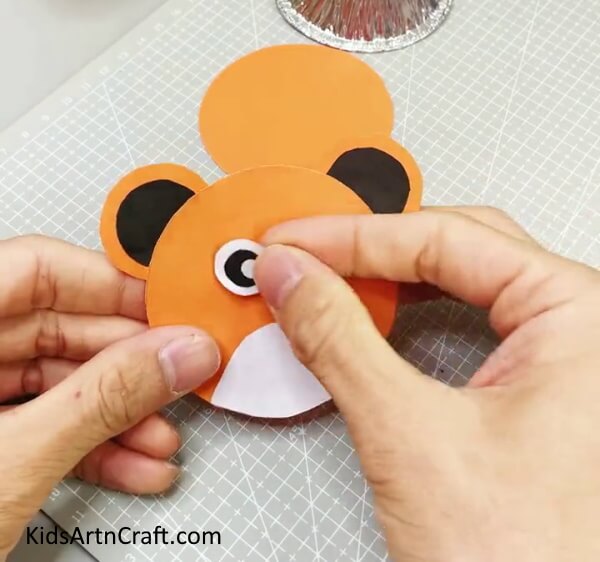
Now, using black and white paper make eyes for the tiger. Cut two big white circles, then cut two small black circles, and finally cut two smaller white circles as shown. Paste them on the tiger’s face.
Step-7: Drawing Tiger Patterns And Tiger’s Mouth
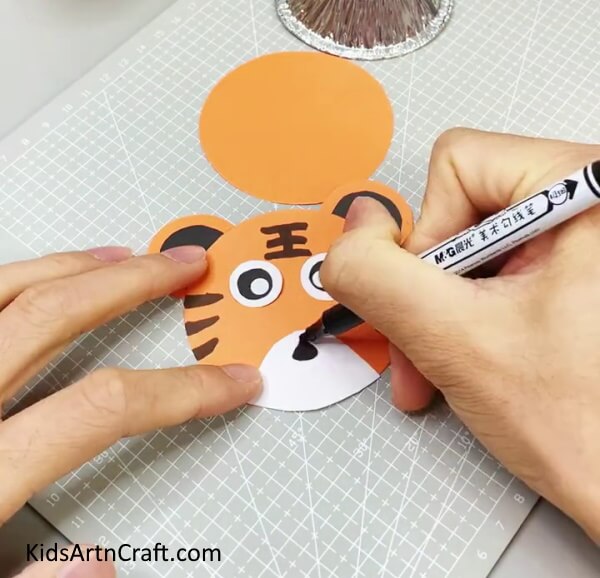
Using a brown sketch pen, draw tiger patterns on the face as shown. Then, take a black marker and draw a nose and other details on the mouth.
Step-8: Completing The Tiger’s Mouth
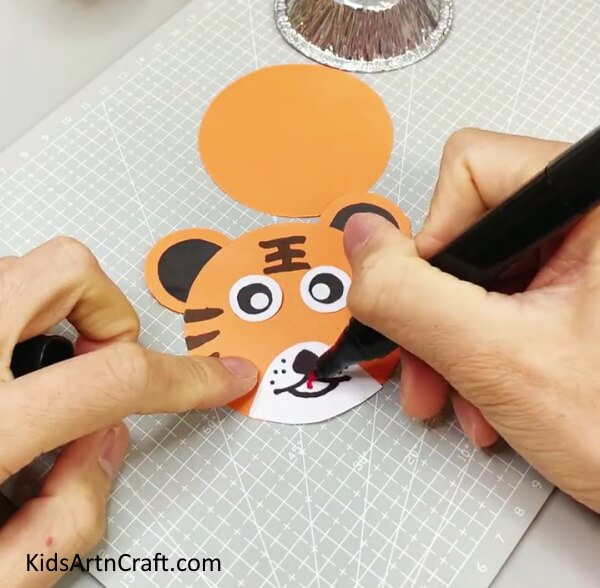
Complete all the details with the black sketch pen. Now, take a red sketch pen and make the tongue as shown.
Step-9: Making Hole In Paper Bowl
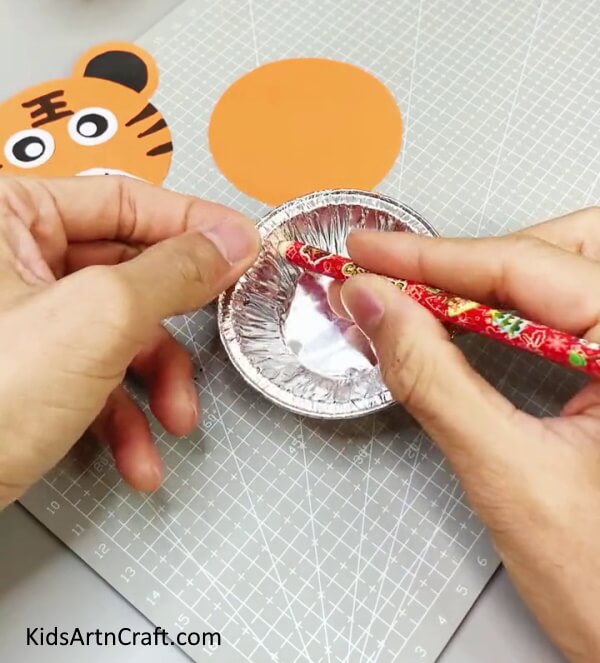
With the help of a pencil, make a hole on one side of the bowl as shown.
Step-10: Inserting Thread Through The Hole
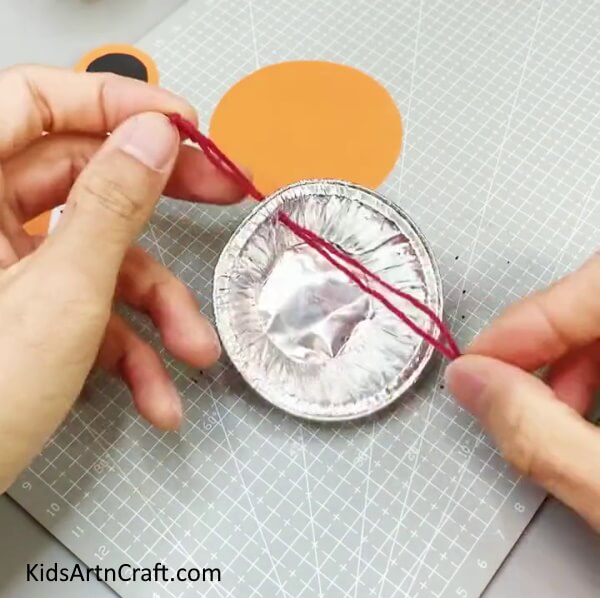
Take a thread and insert it through the hole and tie a knot on one end.
Step-11: Pasting The Bowl On The Orange Circle
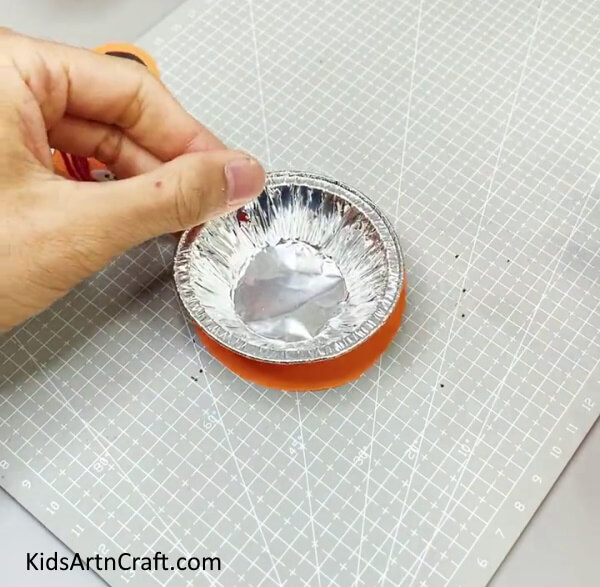
Paste the bowl on the orange circle as shown in the image.
Step-12: Applying Glue On The Bowl
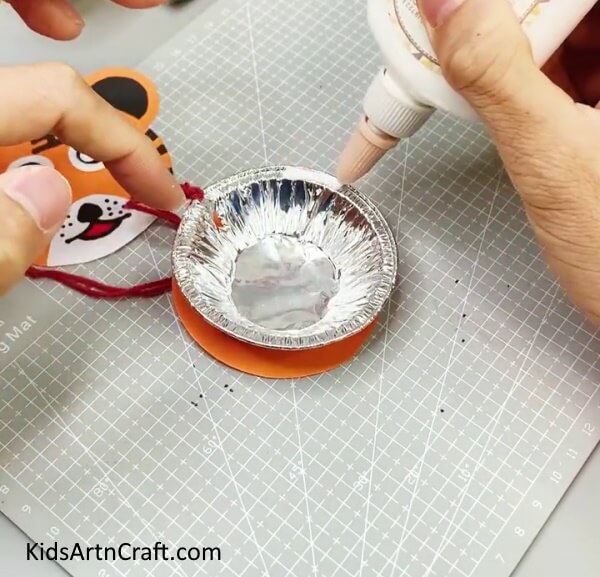
Apply glue on the outer boundary of the paper bowl.
Step-13: Pasting The Tiger’s Face On The Bowl
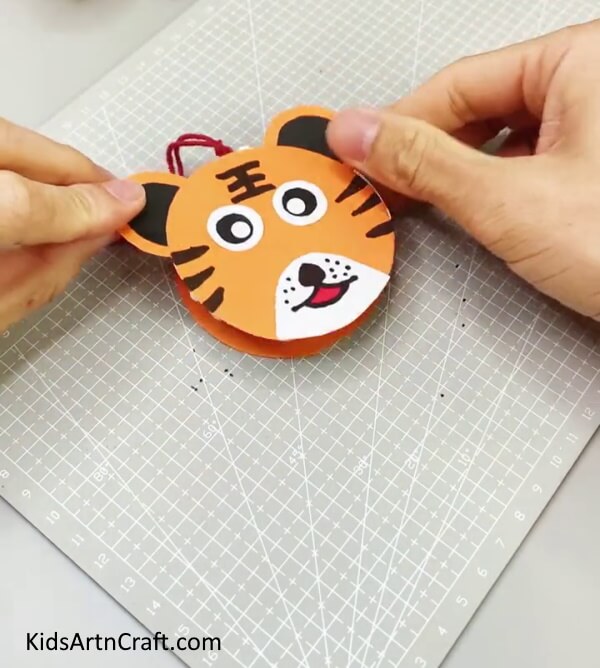
Now, paste the tiger’s face on the bowl as shown in the image. You can create more such tiger faces of different colors to complete the wall hanging.
Final Image: This Is The Final Look Of The Paper Tiger Wall Hanging!
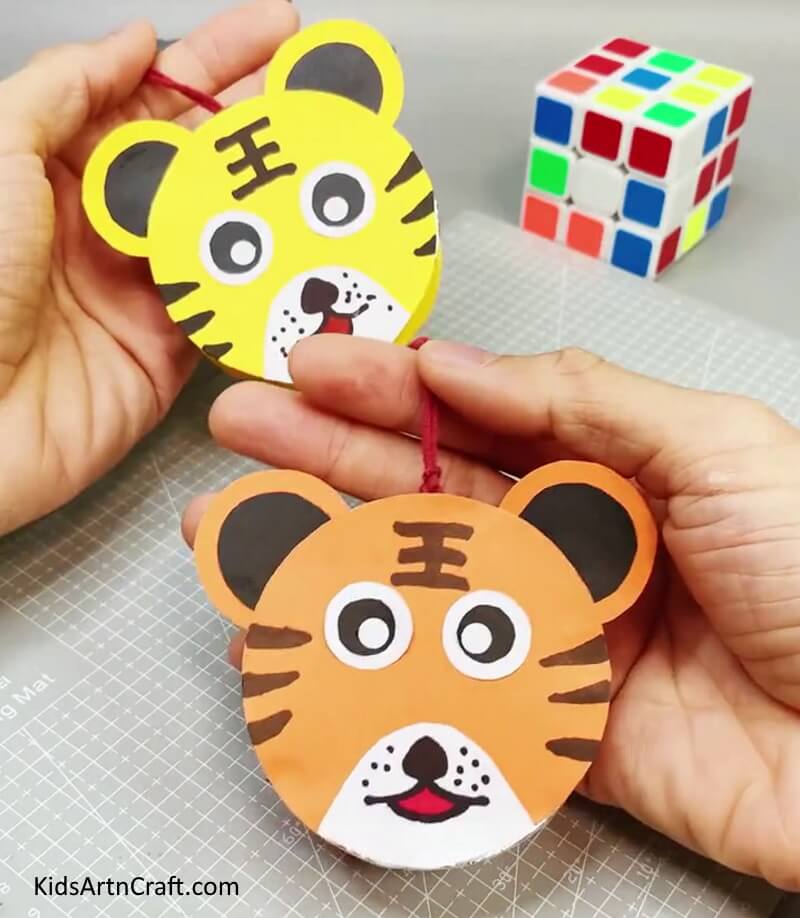
Congratulations! The final look of this paper tiger wall hanging is sure to bring a smile to anyone who sees it. It’s a great way to add a little bit of personality and style to your home. This paper tiger wall hanging is the perfect way to bring some fun and whimsy to any room in your home. With its bright colors and unique design, it will be sure to make your room feel more lively and inviting. Have fun!
FAQ’S DIY Paper Tiger Wall Hanging Easy Craft
1. How long does it take to make a paper tiger wall hanging?
Answer: Depending on your skill level, this craft should take around 30 minutes to complete.
2. What type of paper should I use for the paper tiger wall hanging?
Answer: Any kind of cardstock paper will work. You can also use cardstock paper with different colors and patterns for a unique look.
3. Is it possible to make the wall hanging bigger or smaller?
Answer: Yes, you can adjust the size of the wall hanging by making adjustments to the pattern pieces.
4. What is the best way to display the paper tiger wall hanging?
Answer: You can hang the paper tiger wall hanging on a wall or door with a string or ribbon. You can also use a small piece of wood or dowel to hang it.
5. Can I make the paper tiger wall hanging out of other materials besides paper?
Answer: Yes, you can make the paper tiger wall hanging out of other materials such as fabric, felt, or even wood.
6. Do I need to have any special tools for this craft?
Answer: No, all you need is a ruler, scissors, glue, and a pencil.
This DIY paper Tiger wall hanging easy craft is a fun and creative way to add a unique and personal touch to any room in your home. With a few simple materials, you can create an eye-catching piece of art that will be sure to impress.
Follow us on Youtube for art and craft tutorials and much more.
More Articles from Kids Art & Craft
Read More:
- Easy to Make Paper Chicken Craft Tutorial
- How To Make Cardboard Tube Swan Craft Tutorial For Kids
- DIY Fun Craft Activities At Home Video Tutorial
- Simple Paper Animal Craft Ideas Video Tutorial for All
- How To Make A Paper Heart Bee Craft Tutorial


