


DIY and Crafts
How to Make Easy Paper Snowflakes Tutorial

How many of you like winters? A lot, I suppose. And what is the best thing about them? SNOW.
It’s white, soft, and fun to play with, and to even create things like igloos, snowballs, animals, and everyone’s favorite, snowman. And one of the most significant things about the show is snowflakes. Do you know that each snowflake has its own distinct shape? Today, we are here with a tutorial that is going to teach you to make one with some basic material. And this snowflake is going to have a distinct shape special to you as you will be the one designing it. Let’s go.
DIY Paper Snowflake Crafts Tutorial
Read More: Easy Paper Craft Activities At Home Video Tutorial for All
Material Required
- A Cylindrical Cardboard Box( Eg, a Box Of Pringles) White In Color
- A Pair Of Scissors
- A Pencil
- A Scale
- Liquid Glue
- Artificial White Pearl Bead
Procedure
Step 1: The Cardboard Box
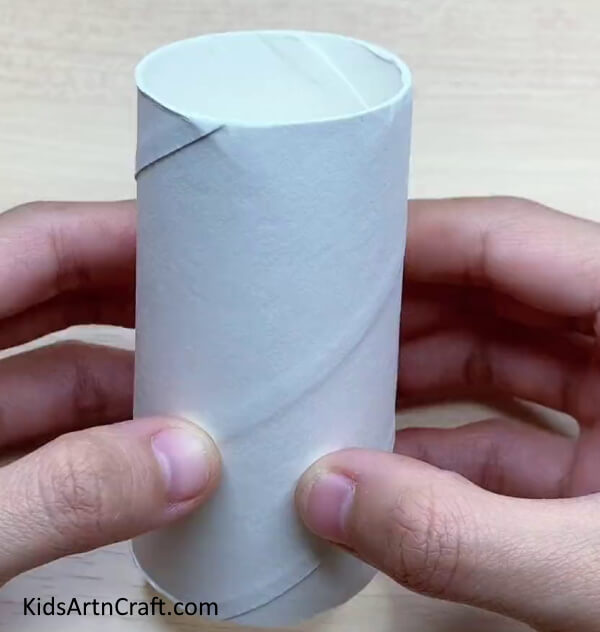
Take a white cardboard box cylindrical in shape, not too big yet not too small, the size shown in the image below.
Step 2: Press The Box
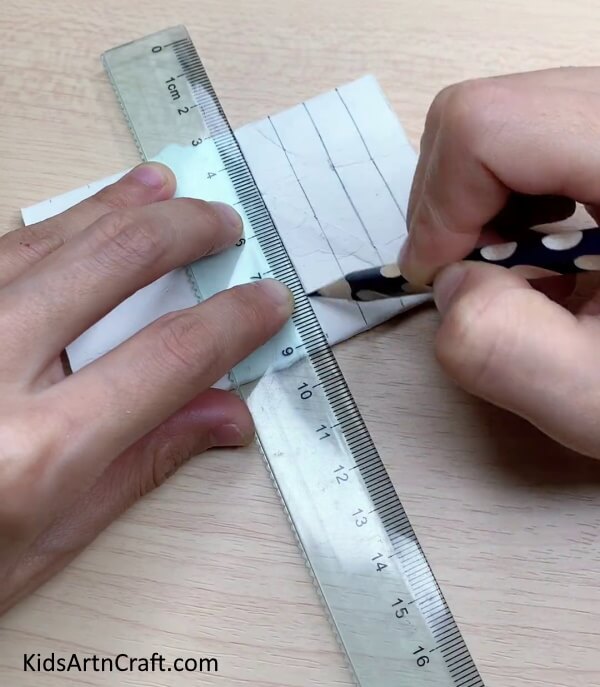
Hold the box in the middle of your palms and press it inwards with both hands making two flat sides on the box. Now, take a pencil and a scale and make twenty-nine marks on the flattened cardboard, equidistant to each other. The distance between the marks should not be too much. This leaves us with twenty-eight sections.
Step 3: Cutting The Marks
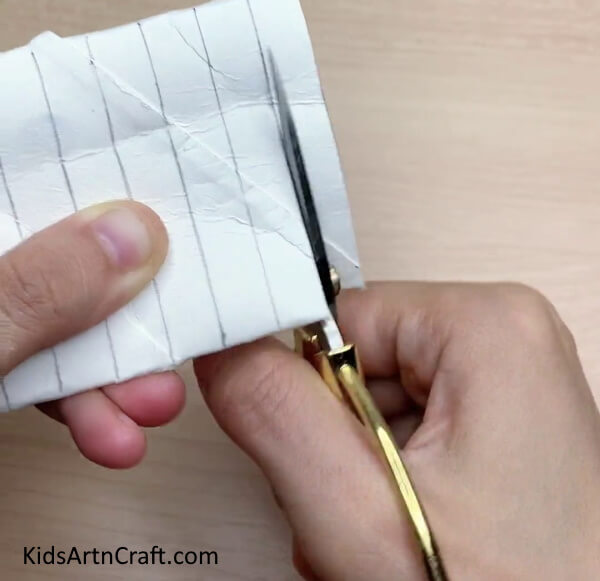
Take a pair of scissors and cut these marks into twenty-eight pieces. Make sure the cuts are straight and be careful while using scissors.
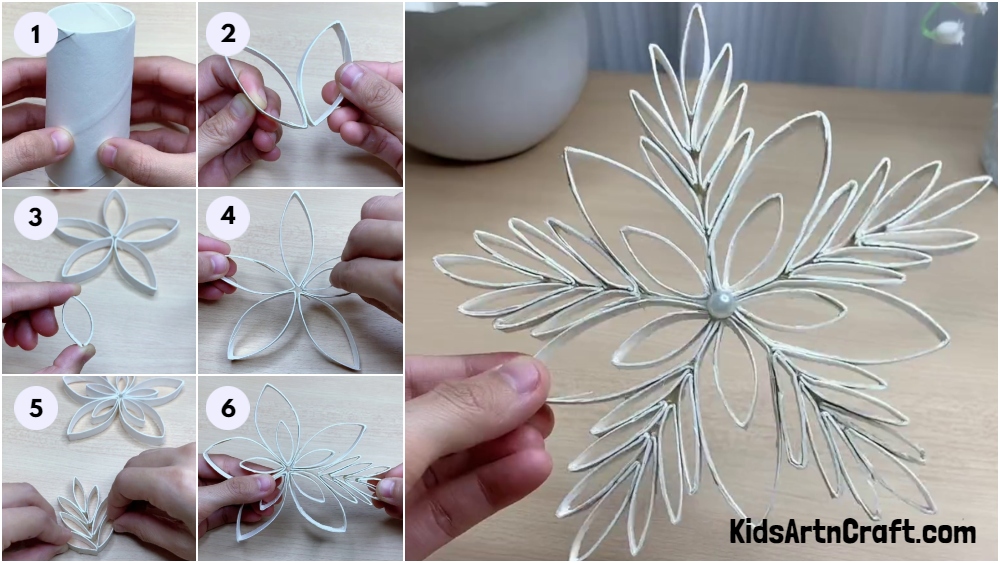
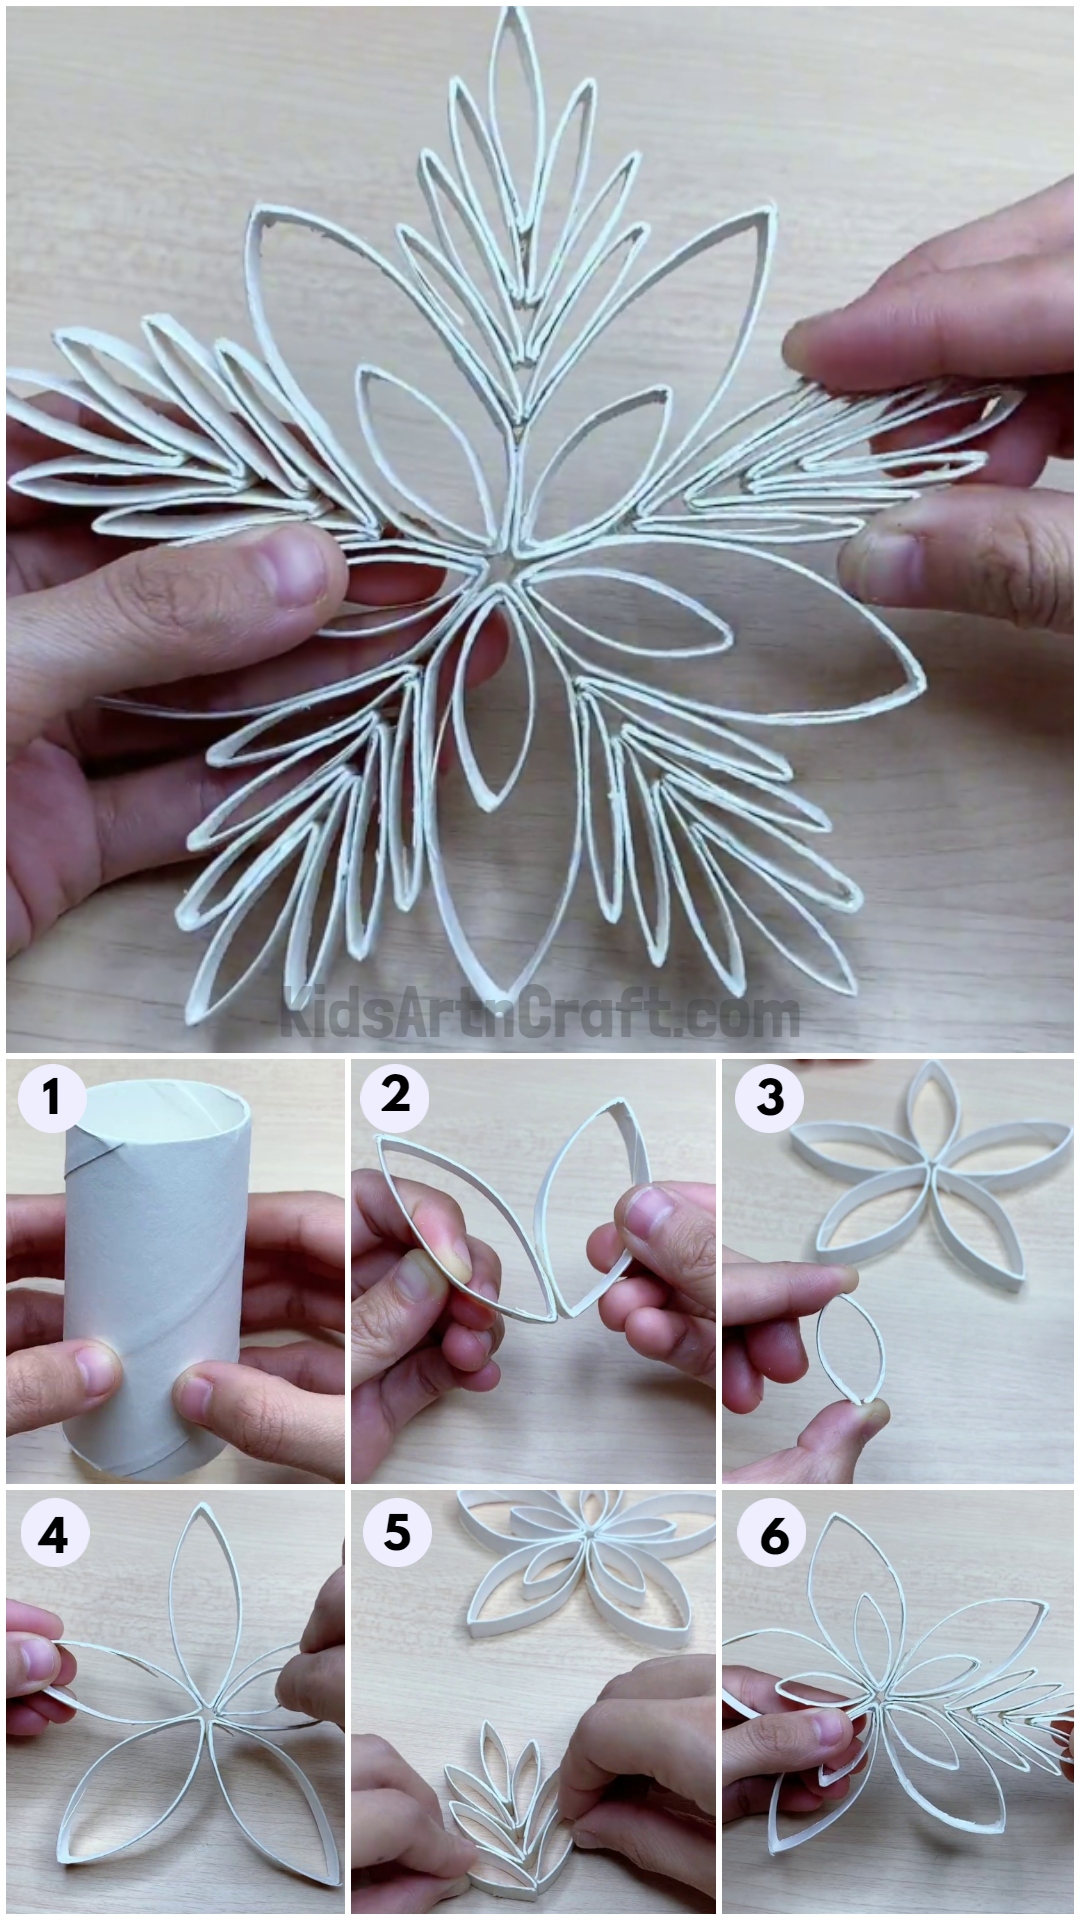
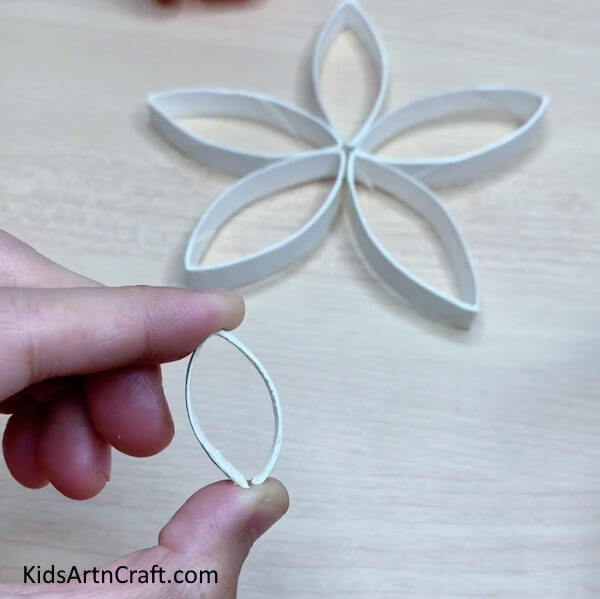
Step 4: Shaping The Pieces
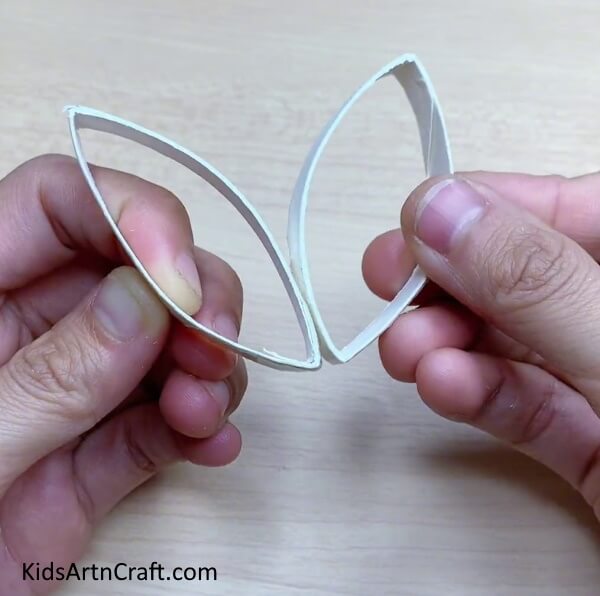
Take five pieces from the set you just made and open them up a little to create the shape of a human eye.
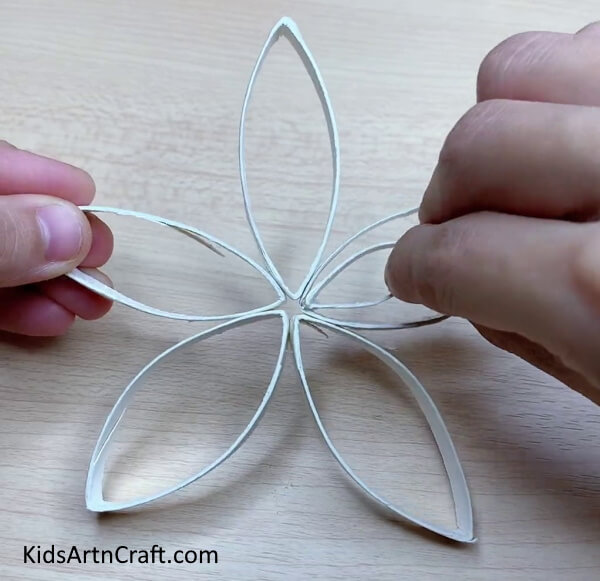
Step 5: Gluing The Pieces Together
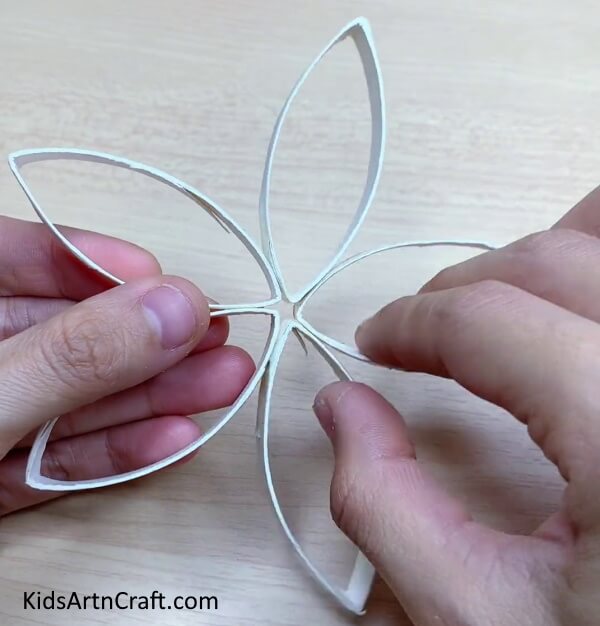
Take these five pieces and paste them together each other on both sides with the help of glue to create this floral shape shown below. You can do that by applying glue on both sides of all the pieces and gluing them together to form the shape desired.
Step 6: Cutting The Rest Of The Pieces Into Halves
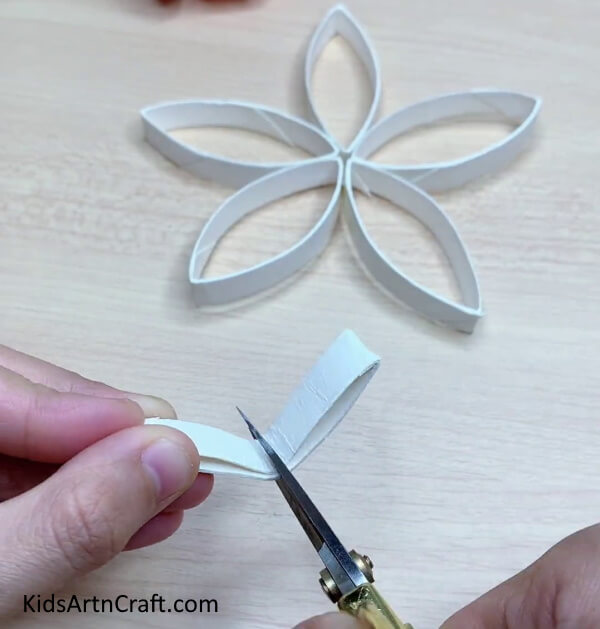
Take all the pieces left and cut them into perfect halves right in the middle of the flattened cardboard.
Step 7: Pasting The Ends Together
Take some glue and apply it at the ends of the smaller eye created by cutting the cardboard in half. Press it properly to seal the ends. Repeat the process on all the cut pieces. This will create yet another eye-like shape but this time, it will be smaller. It’s going to take time but don’t worry I’ll wait for you.
Step 8: Pasting The Smaller Eye Inside The Bigger Eye
Now that you have completed the previous long step, take five of these small pieces and paste one of its ends on the inward corner, closer to the centre of the floral shape, of the bigger piece. Be mindful while doing that, it might get tricky pasting the ends inwards. Repeat the process on all the five pieces.
Step 9: Gluing More Pieces Together
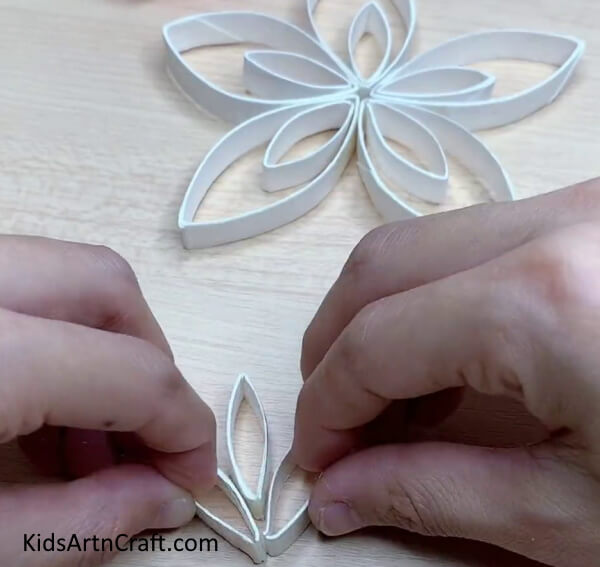
Take some liquid glue and first glue two pieces together on the sides. Then take a single piece and glue it in the middle of the two glued pieces right at the top. Making two pieces slanted at the sides and a single one in between.
Step 10: Complete The Tree Shape
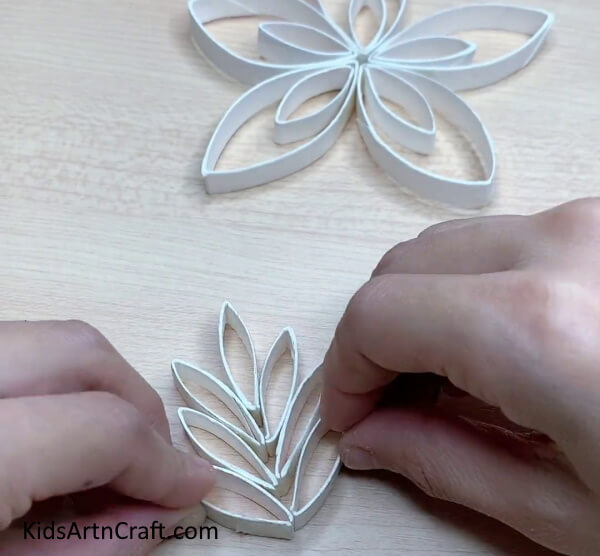
Take two more pieces and paste them on the outer sides of the two already joined pieces. Repeat the process once more creating the shape of a Christmas tree. The shape should have seven pieces in it.
Step 11: Connect The Tree With The Flower
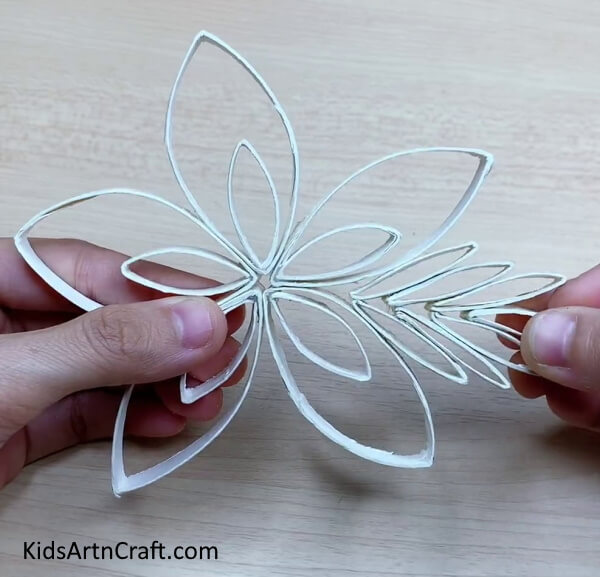
Paste the tree shape between the two pieces of the floral shape. You can do that by pasting the sides of the bottom small piece with the outer sides of the big piece.
Step 12: Joining All The Pieces One Last Time
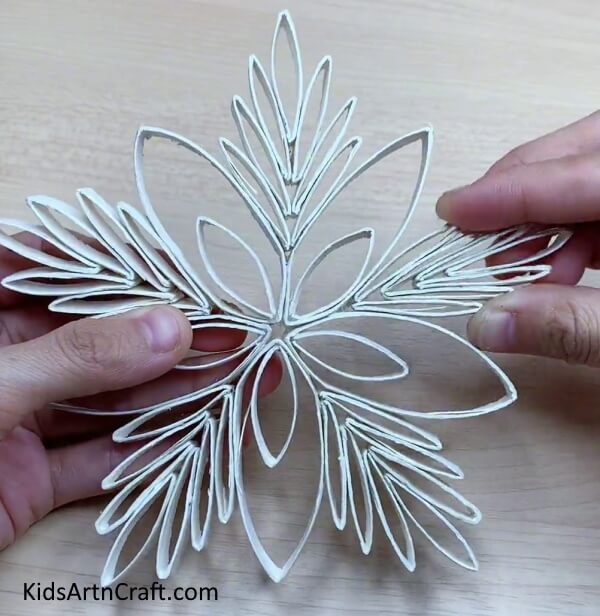
Make four more of such tree shapes in the same way shown in the previous steps and paste them to the bigger flower shape as instructed above.
Finally, Paper Snowflake Is Ready!
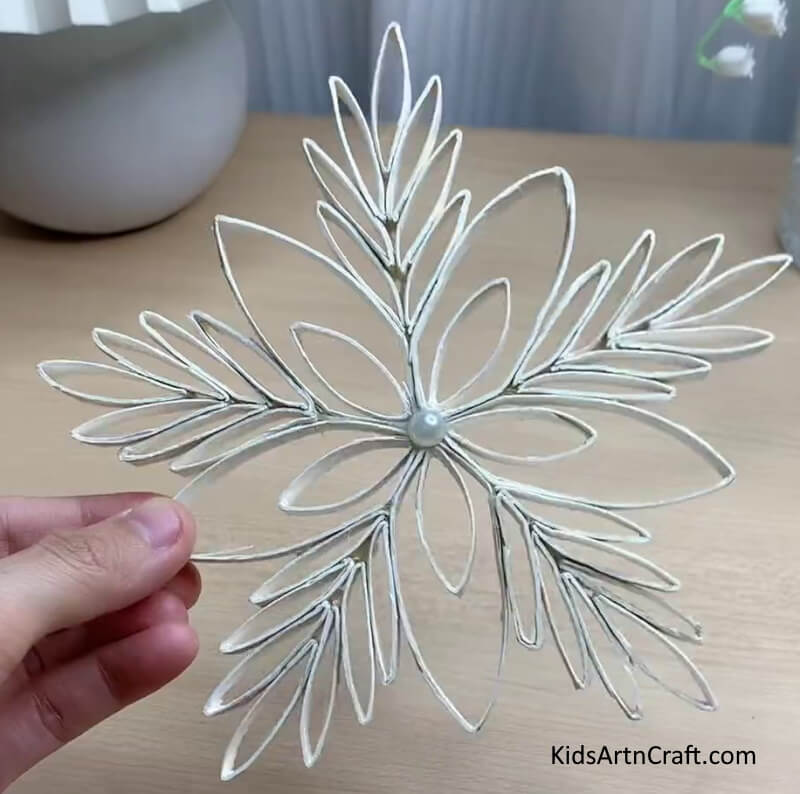
Take the pearl bead and paste it in the middle of the entire shape. And that completes the process of making our beautiful snowflake with its very own distinct shape.
Took a long while to make it, didn’t it? But, it was all worth it eventually because the shape created came out perfect and just the way we wanted it to be or even better. We used simple shapes to create a complex figure which resembles very close to the original. That’s exactly what we want you to learn from these tutorials, to perfect your art until it looks indistinguishable from reality. This tutorial bought an entire season with its unique gifts, to you. Think of more such beauties from each season that you can create using the techniques you learn from these tutorials and the new ideas you can implement on the same techniques to create something completely unique and original. You did a great job today and I hope you keep excelling in it through hard work and passion.
Some More Snowflakes Craft Tutorial
Creating a Wall Hanging Craft with Paper Snowflakes
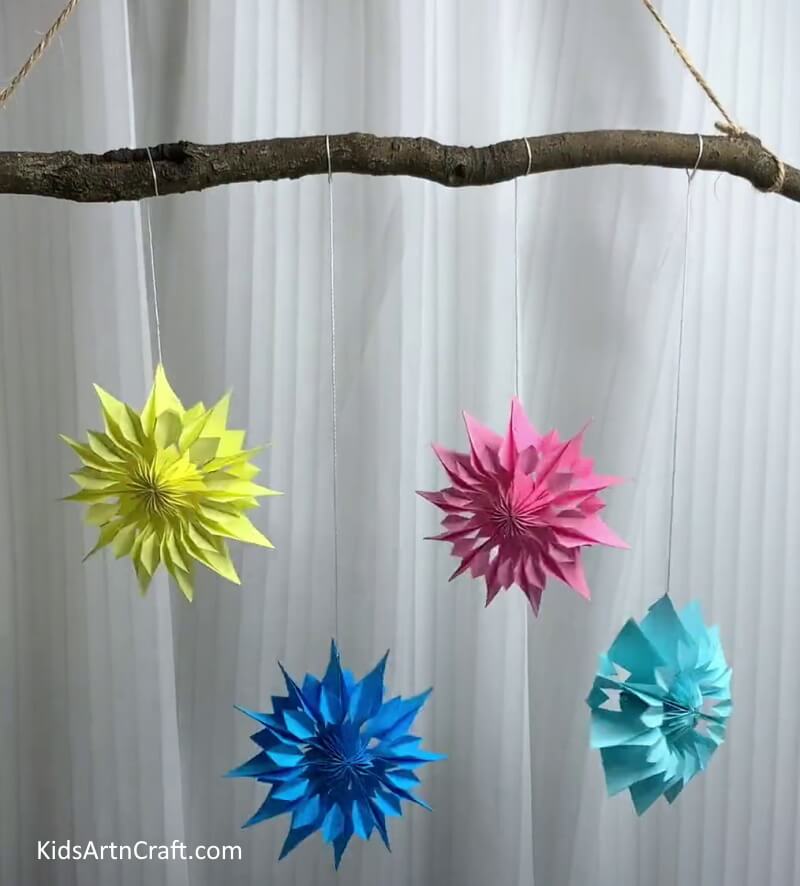
Image Source/Tutorial: Kids Art & Craft
Creating a wall-hanging craft with paper snowflakes is a fun and easy project for the whole family. Not only is it an enjoyable activity, but the end result is a beautiful decoration that will last for years.
Making Paper Snowflakes Craft Idea For Project
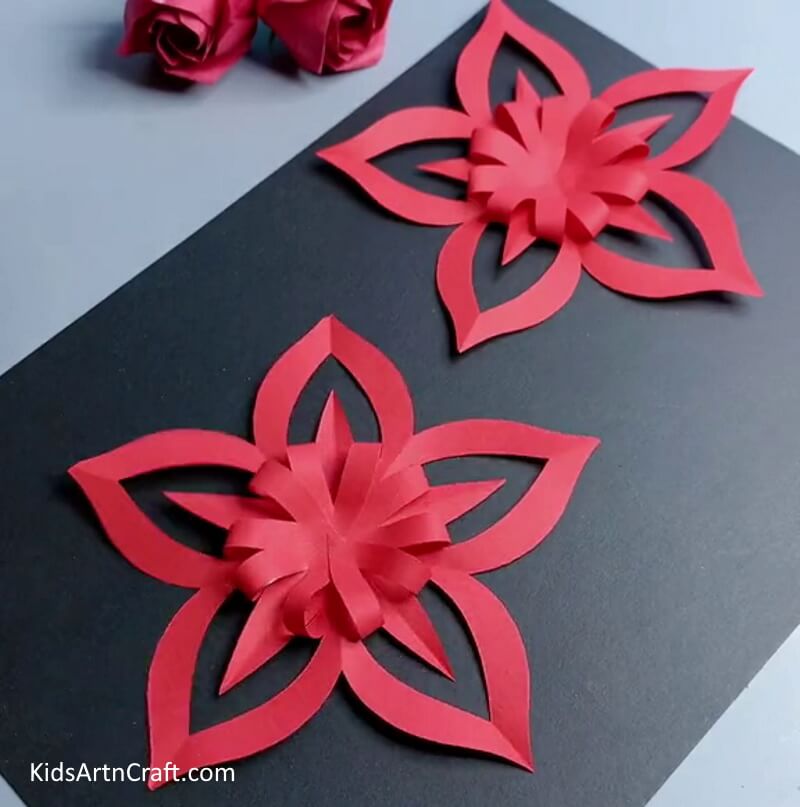
Image Source/Tutorial: Kids Art & Craft
Making paper snowflakes is a fun and creative way to decorate for a winter project. With a few simple folds and cuts, you can create a beautiful, unique snowflake to hang in your home or classroom.
Basic Snowflake Craft For Kids Using Paper
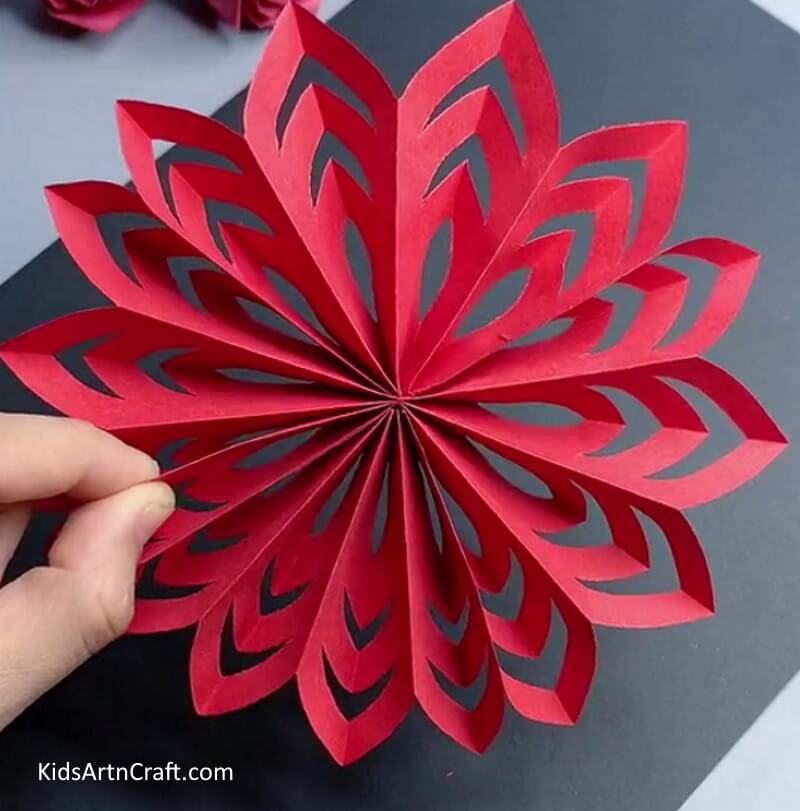
Image Source/Tutorial: Kids Art & Craft
This basic snowflake craft is perfect for kids! All you need is paper and scissors to create beautiful snowflake decorations. It’s a fun and simple activity that everyone can enjoy!
Follow us on Youtube for art and craft tutorials and much more.
More Articles from Kids Art & Craft
- Amazing Creative Craft Ideas from Paper Video Tutorial for Kids
- Easy Paper Crafts DIY Video Tutorial for All
- DIY Fun Craft Activities At Home Video Tutorial
- Creative Craft By Things At Home Video Tutorial for All
- Cool Paper Craft Video Tutorial for Kids


