


Home Decor
DIY Paper Snowflake Wall Hanging Craft Tutorial

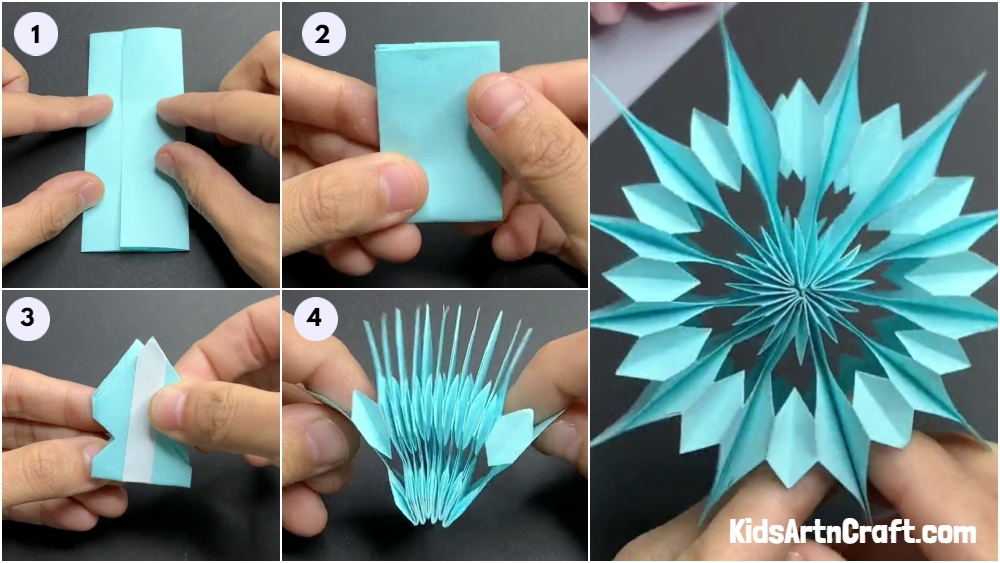
Create a beautiful and unique wall hanging for your home this winter with this easy DIY Paper Snowflake Craft Tutorial!
Learn how to make a beautiful Snowflake Wall Hanging using simple materials and step-by-step instructions. Create your own unique design and make a statement this winter! Get ready to bring a touch of winter wonderland into your home. The same is possible only with this DIY paper snowflake wall hanging craft tutorial. In this step-by-step guide, we will explore the art of making intricate snowflakes. With just a few materials and a dash of creativity, you can create this. Let’s dive into the magical world of paper crafting. It is because it is now time to create a whimsical winter masterpiece.
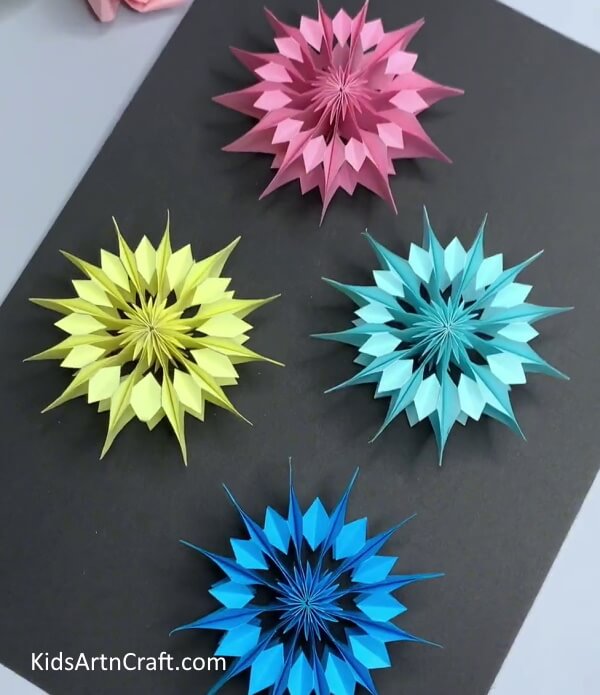
Beautiful Paper Snowflake Hanging Craft Tutorial For Wall Decor
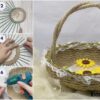
Read More: Simple Button Art & Craft Ideas for Kids
Materials Required
-
Origami Papers (Blue, Dark blue, Yellow, And Pink)
-
Pencil or Marker
-
Double-sided Tape
-
Scissors
Procedure
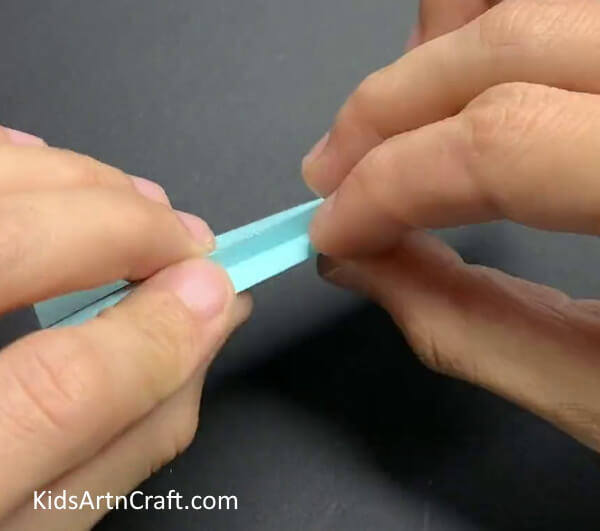
Step 1: Preparing the Materials
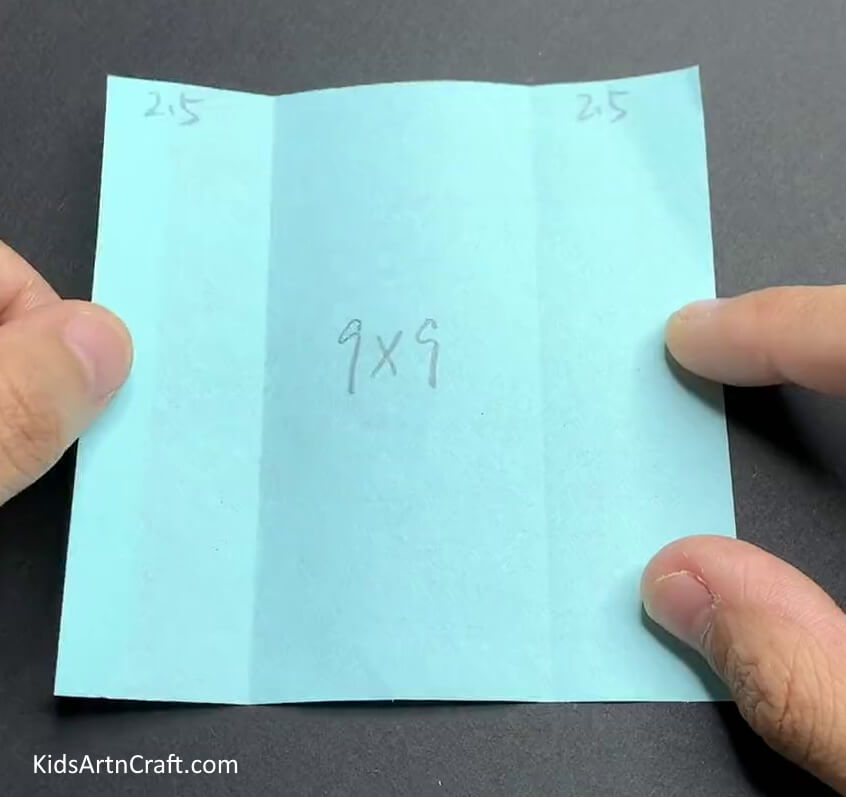
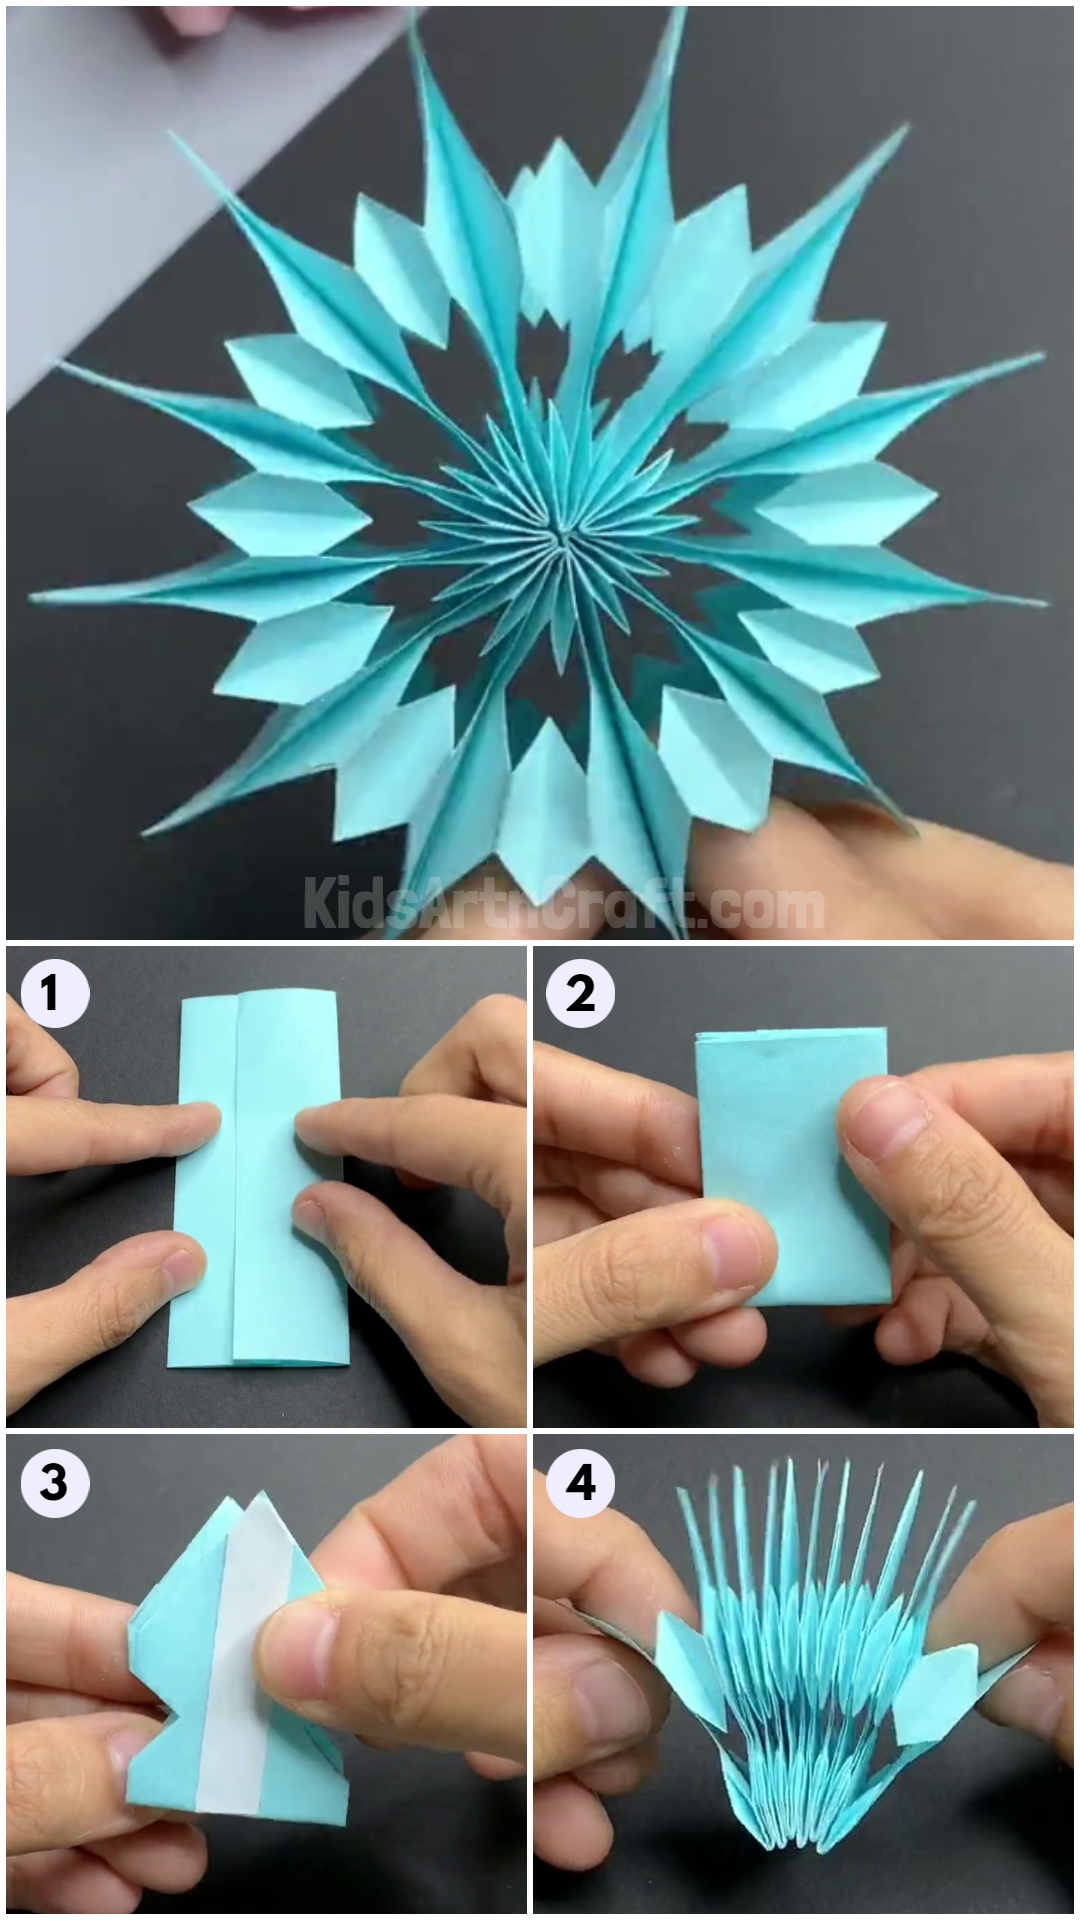
Gather all the necessary materials for this origami snowflake craft. You will need a blue origami sheet, preferably 9×9 in size. Fold the sides of it by measuring 2.5 cm and make a crease unfold again.
Step 2: Folding Along The Crease
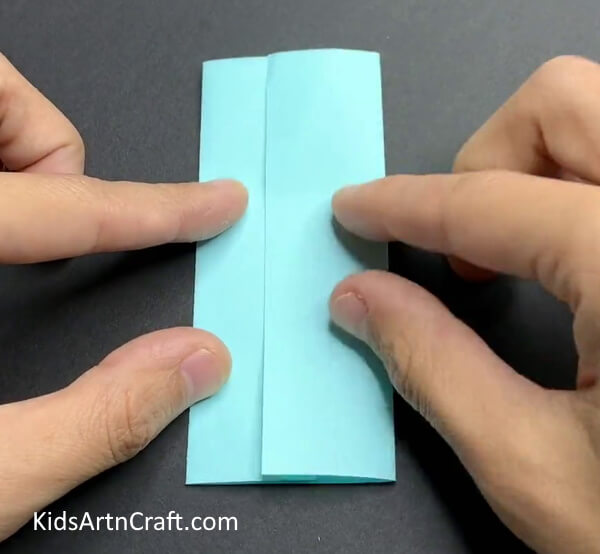
Fold the left side and then the right side of the paper along the crease.
Step 3: Folding The Left Folded Side
Step 4: Folding Both The Folded Sides
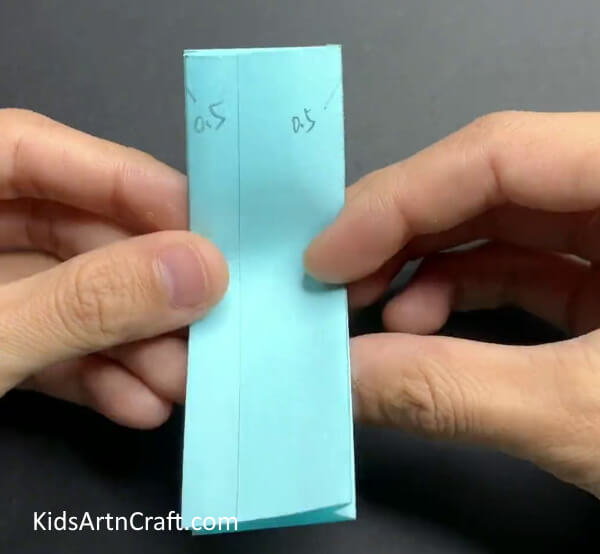
Do the same as previously mentioned to make 2-2 more creases beside the main folded creases of 0.5 cm.
Step 5: Folding The Paper In Half
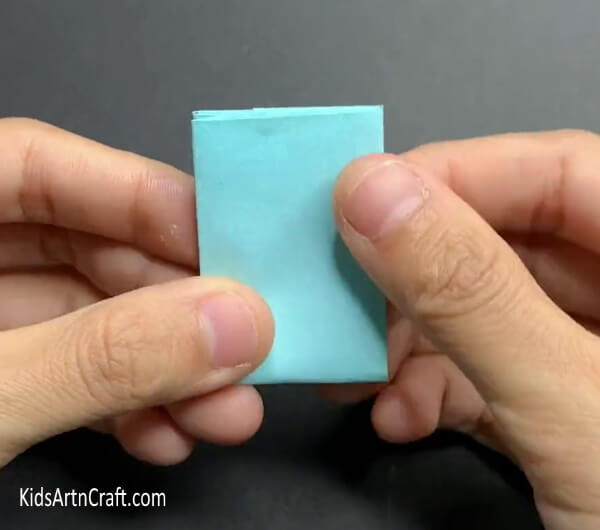
Fold the rectangle small opened side over the other to fold the paper in half.
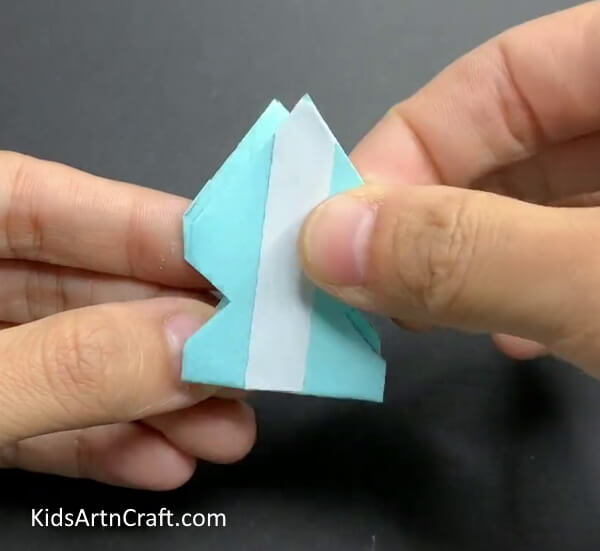
Step 6: Drawing and Cutting the Arrow Shape

Using a pencil or marker, draw an arrow shape on the paper as shown in the image, and using scissors, cut along the drawn lines. This will become your snowflake piece.
Step 7: Making More Snowflake Pieces

Step 8: Applying Double-sided Tape To The Piece
Step 9: Sticking The Snowflake Pieces Together
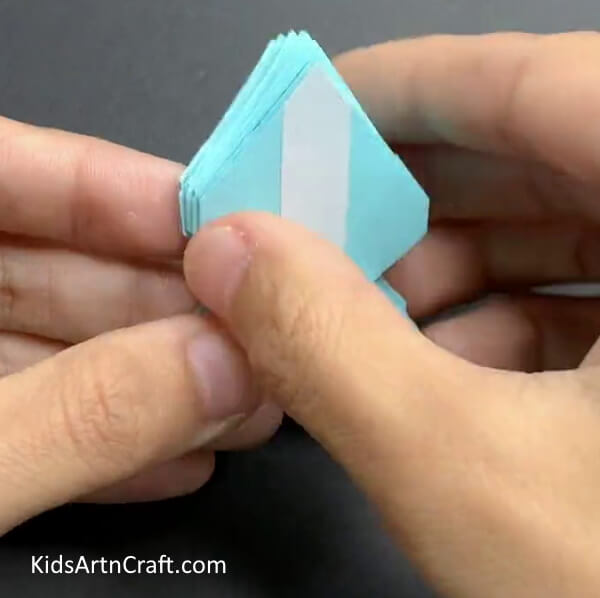
One by one place and stick the snowflake pieces over each other from the double-sided tape.
Step 10: Opening The Snowflake Picese
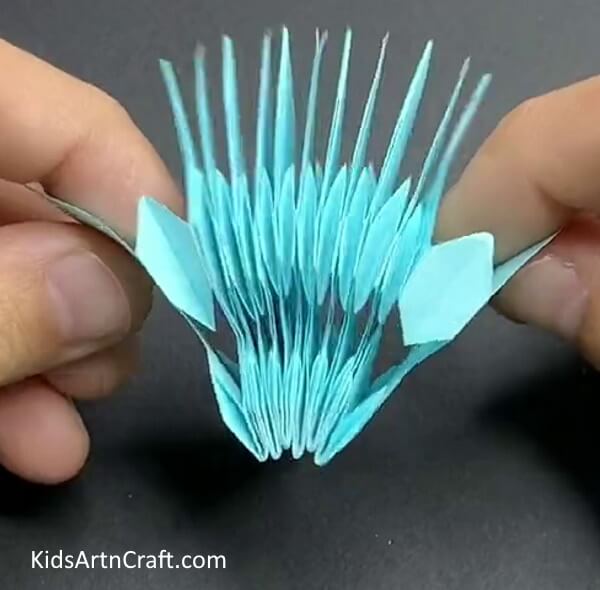
Step 11: Pasting The Ends Together
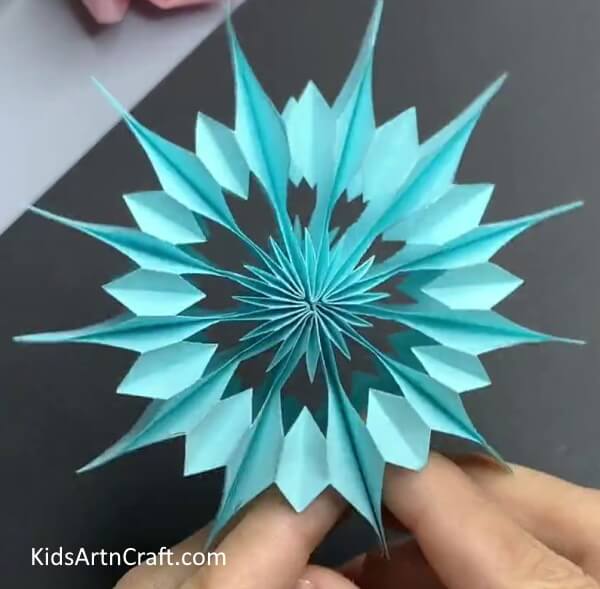
Totally open the ends and paste them together once made a whole snowflake circle from the double-sided tape. This completes your blue snowflake.
Step 12: Making A Pink Snowflake
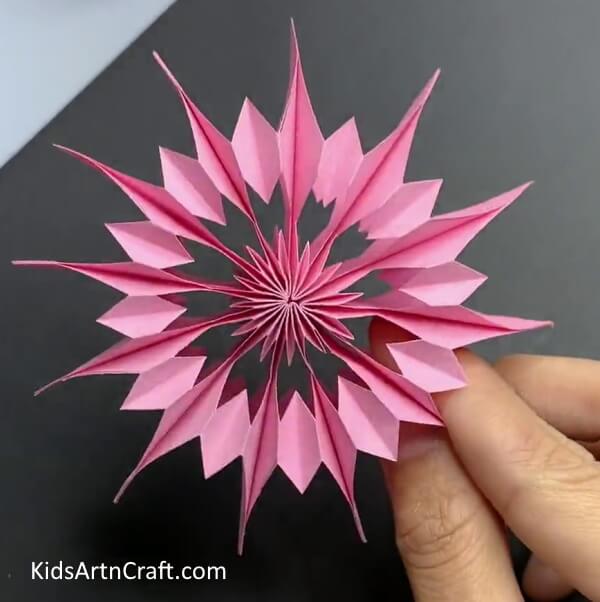
From the previous steps, make a pink snowflake by using pink sheets instead of blue.
Step 13: Making More Colorful Snowflakes
Now make snowflakes of dark blue color and yellow color too.
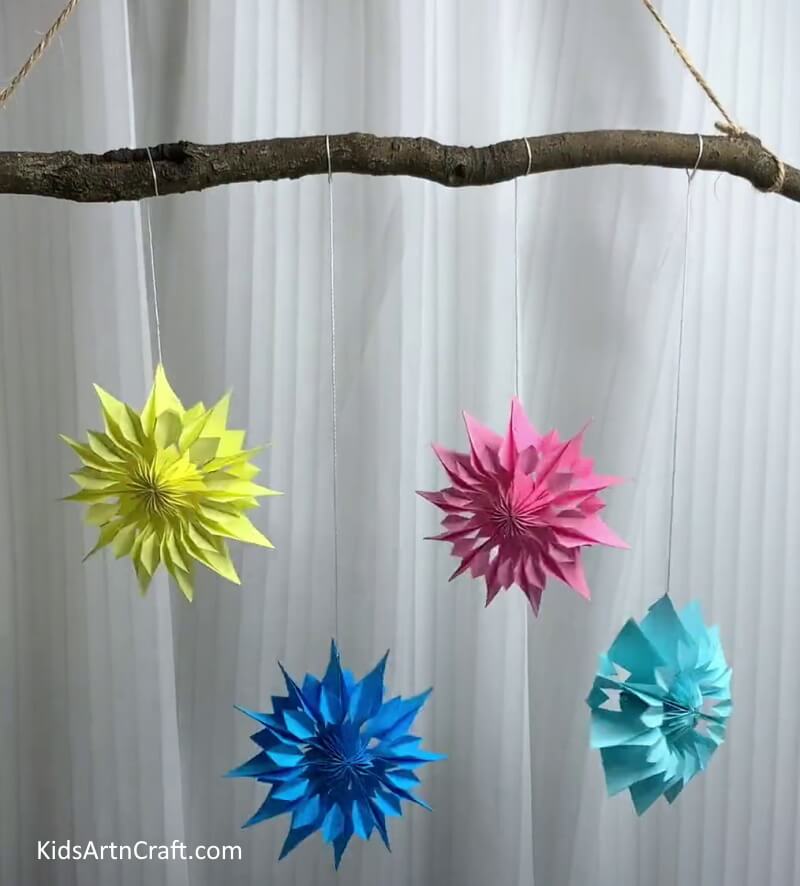
Your Snowflake Hangings Are Ready!
Some More Snowflake Craft Tutorial
DIY Make Small Paper Snowflake As Crafting For Kids
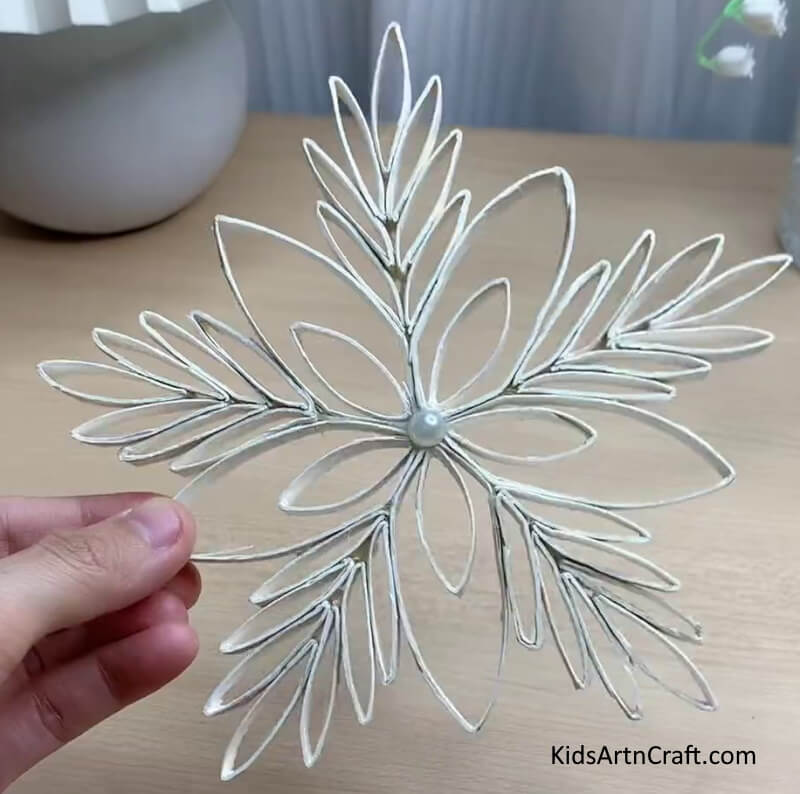
Image Source/Tutorial: Kids Art & Craft
DIY paper snowflakes are a fun and easy way to keep kids entertained. They can easily craft their own unique snowflakes to hang around the house and make a winter wonderland. All you need is a few sheets of paper and some scissors!
Follow us on Youtube for art and craft tutorials and much more.
More Articles from Kids Art & Craft
- Christmas Paper Craft Activities Video Tutorial
- Paper Designs for Kids
- Easy Paper Craft Activities At Home Video Tutorial for All
- Easy Paper Craft Ideas Everyone Love Video Tutorial
- Cool Paper Craft Video Tutorial for Kids