


Christmas
DIY Christmas Paper Santa Craft For Kids

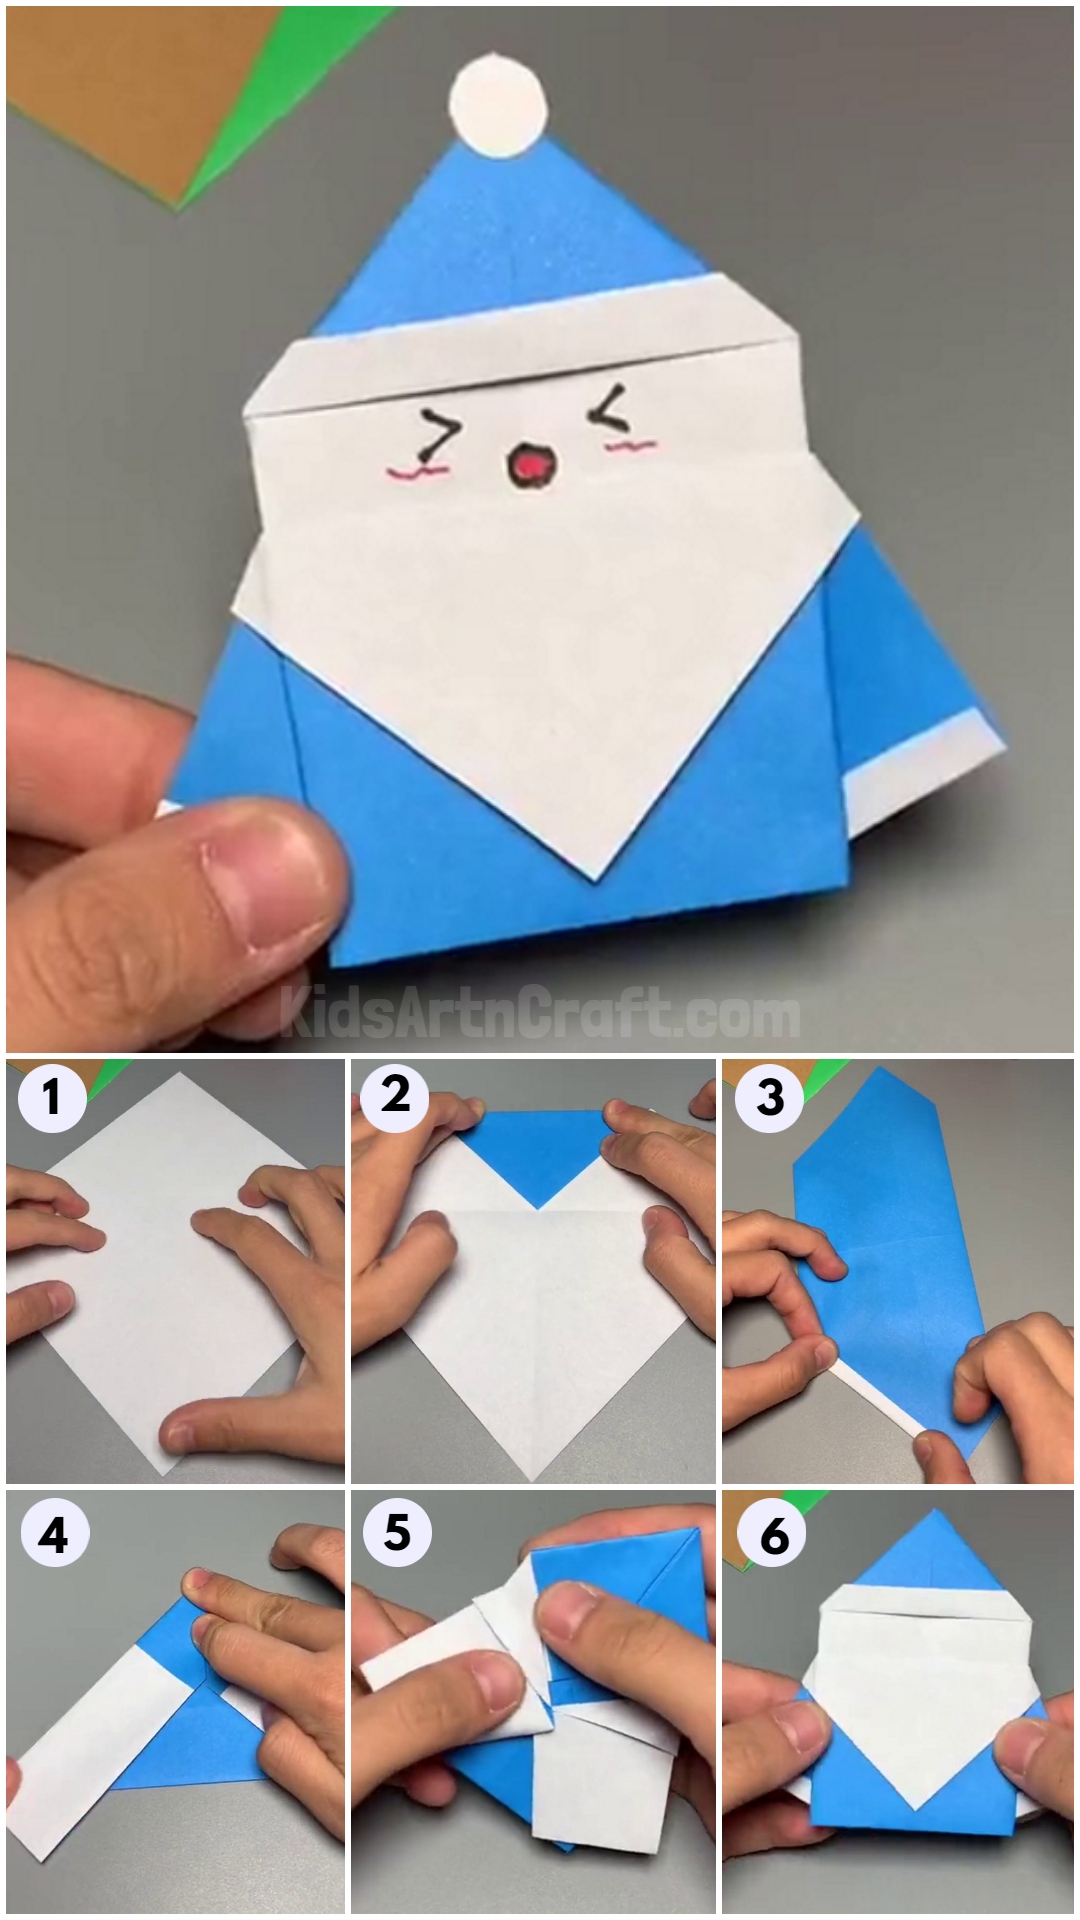
Make this fun and festive DIY Christmas Paper Santa Craft with your kids this holiday season! Perfect for kids of all ages, this craft is easy to assemble, with simple materials and instructions. Enjoy some quality time with your family while creating a memorable keepsake.
A great opportunity to showcase your art and allow it to grow as well. In this tutorial, we are here with art that celebrates such a festival. Christmas, A festival of joy and celebrations. And what is the most fun thing about Christmas?
Santa Claus. But have you ever seen one? No, right? Worry not because we are going to make one today. So, be ready with your sheets of paper and pens, and let’s get started.
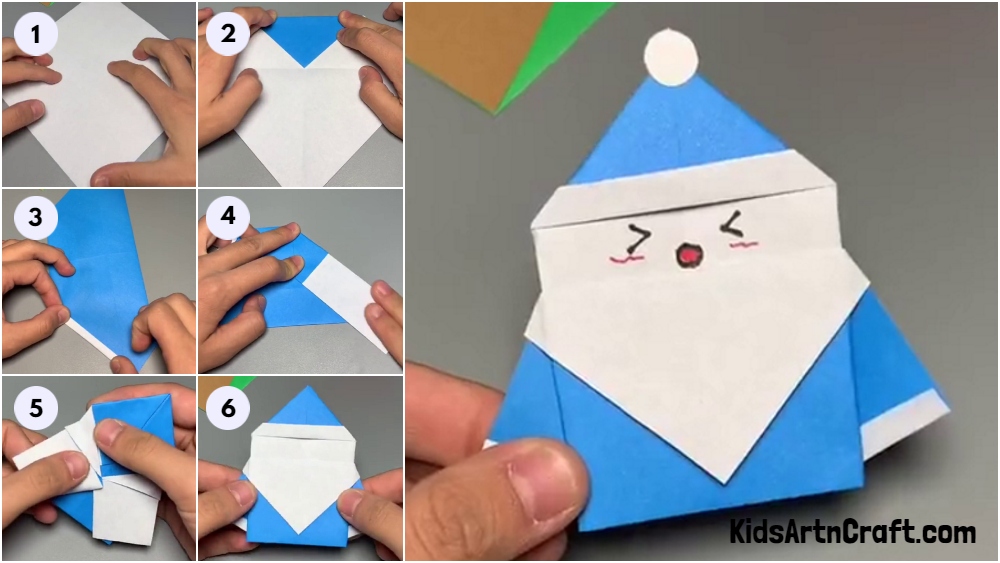
Handmade Paper Santa Craft For Christmas
Read More: Easy Paper Craft Activities At Home Video Tutorial for All
Material Used
- 2 Colored Glazed Papers
- Pencil
- Pen
Procedure
Step 1: Take a Sheet Of Paper
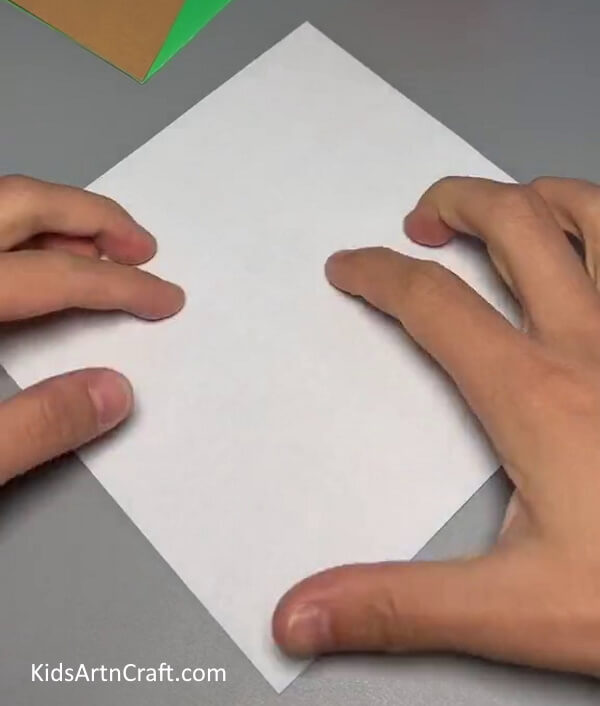
Take a sheet of glazed paper and place it on the surface upside down and remember, it should look like a rhombus, not a square.
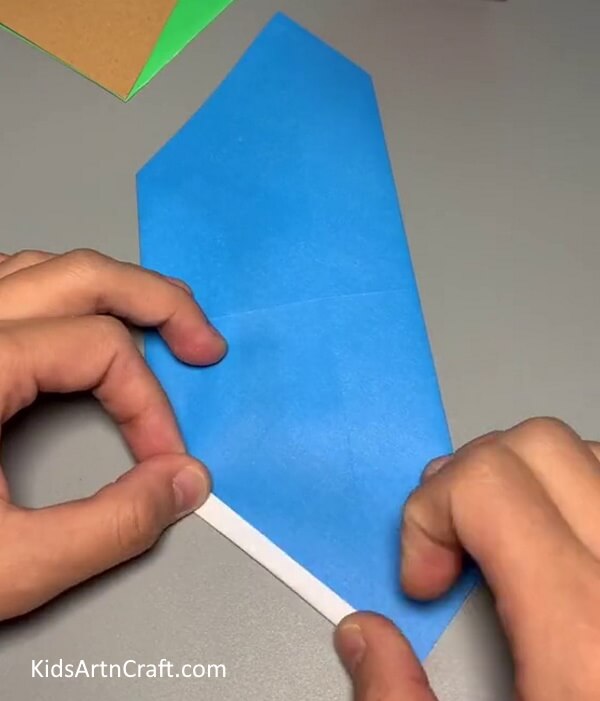
Step 2: Make a Fold At The Corner
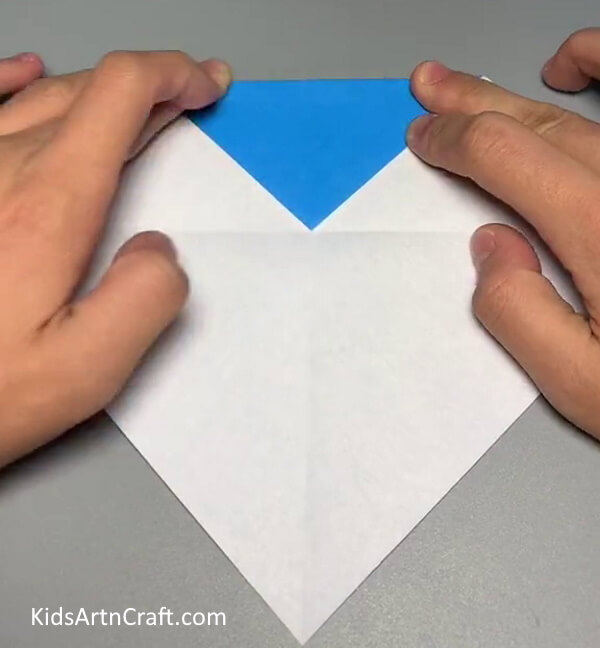
Fold the rhombus from one corner to the other and press it down to make a mark. Open the fold after making the mark. Repeat the process with other corners. Now, the top corner of this rhombus up to the mid-section of the paper or the center point of the mark that you made earlier.
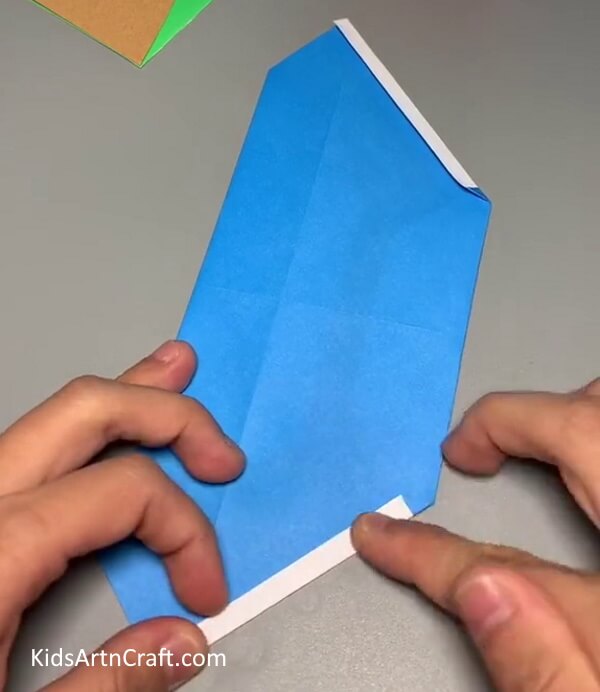
Step 3: Make Smaller Folds

Make a small fold at the corner of the already-made fold. Now, Make another fold to the fold you just made. Both folds should be small.
Step 4: Make a Big Fold At The Bottom Corner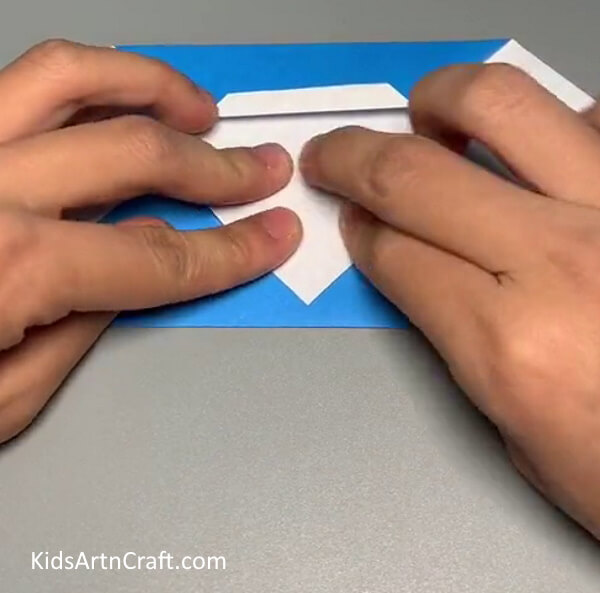
Take the bottom corner of the sheet and make a big fold so that it fits under the fold you made earlier slightly. Now, take the excess sheet made by the big fold and fold it over again making the corner of this already folded side place a little above the bottom side of the fold.
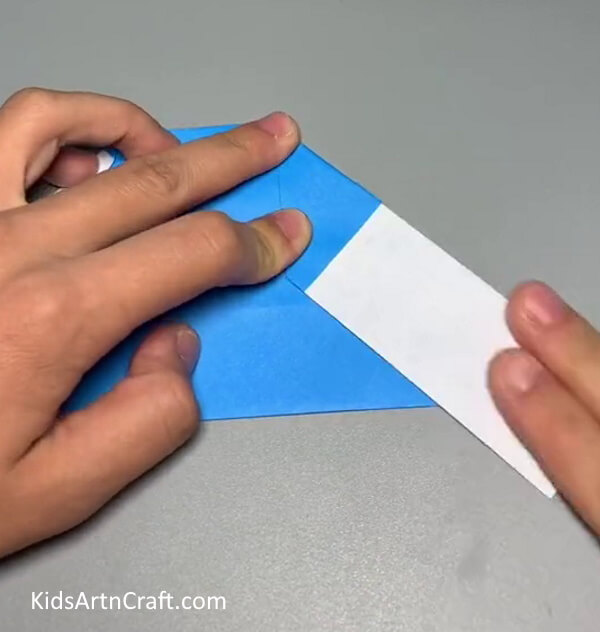
Step 5: Turn The Sheet Around
This step involves turning the sheet in the opposite direction and making yet another small fold on the side resembling a slope.
Step 6: Complete Both Folds
The same process applies to the other slope as well.
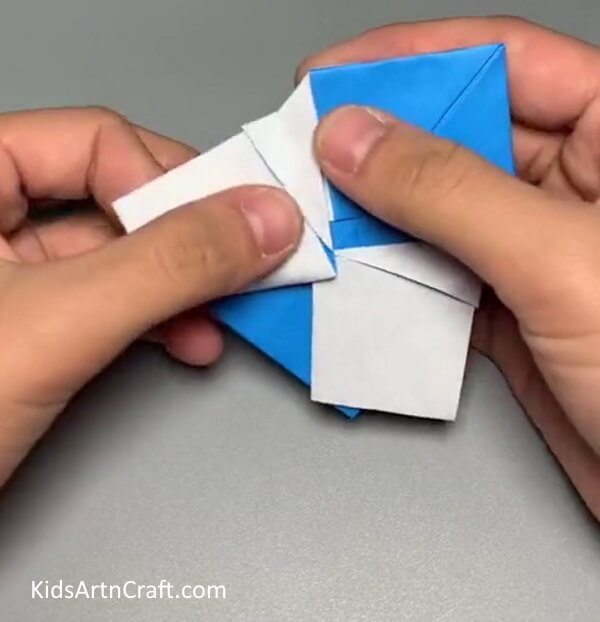
Step 7: Folding To Make Perfect Slopes
On the same side make a bigger fold covering a little less than half the area of the top surface line of the sheet. The fold should still have the slope but this time it should be bigger in width.
Step 8: Repeat The Process On The Other Side

Do the same on the opposite side of the fold you just made. This shall make a pointed corner at the top of the two folded sides.
Step 9: Folding The Slopes Inwards

Carefully, fold this bigger slope, you made in the previous step, towards the sheet, not in the opposite direction. Do this on both slopes making the sheet straight on both sides.
Step 10: Adjusting The Excess Strip
Take the excess sheet made by the fold and fit it in the pocket created by the previous fold at the upper part of the sheet. Do this on both sides.
Step 11: Turning The Sheet Again
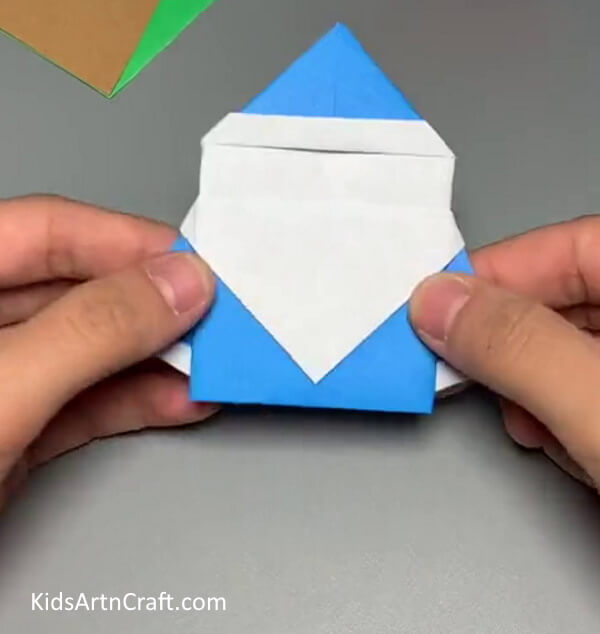
Turn the sheet around and you can already see a human shape with a cap on its head.
Step 12: Make a Happy Face On It
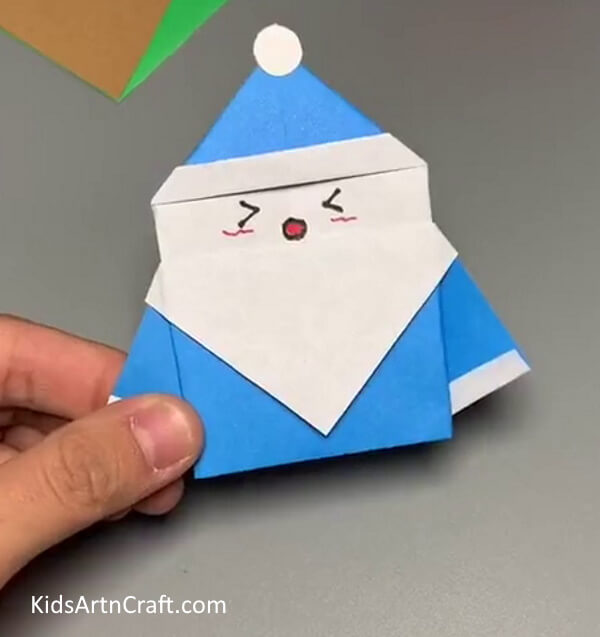
Take a light pencil and make a face on it. You can simply use signs like < >, which you know from mathematics, to make its eyes, add a red dot below them. Outline them with a sketch pen. You can also cut out a small circle from a plain sheet of paper and paste it at the top of the cap. Don’t forget to outline its beard.
Make More Santas With Different Sheets
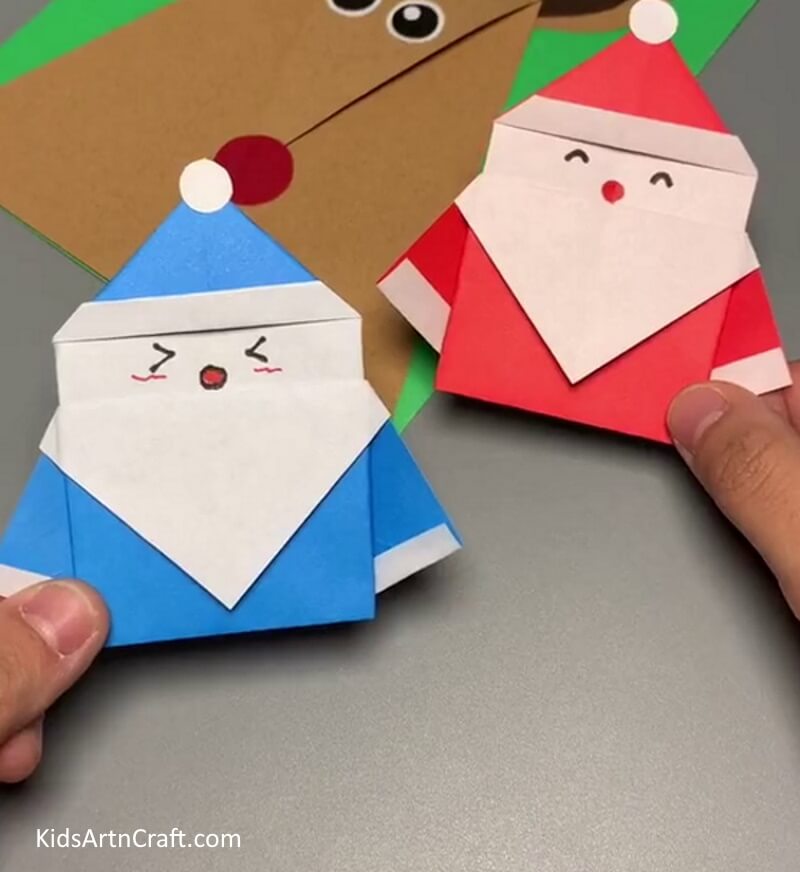
You can make as many Santas as you want using different colored sheets of paper and with different faces of course.
Congratulations on finishing the tutorial. It wasn’t easy, I must say. But you did it. Do practice the techniques you learned today. They will definitely be of help to you in perfecting your art and give way to unique ideas in your mind. Create similar art for different festivals with different themes. This will make your art versatile and full of variety.
Follow us on Youtube for art and craft tutorials and much more.
More Articles from Kids Art & Craft
- Easy Craft Ideas Make At-Home Video Tutorial
- DIY Paper Crafts Video Tutorial fo All
- Paper Craft Activities try At home Video Tutorial for All
- DIY Cute Christmas Craft Video Tutorial
- Super Easy Paper Craft Activities Video Tutorial for All