Paper Crafts
Paper Snowflake Pattern Step by Step Tutorial

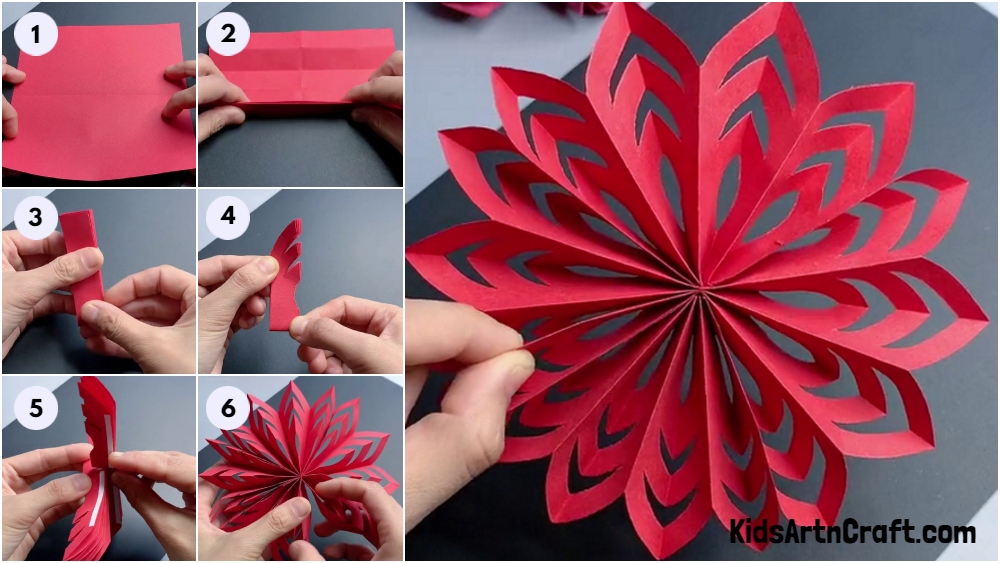
Make beautiful snowflakes in no time with this easy-to-follow step-by-step tutorial. Learn how to create stunning paper snowflakes with simple folding and cutting techniques, perfect for decorating your home during the winter season.
Making paper snowflakes is a timeless winter craft activity that is both fun and easy to do. A paper snowflake is a perfect way to decorate a winter window or to add a festive touch to your holiday décor. Making a paper snowflake is a great way to get creative and have fun with your family.
Welcome to this paper snowflake pattern step-by-step tutorial! In this tutorial, you will learn how to make paper snowflakes with simple tools and supplies. We will walk you through the steps of folding, cutting, and gluing the paper to create beautiful snowflake designs. With this tutorial, you will be able to make unique and intricate snowflake designs in no time! So let’s get started and make some beautiful snowflakes!
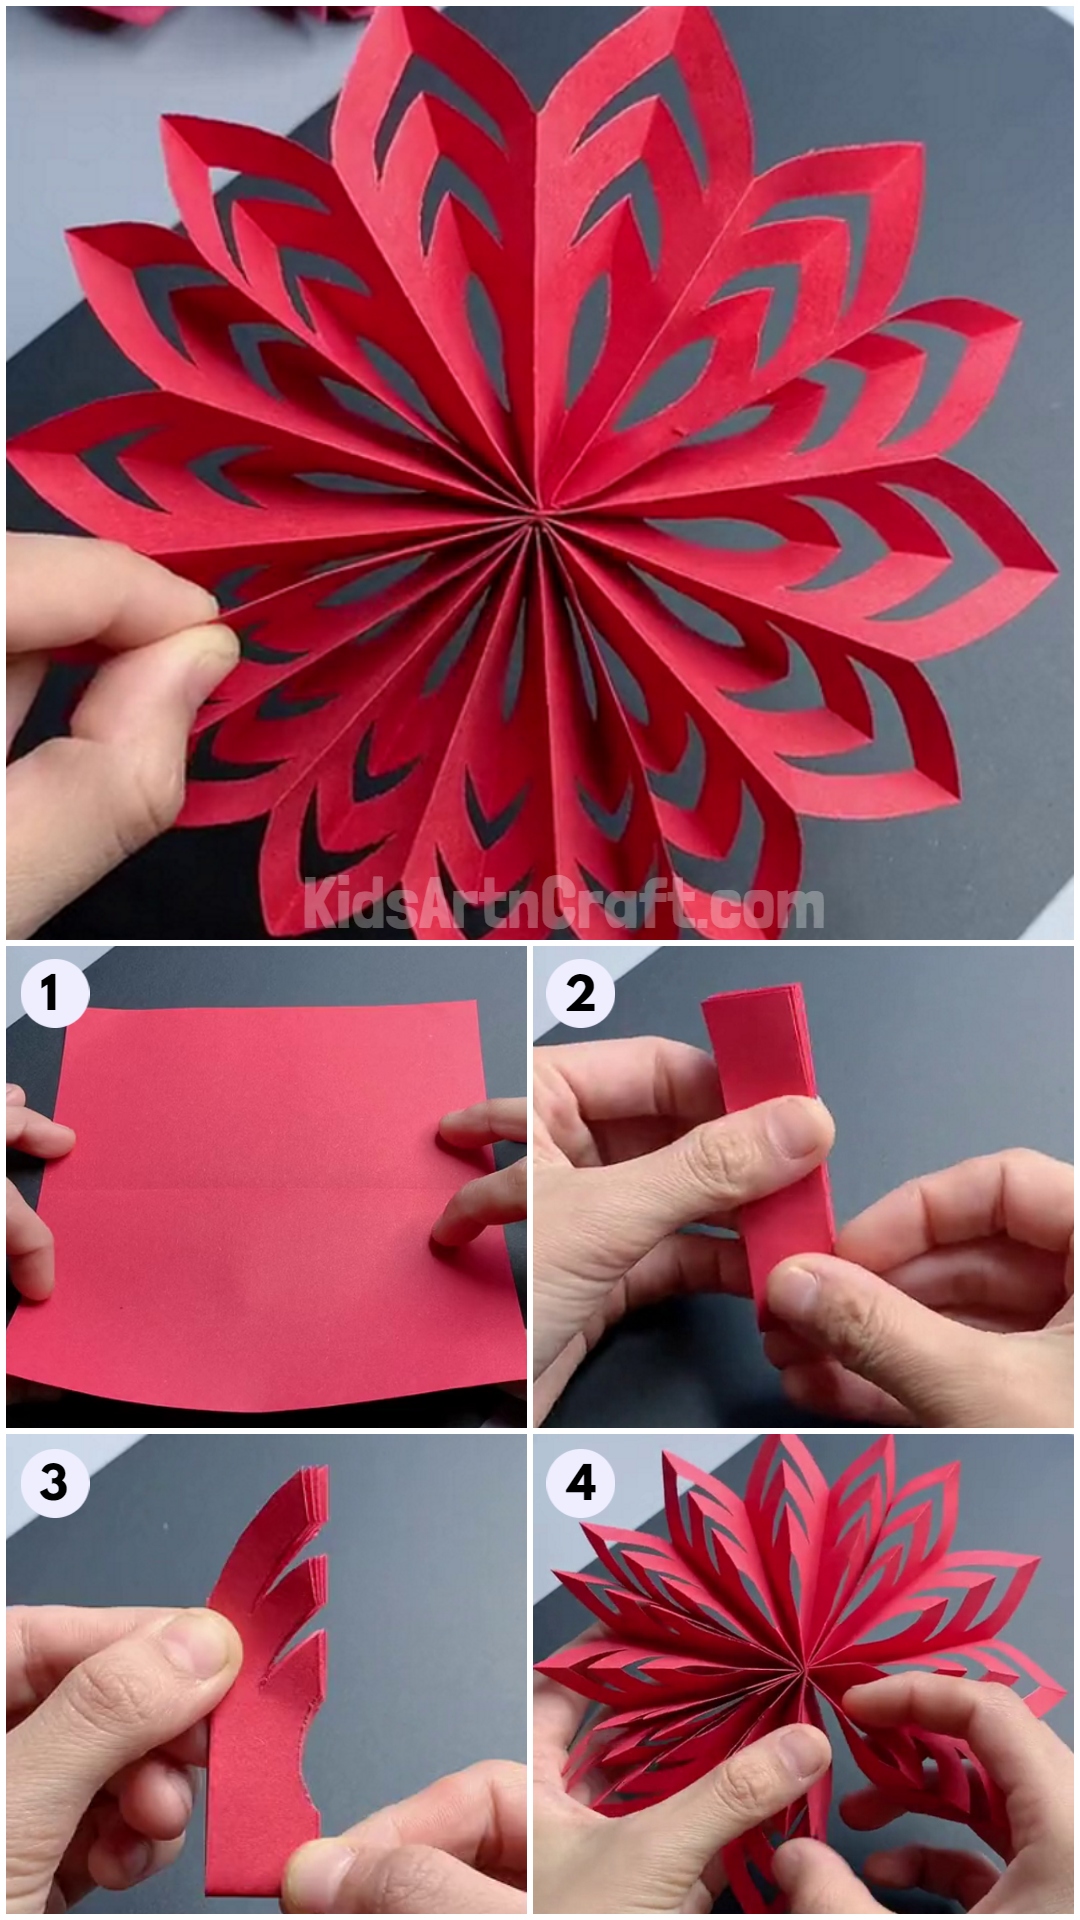
Simple Snowflake Pattern Craft Made With Paper
Read More: Christmas Paper Craft Activities Video Tutorial
Materials Required
- Red Paper
- Pencil
- Double Side Tape
- Scissors
Procedure
Step 1: Folding Square Paper In Half
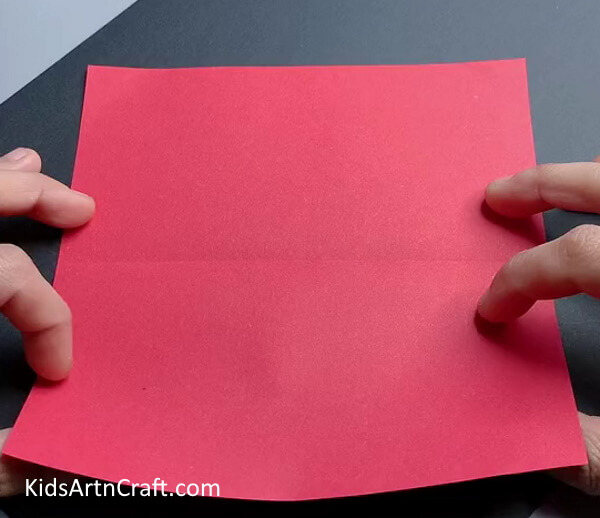
To begin with, take a red square paper and fold it in half.
Step 2: Folding Steps
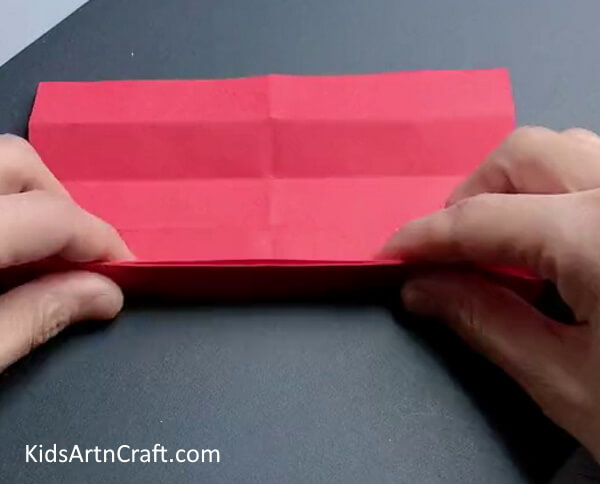
Now, make the steps fold by folding about 2 inches from one side and then, folding it in the opposite direction. Repeat the same till the end of the paper.
Step 3: Folding The Paper Strip In Half
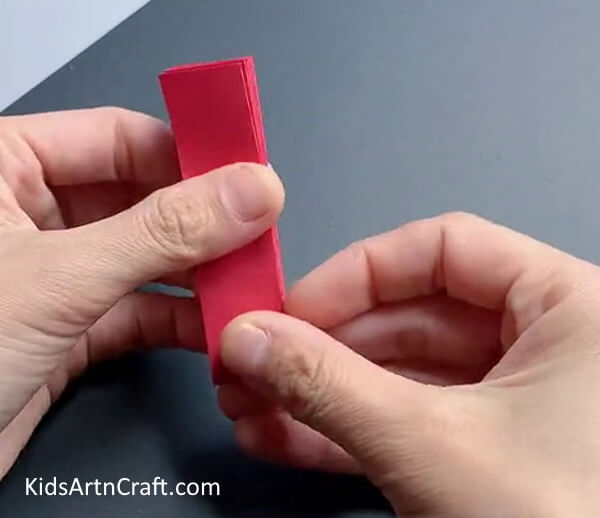
You should get a paper strip now. Fold the paper strip in half.
Step 4: Drawing Design
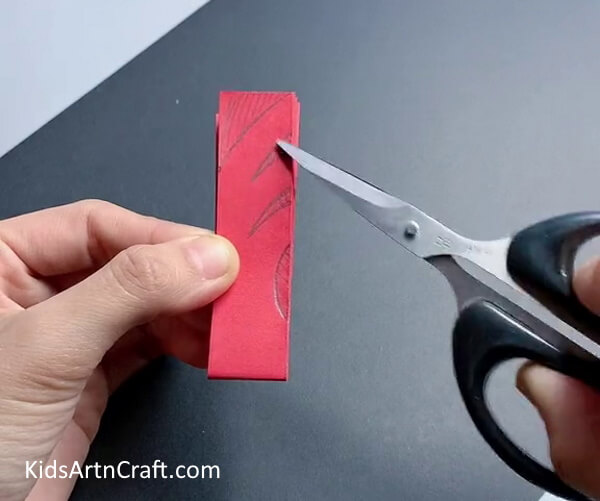
Using a pencil, draw a design on the folded paper strip as shown in the above image.
Step 5: Cutting Design
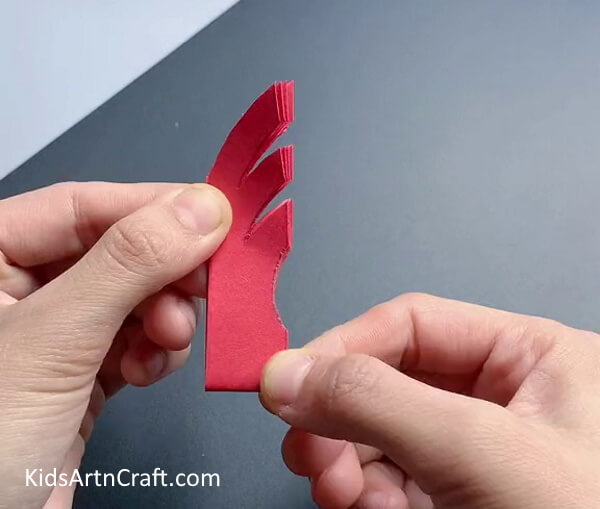
Cut the design on the paper using scissors.
Step 6: Attaching Four Designs Using Double Side Tape
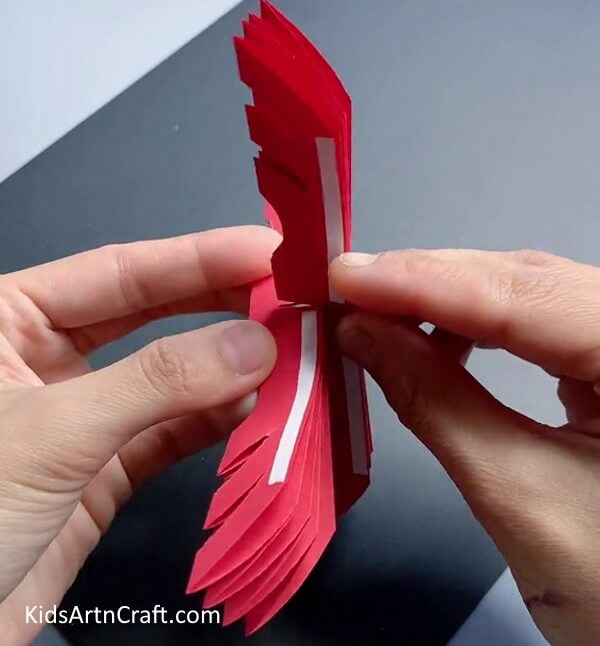
Make three more such designs using the above steps. Apply double side tape on the side surface of the paper designs. Attach two designs to make pairs. Now insert one pair in the other pair as shown in the above image.
Step 7: Unfolding Paper Designs
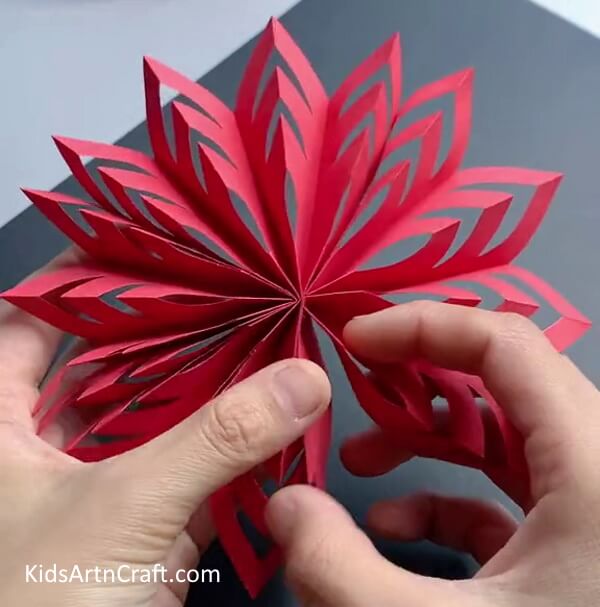
Finally, unfold the paper designs and paste the ends together.
Paper Snowflake Design Is Ready To Decorate!
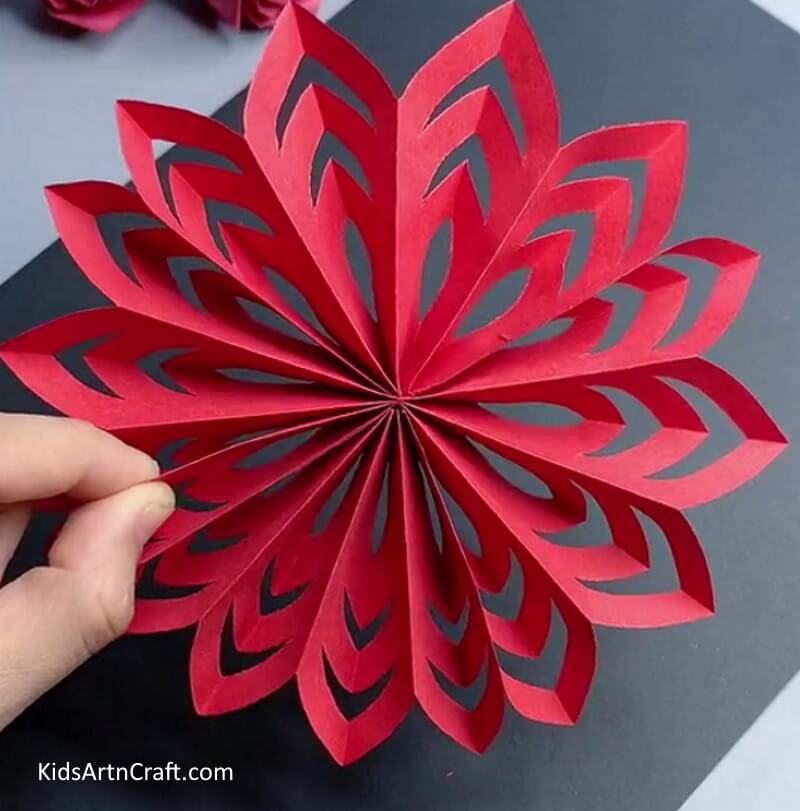
And voila! You have your very own paper snowflake! Your stunning paper snowflake design is ready to hang and enjoy during the holiday season! So whether you’re a beginner or a paper-crafting pro, you’re sure to end up with a masterpiece. What are you waiting for? Make your paper snowflake today and enjoy!
Some More Snowflake Craft Tutorial
How To Create Wall Hanging Decoration Paper Snowflake Craft
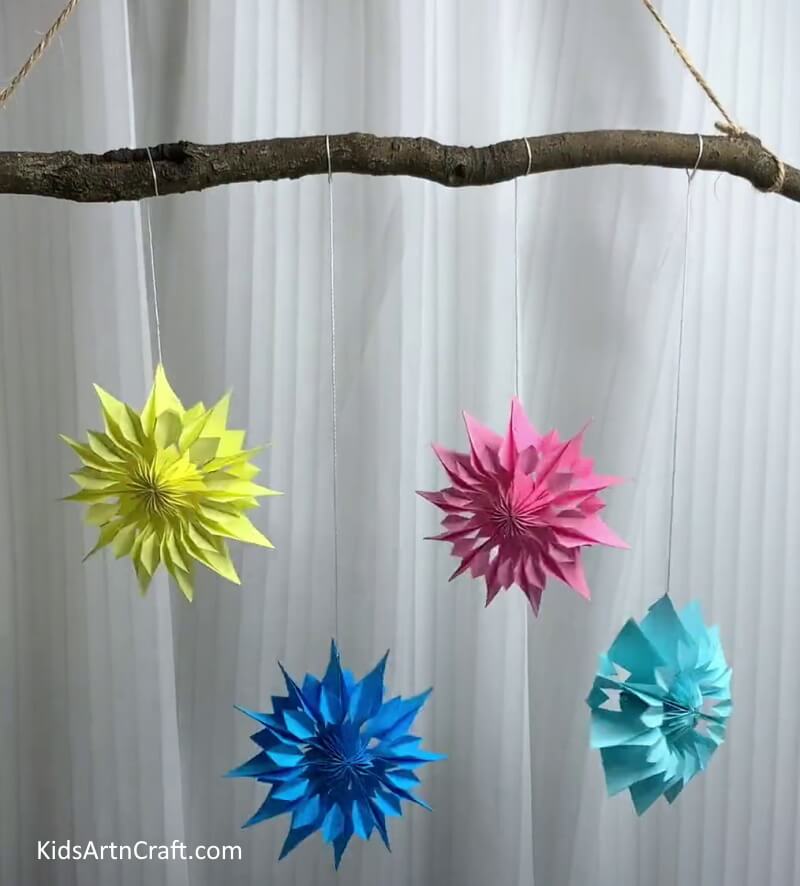
Image Source/Tutorial: Kids Art & Craft
Creating a paper snowflake craft is a fun and easy way to make a beautiful wall-hanging decoration. All you need to do is cut out shapes from paper and put them together. It’s a great project for kids to make and is sure to add a unique touch to any room.
Creating Little Paper Snowflake is a Fun Craft For Kindergarten
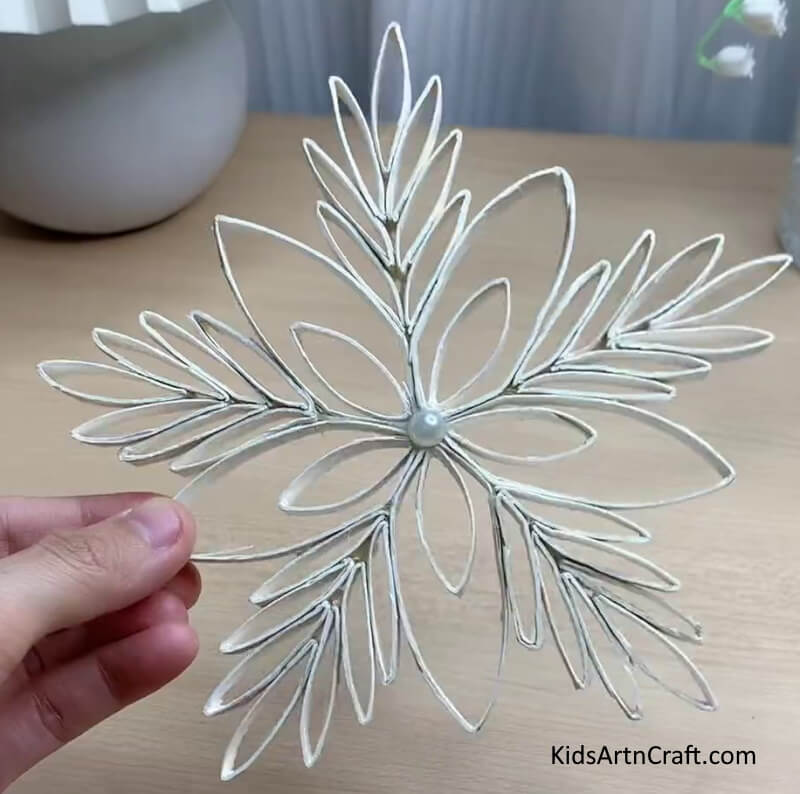
Image Source/Tutorial: Kids Art & Craft
Little Paper Snowflake is a fun and simple craft for kindergarteners! It’s a great way to teach children about shapes, symmetry, and art while having a blast. They can make beautiful snowflakes to hang up around the house.
FAQs Paper Snowflake Pattern Step-by-Step Tutorial
1. What kind of paper should I use to make a paper snowflake?
You can use any type of paper you want, but for the best results, we recommend using thin sheets of white paper. Colored paper is also an option, but it will give your snowflake a colored tint.
2. How many cutouts do I need to make in the paper?
You will need to make at least four cutouts in the paper to create the snowflake shape.
3. How do I make a star-shaped snowflake?
To make a star-shaped snowflake, you will need to make six cutouts in the paper and then fold the paper in half.
4. What is the best way to get a symmetrical snowflake?
You can trace a symmetrical shape onto the paper before you make your cutouts. Alternatively, you can fold the paper in half and cut out a symmetrical shape.
5. How do I make different shapes of snowflakes?
To make different shapes of snowflakes, you can use different folding techniques and cutout patterns. Experiment with different shapes to create unique snowflakes.
6. What is the best way to attach the paper snowflake to a wall?
The best way to attach the paper snowflake to a wall is to use double-sided tape.
7. How do I make a paper snowflake last longer?
To make a paper snowflake last longer, you can spray it with a clear sealer or fixative.
8. How do I store paper snowflakes?
To store paper snowflakes, you can place them in an airtight container or bag.
9. How do I keep my paper snowflakes from tearing?
To keep your paper snowflakes from tearing, you can use a craft knife to carefully cut out the shapes.
10. How do I make a paper snowflake bigger or smaller?
To make a paper snowflake bigger or smaller, you can use a larger or smaller sheet of paper. You can also adjust the size of the cutouts to create a larger or smaller snowflake.
This paper snowflake pattern step-by-step tutorial has provided a detailed guide on how to make the perfect paper snowflake. With the instructions provided, you can now create beautiful snowflakes to decorate your home this winter season.
Follow us on Youtube for art and craft tutorials and much more.
More Articles from Kids Art & Craft
- Easy Make Paper Craft Activities Video Tutorial for All
- Paper Cutting Shapes Crafts
- Paper-Cutting Designs For Projects
- Super Easy Craft Activities Video Tutorial At Home
- Paper Woven Crafts & Designs for Kids


