


DIY and Crafts
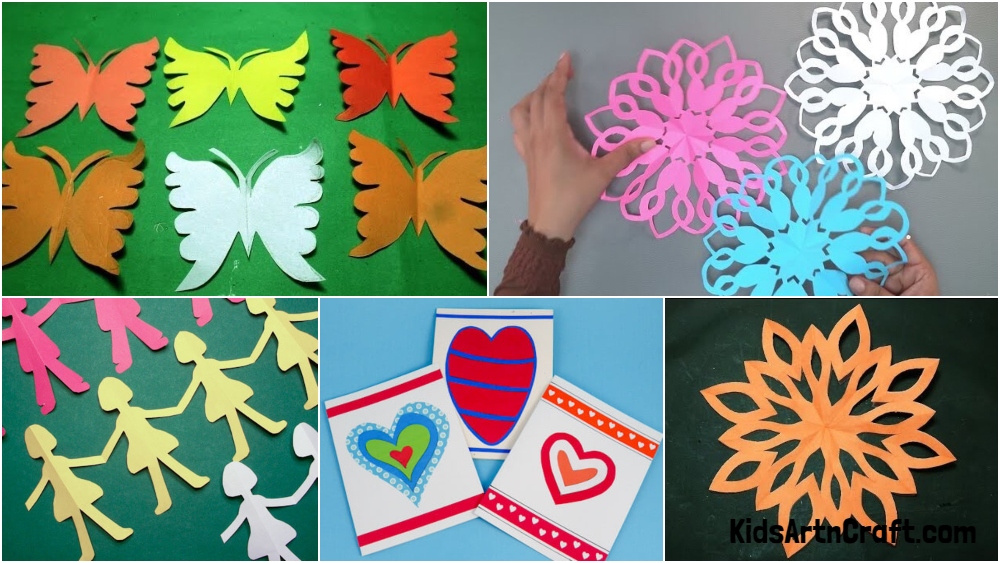
Paper-Cutting Designs For Projects

Create amazing paper-cutting designs for projects. Learn how to cut intricate shapes, patterns, and designs with step-by-step instructions.
Create unique decorations, cards, and artwork with paper-cutting designs. Paper-cutting designs have been around for centuries, and it is a great way to express creativity and create beautiful art. Whether you are creating a decorative piece for your home, a beautiful card for a special occasion, or a project for school, paper cutting is a great way to make something unique and special. With a little bit of patience and a few tools, you can create a stunning design that you can be proud of. In this article, we will discuss how to create paper-cutting designs for your project.
Easy Paper Cutting Design Craft Projects For Kids
Read More: Recycled Yogurt Cup Animals
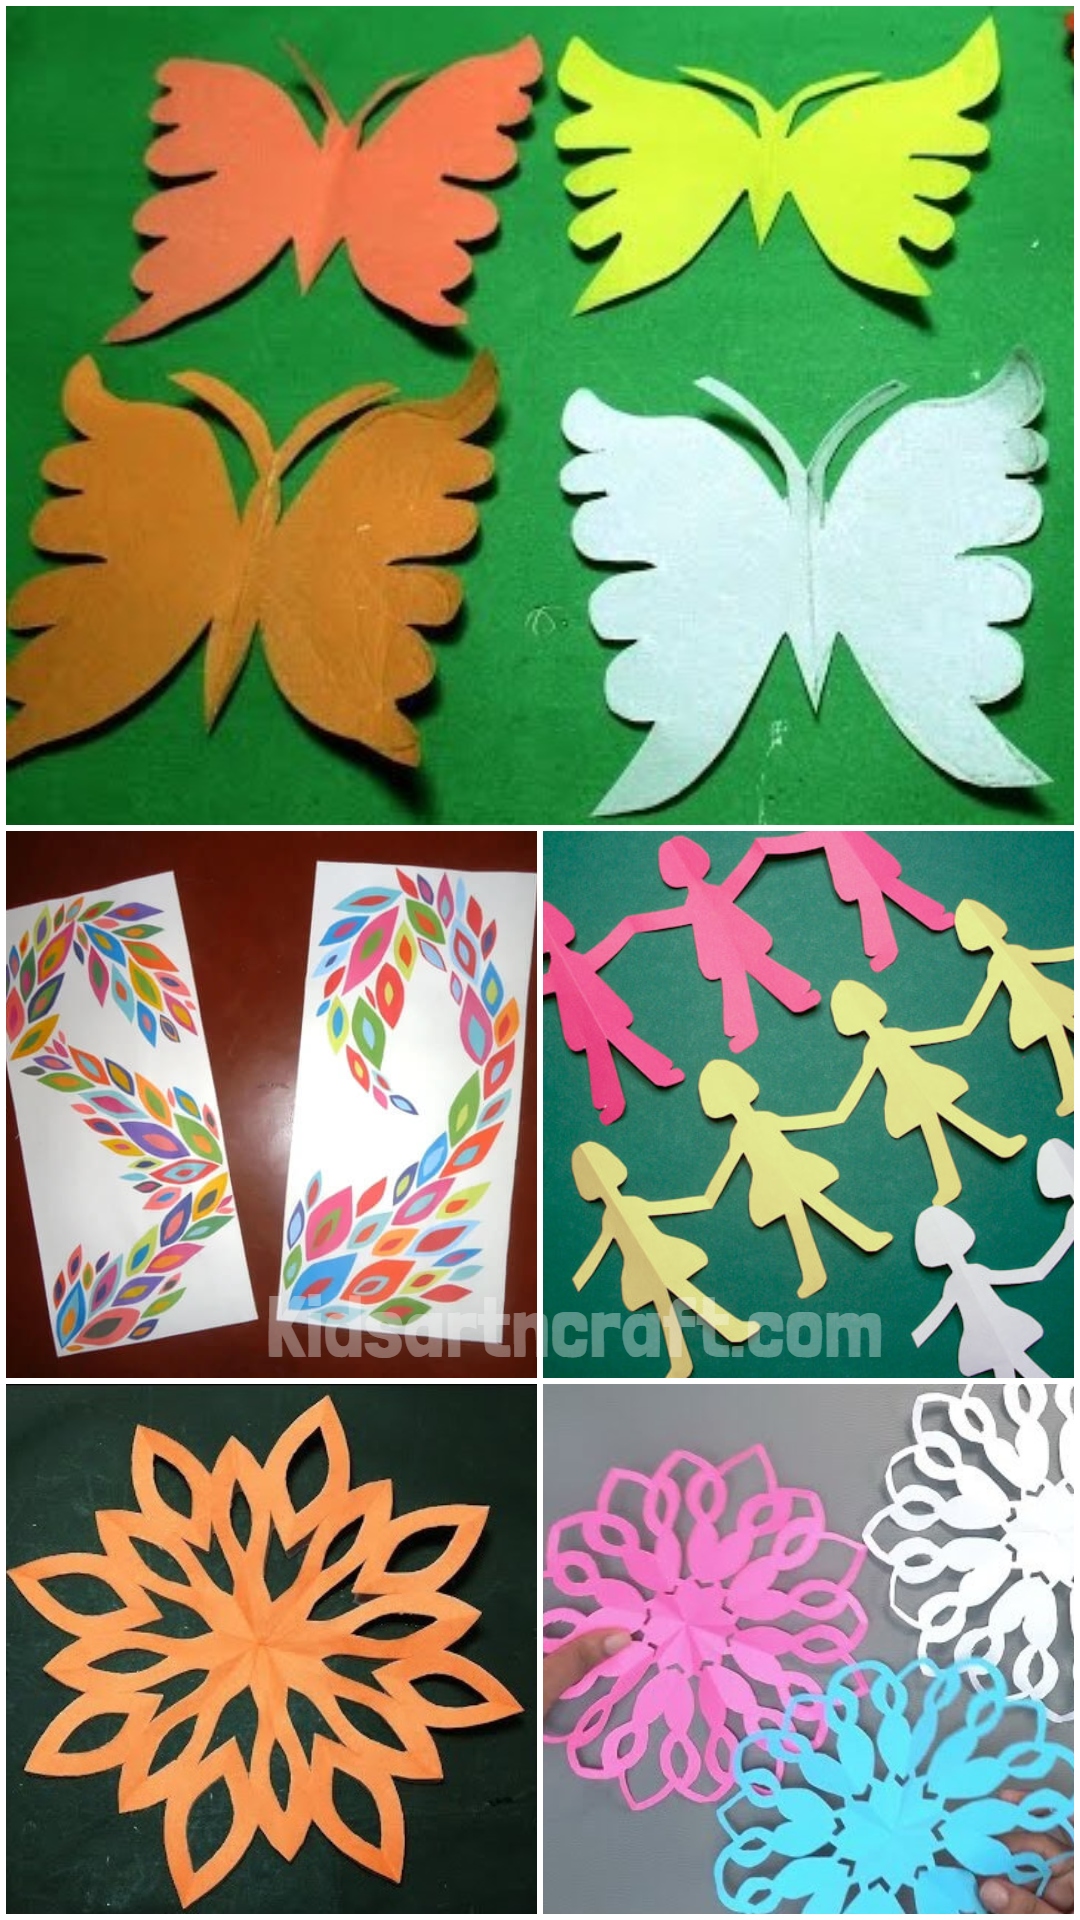
Colorful Butterflies Design Craft Tutorial With Paper Cutting & Scissor
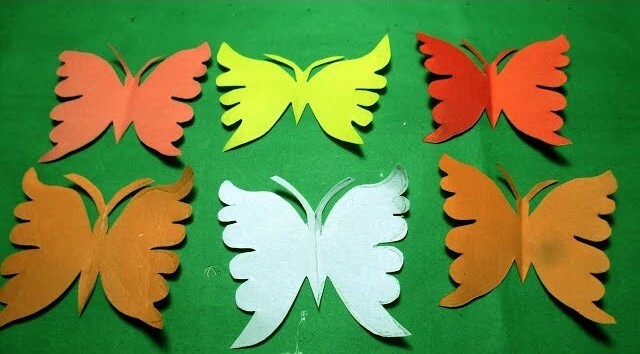
Image Source/Tutorial: Paper Craft
Materials Required:
- Colorful Craft Paper
- Scissor
- Pencil
Beautiful flying butterflies are here for you. This is a simple DIY with a cut-out art project for kids to make them happy. Kindergartners can do this origami butterfly art activity for fun. To make this fun insect easy paper craft, you need to take a piece of craft paper after, fold the craft paper, and draw a half body of butterfly wings and body. Now, take a scissor and cut the shape. Unfold it and see the magic you have done. Your beautiful butterfly craft is ready to use. You can do this butterfly-making activity with tissue paper. Do this butterfly decoration on your pretty walls.
Colorful Paper Cutting Design Decoration Idea For Wall Art
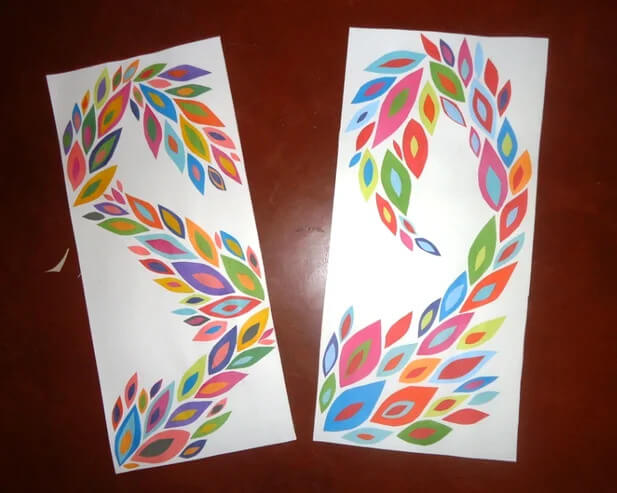
Image Source/Tutorial: Instructables
Materials Required:
- Colorful Craft Paper
- Pencil
- Craft Glue
- Scissor
This is a colorful paper craft activity for kids. It will improve the imagination power of kids. Kindergartners can do this wall art paper craft activity with a very small amount. To execute this craft idea, you need to cut some colorful paper in different-sized leaf shapes. Next, take a rectangle-shaped white craft paper and start gluing your pretty leaves, as shown above. Your pretty decoration craft is ready to use. Adorn your pretty walls with this. Try this alluring and easy leaf artwork for kids at home. It will be fun for them, and they enjoy it.
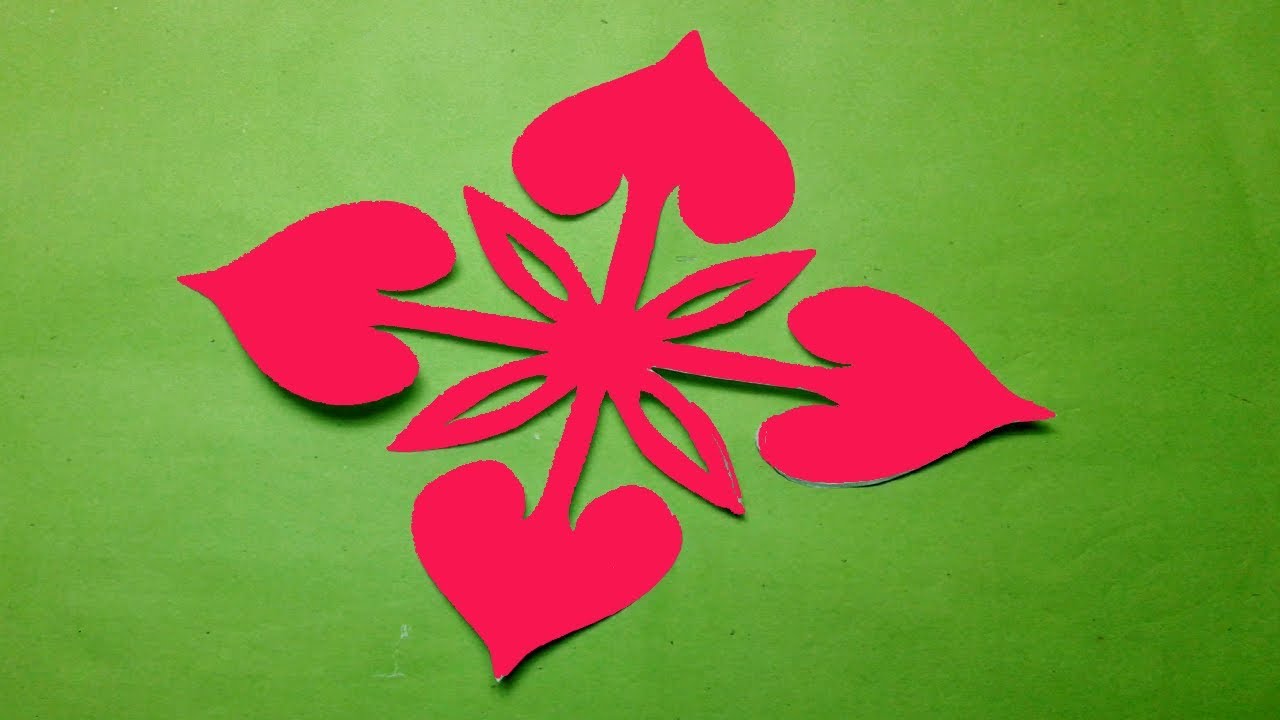
Simple Paper Cutting Flower Design Craft Tutorial For Beginners
Materials Required:
- Red Craft Paper
- Scissor
- Pencil
DIY Cutting Paper Heart Design Decoration Card Idea For Valentine’s Day
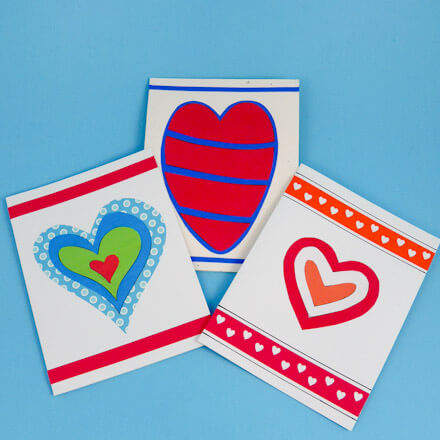
Image Source/Tutorial: Aunt Annie
Materials Required:
- Colorful Craft Paper
- Scissor
- Pencil
A beautiful card is the best way to show your love. Making this origami paper Valentine’s Day craft is so fun for kids. Under 10 kids can do this paper card craft activity for fun. This craft is budget-friendly. To make this heart-shaped paper origami craft, you need to cut white craft paper and then fold it. For the front, cut some different types and sizes of heart-shaped craft paper. Glue them as per the above guidance. Enjoy your great work of art. Adults also can do this to give to their loved ones.
Quick & Easy Paper Cutting Doll Chains Craft Project For Kids

Image Source/Tutorial: Aunt Annie
Materials Required:
- Colorful Craft Paper
- Scissor
- Pencil
This is a paper dancing girl craft idea for you. You can use this cutting design for classroom decoration. Under 10, kids can do this easy step-by-step paper craft activity. It will be a creative paper craft activity for them that can check their brilliance. To make this construction paper human. You are required to take a craft paper. Fold it continuously and then draw a gingerbread man on the folded paper. Take scissors and cut this gingerman. When you unfold this cutout, You will get something like the figure shown above. To make this more easy, you can use a template and create this pretty paper fairy art.
Read More: Best of Waste Flower Pot Craft Using Orange Peel & Paper Cup – Step-by-Step Instructions
Handmade Paper Cutting Design Craft Projects For Decoration
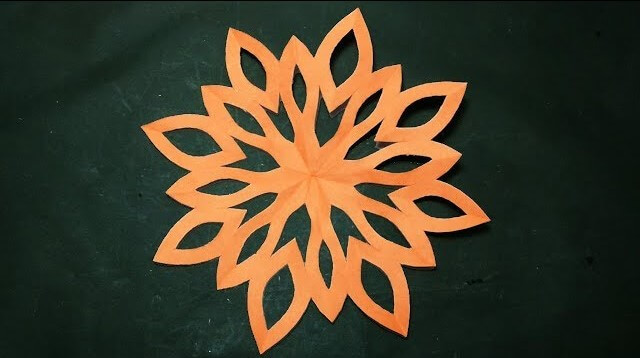
Image Source/Tutorial: Paper Craft
Materials Required:
- Orange Craft Paper
- Scissor
- Pencil
This is a pretty step-by-step origami paper craft activity for kids. This cutting art activity is suitable for under the age of 10 kids. They can implement this craft idea for classroom decoration purposes. It will make their mind sharpen. To do this DIY fun paper craft project, first, you need to fold an orange craft paper and create a drawing on that. After that, take a scissor and carefully cut the paper design. It will be an amazing feeling when unfolding it. You will get something like this, as shown above. Use it to decorate your favorite places.
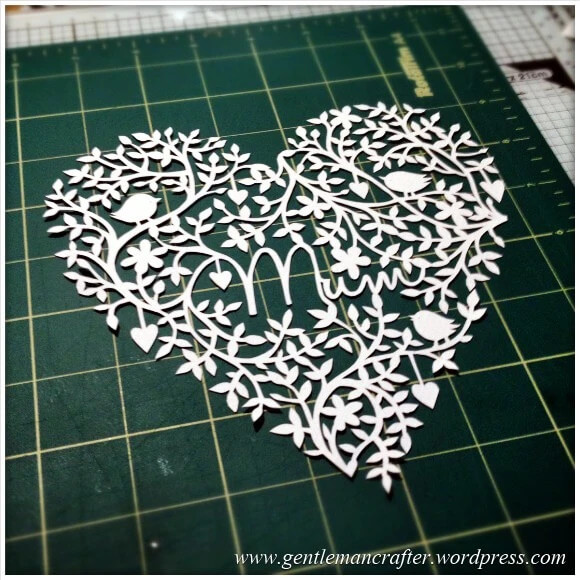
Cute Paper Cutting Design Craft Projects in Heart Shape For Mother’s Day
Materials Required:
- White Craft Paper
- Scissor
- Craft Knife
- Pencil
It is a Mother’s Day special art craft activity for you. Above 10 kids can do this to show their love to their mom. It will be a pleasant gesture from your side. This type of craft activity is the best way to fine motor skills. To create this heart-shaped craft you are required a white heart-shaped cardstock. Next, draw “M” in the middle and then create a beautiful leaf design as shown above. Now, take a craft knife and cut the design, you draw. Your mother’s special heart-shaped paper craft is ready. Give it to your mother. She will be happy to have it.
Adorable Paper Cutting Border Design Art Idea For Home Decor
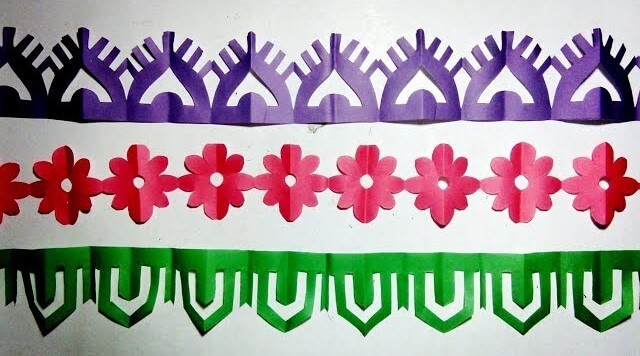
Image Source/Tutorial: Kids Simple Paper Crafts
Materials Required:
- Colorful Craft Paper
- Scissor
- Pencil
This is an attractive paper border craft idea for you. Under 10, kids can do this simple step-by-step paper craft activity. It will be a creative paper craft activity for them. It will help them to check their brilliance in creativity. You can use this cutting design for classroom decoration. To make this construction paper border art. You are required to take a craft paper. Fold it continuously and then draw a design on the folded paper. Take scissors and cut this. When you unfold this cutout, You will get an amazing design, as shown in the above figure. To make this more easy paper craft, you can use a template.
Chinese Paper Cutting Pattern Art Design Idea For Kids
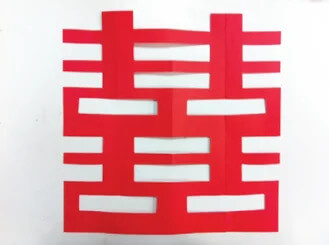
Image Source/Tutorial: Instructables
Materials Required:
- Red Craft Paper
- Scissor
- Ruler
- Pencil
This is a beautiful beginner’s paper craft activity. Kids under the age of 10 can do this adorable paper art activity. Nothing hard in this craft activity. You need to follow a step-by-step tutorial from YouTube. You are required to take a red craft paper, fold it, and draw some lines with the help of a pencil and a ruler. After that, take your pretty craft scissors and cut these lines. Now, unfold the paper, and you will get this pretty design. It will be a calculative paper craft activity for kids that helps them to make their minds stronger. Try this beginner craft activity at home for fun.
DIY & Easy Paper Cutting Border Design Art Project For Decoration
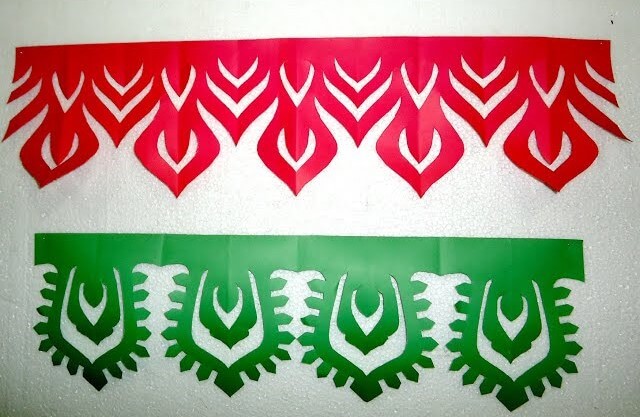
Image Source/Tutorial: Kids Simple Paper Crafts
Materials Required:
- Green And Red Craft Paper
- Scissor
- Pencil
This is a charming paper border craft activity for you. Around 10 and above, kids can do this pretty simple step-by-step paper craft activity. It will be a creative paper craft activity that will help kids brighten up their minds and check their brilliance in creativity. You can use this cutting design for blackboard decoration. To make this construction paper border art. You are required to take a craft paper. Fold it continuously and then draw a design on the folded paper. Take scissors and cut this. When you unfold this cutout, You will get a gorgeous design, as shown in the above figure. Try it at home for fun.
Read More: Halloween Crafts for Kids
Awesome Stencil Paper Cutting Design Decoration Idea For Home
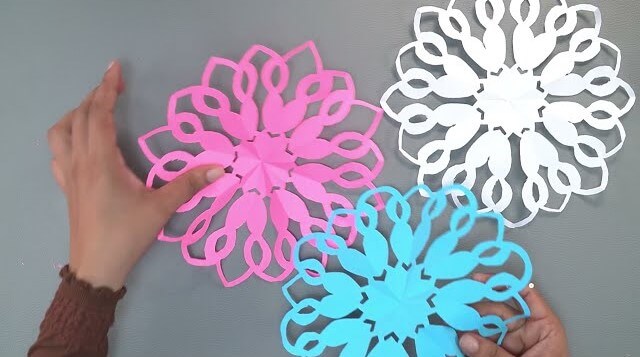
Image Source/Tutorial: Craft Worksyoutube.com/watch
Materials Required:
- Colorful Craft Paper
- Scissor
- Pencil
This is an elegant step-by-step paper craft activity for kids. Under the age of 10, kids can do this cutting art activity. Nothing hard in this craft. To do this DIY fun paper craft project, first, you need to fold an orange craft paper and create a drawing on that. After that, take a scissor and carefully cut the paper design. It will be an amazing feeling when unfolding it. You will get something like this, as shown above. Use it to decorate your favorite places. Kids can do this paper craft activity for classroom decoration. It will sharpen their mind. You can also use it to create beautiful rangoli designs.
3D Paper Tree Cutting Design Craft Project With Step-by-Step Instructions

Image Source/Tutorial: First Palette
Materials Required:
- Brown Cardstock (Medium To Heavy Weight)
- Light Weight Green Paper Or Paper In Fall Colors (Red, Yellow, Orange)
- Scoring Tool
- Scissors
- Glue
- Ruler
There is a beautiful tree paper craft activity for kids. They can make it on environment day decoration in their school and also can do this easy paper craft activity for a school project. Making this tree craft is so easy. Kids around 10 and above can do this craft activity. They can also make it for the representation of a tree in any nature project. For this, kids need to create their trunks and branches with brown cardstock, as shown above. After that, take green craft paper, cut some leaves, and glue them to give it a tree look. Allow it to dry. Your tree craft is ready now. Try it for fun and enjoy it.
Creative Wall Hanging Tree Design Idea With Paper Cutting Technique
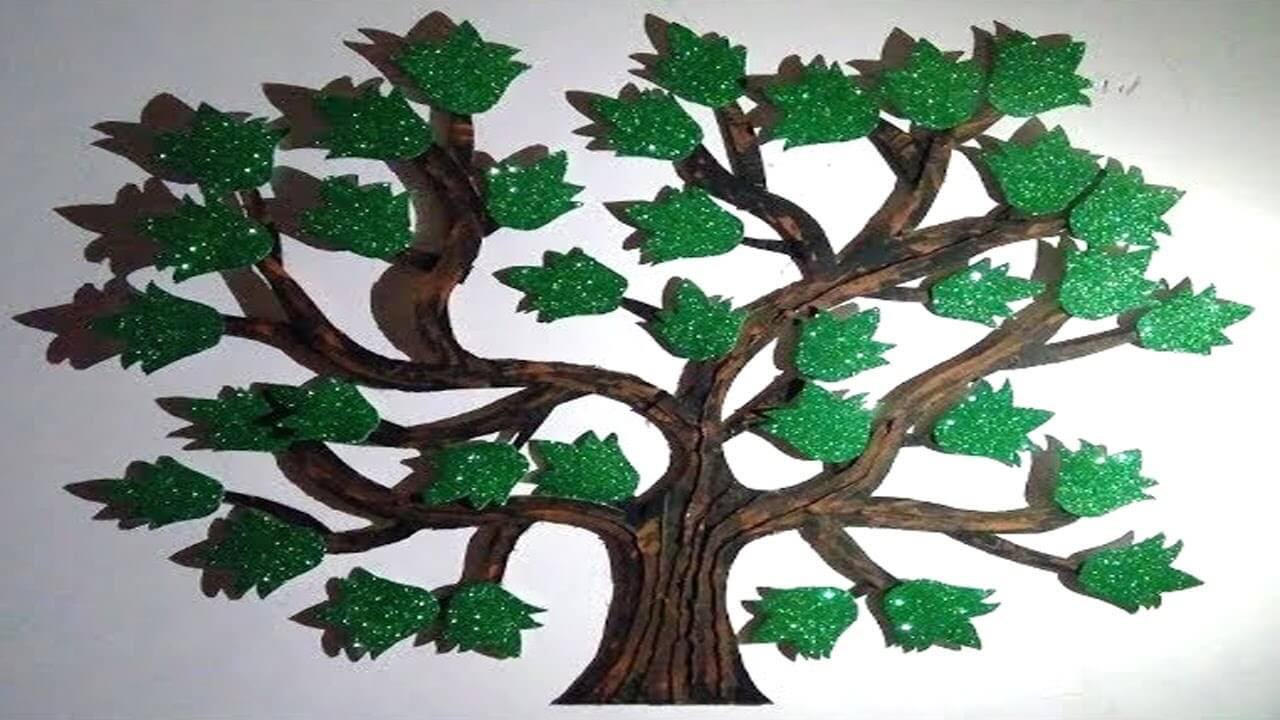
Image Source/Tutorial: Art My Passion
Materials Required:
- Brown And Glitter Green Craft Paper
- Scissor
- Pencil
This is an alluring paper-cutting craft activity for you. Around 10 and above, kids can do this craft activity for fun. This paper tree craft will fine their motor skills. They can do this in school decorations on Earth Day. To make this beautiful tree, construct its trunk and branch with brown craft paper. Now, create its leaves with glitter green craft paper, as shown above. Glue the leaves with its branches, and your pretty tree is ready to adorn your pretty walls. Try this leaf-stamping tree artwork for fun. This will make you happy.
Pretty Paper Leaves Cutting Design Craft Project For School
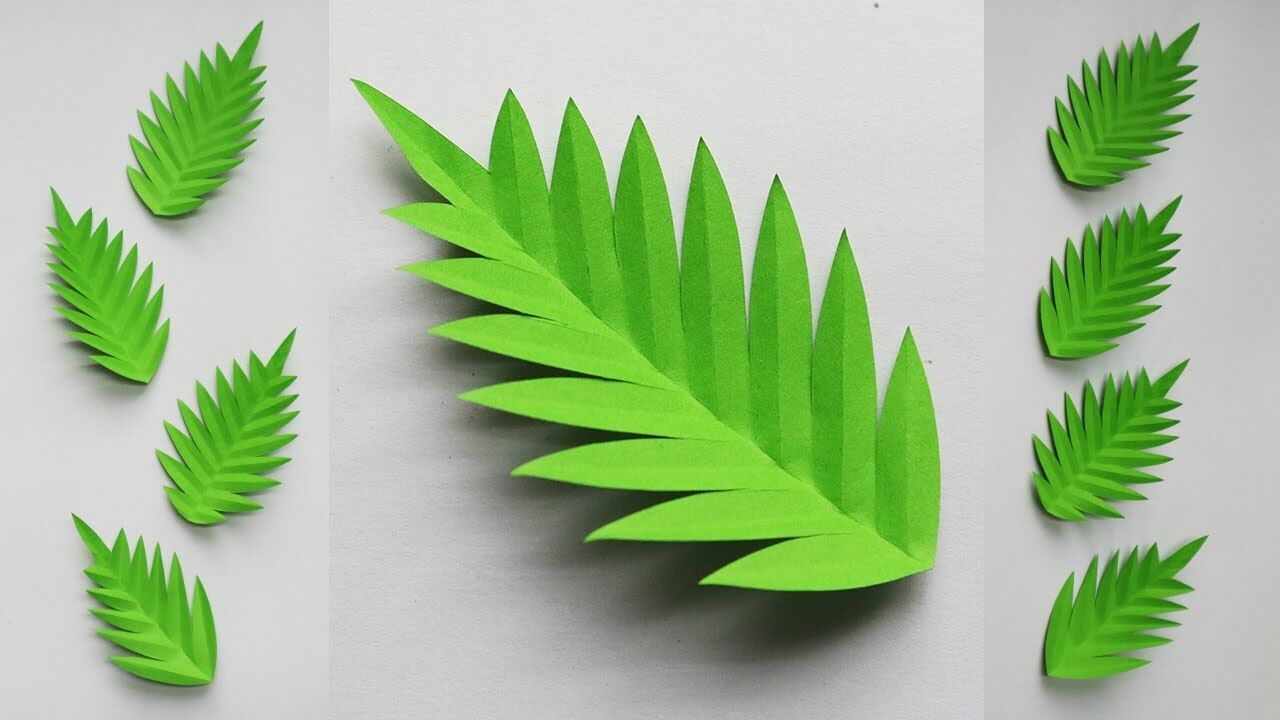
Image Source/Tutorial: Colors Paper
Materials Required:
- Green Craft Paper
- Scissor
- Pencil
This is a very easy and pretty leaf craft activity for kids. This type of craft activity attracts them towards nature. In this paper craft activity, kids learn some drawing skills and fine motor skills. Kindergartners and preschoolers will love this leaf craft. To make this alluring leaf step-by-step craft you don’t need to do much. Take a green craft paper, and draw a leaf shape. After that, take a scissor and cut the shape. Now, you find your pretty leaf design. Try this leaf craft at home for fun.
DIY Leaf Cat Step-by-Step Tutorial For Kids
FAQs Related To Paper Cutting Designs For Projects
1. What kind of paper should I use for my project?
The type of paper you should use for your project will depend on the specific requirements of the project. For example, if you are creating a poster or presentation, bright, glossy paper may be best. On the other hand, if you are printing out a document or report, a standard white printer paper may be the best option. Consider both the purpose of your project and the desired outcome when deciding the best type of paper to use.
2. What is the best way to cut the paper for my project?
The best way to cut paper for a project is to use a sharp pair of scissors or a paper cutter. Make sure the scissors or paper cutter you use is sharp and clean. When cutting, use a ruler to help guide the scissors or paper cutter for straight cuts. If possible, use a cutting mat to protect your work surface from being damaged by the scissors or paper cutter. Be sure to make sure the paper is flat and not folded or crumpled before cutting. Take your time and be careful when cutting to ensure the paper is cut accurately.
3. What tools are necessary for paper cutting?
Paper cutting is a popular arts and crafts activity for both children and adults. It involves cutting paper into shapes and designs to create a picture or a collage. To get started with paper cutting, you need the right tools.
4. What are some tips and tricks for paper cutting?
When it comes to paper cutting, it is important to consider a few tips and tricks to ensure a successful outcome. It is helpful to use a ruler or cutting mat to ensure straight, precise lines. Additionally, a sharp craft knife or a pair of scissors can be used to cut paper. Using a pencil to lightly draw any desired shape onto the paper can also help to ensure accuracy.
5. What is the difference between a paper-cutting and stenciling design?
The main difference between a paper cutting and stenciling design is that paper cutting uses a craft knife to cut away parts of the paper to create a design, while stenciling uses a template to create a replica of the design on the paper. Paper cutting requires more technical skill and an artistic eye to create intricate designs, while stenciling can be used to quickly create a design with a basic template.
Paper-cutting designs can be a fun and creative way to add a unique touch to any project. With the right tools and creativity, you can create beautiful and intricate designs that will add a personal touch to any project.
Follow us on YouTube for art and craft tutorials and much more.
More Articles from Kids Art & Craft


