Kids Activities
Heart Shaped Paper Mouse Craft Step by Step Tutorial

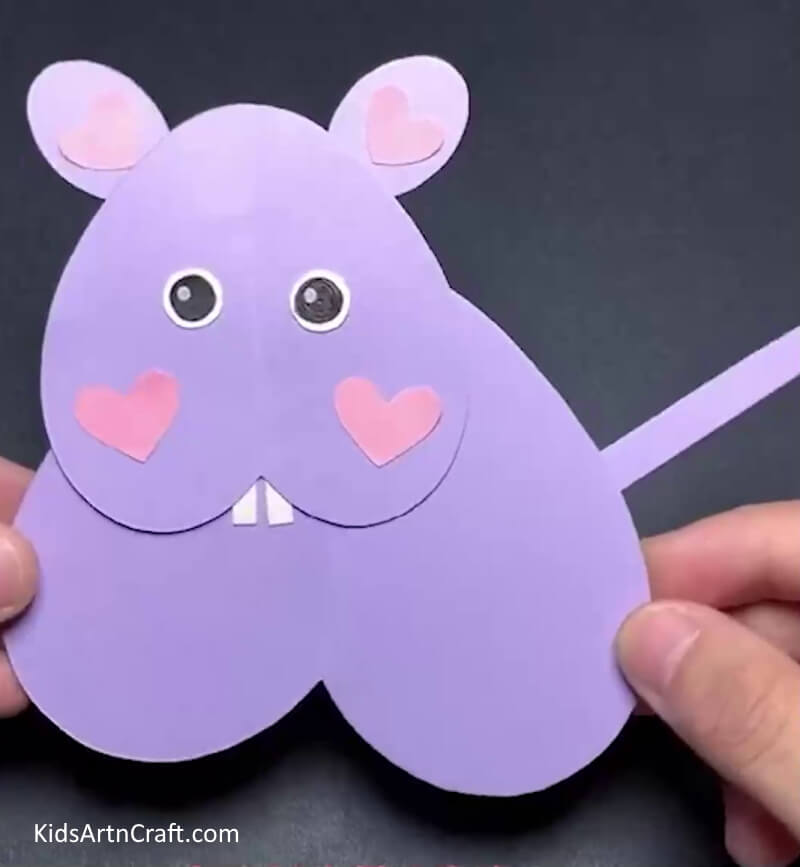
Create a fun and unique craft with your kids using this step-by-step tutorial for a Heart Shaped Paper Mouse Craft. Perfect for Valentine’s Day or any other occasion, this craft is simple to make and sure to bring smiles.
Mice, you see them in cartoons, movies, comics, and sometimes, if you are fortunate enough, AT HOME! Today we will see them in this tutorial in the form of art. Not just any rats but heart-shaped rats in lovely colors. You can make as many as you want and hide them in the kitchen to give someone a good scare. Also, be cautious of their bunny teeth, they can be really sharp.
DIY Paper Mouse Craft Tutorial In Heart Shaped
Read More: DIY Paper Crafts Video Tutorial for All
Material Used
- Sheets Of Chart Paper, Preferably Colored
- Scissors
- Sketch Pen
- Glue Stick
Procedure
Step 1: Cut Out Multiple Shapes From Different Sheets Of Paper
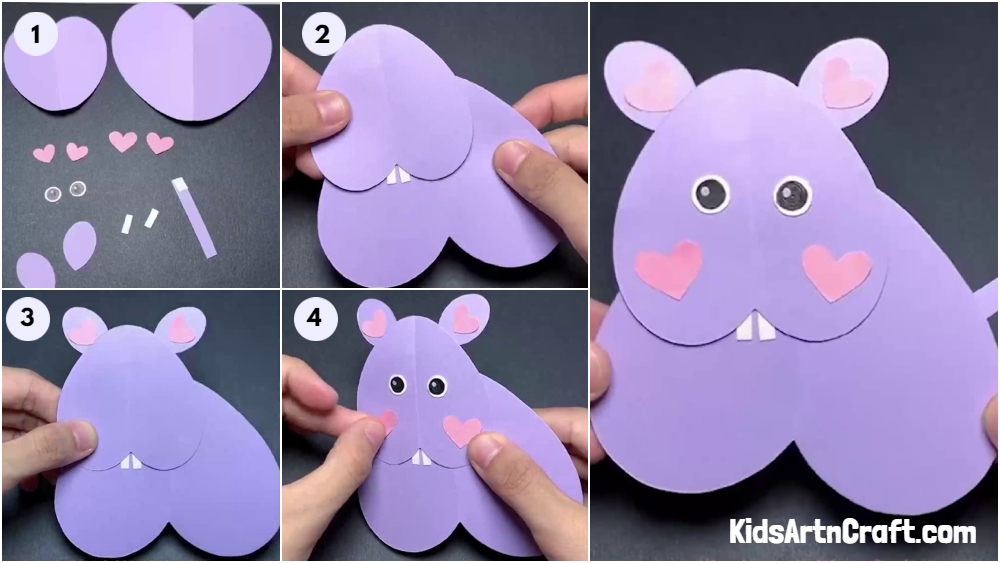
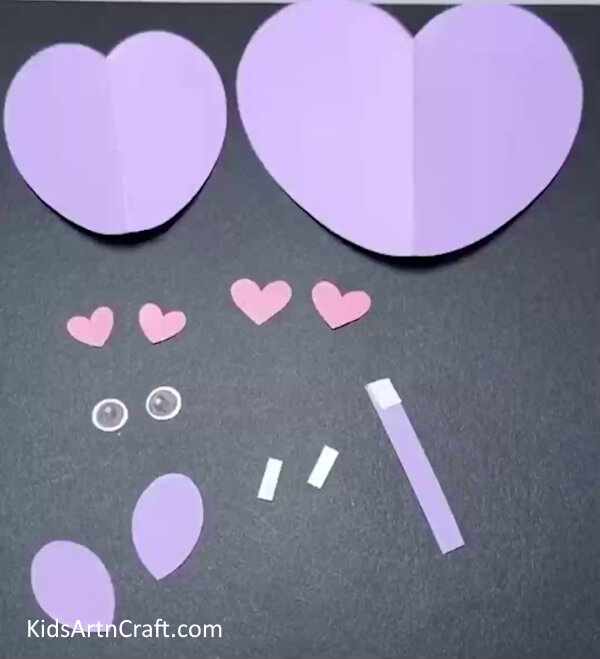
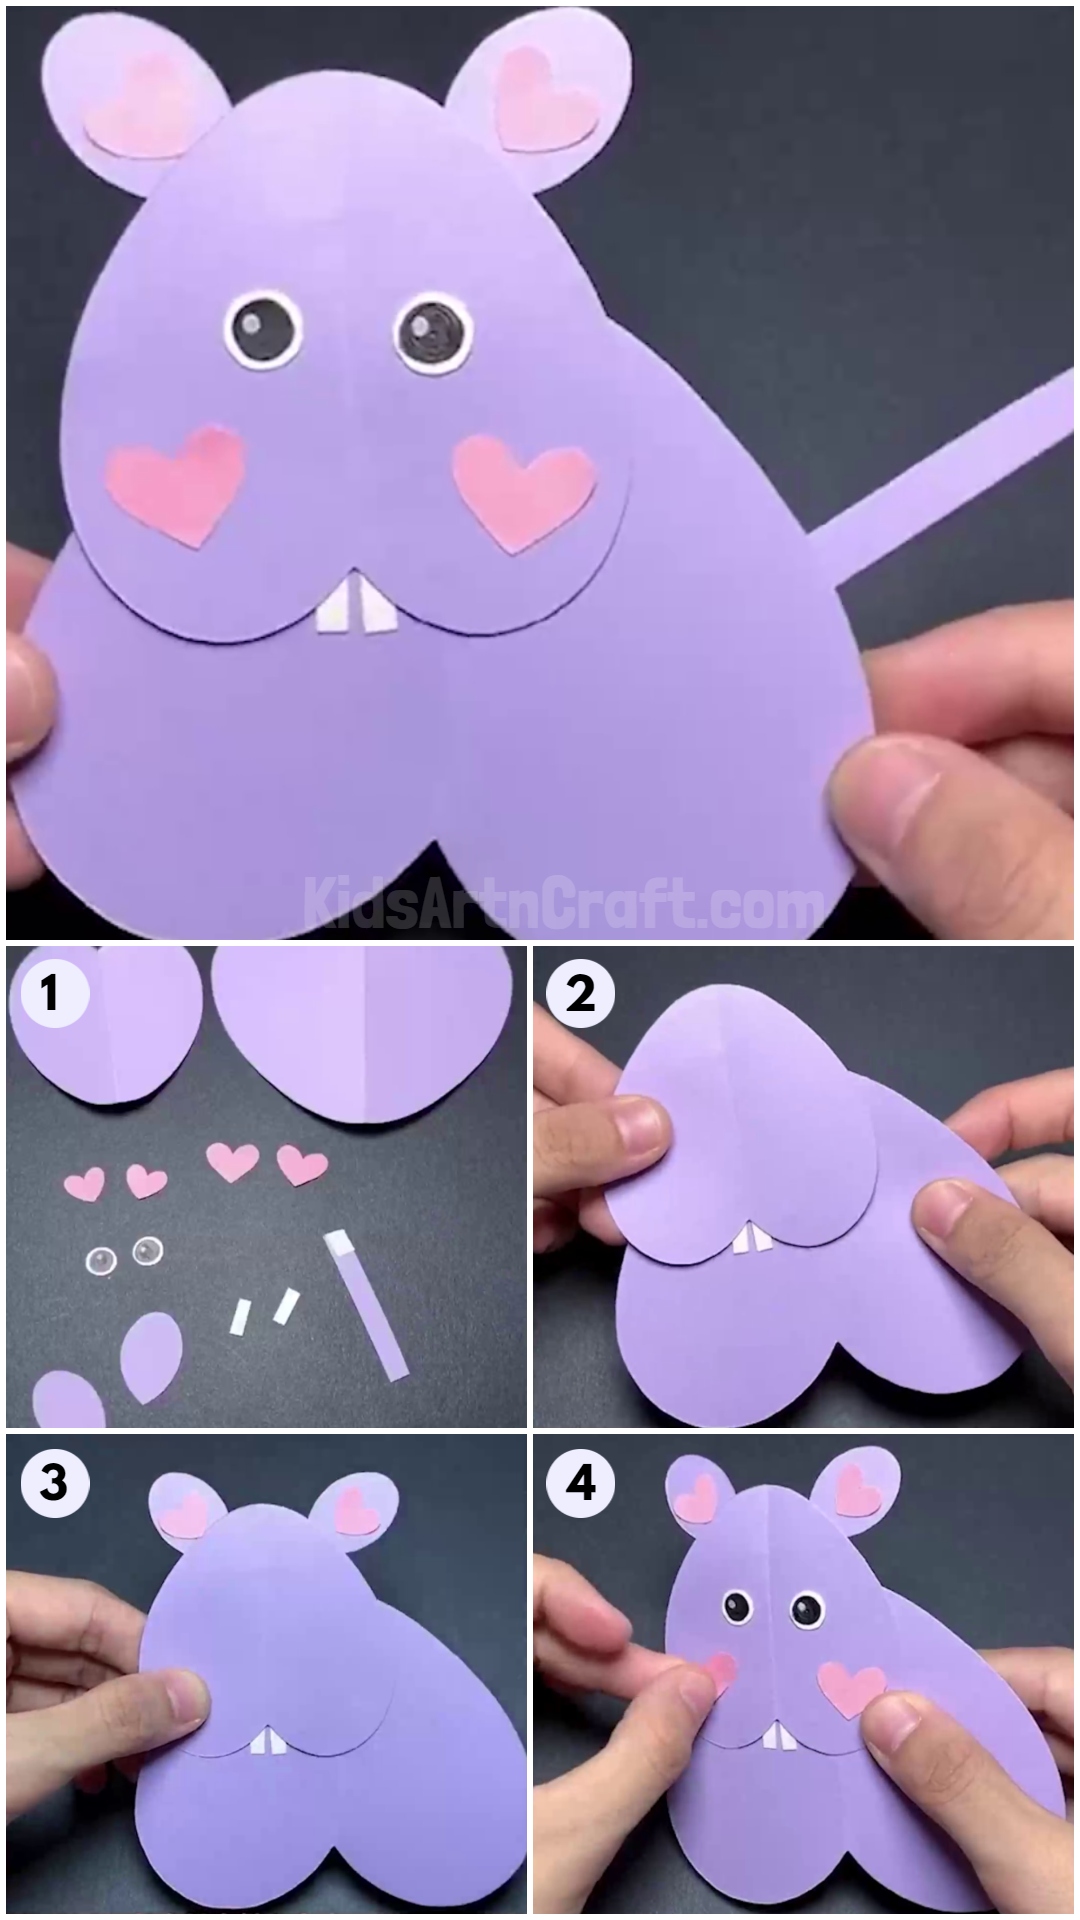
Take multiple sheets of paper and cut them into different heart shapes. Be patient around the edges, might take some time. Shapes range from big, medium, small to very small. One big, one medium, two small, two very small. Use a different colored sheet for the last two sizes. Additionally, also cut two petal-shaped pieces out of the chart paper, two small strips of a white sheet, and a comparatively bigger strip of colored sheet. Finally, cut two very small circles and color them black in the middle to make eyes or you can simply use googly eyes.
Step 2: Adding The Rodent Teeth
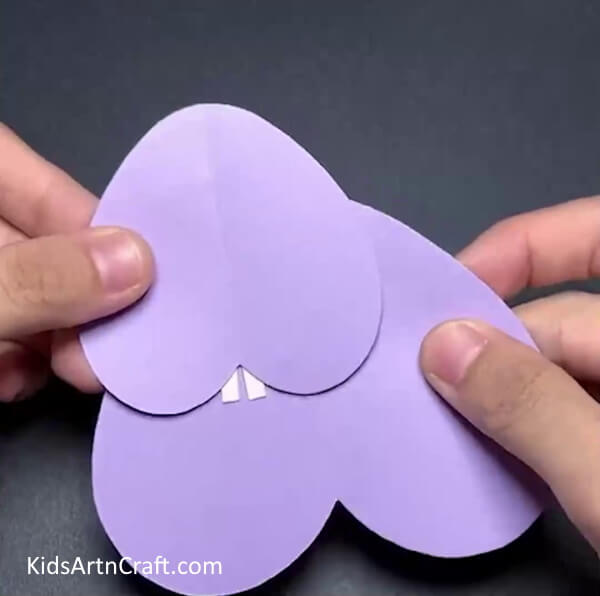
Take the medium-shaped heart and paste the two small strips at the spot where the two halves of the heart which look like mountains meet forming a small valley. They should be positioned at the same spot on both mountains near the valley, not very far away.
Step 3: Pasting The Two Hearts Together
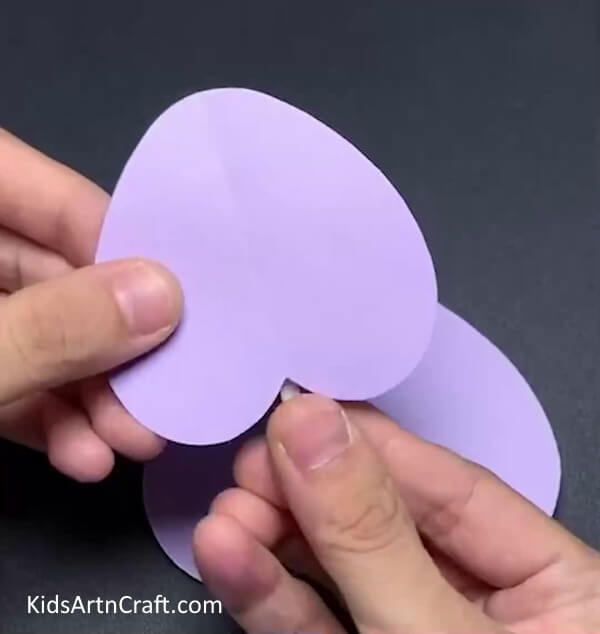
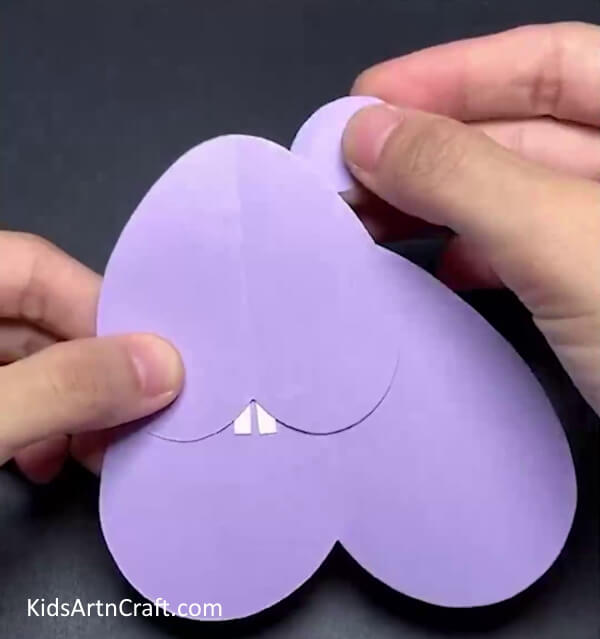
Now, paste this heart on the big heart covering only the bottom-right part of the heart in such a way that the bottom V of the heart sticks out of the surface of the big heart.
Step 4: Adding a Pair Of Ears
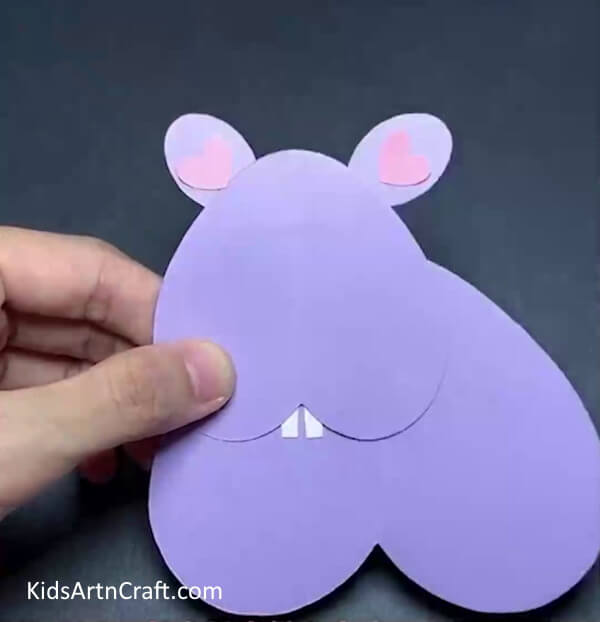
Take the cutouts of the petals you made earlier and paste them on either side of the V of the smaller heart to make ears.
Step 5: Pasting Some Hearts For Love
Complete the process on both sides. You can also add the smallest hearts you made to them by pasting them on the middle of these ears.
Step 6: Give It a Pair Of Eyes
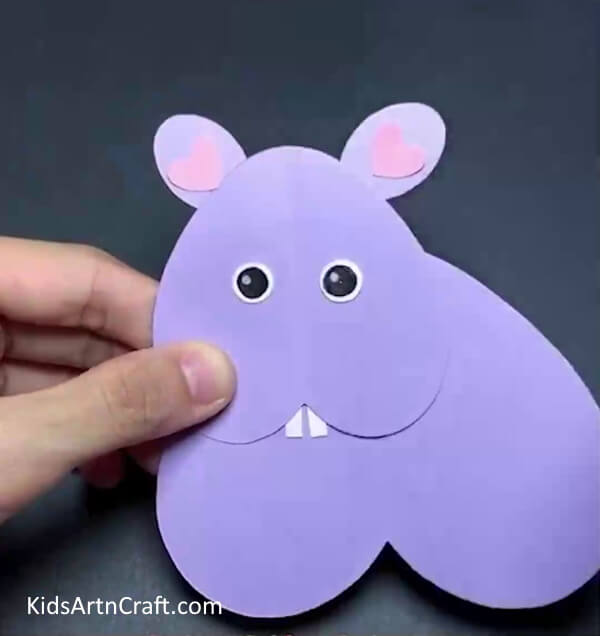
Add the cutouts of the eyes you made earlier or stick googly eyes if you have a pair.
Step 7: Adding More Hearts For a Little Blush
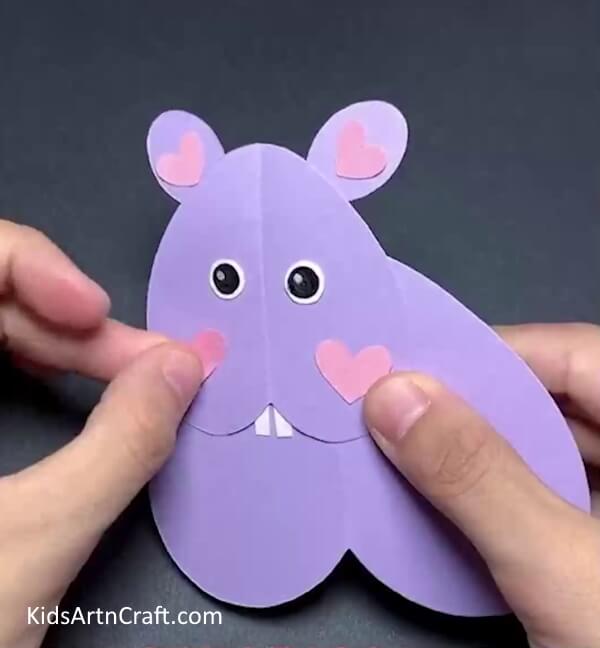
To top it off, paste the smaller hearts on its cheeks to make the mouse prettier.
Completing The Figure By Adding a Tail
Finally, use the bigger strip to give it a tail. To do that paste the end of the strip to the right side of the bigger heart. With that, your mouse is ready to play and steal some cheese from you
Today, we learned to make hearts and strips of different shapes and a very important thing, eyes, a peak into one’s soul, and when used in art, it becomes a doorway to the soul of the art. Use these hearts and eyes to make other objects of craft. With a simple sheet of paper, you made this art possible. Now, take a bigger sheet out and create an entire zoo of your own or a garden, maybe. Keep following the tutorials, keep practicing, and keep up the good work.
Some More Mouse Craft Tutorial
Cutest Mouse Animal Drawing For Kids
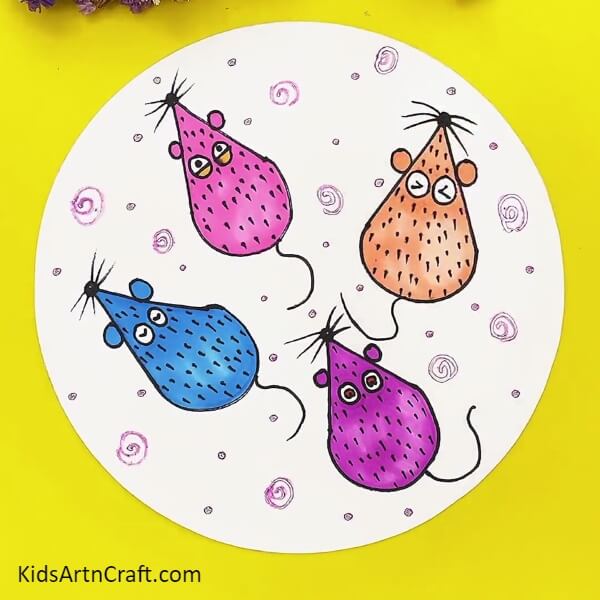
Image Source/Tutorial: Kids Art & Craft
This cute mouse animal drawing for kids is a great way to introduce children to drawing. With easy-to-follow instructions, it’s a fun and creative activity that will bring out the artist in them!
Easy To Make Heart Shaped Pine Cone Mouse For Kids
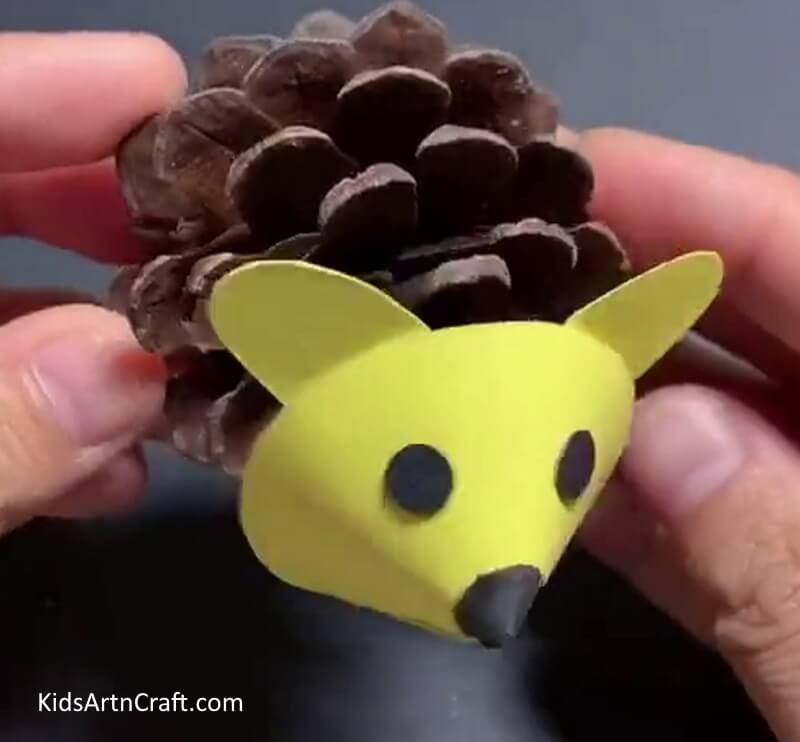
Image Source/Tutorial: Kids Art & Craft
Making a pine cone mouse is a fun and easy craft for kids. All you need is a few common craft materials, and in minutes you can have a cute and cuddly pine cone mouse!
Follow us on Youtube for art and craft tutorials and much more.
More Articles from Kids Art & Craft
- Easy Paper Crafts Activity Try At home Video Tutorial for All
- Easy Craft Ideas Make At-Home Video Tutorial
- Recycled Bookmark Ideas for Kids
- DIY Fun Craft Activities At Home Video Tutorial
- Paper-Cutting Designs For Projects


