Paper Crafts
How To Make Easy Paper Star From Craft paper

Learn how to make a beautiful paper star from craft paper with this simple step-by-step guide. Unlock your creative potential with this easy and fun craft project that you can make with materials you already have at home.
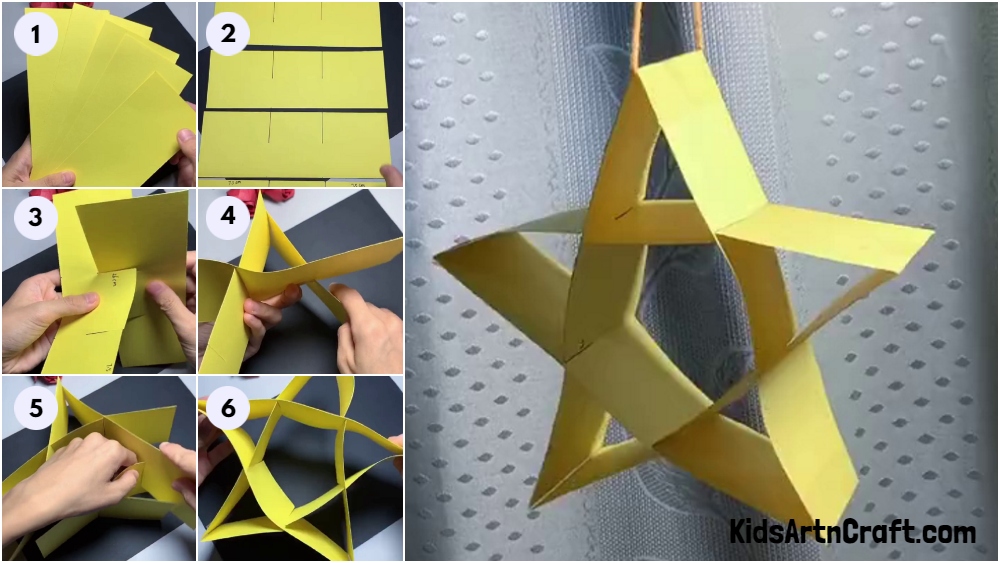
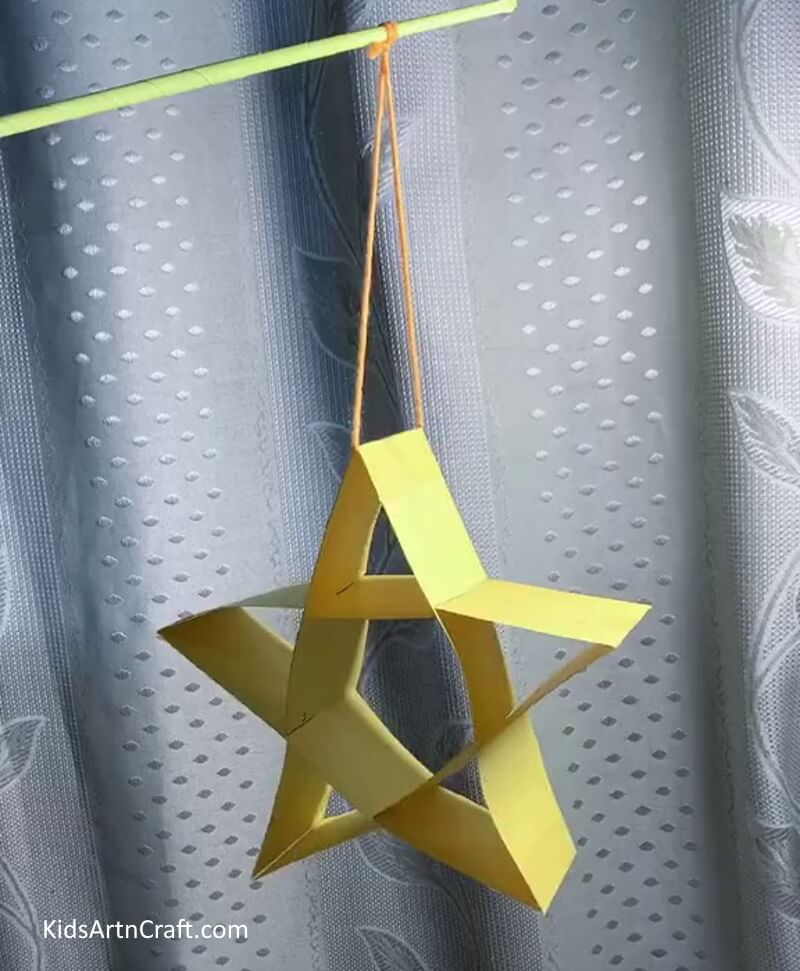
With just a sheet of paper and some smart work, you can make this object of art. And it’s not just any object of art, it’s a 3 dimensional one. You can hang it in your room or even place it on your study table as a decorative piece. Isn’t that cool? Clear your mind and pay close attention to the small details of this tutorial. It might seem tricky but trust me it’s much easier than you think. And the object in question is a star, one of the most beautiful and important planetary bodies. It gives us heat and light and this time an inspiration to create something artistic. Let’s get started.
Handmade Star Craft Using Paper
Read More: Learn To Make Paper Duck Craft Tutorial
Materials Required
- An A4-Sized Sheet Of Paper Preferably Yellow In Color
- A Pair Of Scissors
- A Pencil
- A Scale
- A Big Transparent Tape
- A Piece Of Knitting Wool
Procedure
Step 1: Taking A Sheet Of Paper
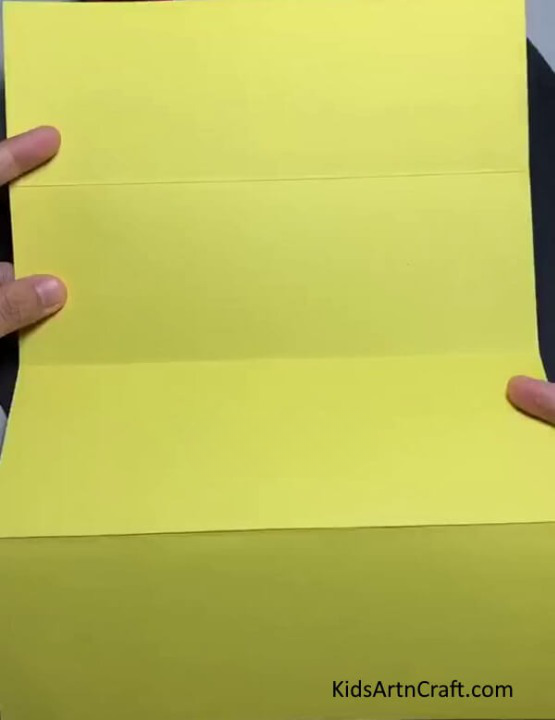
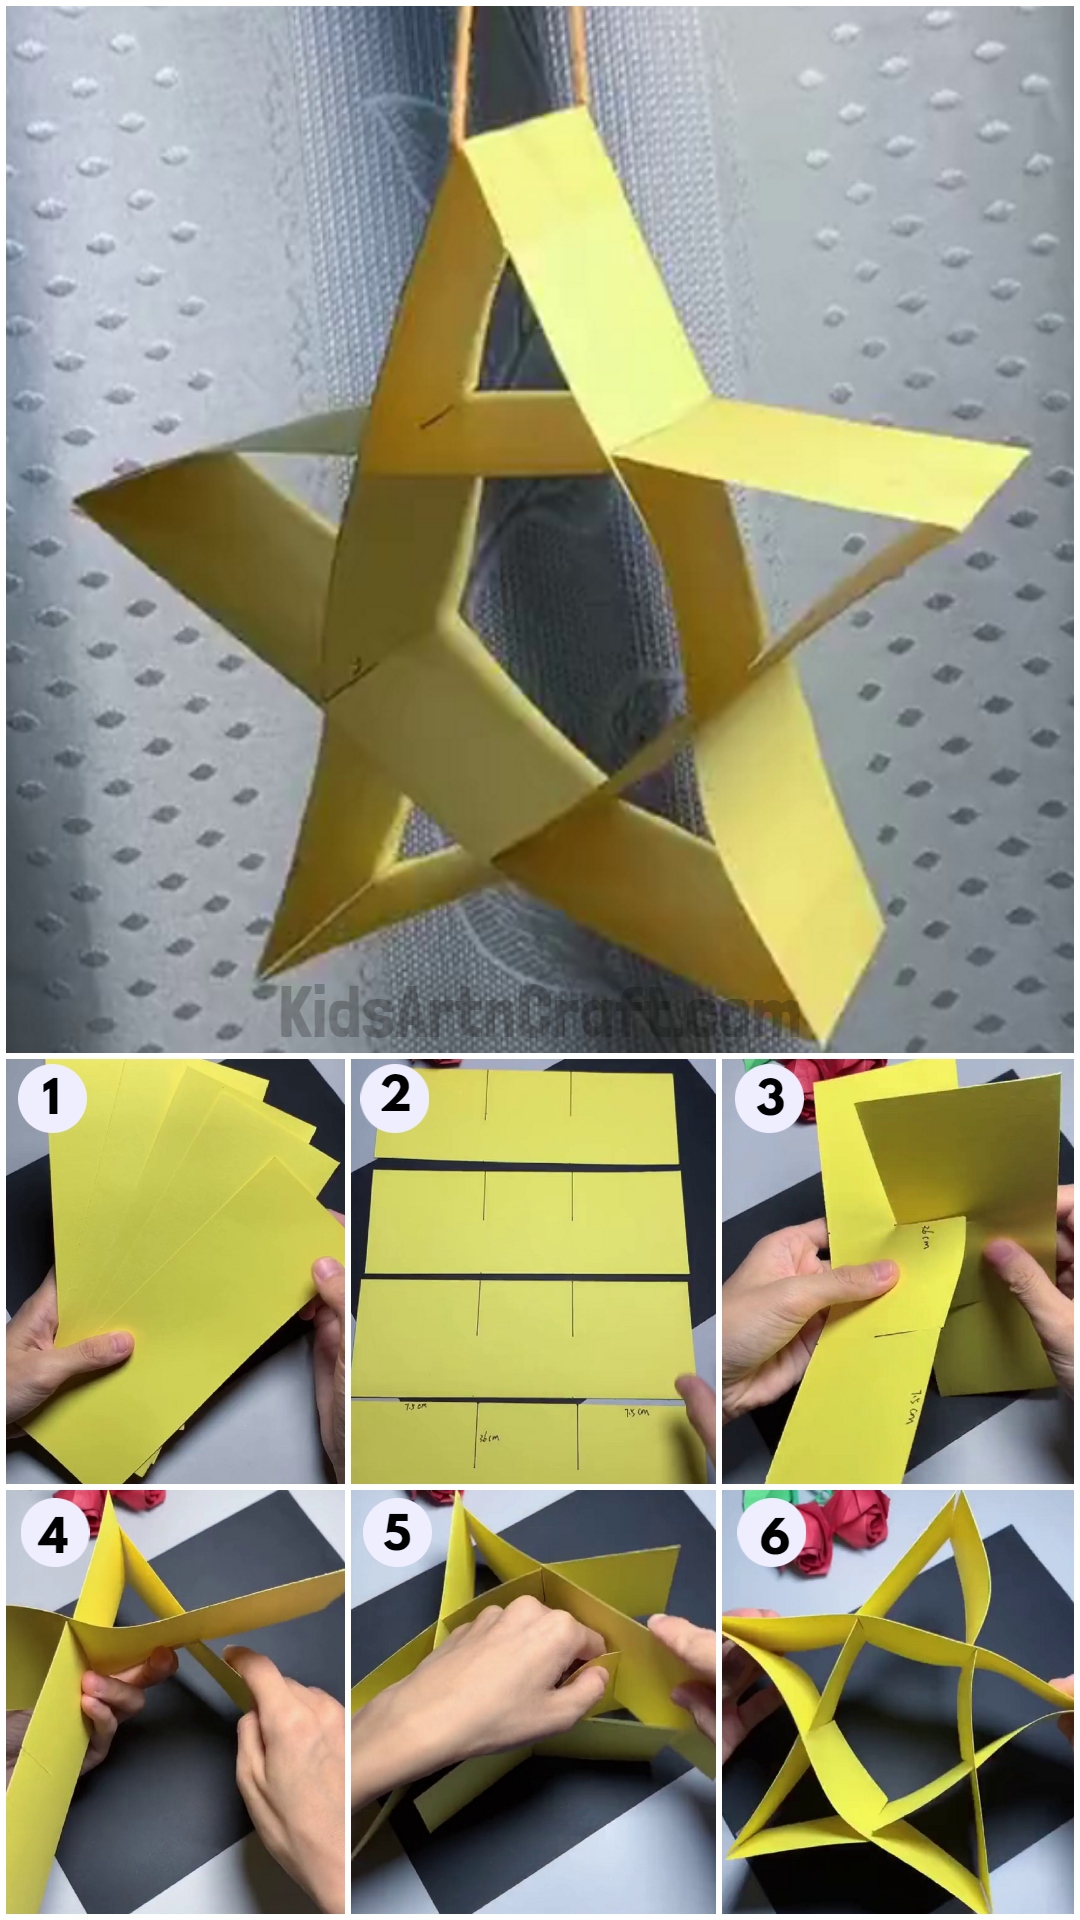
Take a sheet of paper and make four folds on it horizontally. Press it down with your fingernail to make it prominent make and unfold the sheet.
Step 2: Cutting The Folds
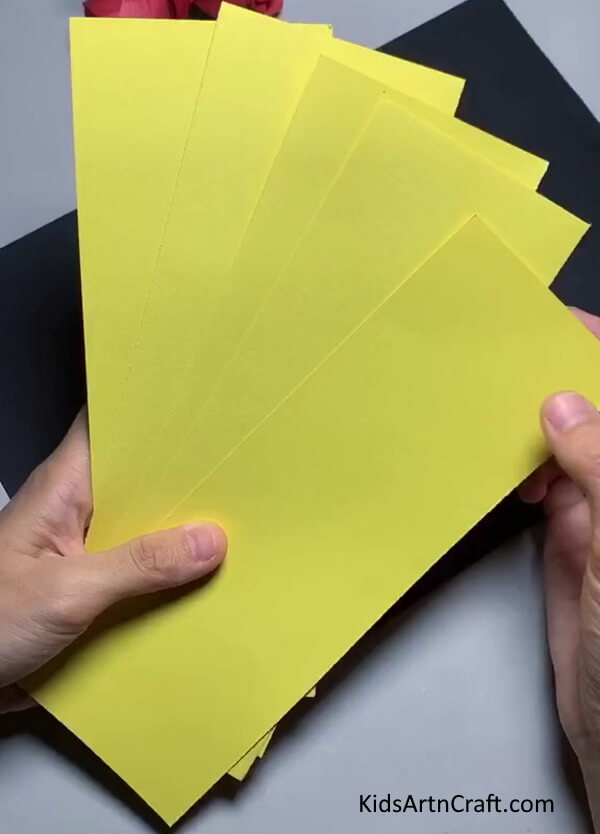
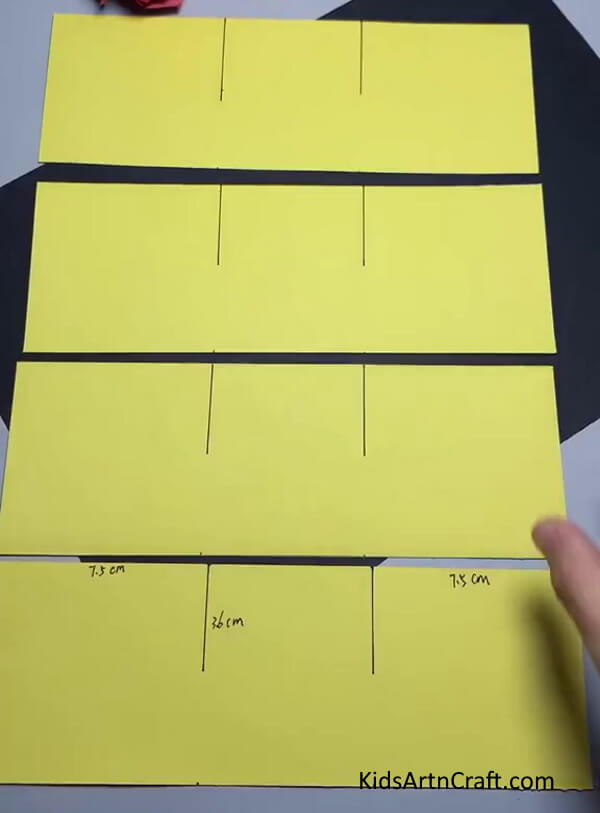
Take a pair of scissors and cut the sheet into five pieces. All six cuts should be on the marks made earlier leaving you with four big strips. The strip should be 18.8 cm in length.
Step 3: Making Marks On The Strips
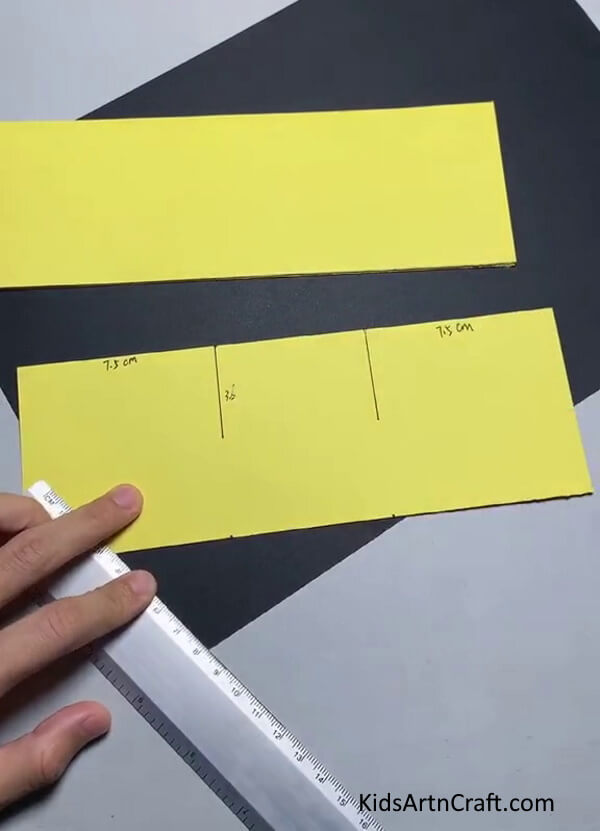
Take a scale and a pencil and make three marks on the strip at a distance of 7.5cm from the ends and 3.6 cm in the middle.
Step 4: Complete All The Strips
Repeat the same process on the rest of the four strips.
Step 5: Cutting The Strips
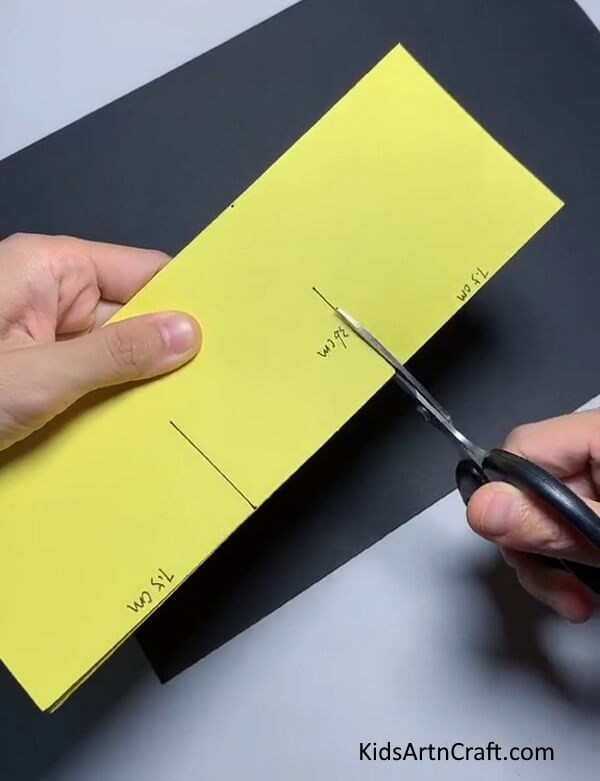
Take a pair of scissors and make cuts on the marks you made in the previous step. The cut should only cover half the surface of the strip. Repeat the process on all the strips.
Step 6: Making Space Between The Cuts
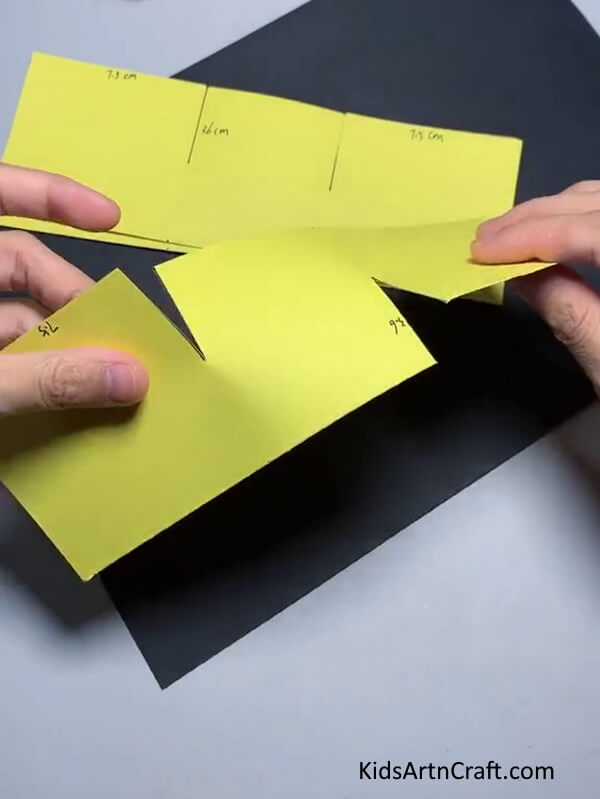
Hold the strip horizontally and gently twist it around the surface of the cuts to make a little space between them to open them a little bit. Repeat the process on all the strips. Remember to be extremely gentle while doing that because the sheet might tear in the process.
Step 7: Fitting The Cuts Together
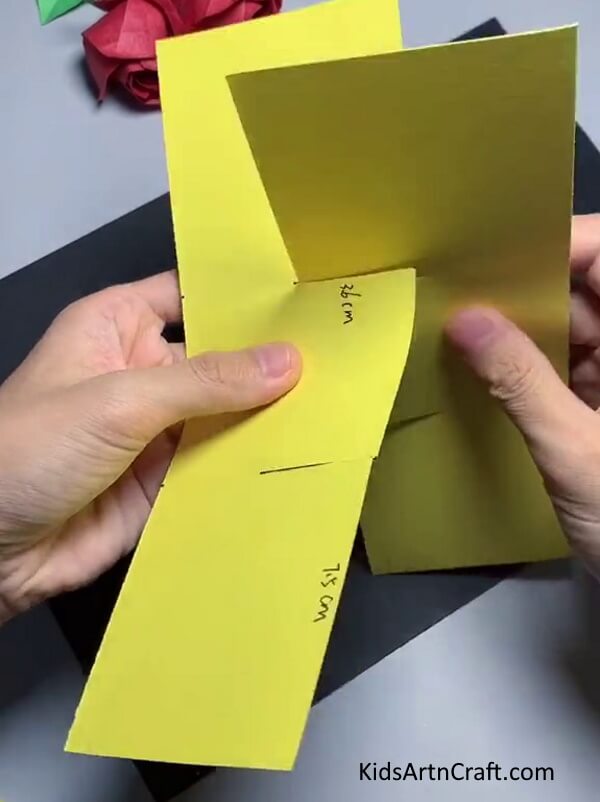
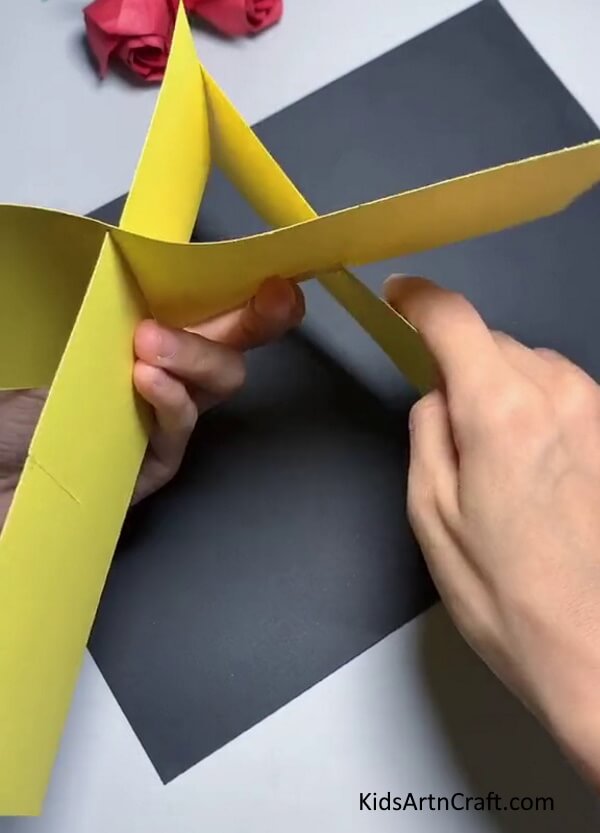
Take two of these strips and insert the top cut of one sheet into the top cut of another, fitting them into each other properly. Hold one sheet horizontally and another one vertically as shown in the picture below.
Step 8: Fitting In The Third Sheet
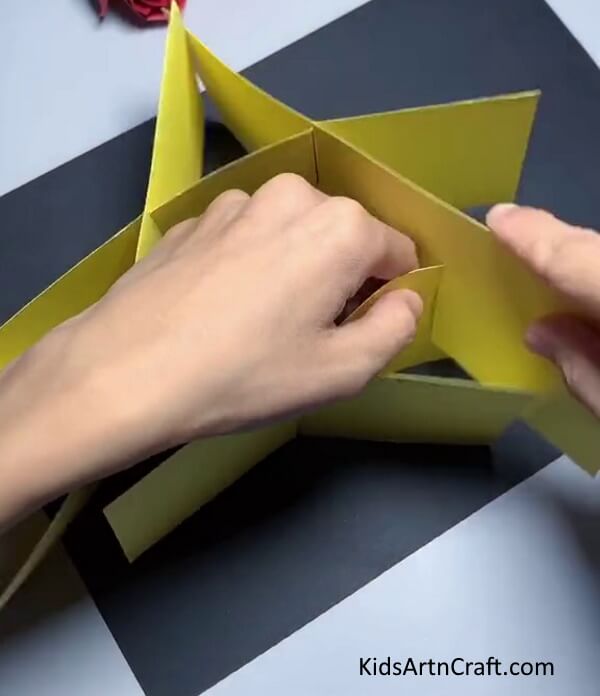
Turn the fitted sheets around and insert the bottom cut of the previous sheet into the top cut of the third sheet. Fit them in gently and properly.
Step 9: Inserting More Cuts
Take the fourth sheet and insert the top cut in the bottom cut of the first strip. Take the fifth strip and insert the top cut in the bottom cut of the third strip and the bottom cut of the fifth strip in the bottom cut of the fourth strip. That leaves us with well-fitted cuts.
Step 10: Sealing The Ends
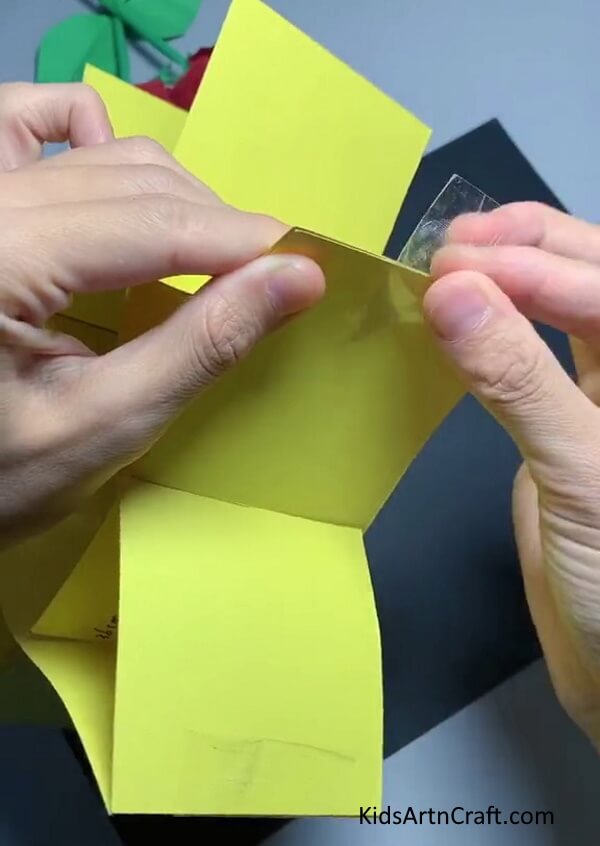
Take a big transparent tape and cut a small piece out of it and seal the open ends of the strips with each other by simply placing the tape on the corner made by these ends.
Step 11: Connecting All The Ends
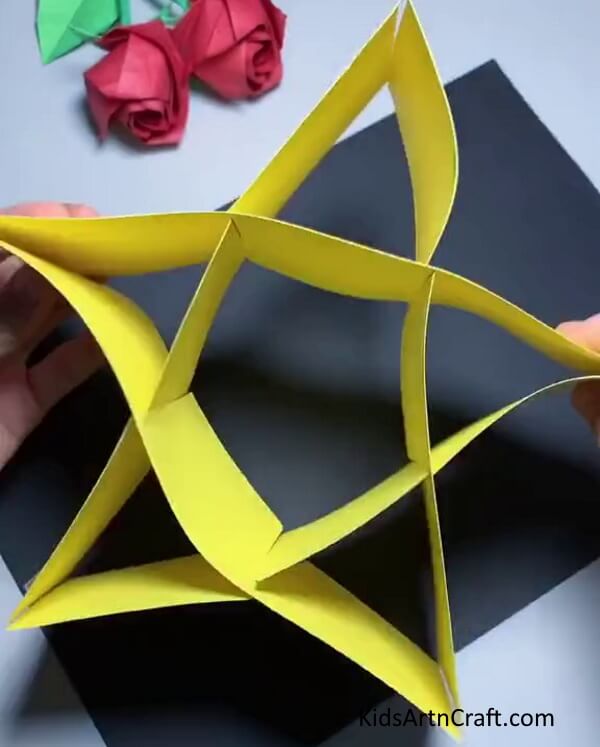
Cut out small pieces of tape and similarly seal all the ends. There should be five holes at the sides of the star and one big hole in the middle making a total of six holes. With this our star is ready.
Finally, The Star Is Born!
You can also use a piece of knitting wool to make the star hang. To do that, you just need to pass the wood through the top corner of the star and tie the open ends of the wool. Hang the loop of the wool wherever you want to make the star float in the air like it does in the scape or you can simply use it as a table decoration.
This leaves us with a beautiful 3-dimensional star. Today we learned to work with tapes and cuts. You can take this learning and apply it on similar sheets of paper to create different art forms. Remember to collect all the techniques you learn in the tutorial as they will help you in creating more profound and amazing craft. These tutorials are your journey to perfecting your skill so, don’t forget to club these experiences together to step a little bit further toward your goal. This tutorial also has been an upgradation from knowing to make a 1-dimensional star to a 3-dimensional one. That’s a huge leap! Keep taking smaller leaps as well to ultimately achieve a bigger one and help your art grow with you. Work hard and don’t forget to enjoy the process. GOOD LUCK!
Follow us on Youtube for art and craft tutorials and much more.
More Articles from Kids Art & Craft
- Paper Origami Frog Craft Tutorial for Kids
- How to Make Paper Sparrow in Simple Steps
- Easy to Make Paper Pineapple with Step-by-Step Instructions
- How To Make Pine Cone Mouse Craft For Kids
- How to Make Toilet Paper Roll Penguin Craft For Kids


