


Paper Crafts
Origami Ninja Star Craft Easy Tutorial For Kids To Play

This easy origami tutorial will show you how to make a ninja star craft for kids. Learn how to fold and create your own origami ninja stars with simple instructions and helpful pictures for a fun paper activity.
Kids love ninjas and their fighting skills. Can you name the weapon they use to master their art? Yes, you guessed it right, a ninja star, and now you can use it too to master yours. Today we are going to teach you how to make a ninja star, it’s going to be a lot of fun and you will also learn about making other shapes as well. So, grab your origami papers, and let’s get started!
Easy Origami Ninja Star Craft Tutorial For Kids To Play
Read More: How to Make Toilet Paper Roll Penguin Craft For Kids
Materials Required
- Origami Papers
Procedure
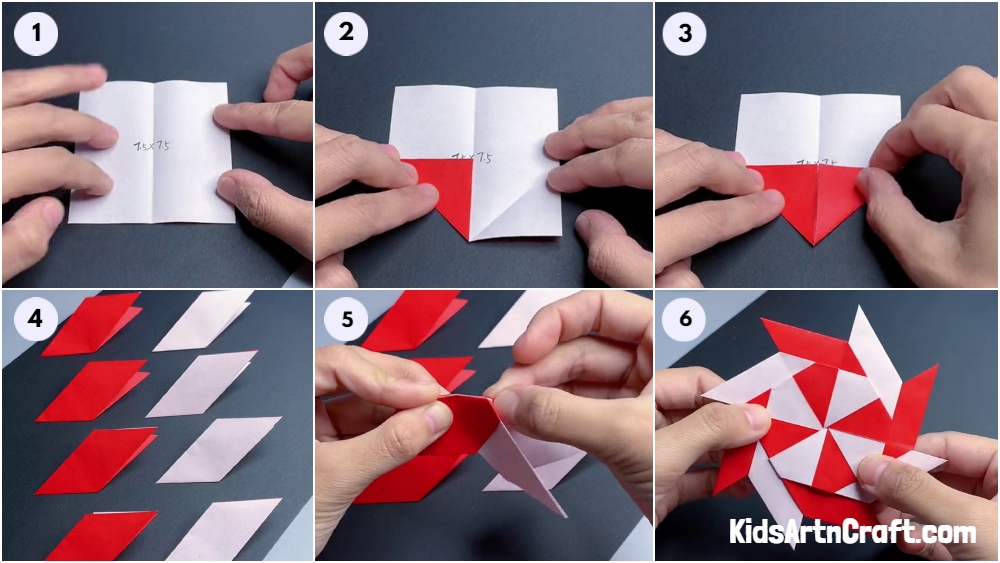
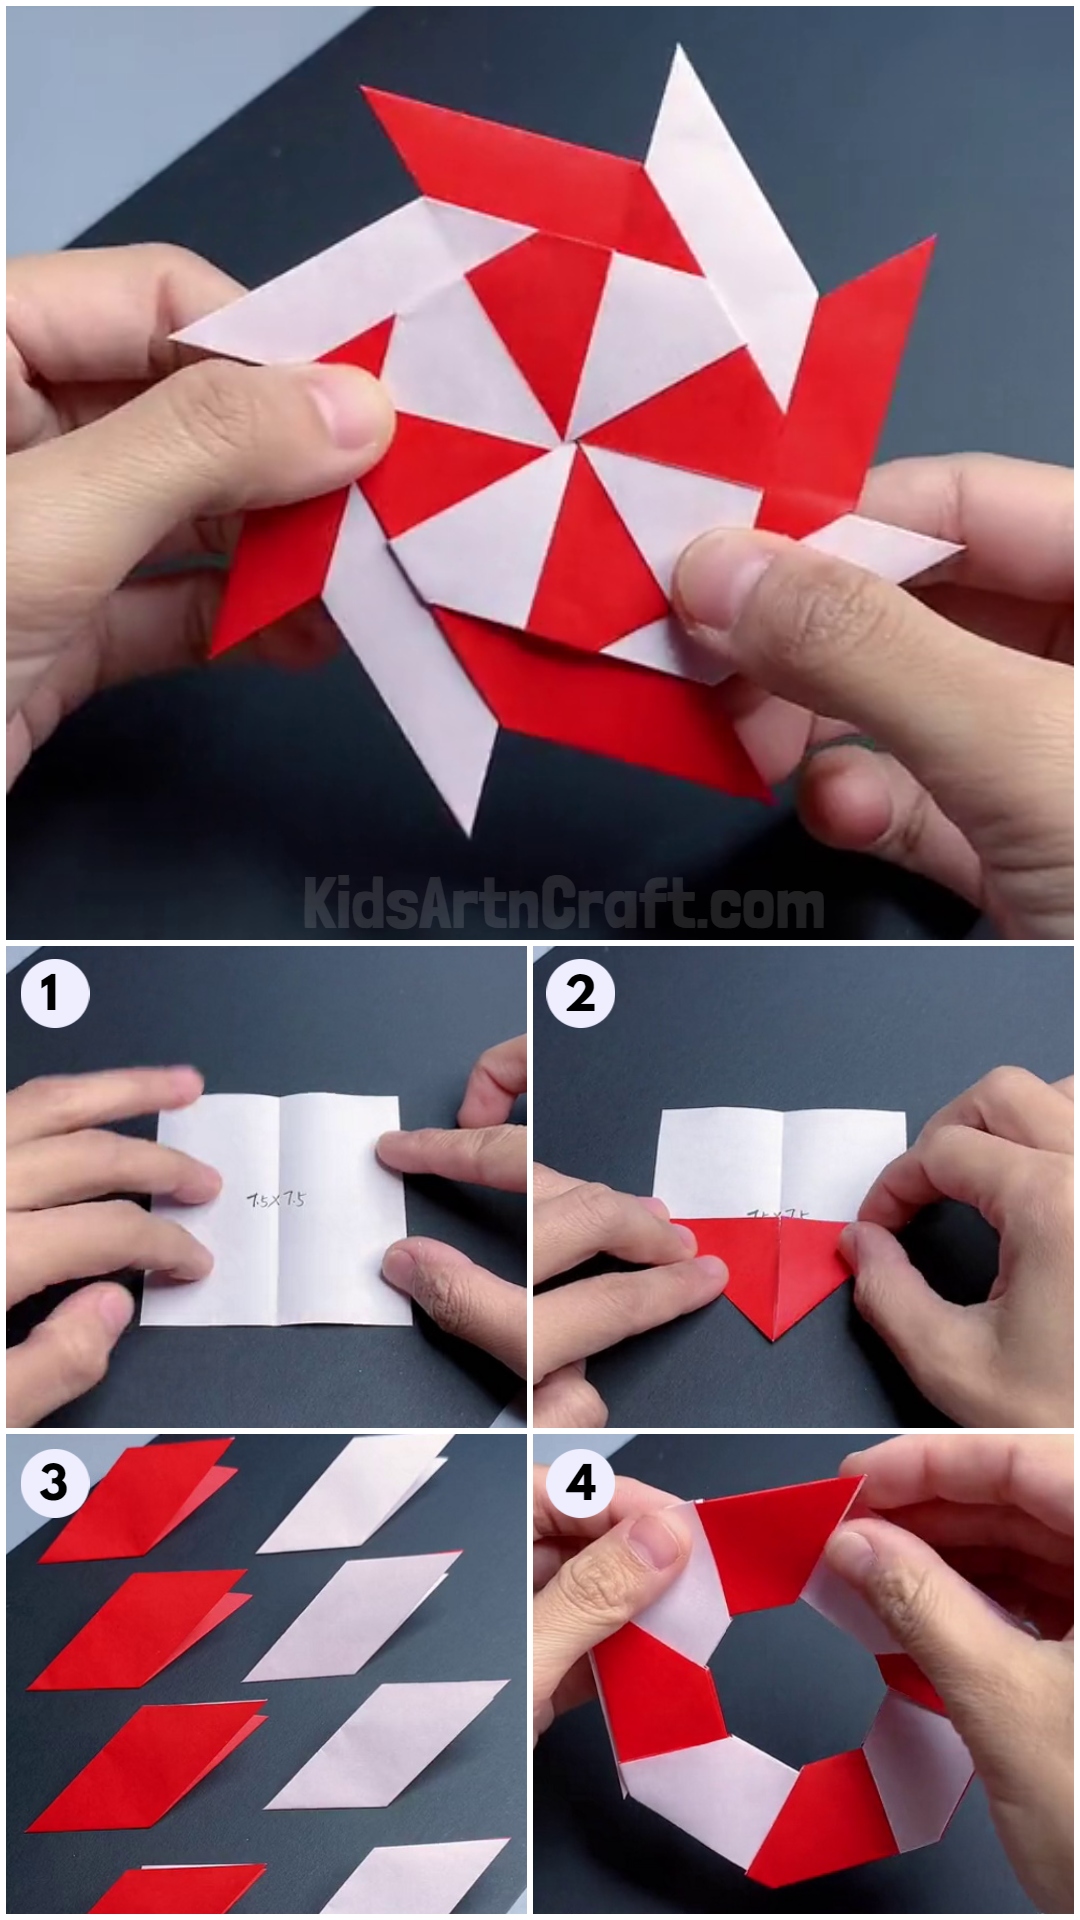
Step 1: Taking A Sheet Of Paper

Take a sheet of paper of the size 7.5×7.5. Now, fold the sheet in half. Unfold it to get a crease as shown.
Step 2: Making A Fold At The Corner
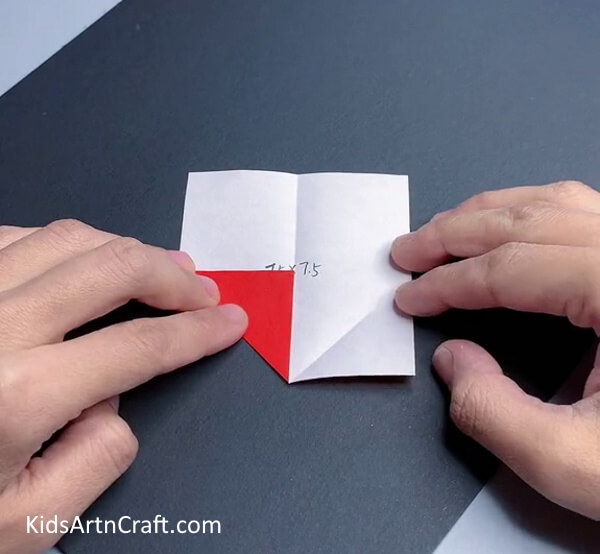
Now that we have the crease we need on the sheet, fold one of the corners up to the center of the middle crease and press it with your fingers so that it does not unfold.
Step 3: Making Another Fold
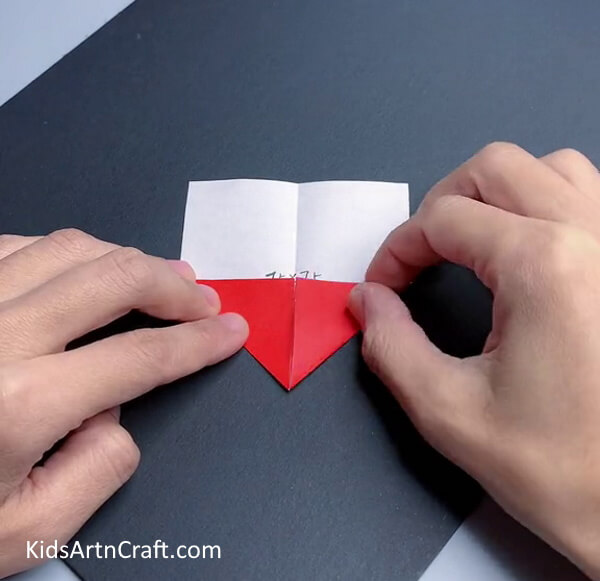
Now, repeat the above step, and fold the other corner as shown in the image.
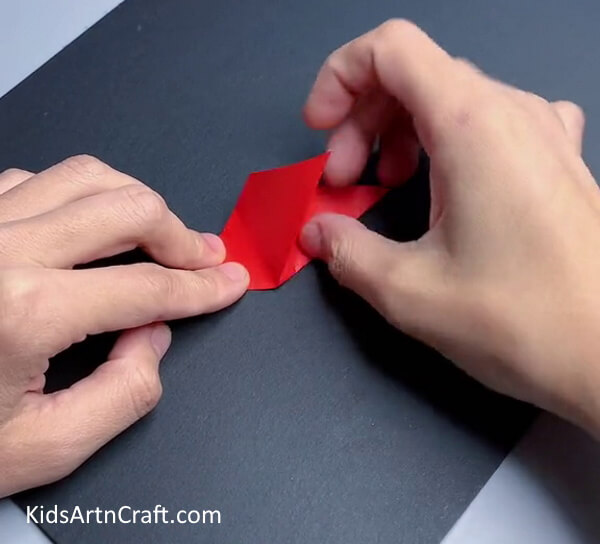
Step 4: Folding The Paper In Half
Now, fold the paper in half to get a four-sided figure as shown. Keep the longer edge at the bottom and fold the right corner into a triangle shape as shown. Unfold the triangle to get a slanting crease as shown.
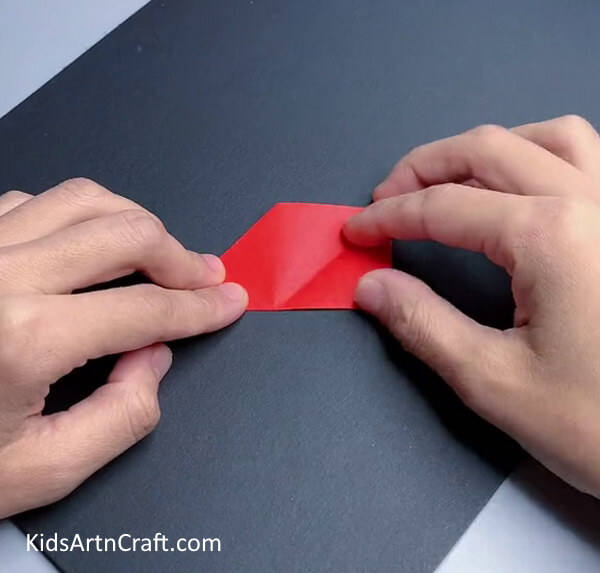
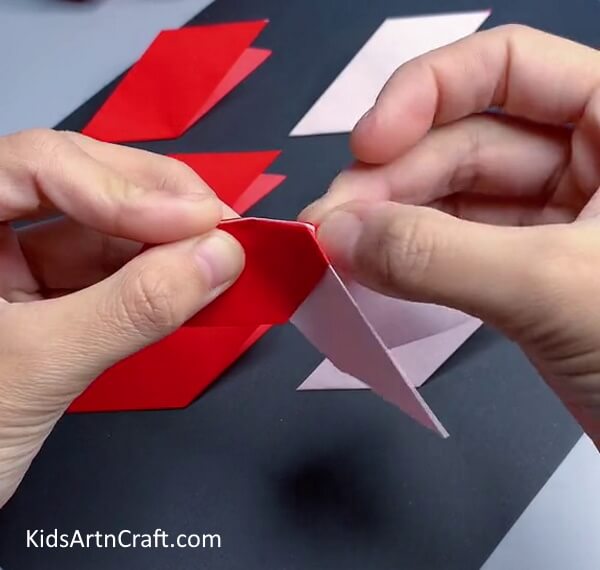
Step 5: Making a Parallelogram
Push the paper inwards along the triangle crease made earlier, making a shape of a parallelogram. Congratulations, you have learned to make a new shape!
Step 6: Making Eight Parallelograms
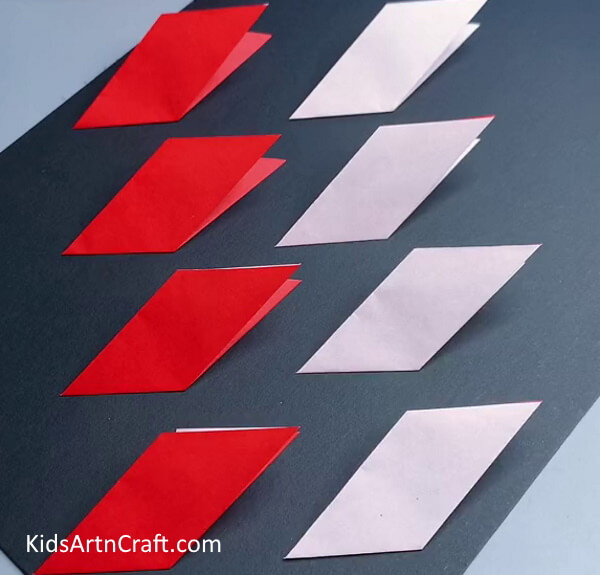
The count of these shapes you make depends on how big you want the star to be. If you want a smaller one, make three to four, if you want a bigger one like ours, you can make seven to eight of them.
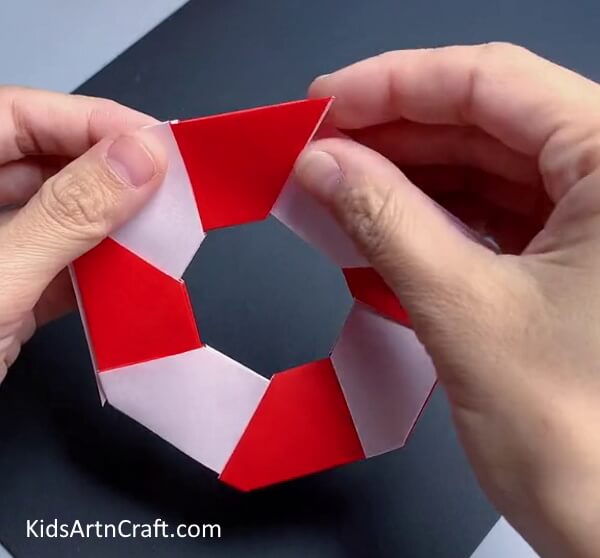
Step 7: Fitting The Parallelograms Together
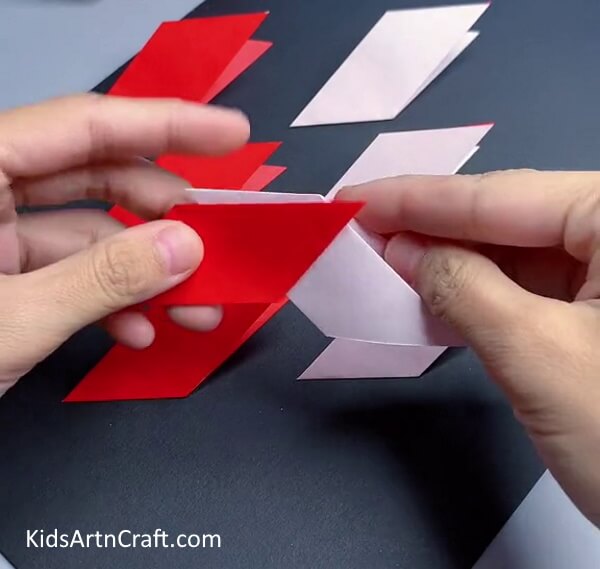
The next step is to connect these shapes like a link or a chain. You can simply do that by adjusting the shapes into the open sides of the folded parallelogram and sticking the pieces into each other.
Step 8: Sealing The Ends
To seal the pieces completely, fold the excess pointed corner(as shown in the picture above), of the first parallelogram shape to the flat end of the other. This will connect the pieces properly and give them a good and presentable shape.
Step 9: Making A Circular Shape
Connect all the pieces in a similar fashion making a circular shape with the parallelograms. Look at your genius, making a circle out of parallelograms. Good job!
Hurray! Playful Ninja Star Is Ready!
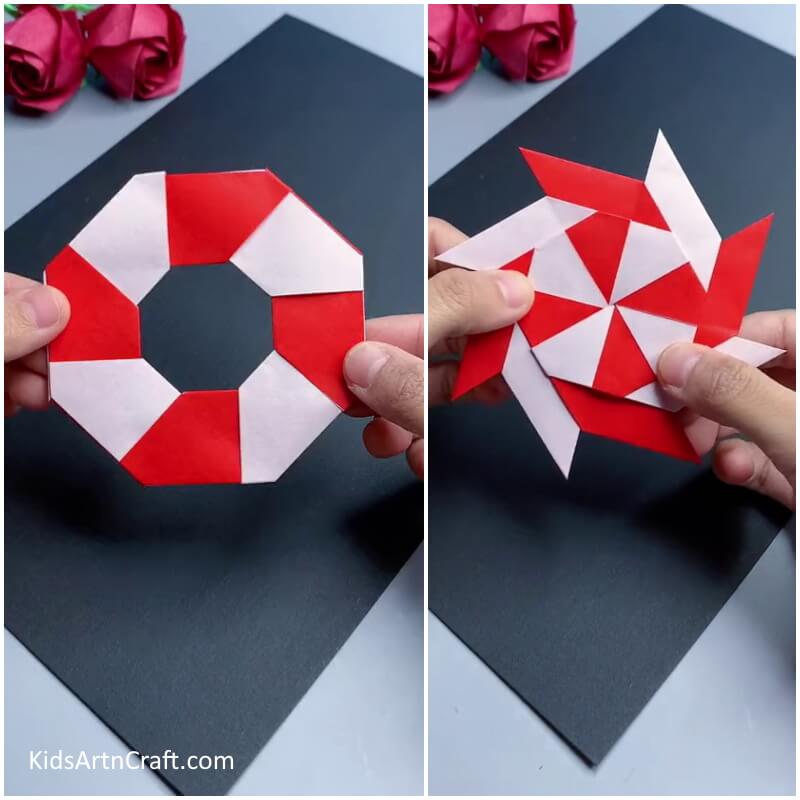
Finally, to unveil the magic, you just need to push the two opposite links together to unleash the ninja star making its way from arrows to parallelograms to circles and finally to the celestial star itself.
So, in this tutorial, we didn’t only learn to make a complete piece of art but also different shapes that can help you create more, diverse objects of craft. Try using these shapes in making origami or you can use your own ideas on them to make unique art. And don’t forget to play with the star you made today and show it to your entire family and friends. Have fun and keep perfecting these techniques by practicing more.
Follow us on Youtube for art and craft tutorials and much more.
More Articles from Kids Art & Craft
- Paper Origami Frog Craft Tutorial for Kids
- Easy Paper Crafts Activity Try At home Video Tutorial for All
- Simple Origami Animal Crafts Video Tutorial for Kids
- Amazing Creative Craft Ideas from Paper Video Tutorial for Kids
- DIY Paper Crafts Video Tutorial for All


