


Kids Activities
Paper Airplane Origami Step by Step Tutorial For Kids

Create the perfect paper airplane with this easy step-by-step origami tutorial for kids. With detailed instructions and colorful diagrams, your child will have an awesome paper airplane they can proudly show off.
Origami is a fun and creative craft that can be enjoyed by adults and children alike. With just a few simple steps, you can create beautiful works of art that are sure to impress.
Welcome to our step-by-step tutorial on how to make paper airplane origami! Do you want to show your kids a fun and creative way to pass the time? Look no further than the classic paper airplane origami! With just a few simple folds, you can turn a piece of paper into a plane that can soar through the air! In this tutorial, we’ll teach you how to make a paper airplane origami with clear instructions and illustrations. So grab a sheet of paper and let’s get started!
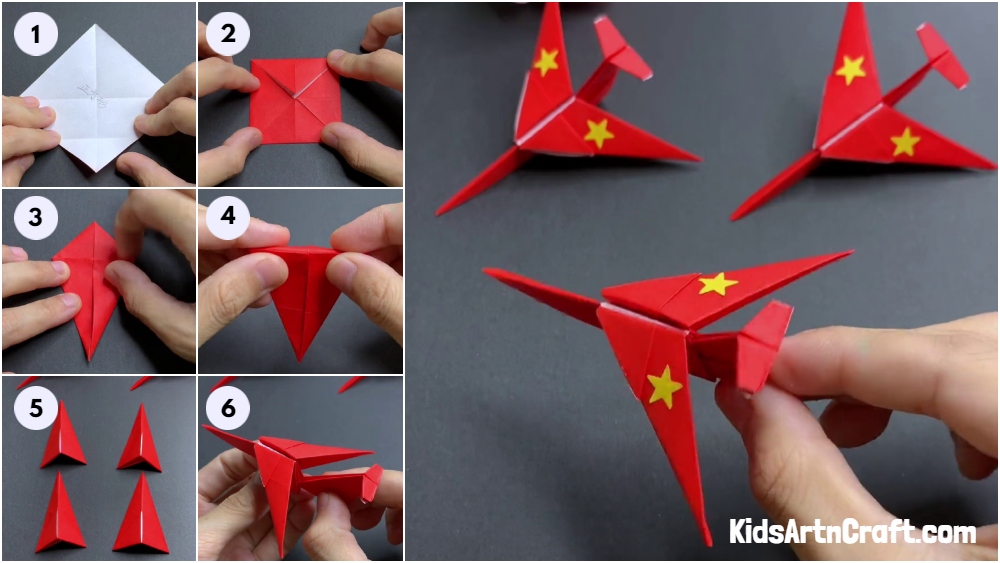
How To Make An Origami Airplane Using Paper

Materials Required:-
- Origami Paper
- Scissors
Read More: Easy Craft Ideas Make At-Home Video Tutorial
Step 1: Creasing Square In Half
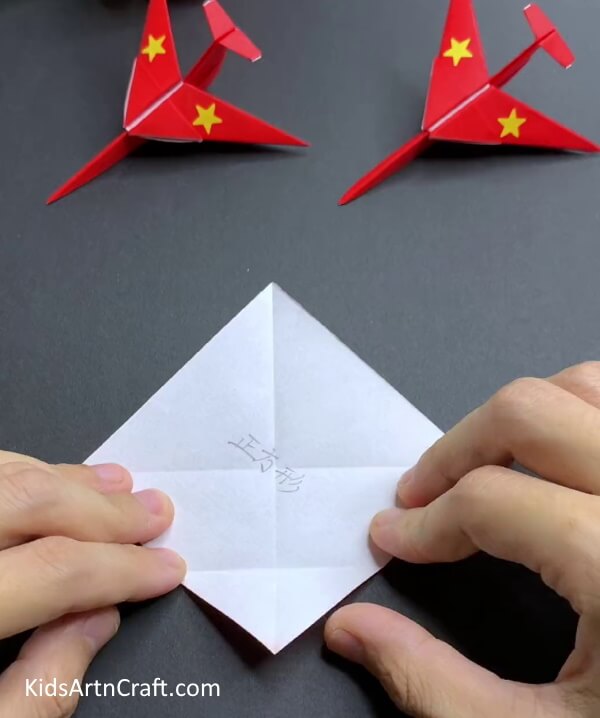
First, begin with a square piece of paper. Fold the paper half in both diagonals, crease it well, and unfold it.
Step 2: Bringing Corners In The Middle
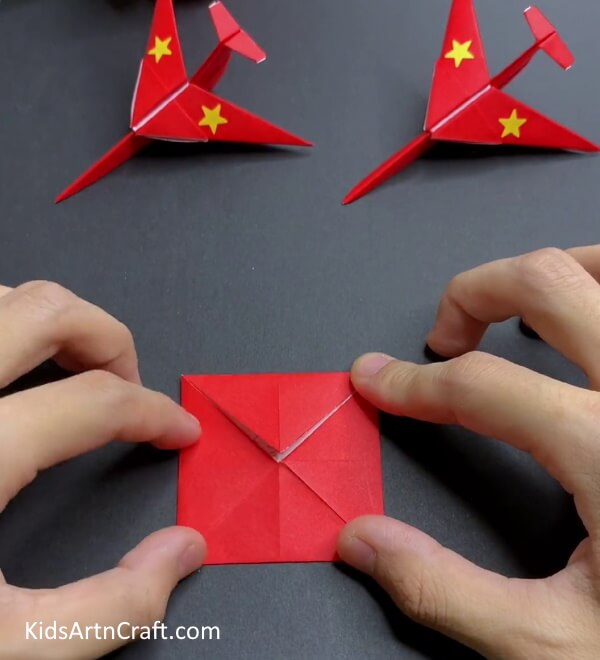
Now, bring the corners of the square paper to the middle point with the help of the creases made previously.
Step 3: Folding The Sides
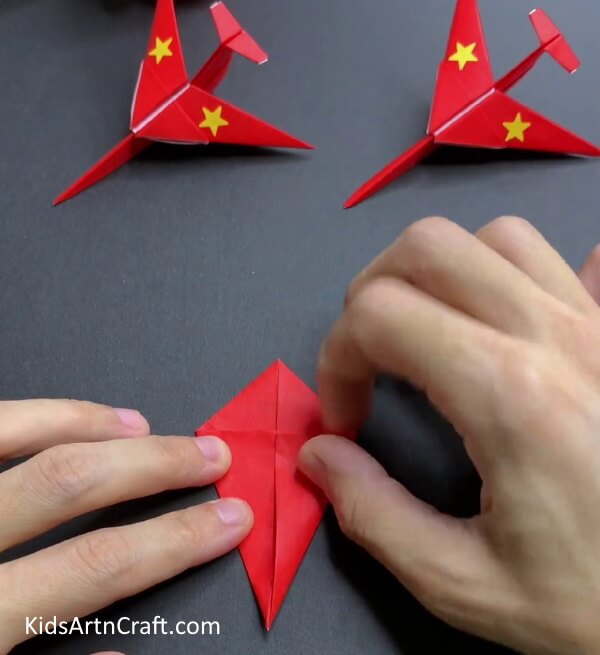
Turn the square around to form a diamond shape. Bring both the right and left sides of the paper to the middle as shown in the above image.
Step 4: Folding The Upper Triangle
Fold the top triangle in the opposite direction.
Step 5: Folding The Model In Half
Flip the paper and fold the model in half.
Step 6: Making Three More Models
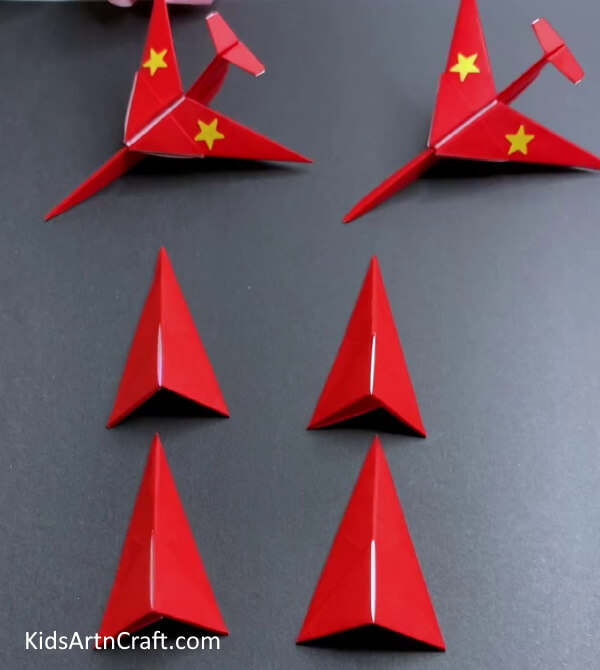
Following the above steps, make three more models.
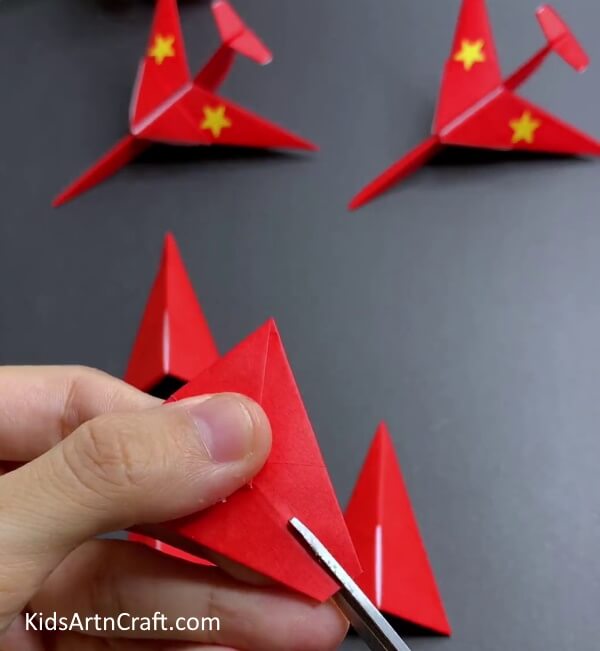
Step 7: Cutting Top Of The Triangle
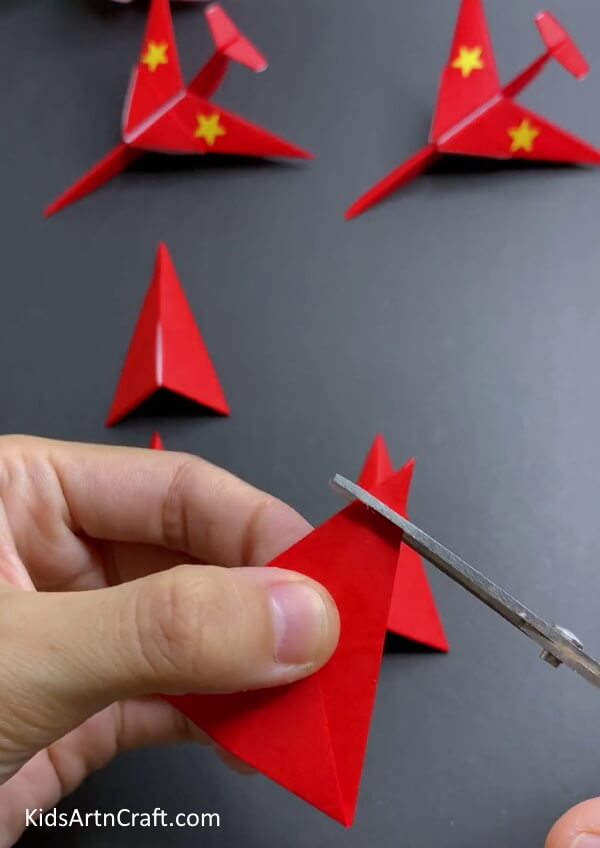
Now, take one model out of the four. Cut the top of the triangle using scissors
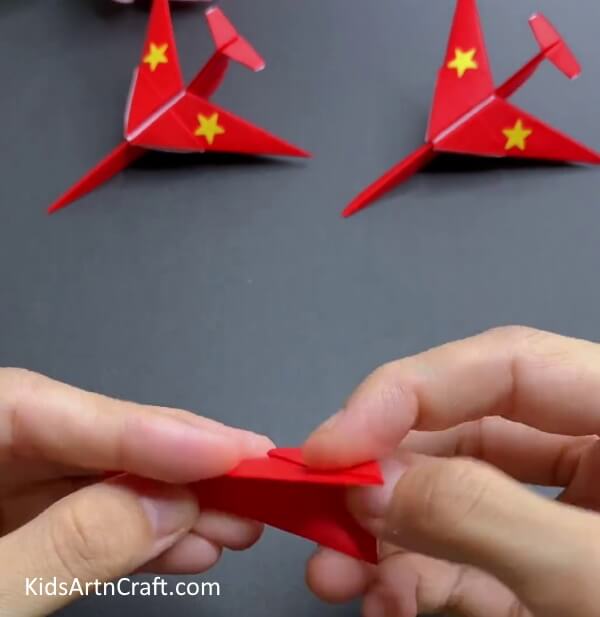
Step 8: Making Small Cut In The Middle
Make a small cut in the middle of the top of the model using scissors.
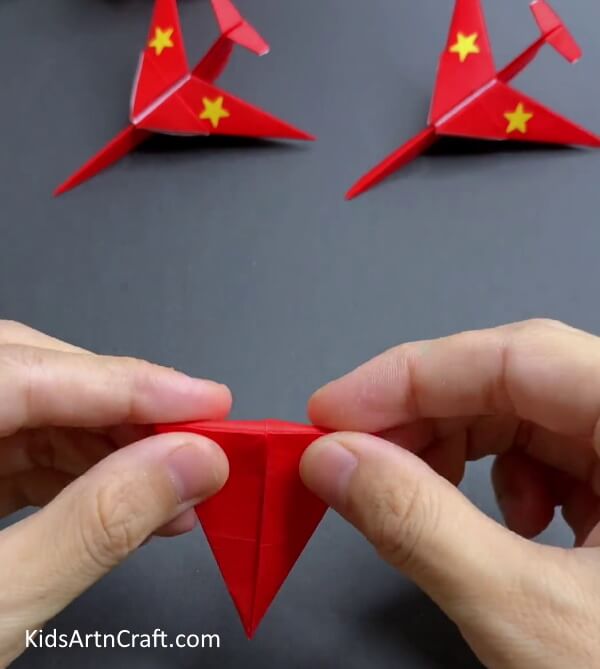
Step 9: Folding The Corners Outwards
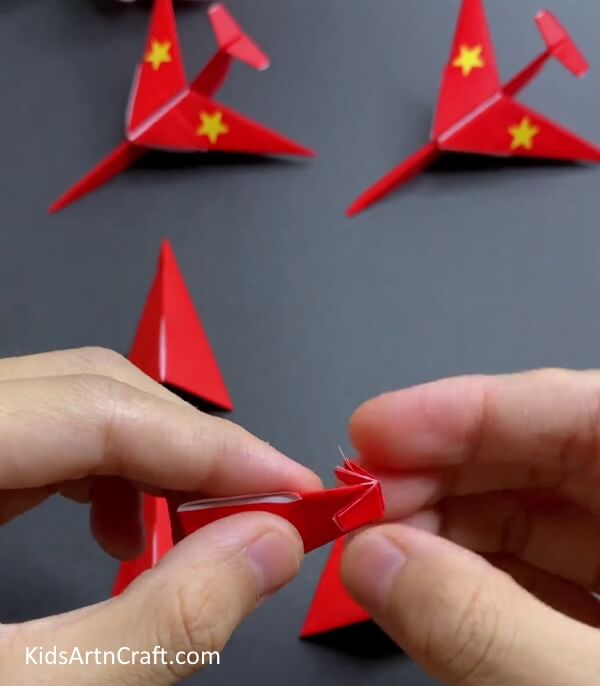
Fold the both right and left corners on the top in the outward direction.
Step 10: Folding Bottom Corners To The Middle
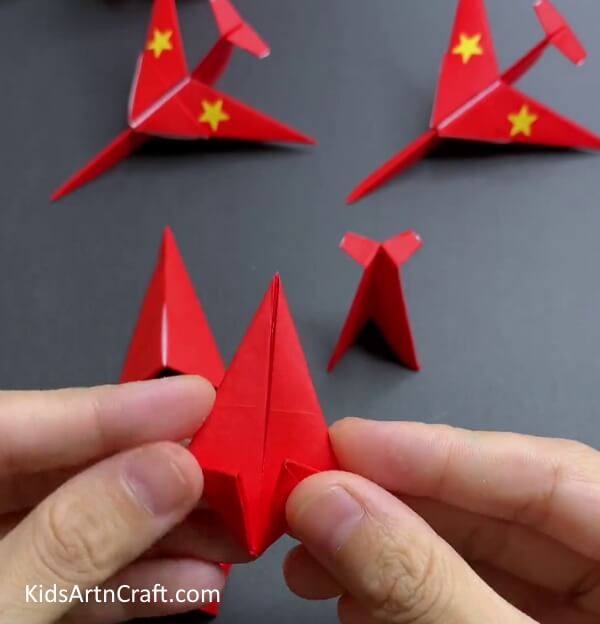
Now, take the other two models and fold their bottom side corners to the middle in an inwards direction.
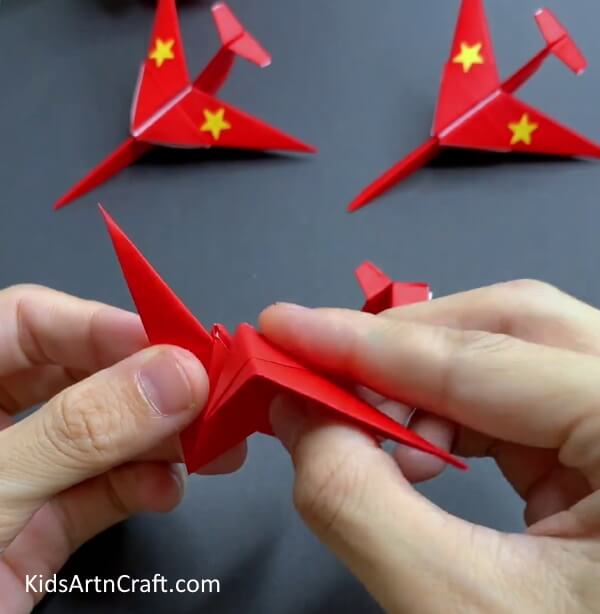
Step 11: Inserting The Corner In Pockets

Now, insert the left corner of the model that you fold in the previous model in the inner right pocket of the first triangle model.
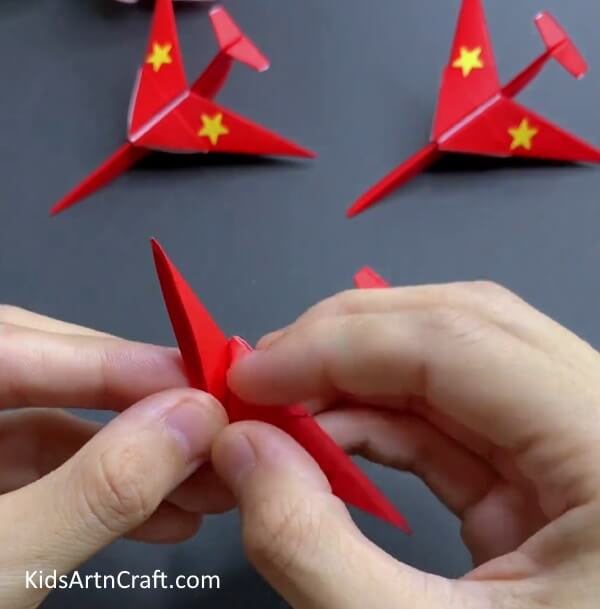
Step 12: Inserting Other Corner In Outer Pocket
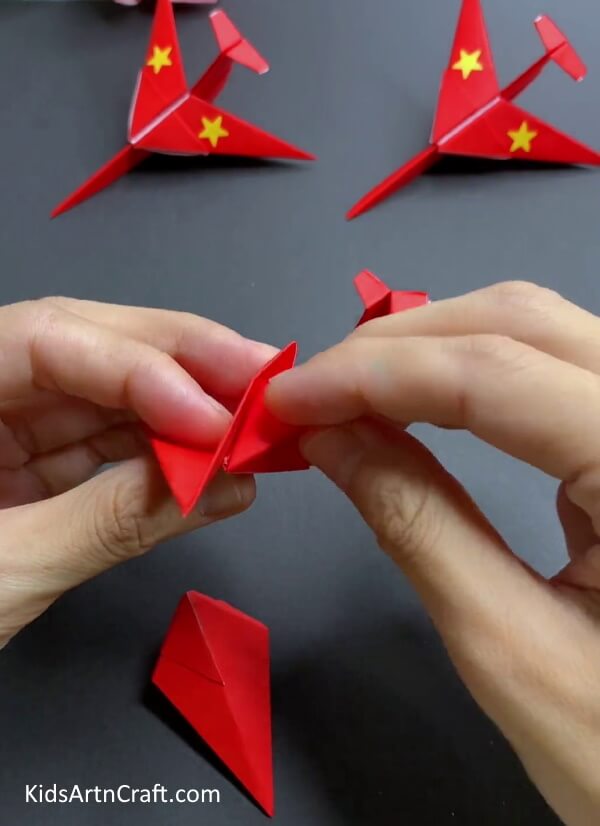
Insert the other corner of the model in the outer pocket of the first triangle model.
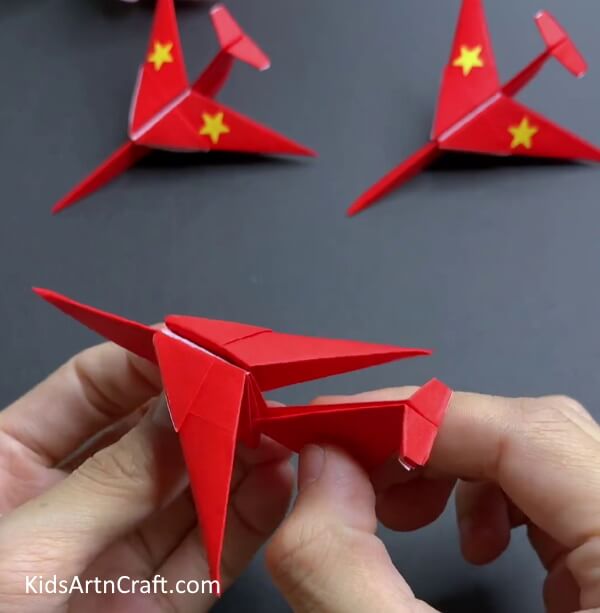
Step 13: Repeating The Same With Other Model
Now, take another corner folded model. Insert its left-folded corner in the inner left pocket of the first triangle model.
Step 14: Inserting Corner In Outer Pocket
By repeating the same step, insert the right folded corner in the outer right pocket of the other mode.
Step 15: Making the Tail Of The Airplane
Finally, insert the last model in the back pocket of the first model.
Your Paper Origami Airplane is Ready To Take Off!
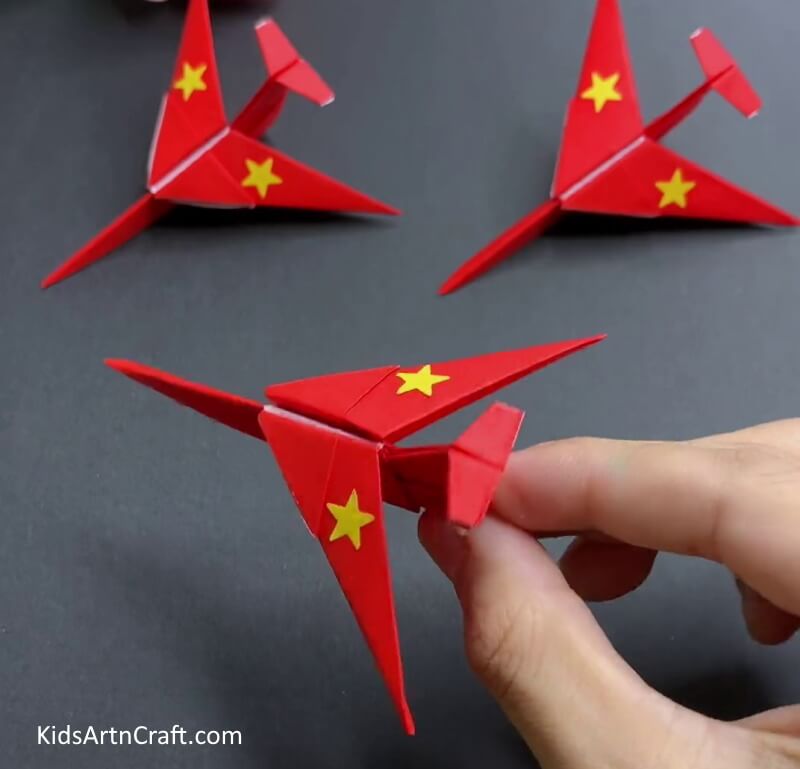
Congratulations! Your paper origami airplane is ready to take off and soar! Making a paper origami airplane is a fun and creative way to pass the time. With just a few simple folds, you can make a beautiful airplane to fly around the house or even outdoors. Have Fun!
Some More Airplane Craft Tutorial
Construct an Airplane Craft out of a Water Bottle
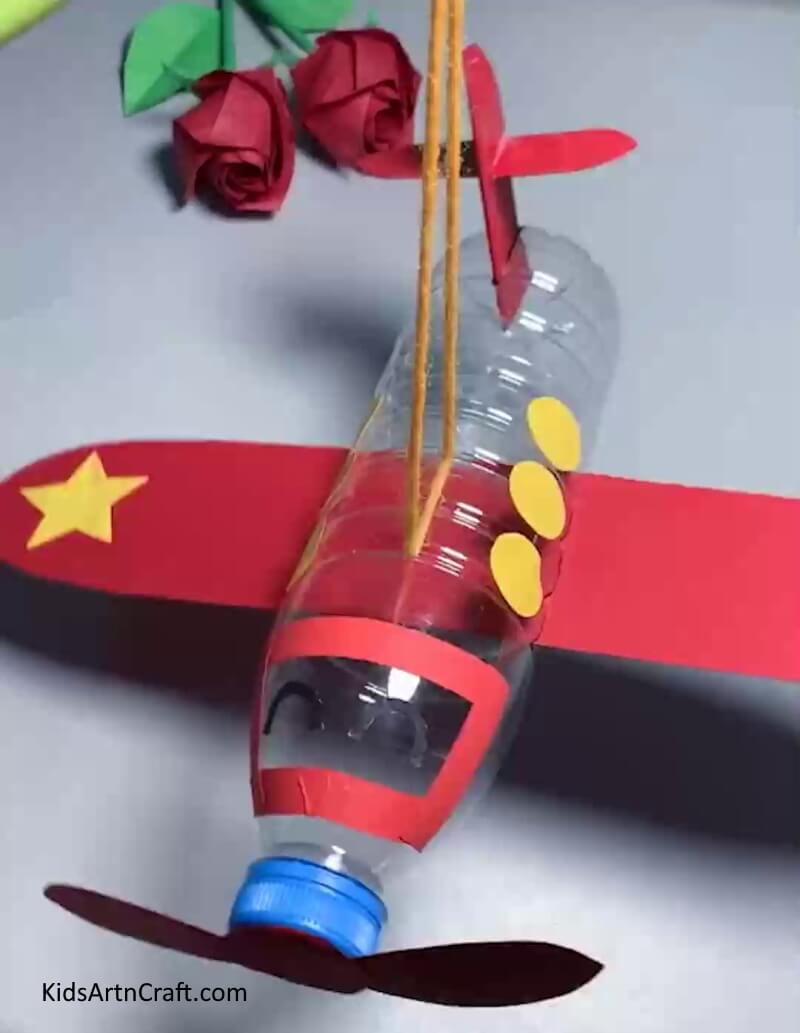
Image Source/Tutorial: Kids Art & Craft
Constructing an airplane craft out of a water bottle is a great way to turn a simple item into a fun project. It only requires a few supplies and the instructions are easy to follow. With a little bit of creativity and imagination, you can make a unique and creative airplane craft.
FAQs Paper Origami Airplane Craft
1. What type of paper is best for origami airplanes?
Lightweight paper such as copy paper or construction paper is best for making origami airplanes.
2. What other supplies do I need to make an origami airplane?
You will need scissors and a pencil to make an origami airplane.
3. How do I fold an origami airplane?
There are many tutorials available online that will show you how to fold an origami airplane.
4. How long does it take to make an origami airplane?
It usually takes around 15 minutes to make an origami airplane.
5. How do I decorate my origami airplane?
You can decorate your origami airplane by using markers, paint, glitter, or other craft supplies.
6. What can I use my origami airplane for?
Your origami airplane can be used to decorate a room, as a gift, or as a toy.
7. How should I store my origami airplane?
To protect your origami airplane, you should keep it in a safe place away from direct sunlight and moisture.
8. Can I make an origami airplane out of any type of paper?
No, not all types of paper are suitable for origami airplanes. Lightweight paper such as copy paper or construction paper is best.
9. How can I get better at making origami airplanes?
With practice and patience, you can get better at making origami airplanes. Try watching tutorials online and practice folding the paper to get better.
This paper airplane origami step-by-step tutorial is a great way to get kids to learn a fun and practical skill. With these easy-to-follow instructions, kids of all ages can learn how to make a paper airplane in no time.
Follow us on Youtube for art and craft tutorials and much more.
More Articles from Kids Art & Craft
- Easy Paper Crafts DIY Video Tutorial for All
- DIY Paper Crafts Video Tutorial for All
- Easy Paper Crafts Activity Try At home Video Tutorial for All
- Super Easy Craft Activities Video Tutorial At Home
- Simple Origami Animal Crafts Video Tutorial for Kids


