DIY and Crafts
DIY Easy Paper Chick Craft For Kids

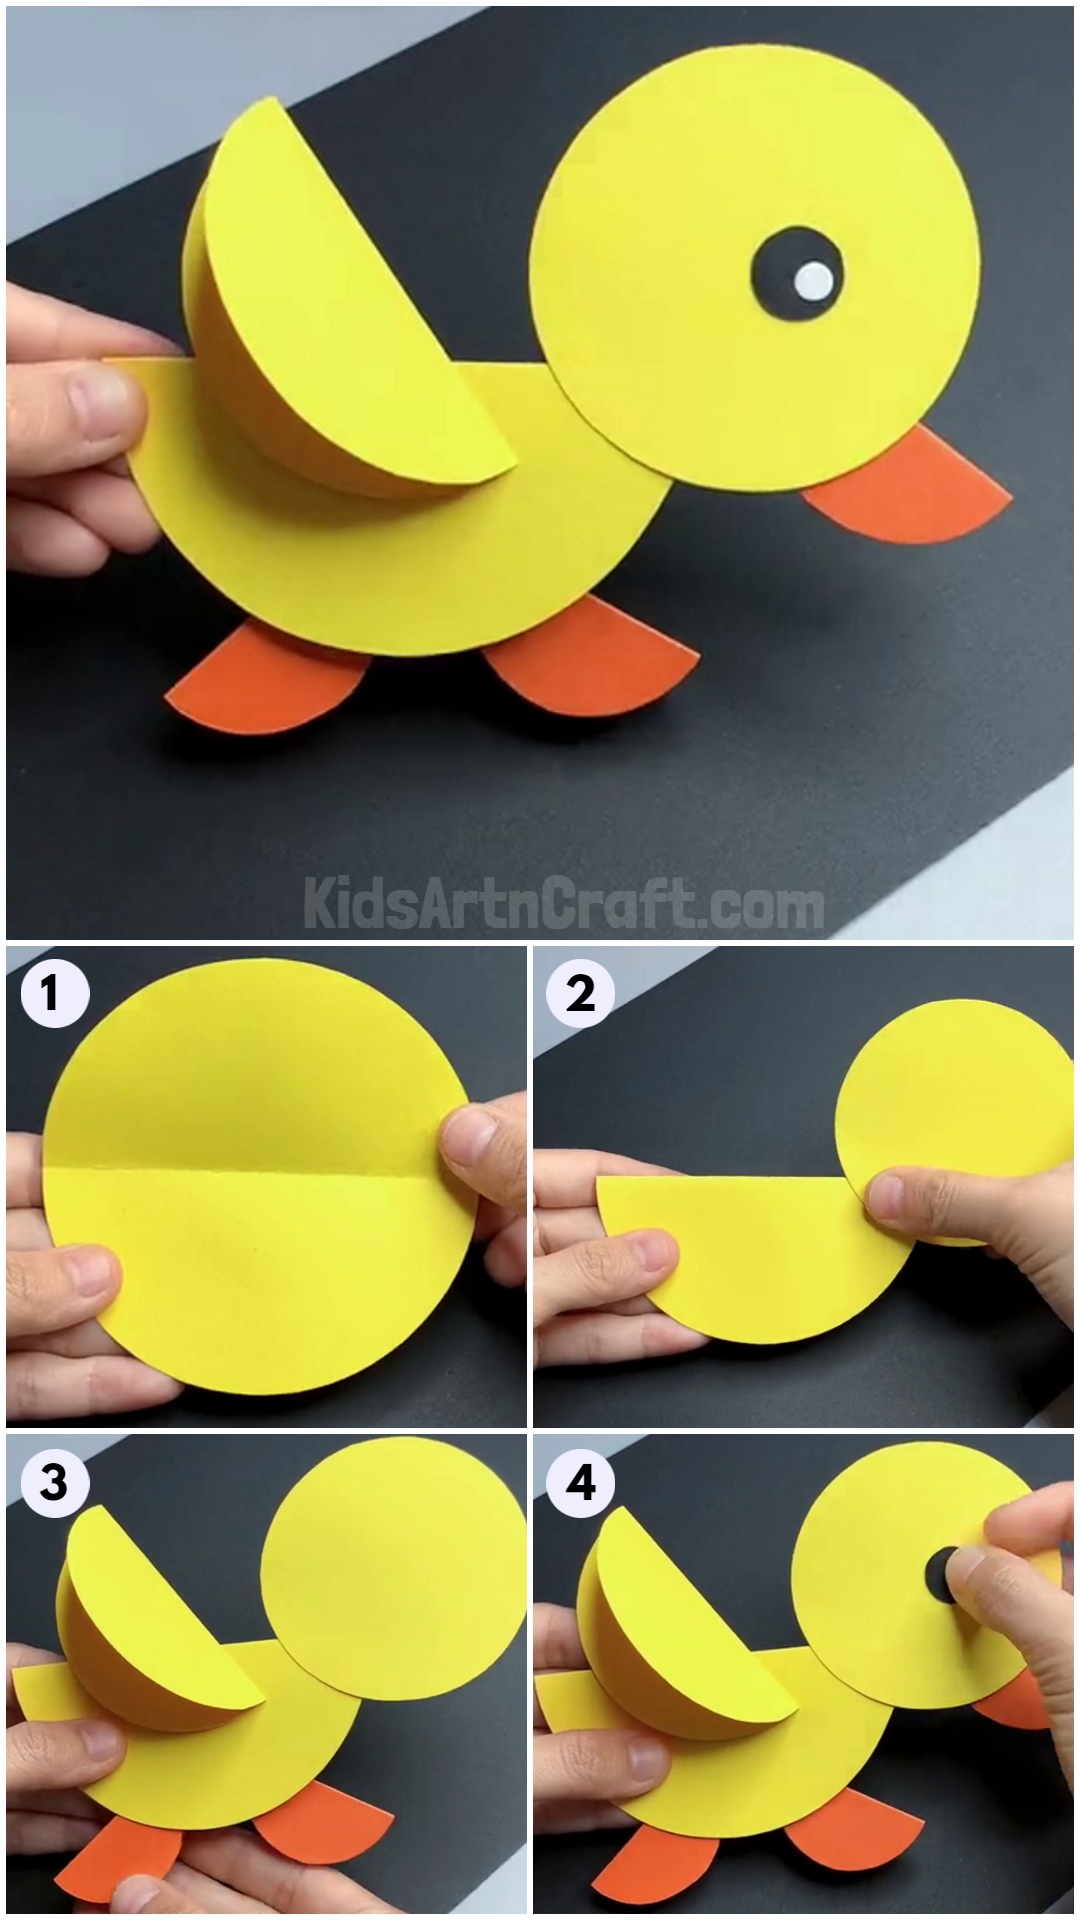
Looking for a cute and easy craft to do with your kids? This DIY Easy Paper Chick Craft is perfect for kids of all ages! It’s a fun and creative way to get your kids involved in an art project. This craft is simple to make and requires minimal supplies. With step-by-step instructions, your kids will be able to make their own paper chick craft in no time.
This DIY Easy Paper Chick Craft is a fun and creative activity for kids of all ages. With a few simple supplies and a little bit of creativity, you can easily DIY a beautiful paper chick craft for kids. Creating paper crafts is a fantastic way to engage children in fun and imaginative activities. In this article, You’ll learn to easily DIY a beautiful payer chick craft for kids. Get ready to enjoy the creative process and have a chirpy good time making this delightful paper chick craft!
Handmade Paper Chick Craft For Kindergartners
Read More: DIY Paper Crafts Video Tutorial fo All
Materials Required
- Colored Chart Paper ( Yellow, Orange, Black, And White)
- Scissors
- Glue Or Adhesive
- Pencil
Procedure
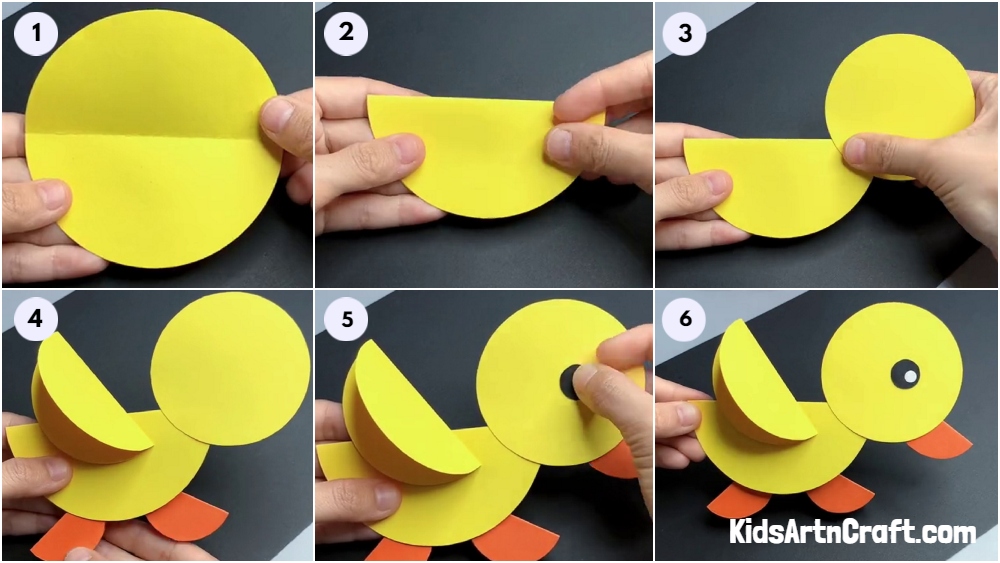
Step 1: Cutting Out A Yellow Circle
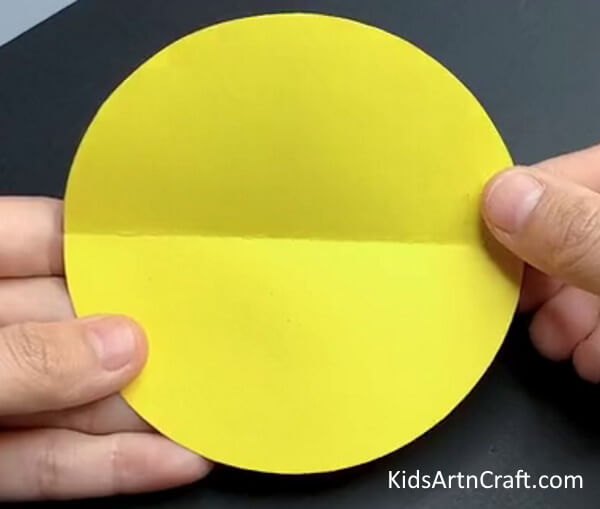
Take a yellow chart and cut it into a round shape with the help of scissors.
Step 2: Folding The Circle In Half
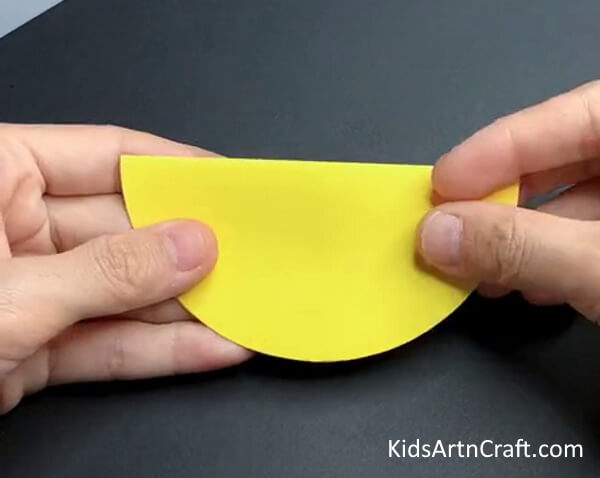
Fold it in half to form a semicircle, this will become the body of the chick.
Step 3: Pasting Another Circle
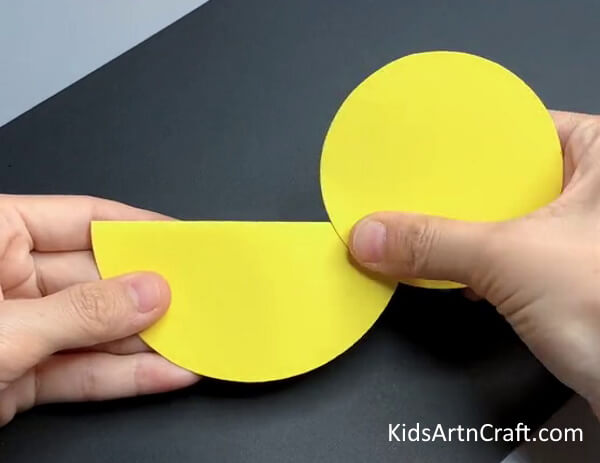
Make the head of the chick using a yellow circle and paste it over the semicircle body from the corner.
Step 4: Making A Wing And A Leg
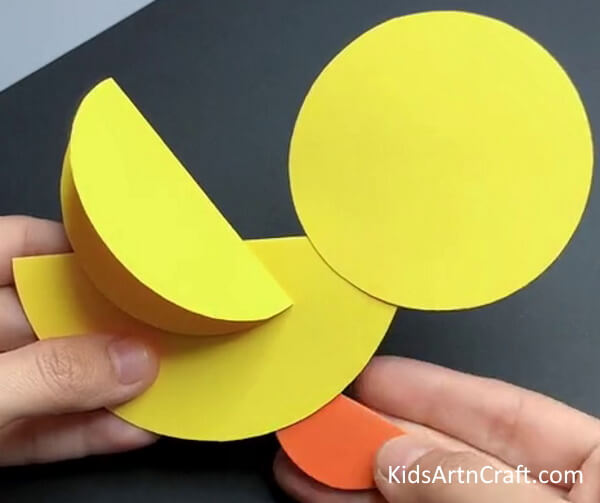
Cut out another yellow circle, fold it in half, and paste it over the chick’s body to make the wings as shown in the image. Then, take an orange chart and cut it into a round piece then fold it in half and paste it from behind under the body to make its leg.
Step 5: Making Another Leg
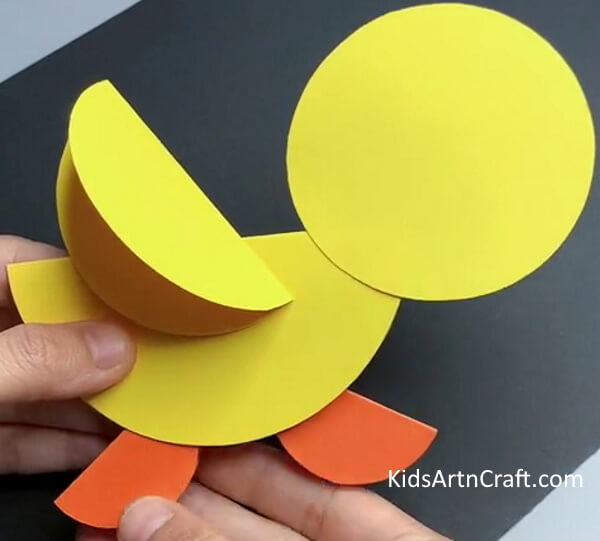
From another piece of that orange chart, do the same to make another leg.
Step 6: Adding A Beak
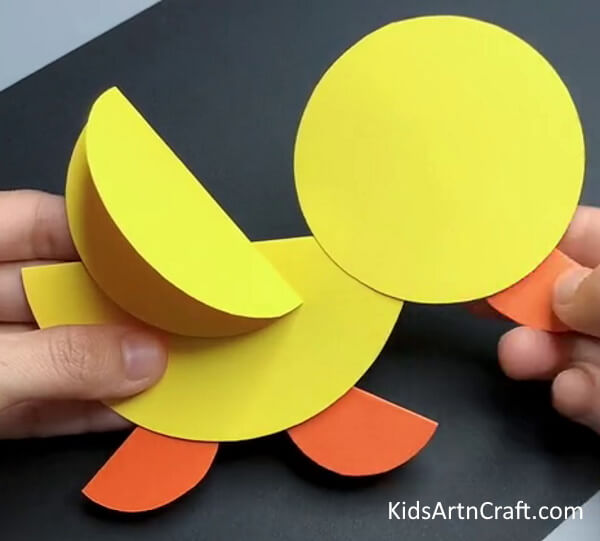
Make the beak using another orange circle, fold it in half, and paste it from behind the head of the chick.
Step 7: Making Eye Of Chick
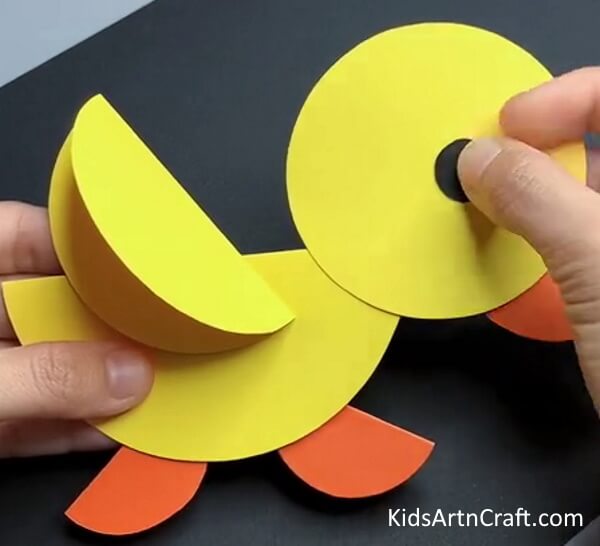
From a piece of black paper, cut out an eye of the chick and paste it over the head.
Your DIY Paper Chick Is Ready!
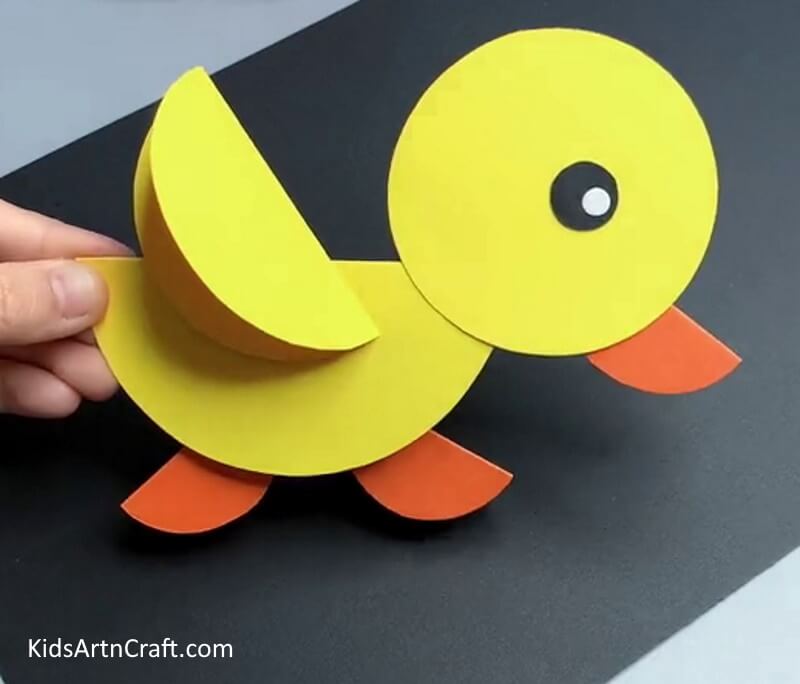
For the last step, complete the eye details using a white sheet of paper to make it look like it’s shining bright!
And that’s it! The final look of this paper chick craft is bound to impress and put a smile on everyone’s face. With a few simple supplies and a bit of creativity, you can easily DIY a beautiful paper chick craft for kids. Thanks for visiting our website, please visit again thankyou!
Some More Chick Craft Tutorial
Make Your Own Balloon Chicken Craft For Kids
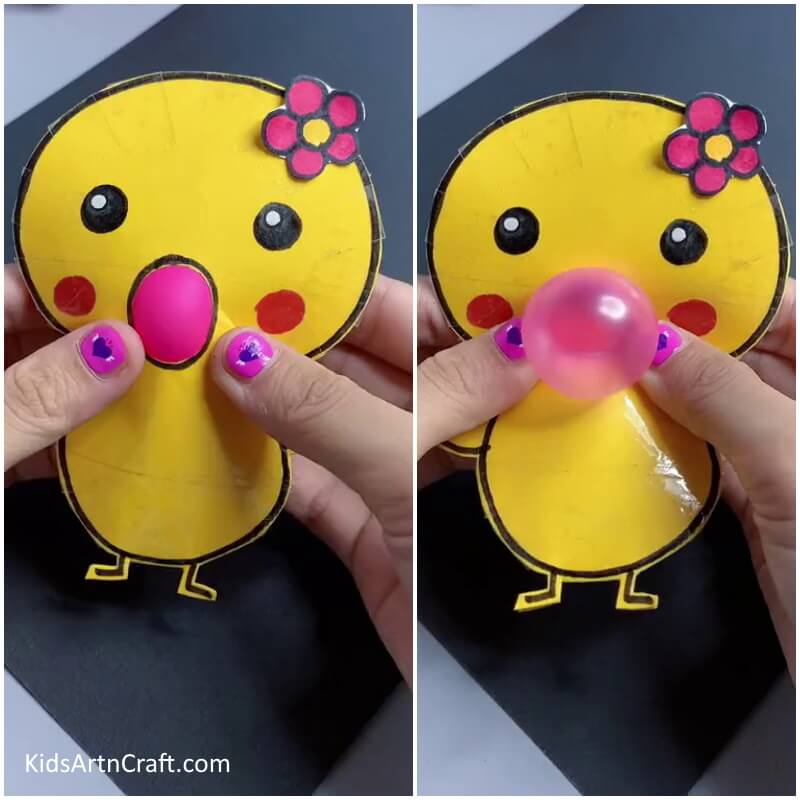
Image Source/Tutorial: Kids Art & Craft
This fun and easy craft is perfect for younger children. With a few balloons, some glue, and some scissors, you can turn your kids into balloon chicken-making experts in no time. It’s a great way to encourage creativity and get the whole family involved in making something together.
Follow us on Youtube for art and craft tutorials and much more.
More Articles from Kids Art & Craft
- Easy Craft Ideas Make At-Home Video Tutorial
- Easy Paper Crafts DIY Video Tutorial for All
- DIY Fun Craft Activities At Home Video Tutorial
- Easy Paper Crafts Activity Try A home Video Tutorial for All
- Creative Art & Craft Activities Video Tutorial for All


