Other
How To Make Paper Snowflakes Easy Tutorial

Create beautiful paper snowflakes with this easy tutorial. Learn how to cut and fold paper into intricate snowflake patterns. Have fun and make your own unique decorations for the winter season!
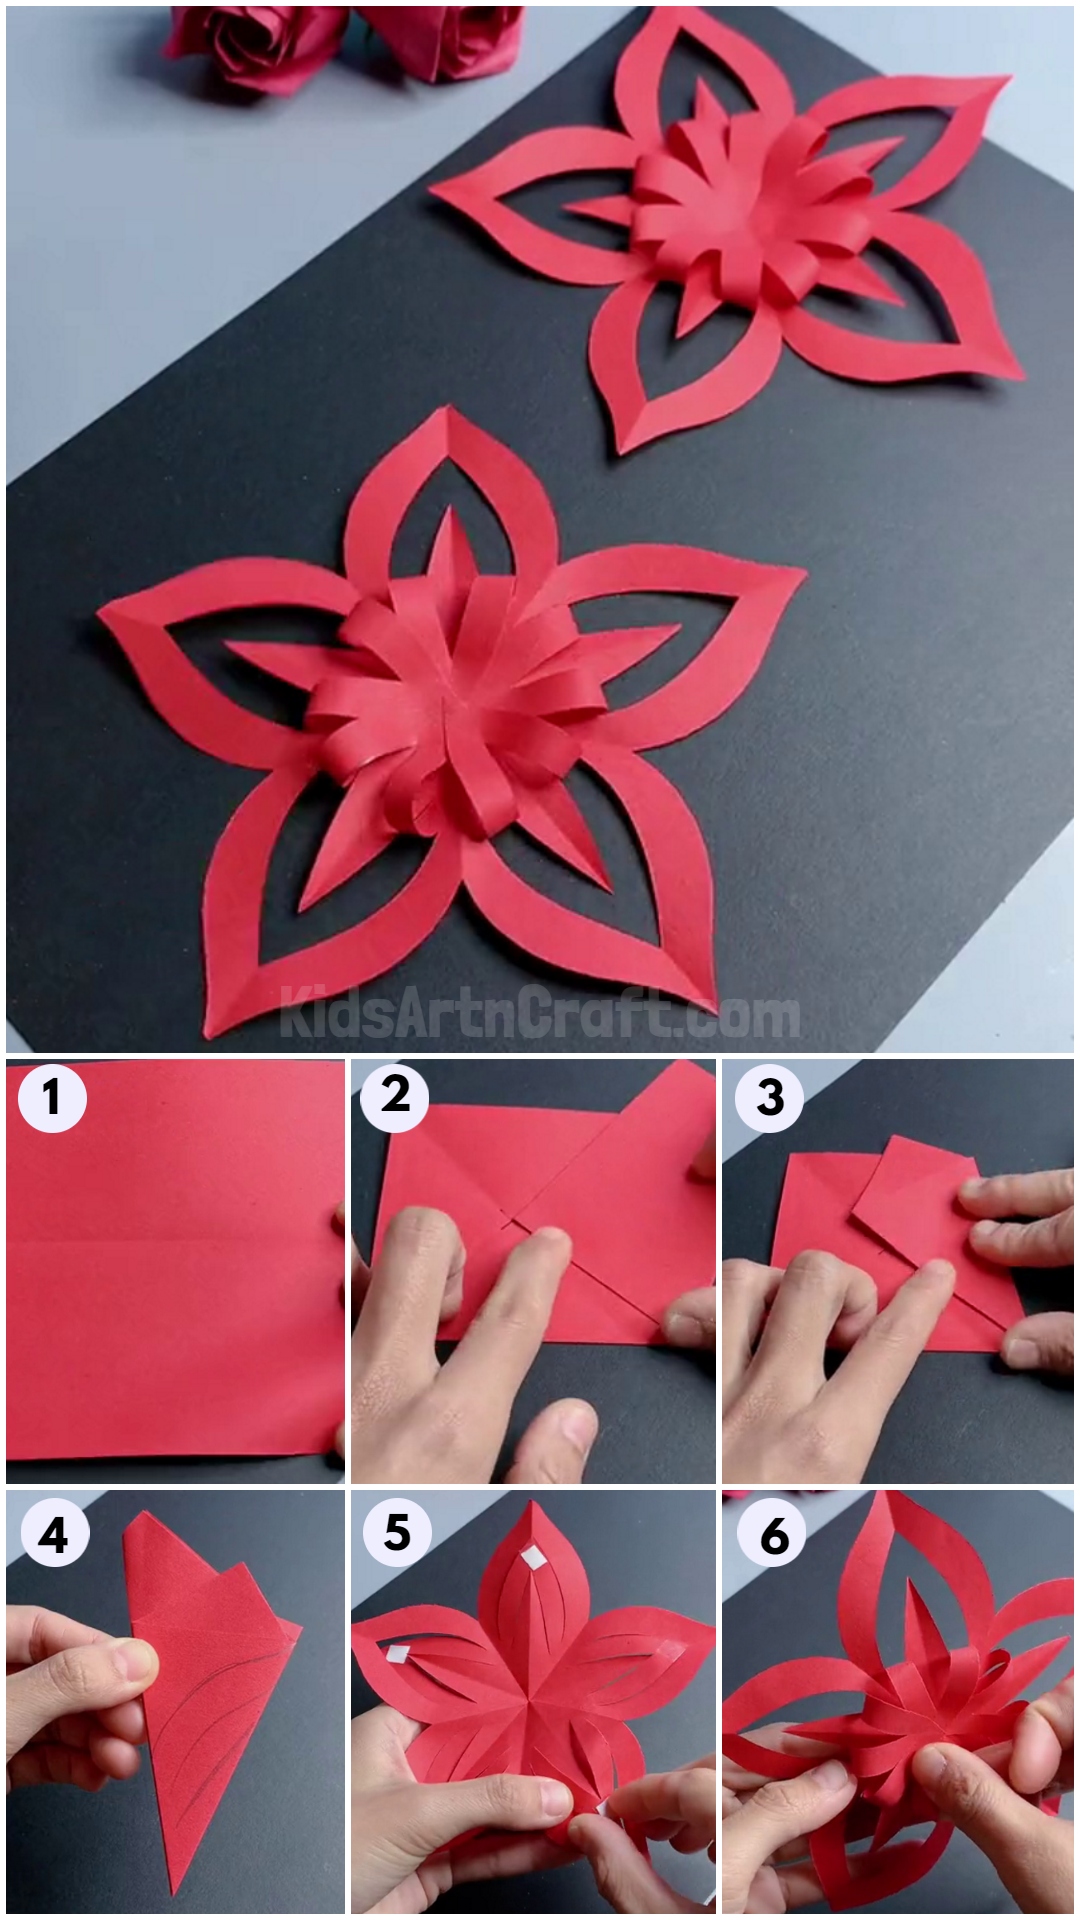
In this tutorial, we will learn how to create beautiful paper snowflakes. The same uses red origami sheets. With a few materials and creativity decorate your space with these delicate creations. We are sure that this is going to add a touch of winter wonderland to your surroundings. Making paper snowflakes is a fun, easy craft for both kids and adults alike. You’ll learn how to make a beautiful paper snowflake in just a few simple steps. With just a few folds and cuts, you’ll be able to create your own unique and festive paper snowflake!
Easy To Make Paper Snowflakes Craft For Kids
Read More: DIY Paper Crafts Video Tutorial fo All
Material Required
- Scissors
- Pencil
- Double-Sided Tape
- Black Background Sheet (Optional)
Procedure
Step 1: Preparing The Square Paper
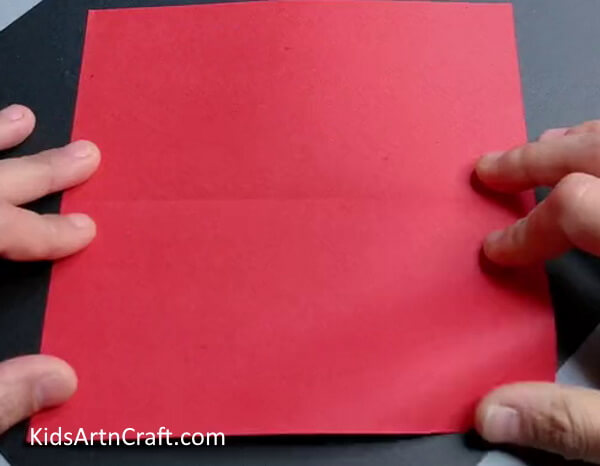
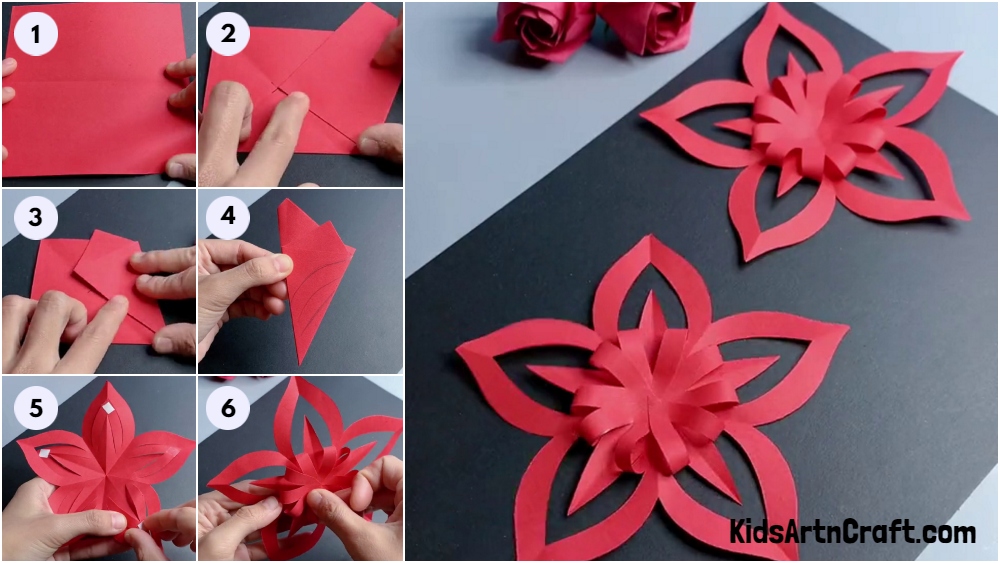
Start with a square piece of paper. If your paper is not already square, fold one corner diagonally to the opposite edge. Thereafter trim off the excess to create a square.
Step 2: Use Folding Variations And Create a Parallelogram
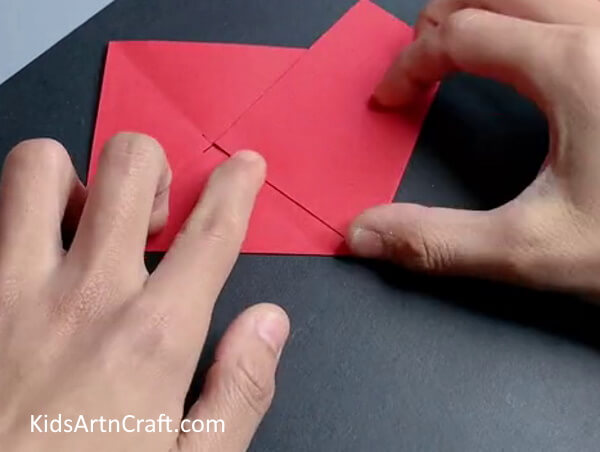
Fold the square in half diagonally, forming a triangle. Ensure that the corners align perfectly. Take the bottom-right corner of the triangle and fold it towards the left side. The one just beside the last horizontal triangle creates a parallelogram. Refer to the image above for reference.
Step 3: Overlapping And Folding Again
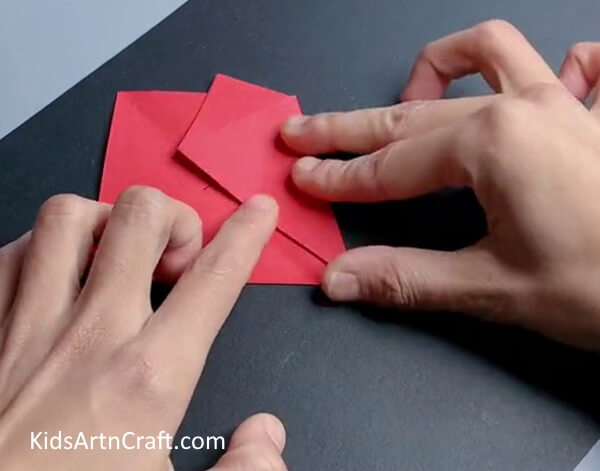
Flip the parallelogram towards the left crease, overlapping the shape formed. The image provided will assist you in this step.
Step 4: Folding The Bottom Tip
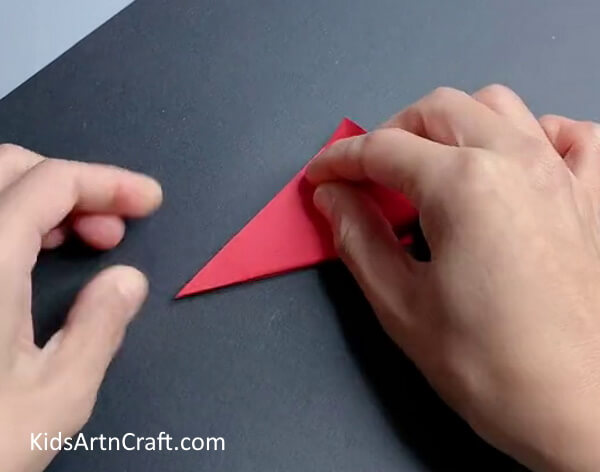
Repeat the previous step with the bottom-right corner, folding it towards the center. Do not forget to overlap the previous fold. With the folded edges facing you, fold the bottom tip of the triangle up toward the top. Leave a small part unfolded at the top as shown in the above image.
Step 5: Creating a Wavy Pattern
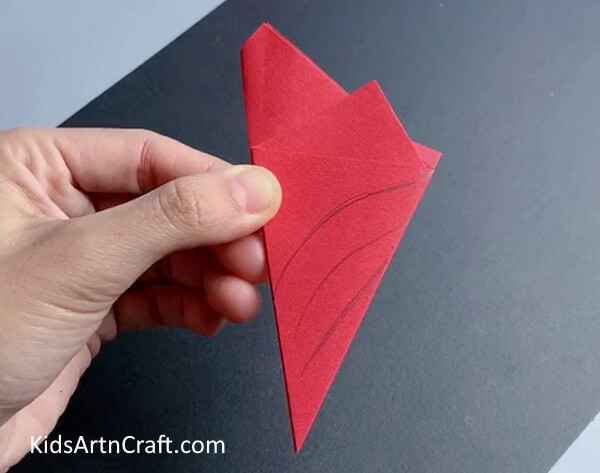
Use a pencil to create wavy leaves similar to those shown in the image. These waves will represent the snowflakes. Let your creativity flow!
Step 6: Cutting Out Shapes
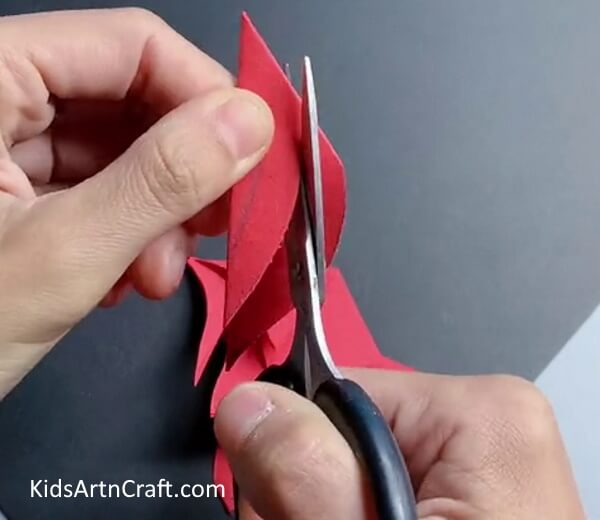
Cut out small shapes along the folded edges of the triangle. Just make sure not to cut to the folded edge.
Step 7: Unfolding And Adjusting
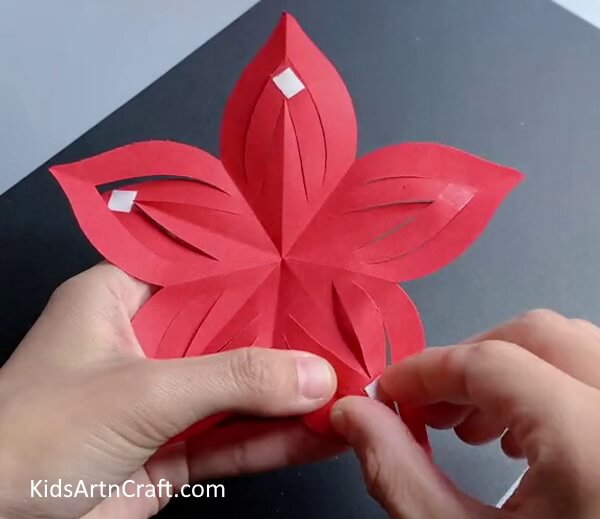
Gently unfold the paper to reveal your paper snowflake. Carefully separate the layers of paper and make any necessary adjustments. Repeat the process to create more snowflakes using different folding and cutting patterns. Apply double-sided tape at each revealed corner.
Step 8: Creating Variation
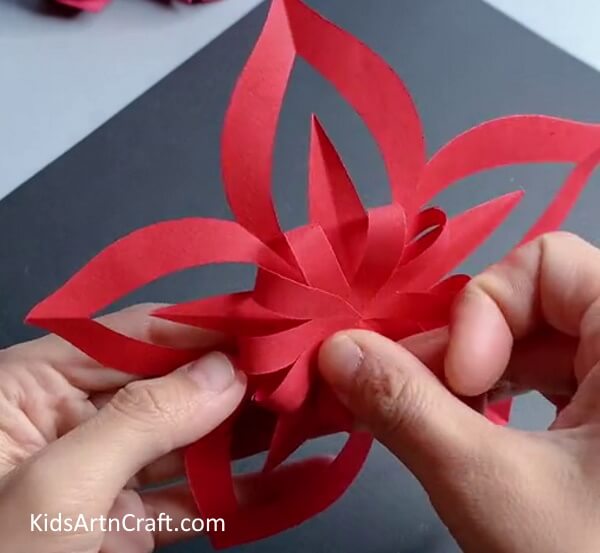
Attach these backside layers one by one on top of each other
Step 9: Layering The Backside
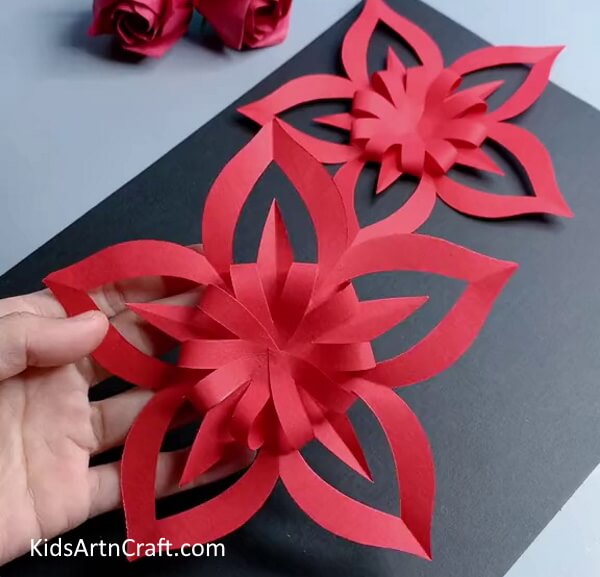
Post-process you will be able to create a layered ribbon-like structure, as shown in the picture.
Finally, Your Paper Snowflakes Craft is Ready!!
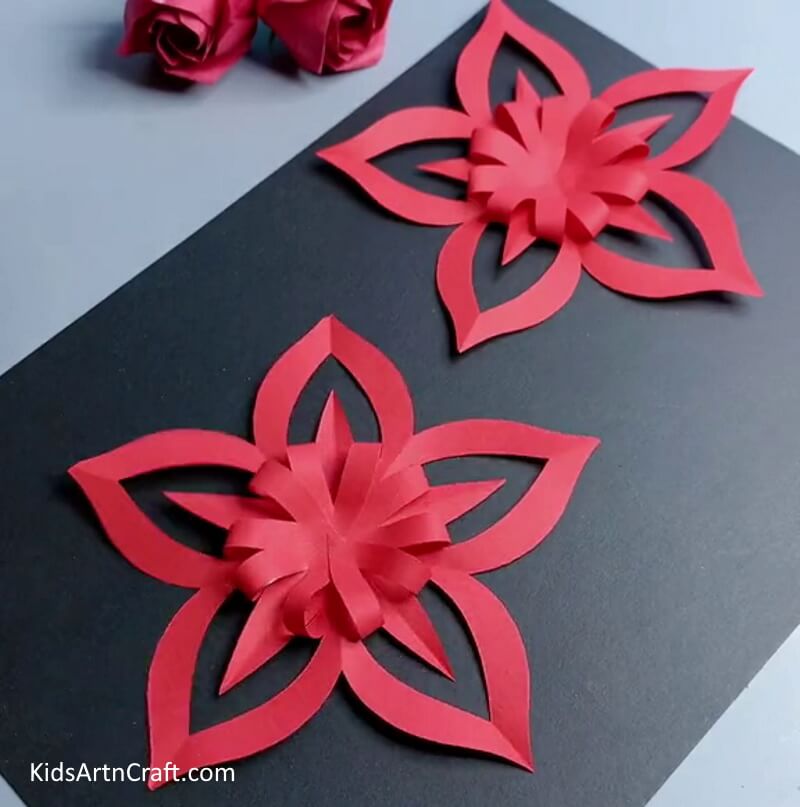
The final step is optional where you can hang your paper snowflakes on a string or thread. Thereafter, decorate your space with these delicate creations. Watch as they twirl and create a winter wonderland ambiance!
Decorate your room with these delicate paper snowflakes. Watch them dance, creating a charming winter landscape atmosphere. Embrace the charm and creativity of these handmade decorations. These will certainly be bringing glamour to your surroundings.
Some More Snowflake Craft Tutorial
Snowflake Craft Using Red Paper For Kindergartens
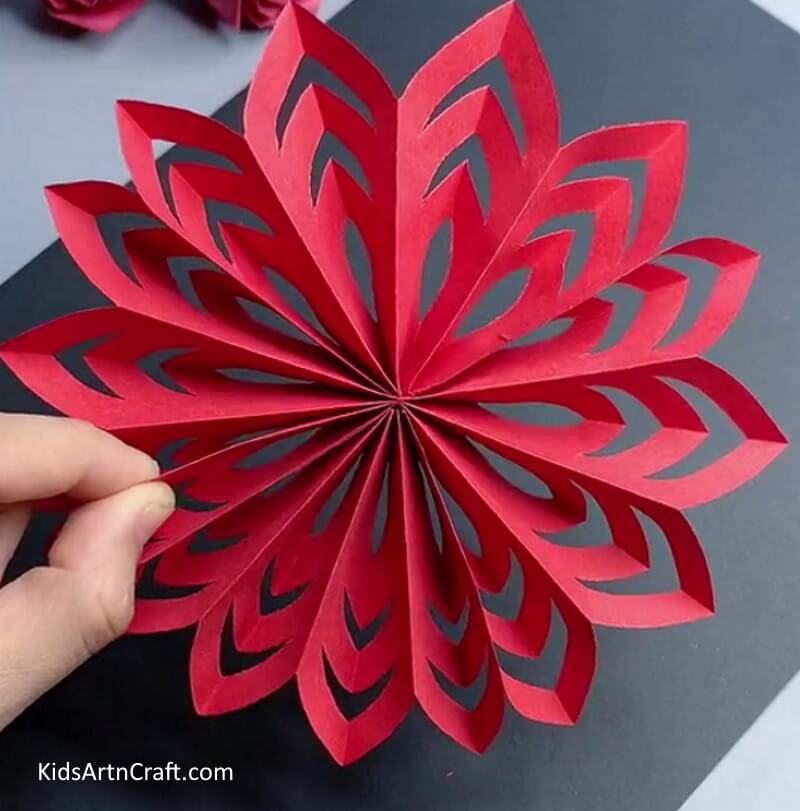
Image Source/Tutorial: Kids Art & Craft
Kindergartners can make a beautiful snowflake craft using red paper. This fun and creative activity is an easy way to get kids excited about the winter season. It’s a great way to encourage them to use their imaginations and explore different shapes and patterns.
Making a Wall Hanging Craft Paper Snowflakes Ideas
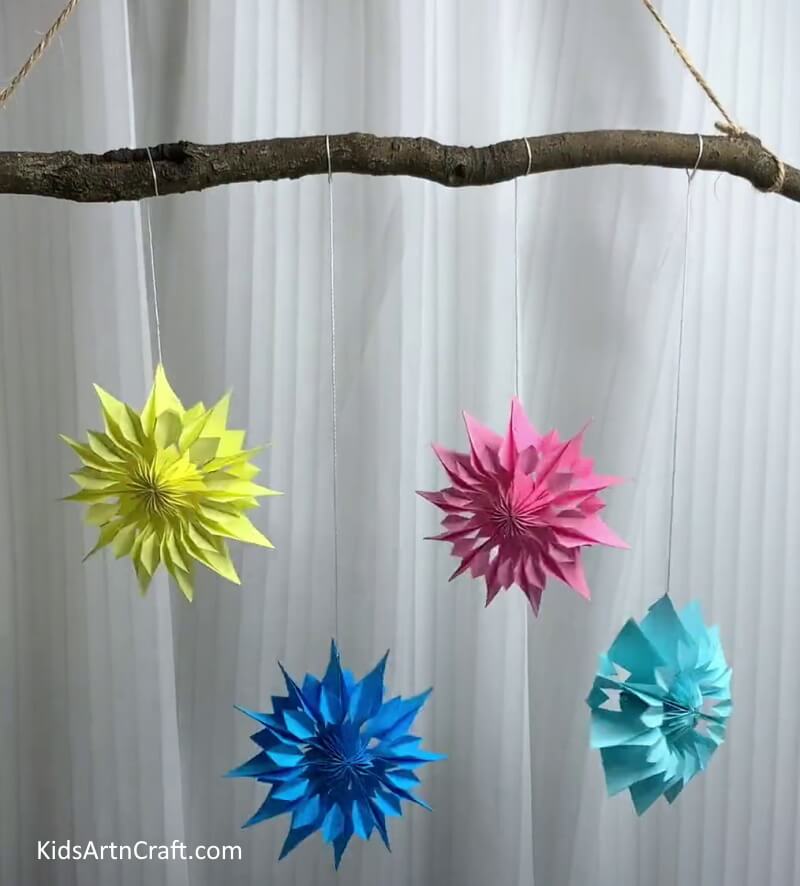
Image Source/Tutorial: Kids Art & Craft
Making wall-hanging craft paper snowflakes is a fun and creative way to decorate your home. With a few simple supplies, you can make beautiful snowflakes to hang on your walls and create a winter wonderland in your home.
Simple To Make Gorgeous Snowflake From Paper Craft
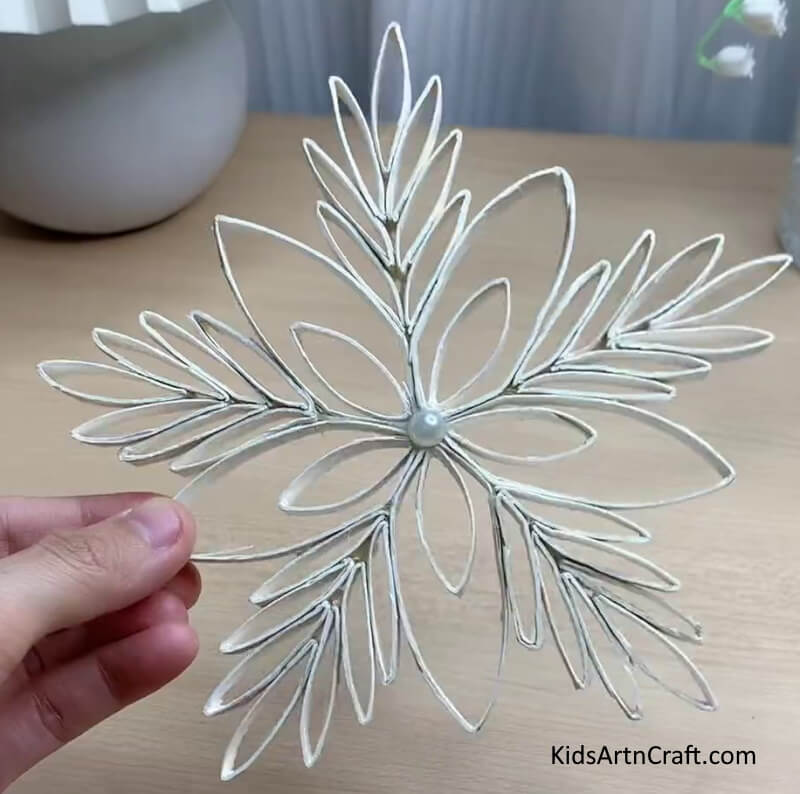
Image Source/Tutorial: Kids Art & Craft
Making a snowflake from paper craft is a great way to add a festive touch to any space. It’s easy, fun, and the results are beautiful. With just a few simple steps, anyone can make a stunning snowflake to hang on their wall or give away as a gift.
Follow us on Youtube for art and craft tutorials and much more.
More Articles from Kids Art & Craft
- Easy Paper Crafts DIY Video Tutorial for All
- Easy Paper Craft Activities At Home Video Tutorial for All
- Easy Craft Ideas Make At-Home Video Tutorial
- Cool Paper Craft Video Tutorial for Kids
- How To Make Sunflower Clock Craft Using Paper


