


DIY and Crafts
DIY Ice Cream Step by Step Tutorial For Kids

Learn how to make your own delicious ice cream with this easy step-by-step tutorial for kids! With just a few simple ingredients and a bit of time, you can create a variety of flavors that will be sure to impress your family and friends.
This DIY ice cream step-by-step tutorial for kids is the perfect activity for a hot summer day! With just a few simple ingredients and some imagination, you can create a delicious, homemade ice cream treat in no time. Not only is this a fun and creative way to beat the heat, but the kids will also love being able to craft their own unique ice cream flavors. So grab a few ingredients and follow along with our step-by-step guide to make your own homemade ice cream!
Handmade Icecream Cone Craft Made With Colorful Papers
Read More: DIY Fun Craft Activities At Home Video Tutorial
Materials Required
- Brown, Purple and Orange colored Sheet Of Paper
- Double-Sided Tape
- A Pair Of Scissors
- A Bubble Wrap Sheet
Procedure:
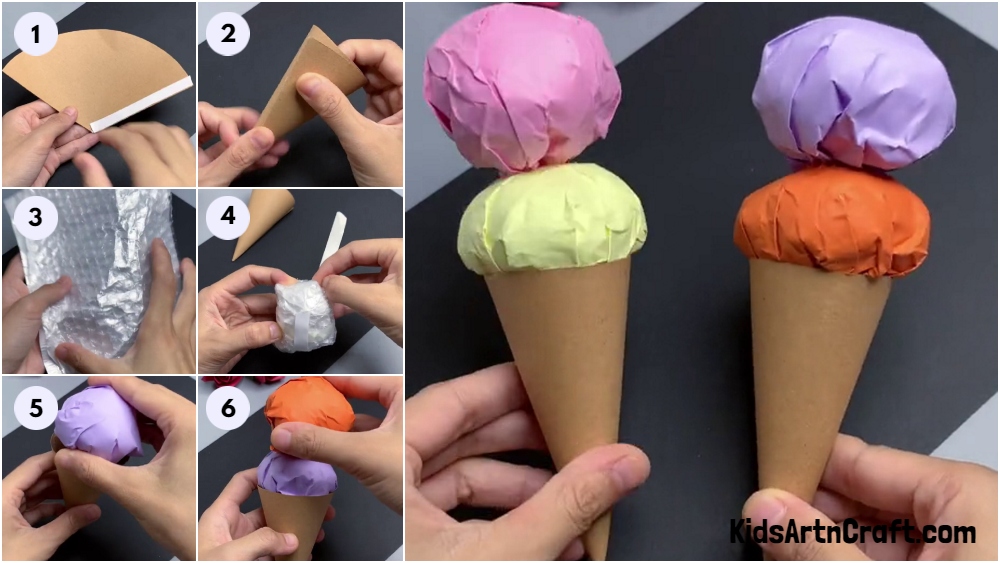
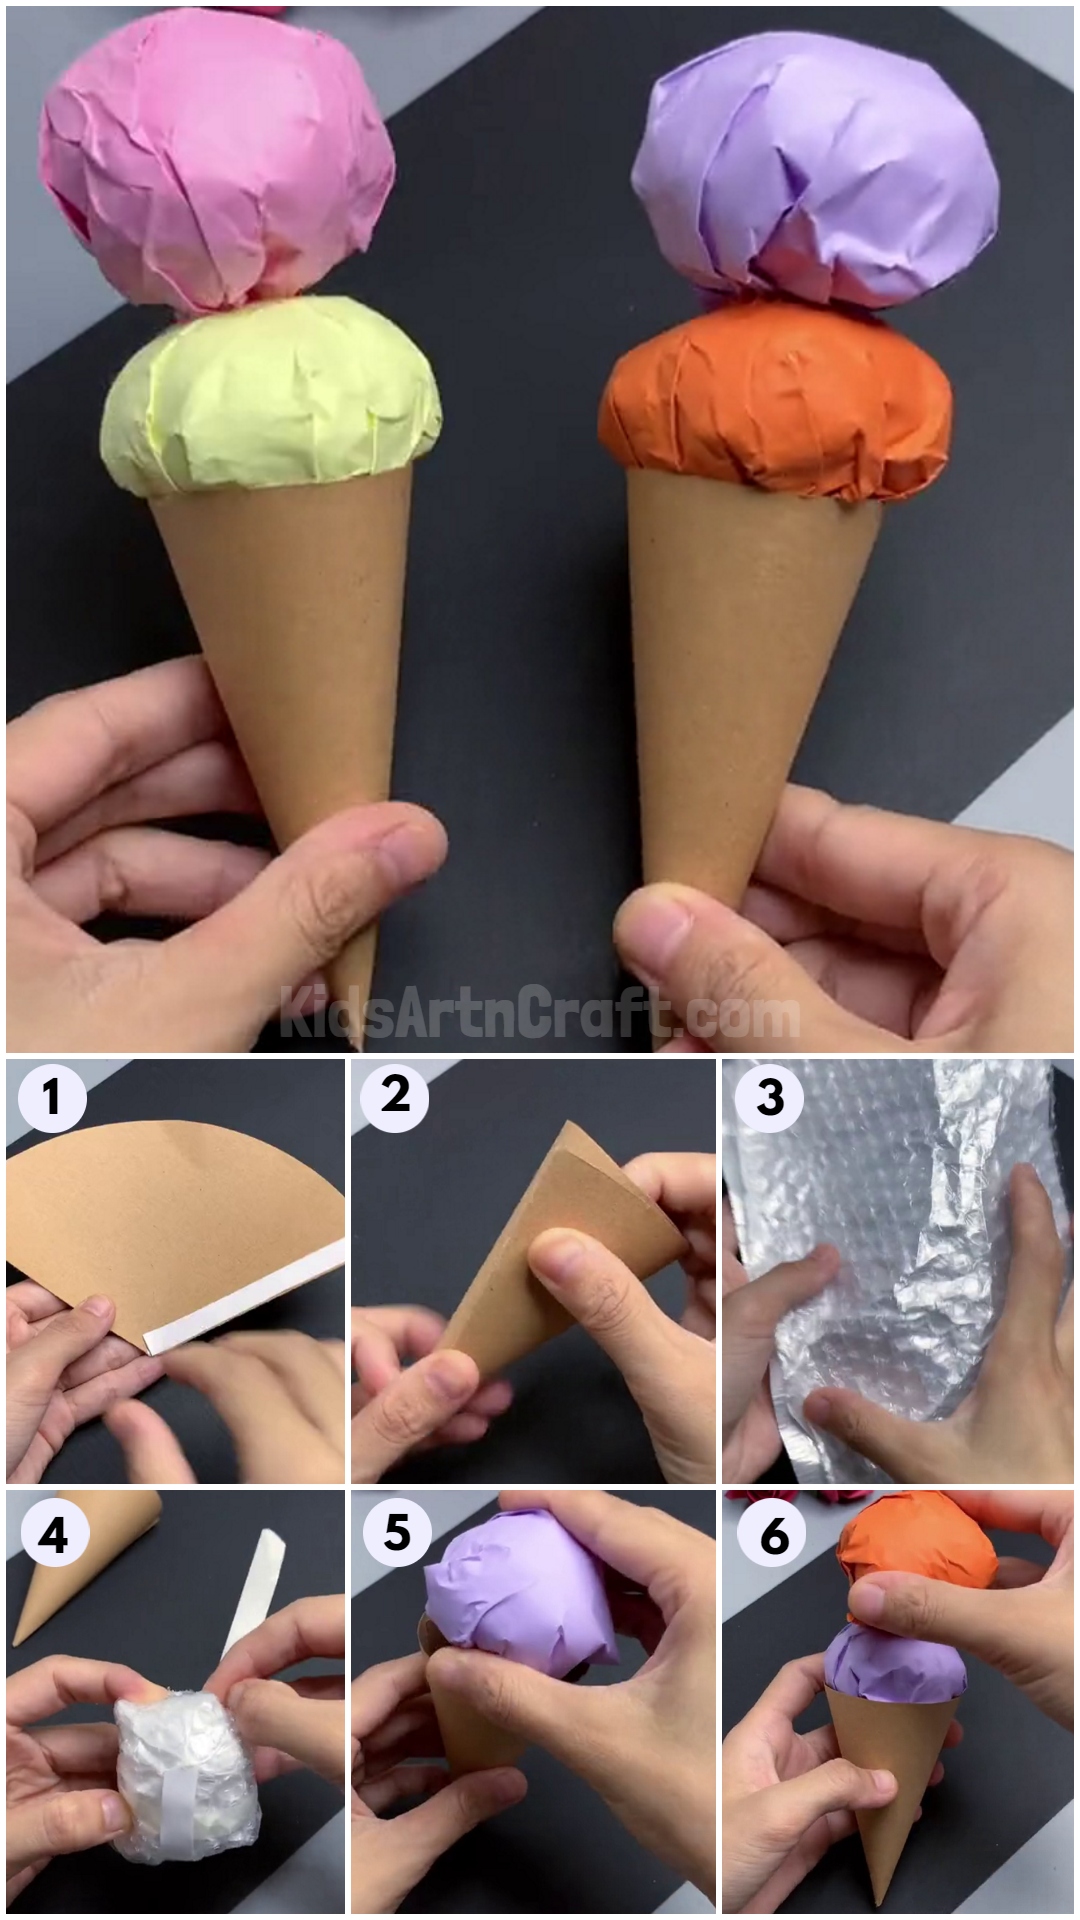
Step 1: Cutting The Sheet Of Paper And Put Double-Sided Tape On It
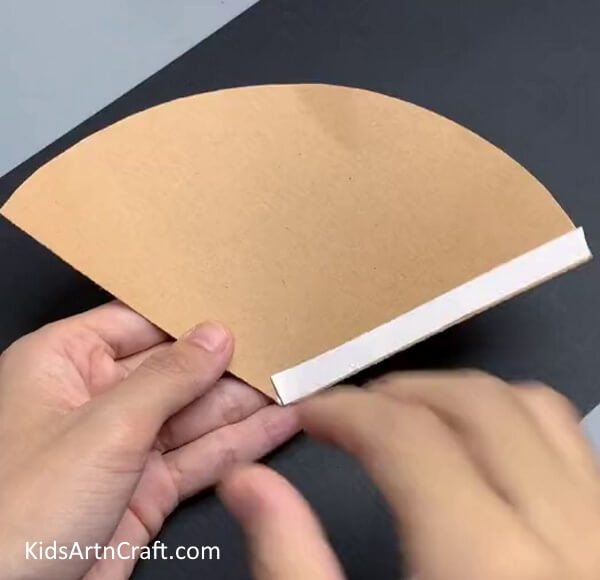
Firstly, cut the brown-colored sheet of paper in the shape shown in the picture below and put the double-sided tape on one side of the sheet.
Step 2: Pulling Off The Upper Portion Of The Double-Sided Tape
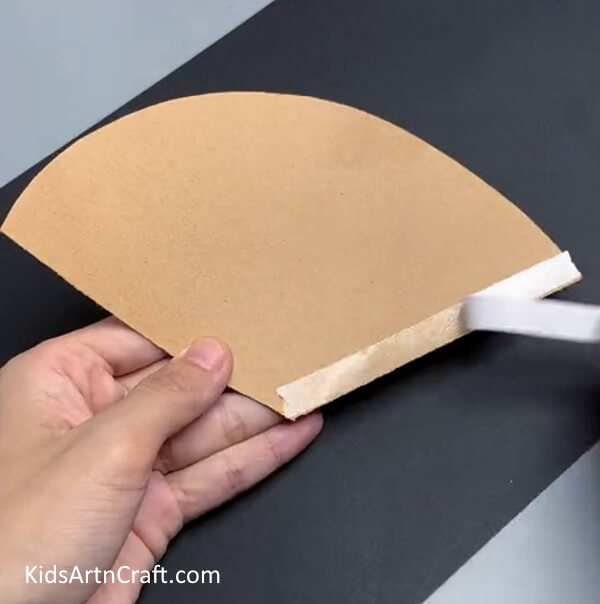
For this step, remove the upper layer which is a non-adhesive part of the tape by peeling it off.
Step 3: Folding The Paper Into The Shape Of a Cone
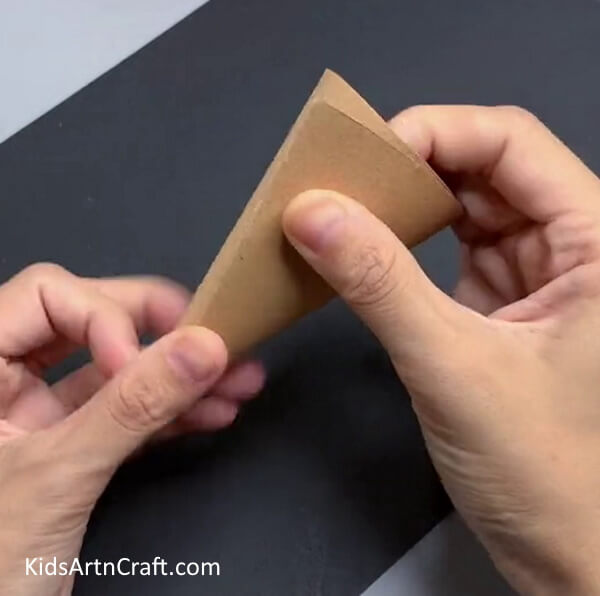
Next, fold the brown sheet of paper into the shape of a cone and then secure using the adhesive of the tape.
Step 4: Taking a Bubble Wrap And Crumple It Down
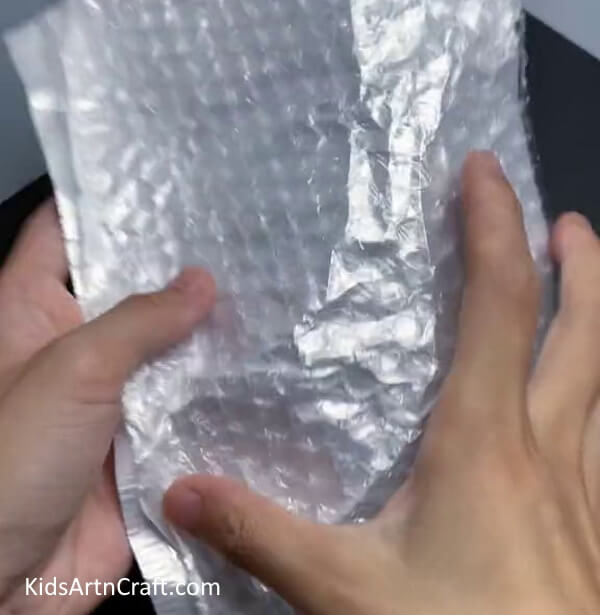
Take a bubble wrap for the next step, and here is the most fun part, crumple it down using your hands!
Step 5: Securing The Shape Using The Tape
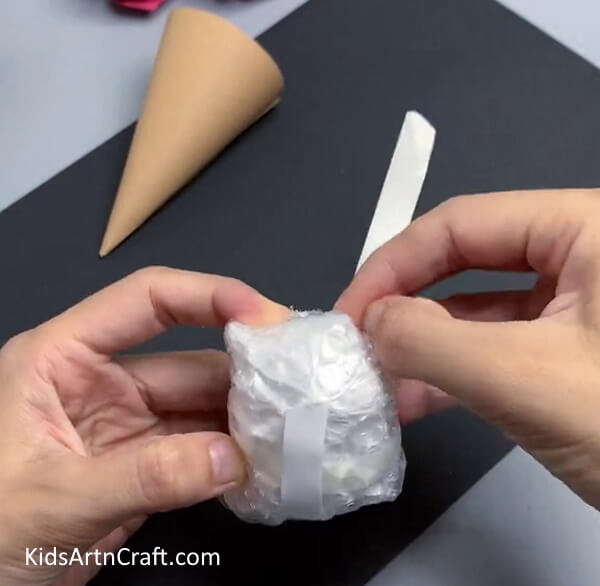
Now for this step, hold the crumpled wrap steadily and put double-sided tape on the wrap as shown below.
Step 6: Pasting Purple Coloured Sheet Of Paper On The Crumpled Paper

Now, take the purple-colored sheet of paper and paste it on the crumpled bubble wrap.
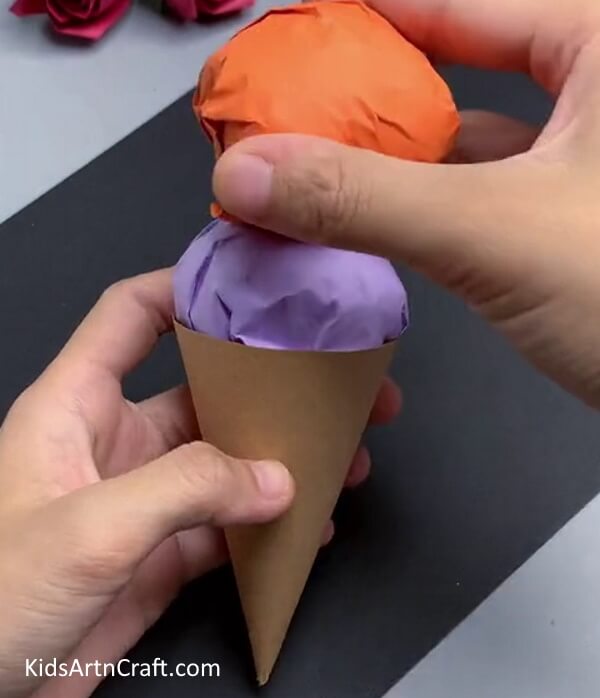
Step 7: Putting The Scoop Where It Belongs, In The Cone!
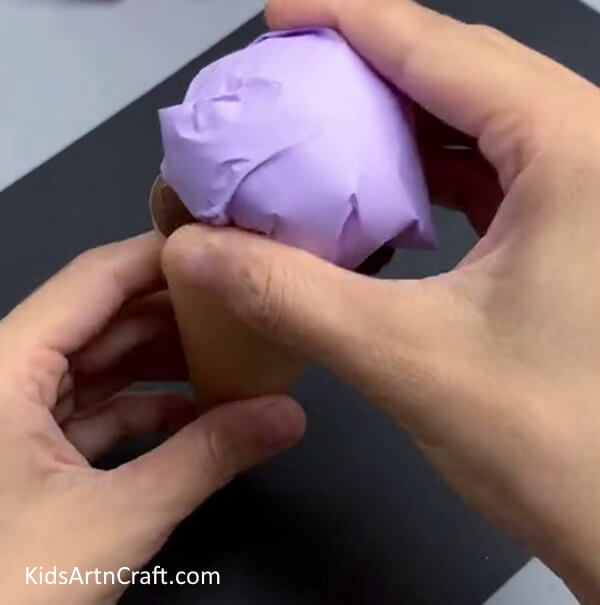
Now, place the purple colored ice-cream scoop into the cone, and secure it using the adhesive.
Step 8: Adding Another Scoop By Following The Same Steps As Above
Now, repeat the last four steps given above, this time using the orange-colored sheet of paper instead of the purple one.
Step 9: Getting The Double Scoop Icecream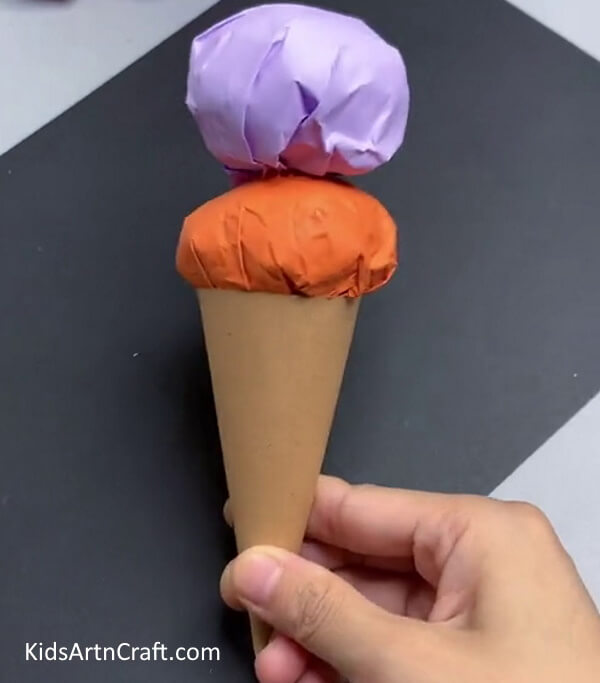
And there you go!! Look at this amazing ice cream cone craft activity, which is fun and easy to make.
Adding More And More Ice Cream Cones !!
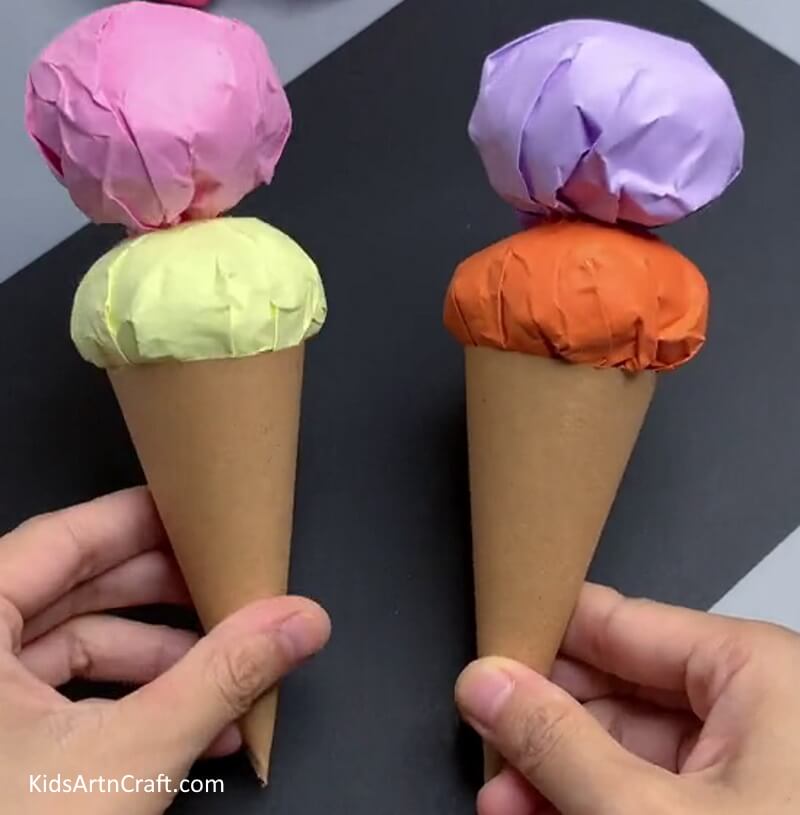
You can get creative with this craft and add as many colors of the scoop as you like, but one thing is for sure, once you create one of these, you won’t stop at one!! This one is suitable for kids of ages as low as 5 years because it has no detailed or complicated steps. The simplicity of this craft makes it suitable for even those who do not have any experience in making crafty items on a daily basis, so this one is a must-try for your little one’s summer vacations!!
Follow us on Youtube for art and craft tutorials and much more.
More Articles from Kids Art & Craft
- Simple Way To Make Paper Flower Tree Craft
- Paper-Cutting Designs For Projects
- Simple Origami Animal Crafts Video Tutorial for Kids
- DIY Paper Crafts Video Tutorial fo All
- Easy Paper Crafts DIY Video Tutorial for All


