Paper Crafts
Easy Paper Craft Step by Step Tutorial For Kids

This step-by-step tutorial will teach kids how to make fun and easy paper craft projects! It covers everything from simple origami to more complex crafts and includes lots of helpful tips and tricks. Perfect for a rainy day or a fun weekend activity!
Wall hanging is a unique craft that can be made with any materials like old CDs, plastic bottles, gems/stones, etc. Wall hanging can make any corner of the house decorative and colorful. So, today, we are going to make a wall hanging with just craft paper.
This craft is so easy and cute that no one can resist it. So, let us get started!
Simple To Make Paper Craft Tutorial For Kids
Materials Used:
- Pink Chart Paper
- Pencil
- Coin
- Scissors
- Sketchpens/Markers
- Old Circular Plastic Container
- Glue
- Thread/Wool
- Craft Paper (Red, Yellow)
Procedure:
Step -1: Draw a Circle And a Semicircle
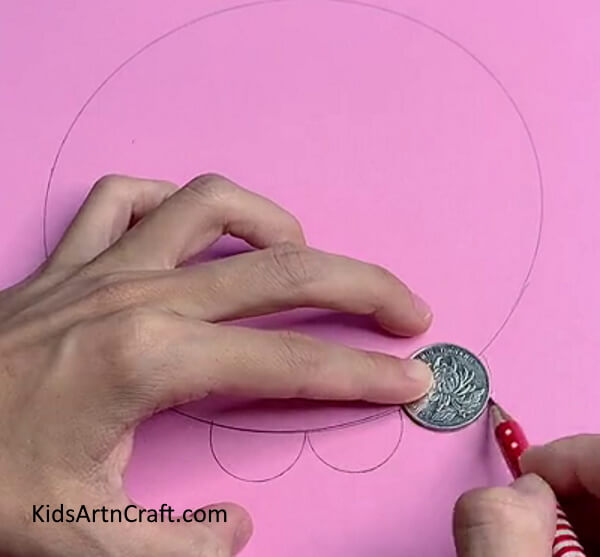
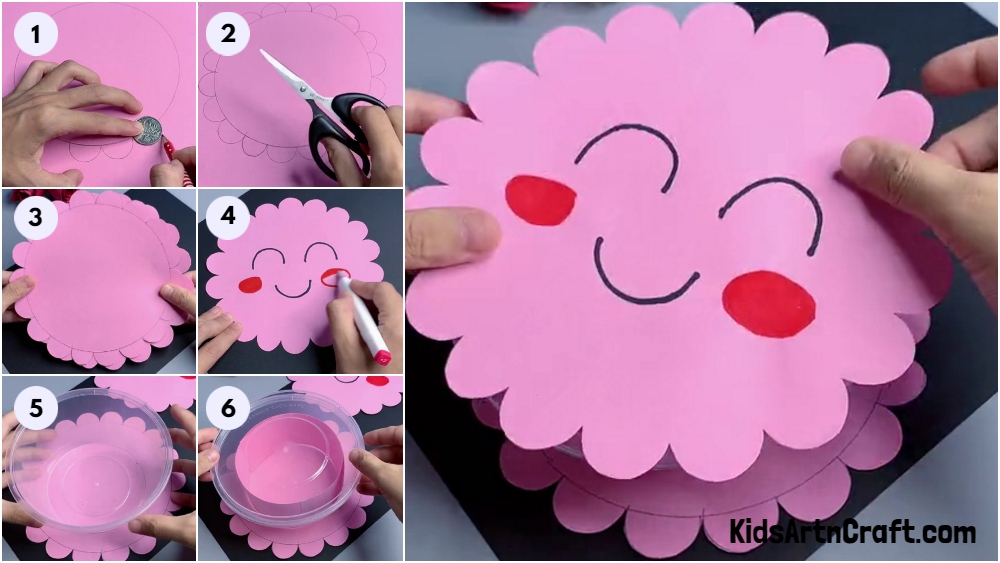
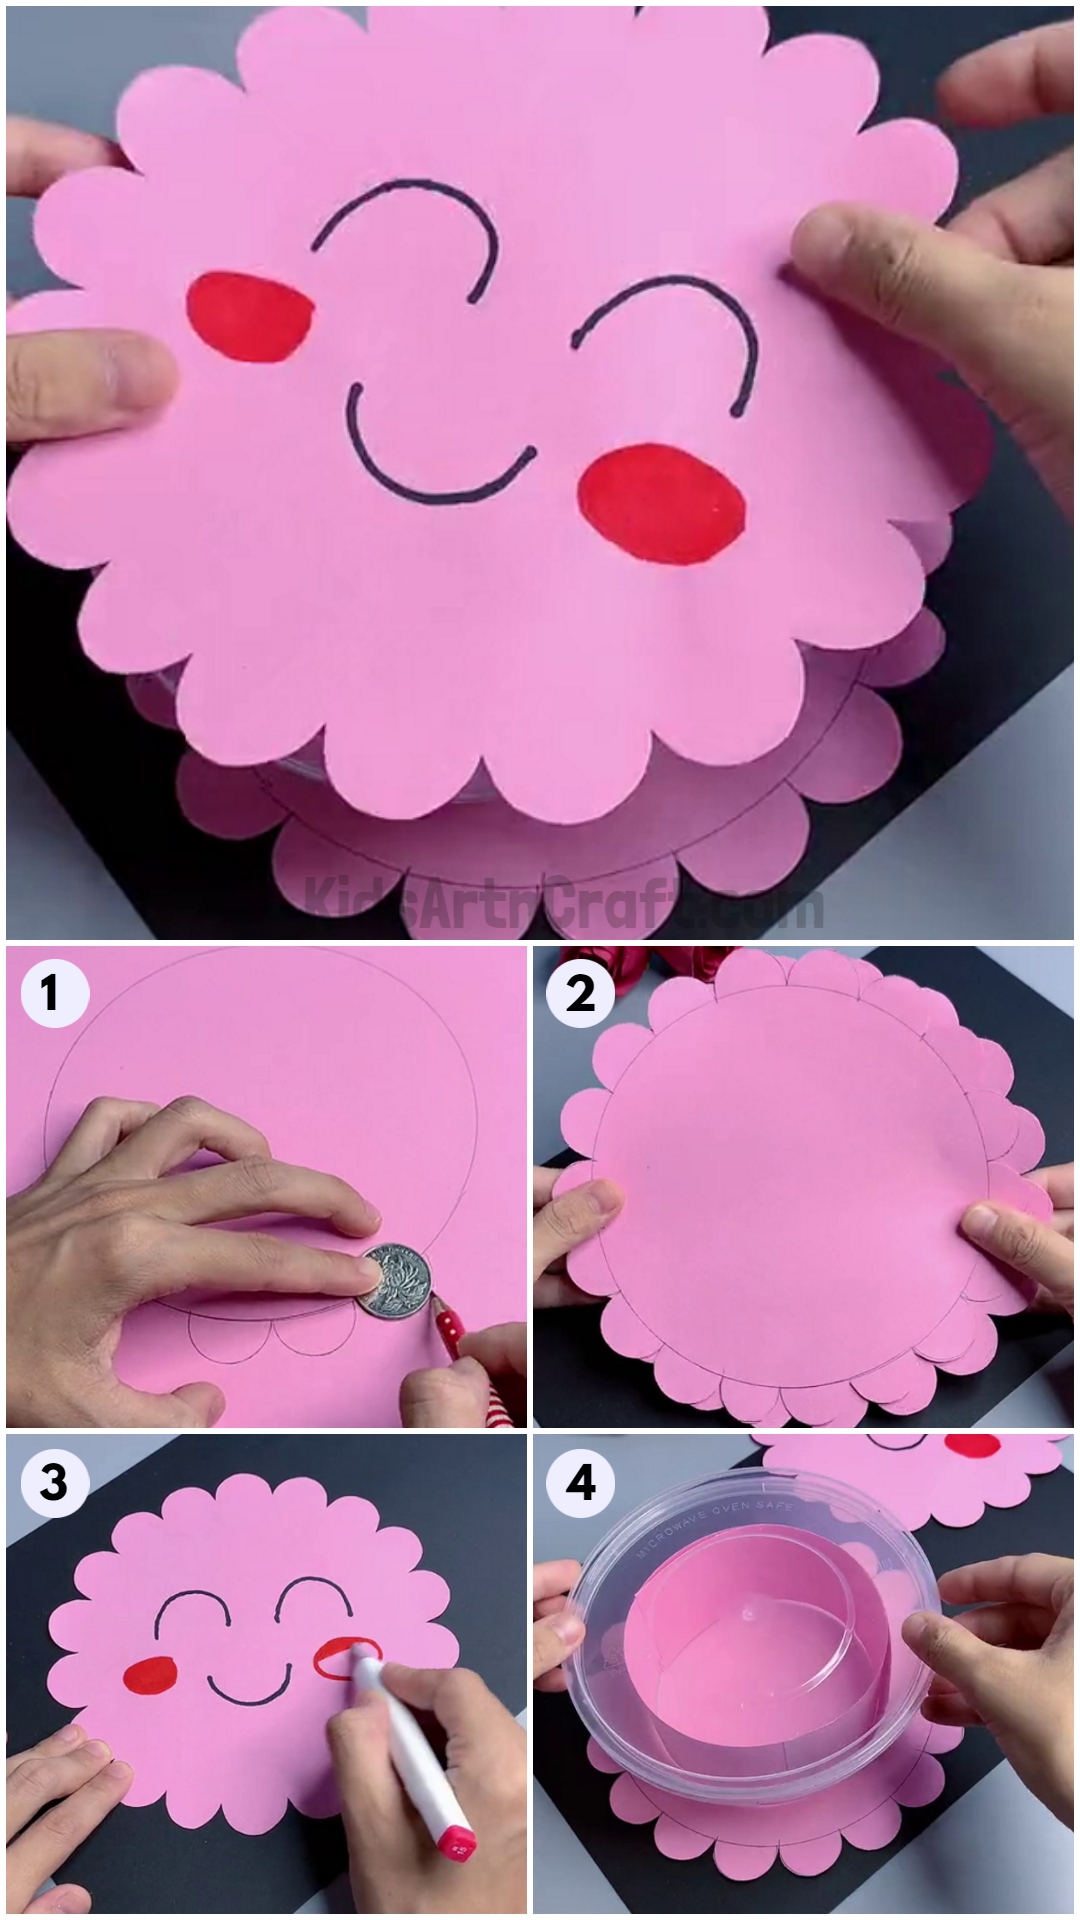
Take a pink chart paper and draw a circle with the help of a round container or a compass. Then, take half part of a coin and keep making semicircles on the border of a circle drawn.
Step -2: Cut From The Borders Of Semicircles
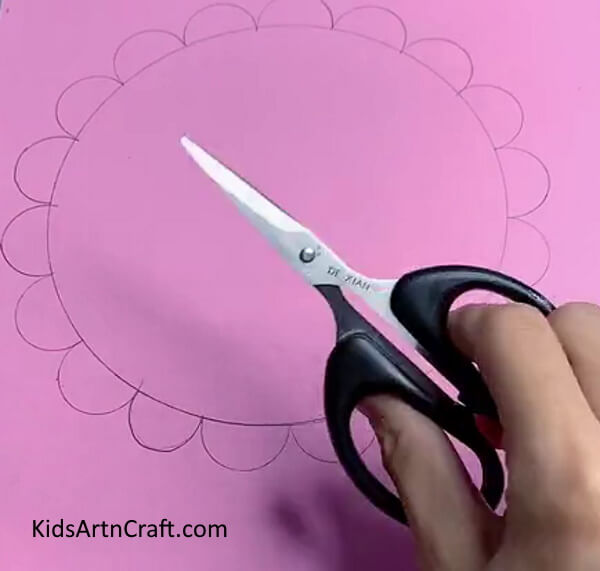
After making the semicircles with the help of a coin, take scissors and start cutting from the borders of the semicircles.
Step -3: Make a Similar Shape By Tracing.

Now, after cutting a shape, trace a similar shape on pink chart paper. After tracing, cut the shape in the same way as the above step. Now, you have two similar-looking shapes.
Step -4: Draw With Sketch Pens/Markers

Take your favorite color sketch pens/markers and draw a cute design like the one shown in the image or you can draw the pretty face of your own choice. Remember to erase the pencil marks before start drawing.
Step -5: Stick The Old Plastic Container On The Other Cutout Shape
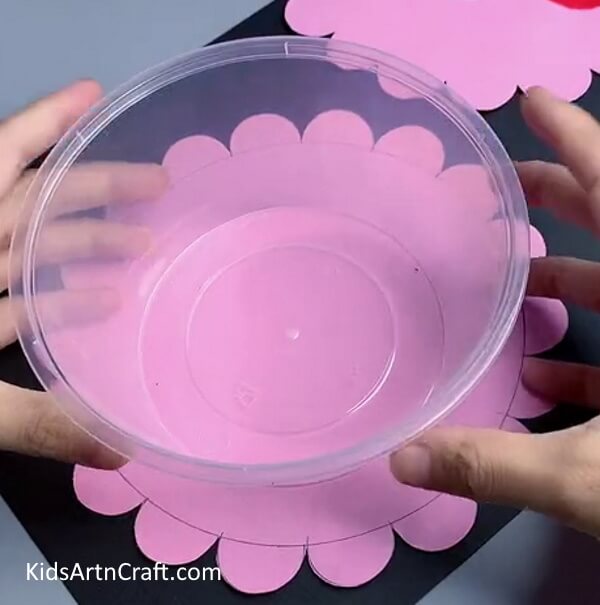
Now, take an old circular plastic container (preferably smaller than the size of the cutout). With the help of glue, stick the bottom of the plastic container on the other cutout shape (which is not drawn) and stick where there are pencil marks, so you don’t have to take extra effort to erase it.
Step -6: Make a Rectangle With a Pink Chart

With the help of pink chart paper, cut the shape of a rectangle with the same width and length as the circular plastic container. After cutting, fit the rectangle in the circular plastic container as shown in the picture.
Step -7: Close The Plastic Container’s Lid

Now, close the circular plastic container lid so that the rectangular shape which is inside the container, remains in its place.
Step -8: Stick The Drawn Cutout Shape

With the help of the glue, stick your drawn cutout shape on the lid as shown in the picture.
Final Image:
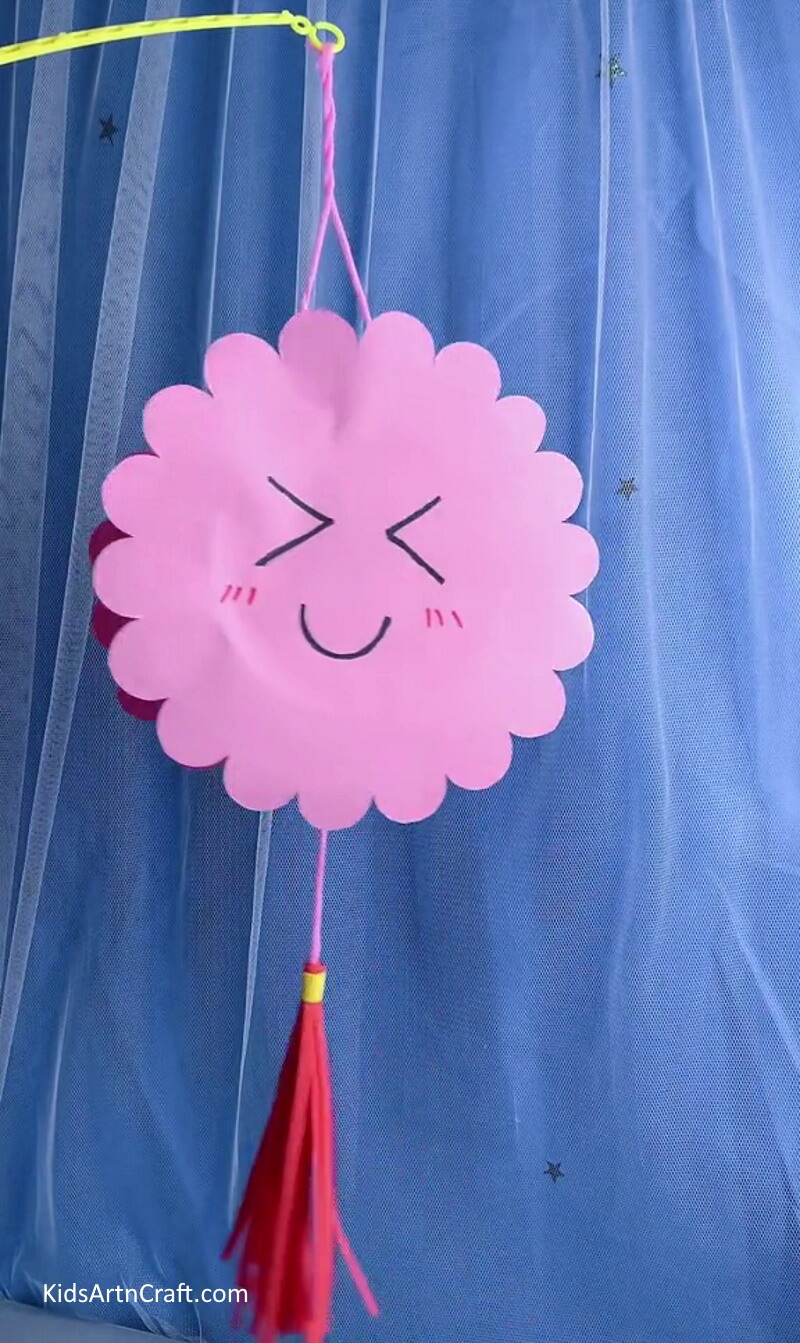
In the end, you can draw your choice of a cute face on the undrawn cutout shape, which is on the bottom side of the container. For the frills down, you can take a rectangle craft paper and cut the narrow lines, leaving the upper part. Then, fold the ends of the paper in opposite directions and put a thread/wool in between like shown and stick it. Cut a small yellow rectangular craft paper and stick it on the upper side as shown in the picture.
Tada!! Your final result is ready. If you follow these easy steps carefully, you too can make your adorable wall hanging to decorate your corner of the house and call it your own.
Follow us on Youtube for art and craft tutorials and much more.
More Articles from Kids Art & Craft
- DIY Paper Crafts Video Tutorial fo All
- Easy Paper Crafts Activity Try At home Video Tutorial for All
- Easy Craft Ideas Make At-Home Video Tutorial
- Paper-Cutting Designs For Projects
- Easy Paper Crafts DIY Video Tutorial for All


