Recycled Crafts
Easy Paper Cup Fish Craft In Simple Steps

Paper cup crafts are a fun and creative way to bring new life to ordinary items lying around the house. Not only are paper cup crafts unique and fun to make but they can also be used for a variety of practical purposes.
Welcome to this fun and easy paper cup fish craft! Are you looking for a fun and easy way to keep the kids entertained? This Easy Paper Cup Fish Craft is the perfect solution! It’s an easy and enjoyable craft for kids of all ages. This craft is a great way to encourage creativity and develop fine motor skills in your children. The result is a beautiful fish that can be hung up or used as decoration in any room. Best of all, it requires minimal supplies and can be completed in just a few simple steps. This craft is perfect for kids of all ages and can be completed in simple steps. With just a few basic materials and a little bit of creativity, you’ll be able to create an adorable fish that will look great in any home or classroom. So grab your materials, and let’s get started!
Reuse Paper Cup Fish Craft Idea In Simple Steps
Read More: Amazing Maracas Crafts Out Of Water Bottle
Materials Required
- Red Paper Cup
- Construction Paper (Red, Black, and White)
- Yellow and Black Markers
- Scissors
- Glue
Procedure
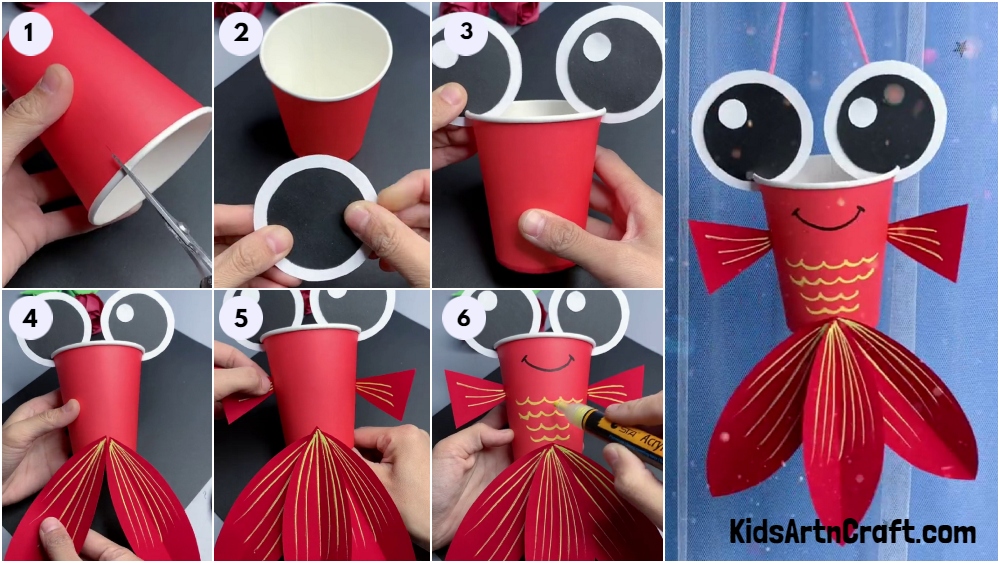
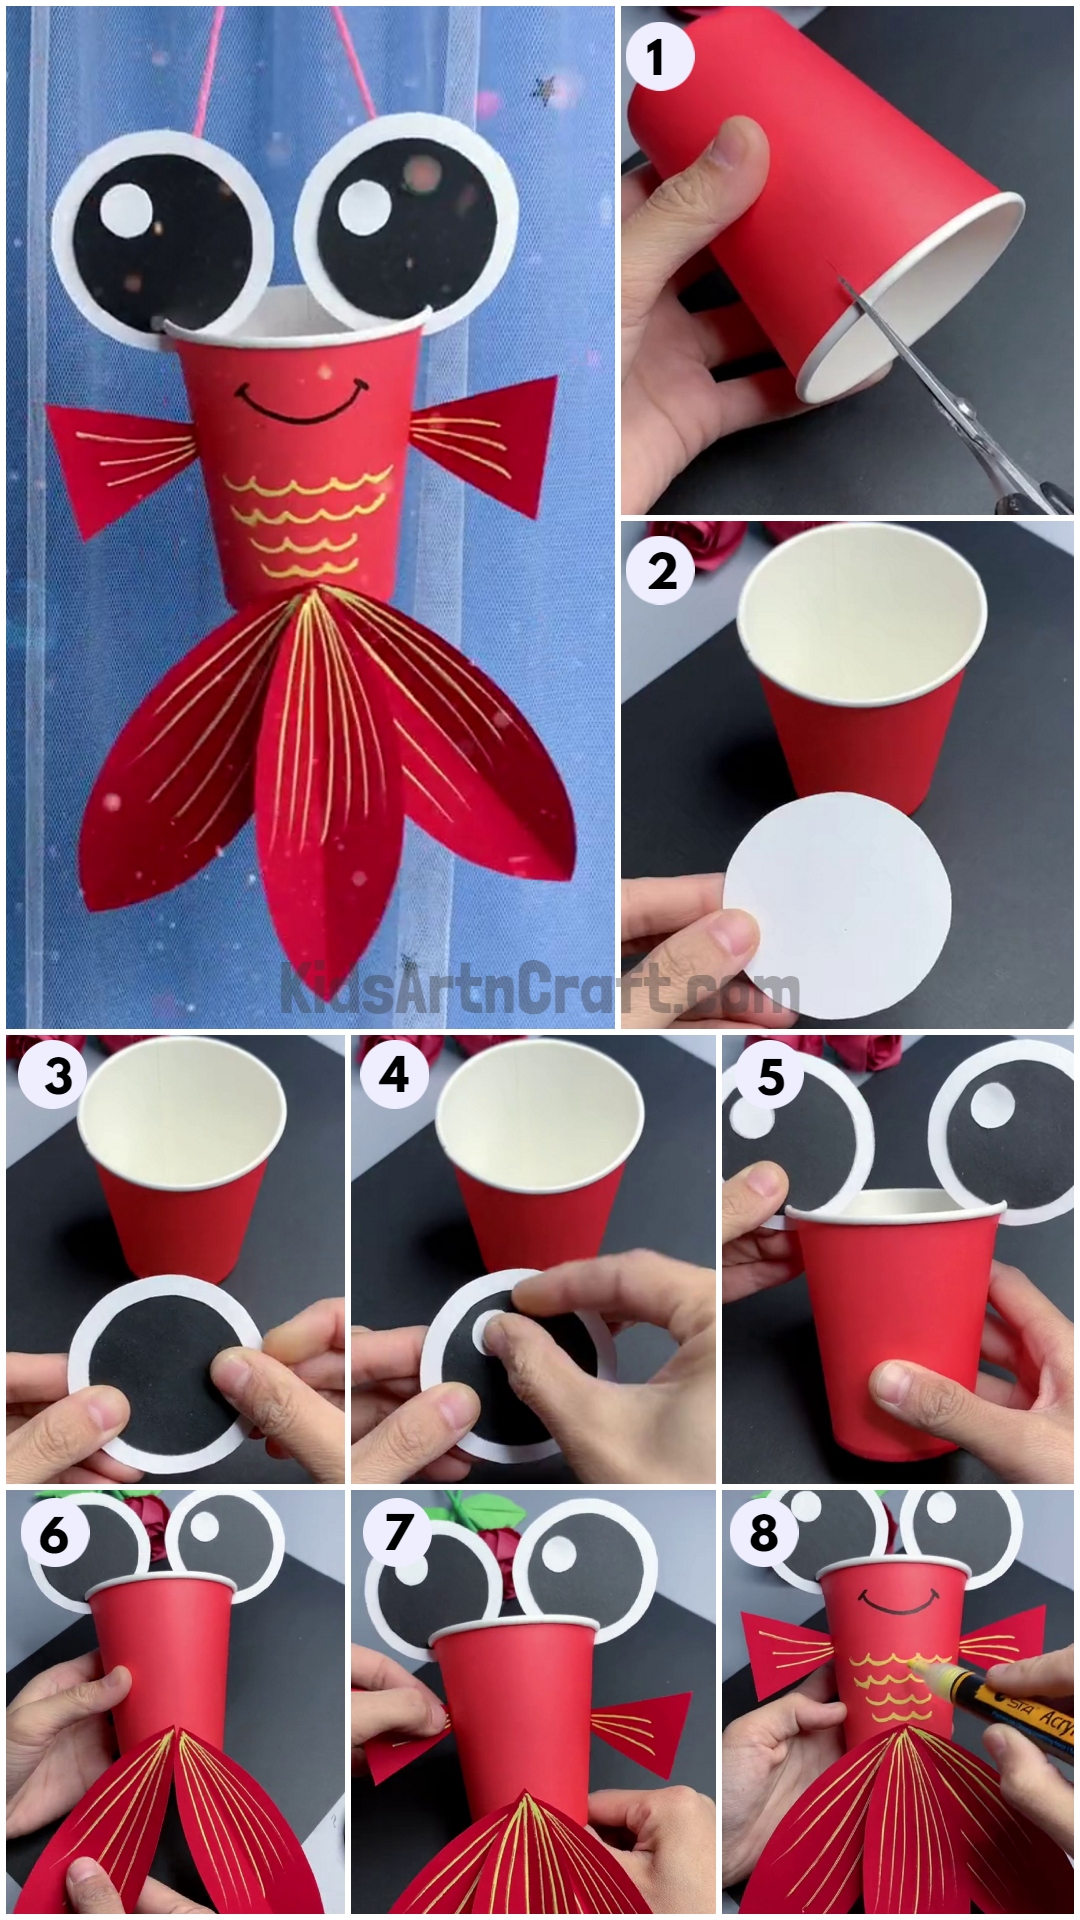
Step -1 Making Small Cuts On Paper Cup
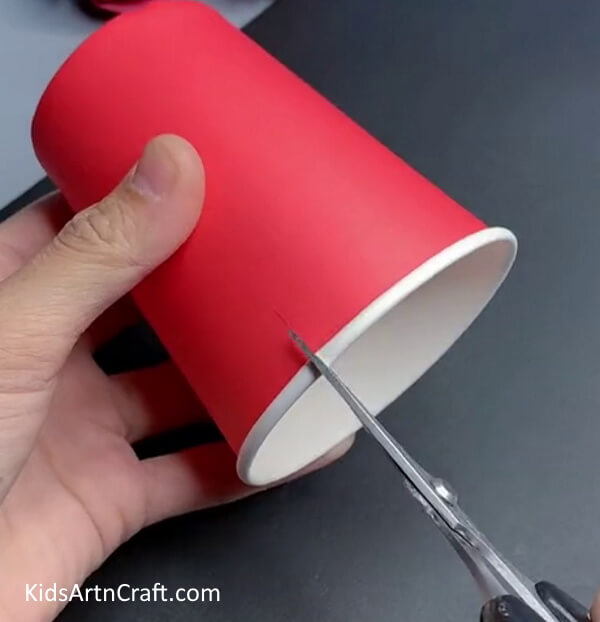
First of all, take a red paper cup. Make two small cuts on its end in front of each other.
Step -2 Cutting A White Paper Circle
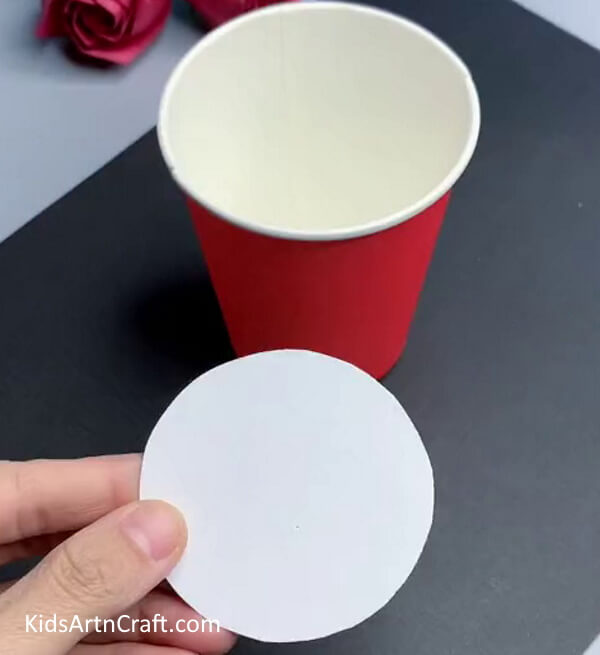
Cut a circle out of white paper using scissors.
Step -3 Pasting Black Circle On White Circle
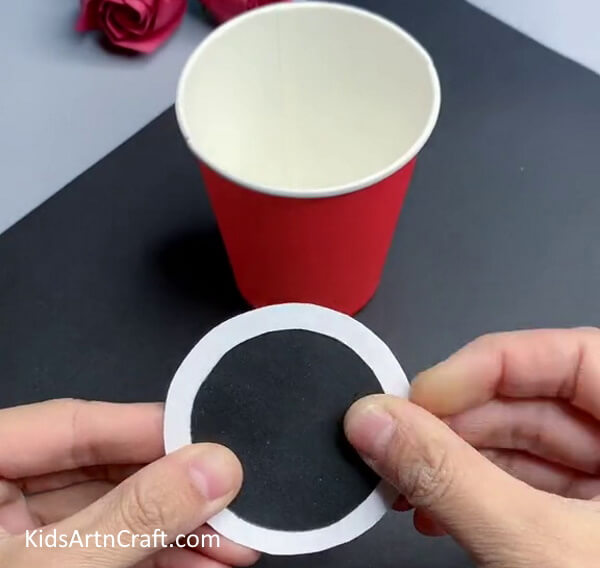
Cut a smaller black circle and paste it on the white circle using glue.
Step -4 Pasting Small White Circle
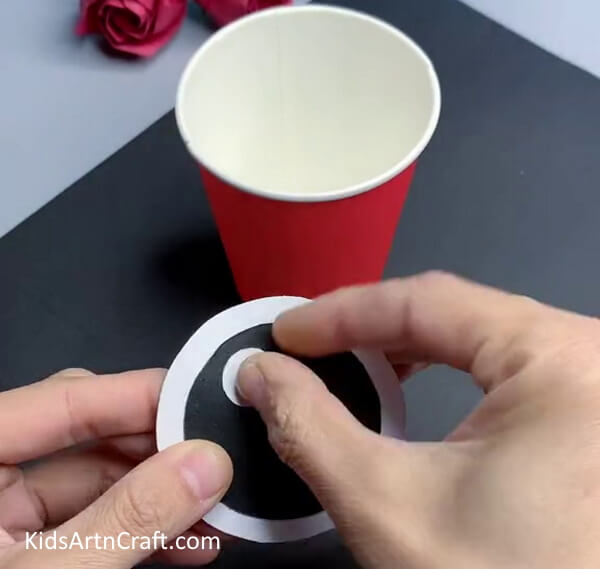
Cut another small white paper circle and paste it on the black circle to make the big eyes of the fish craft. Make another eye of the fish using the same steps.
Step -5 Making Eyes Of The Fish Craft
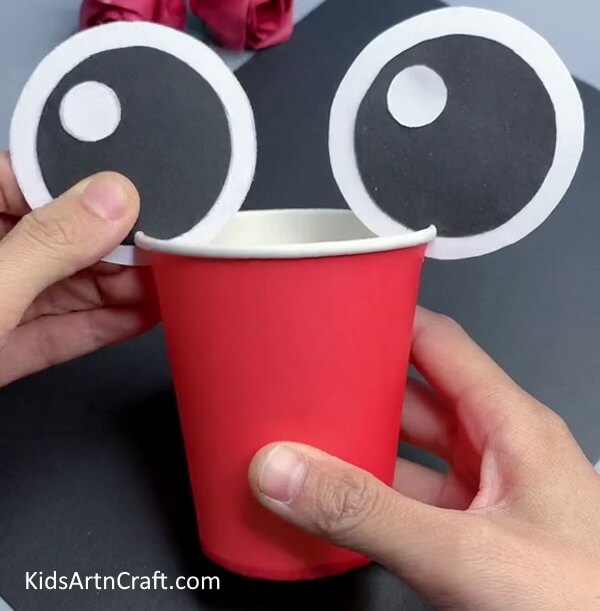
Attach the eyes to the cuts on the paper cup.
Step -6 Making Fins
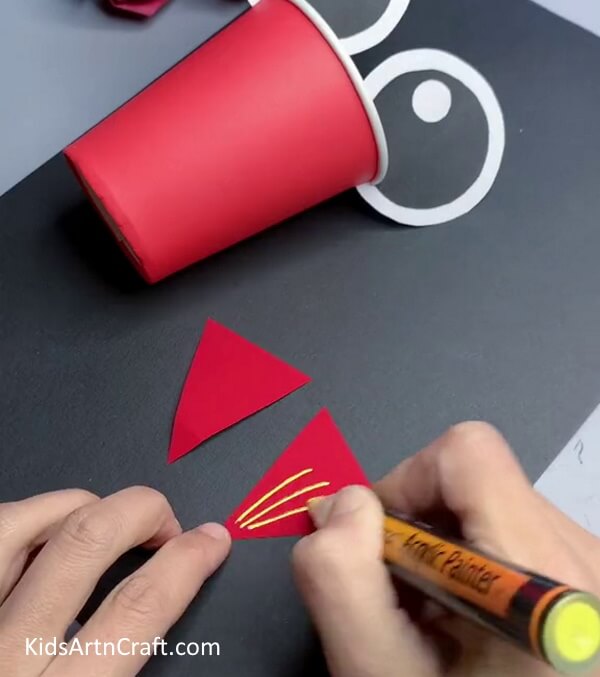
Cut two triangles out of red paper and make details on its using a yellow sketch pen to make the fins.
Step -7 Making Paper Tail of Fish
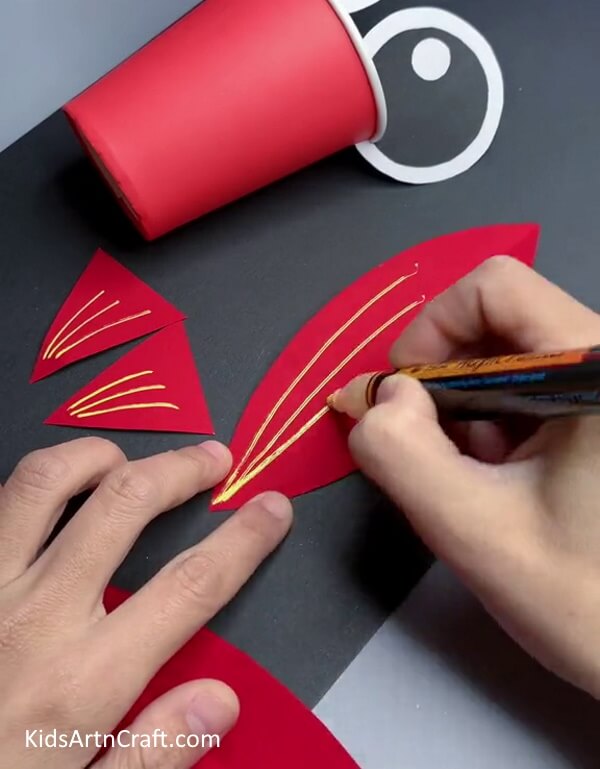
Now, cut three big leaf shapes out of red paper and draw lines to add details to them.
Step -8 Pasting Tail On The Paper Cup
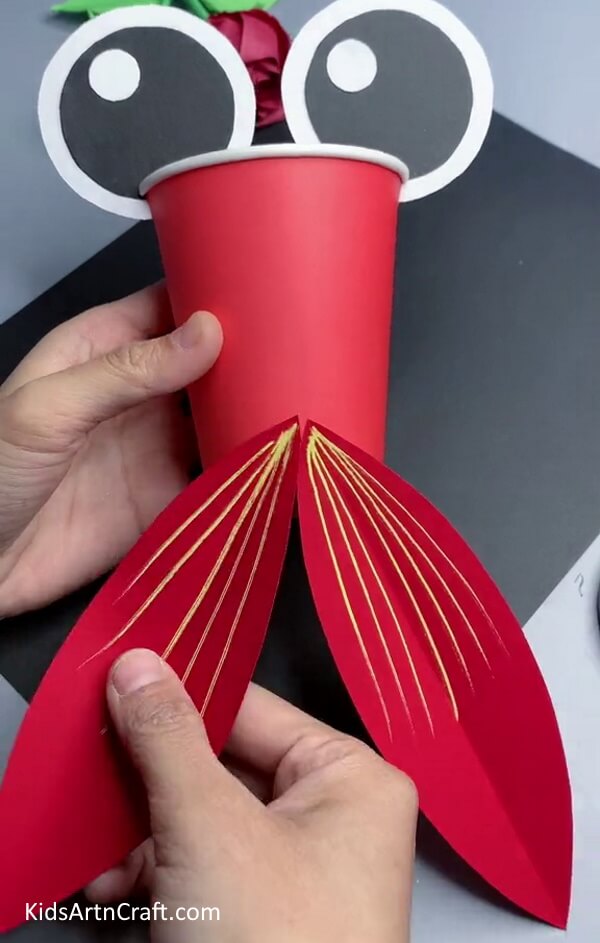
Paste the two on the bottom of the paper cup using glue.
Step -9 Making Tail of Fish
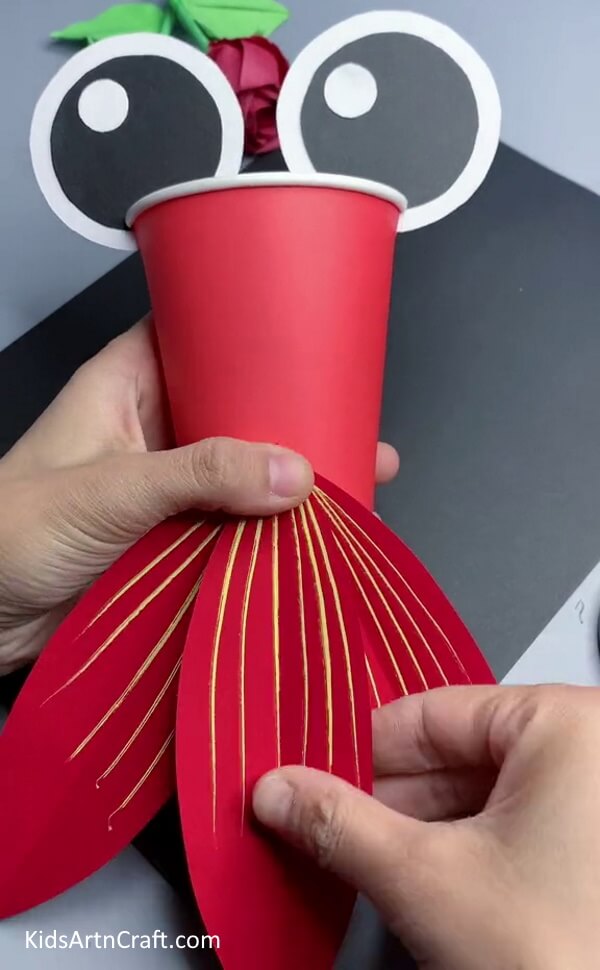
Glue the third leaf-shaped paper in the middle of the two to complete the fish’s tail.
Step -10 Pasting Fins
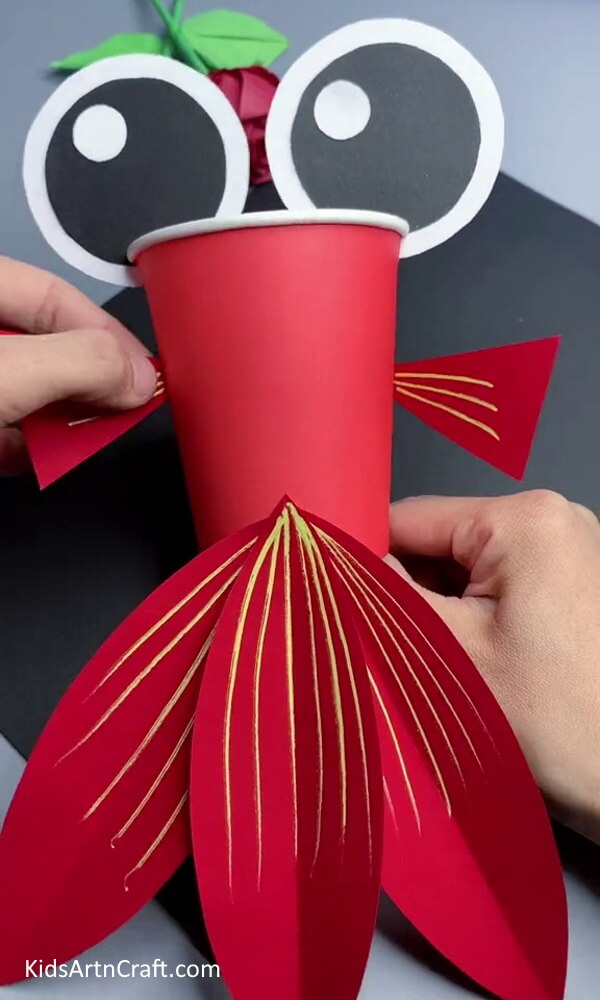
Paste the fins on the sides of the paper cup.
Step -11 Drawing Details
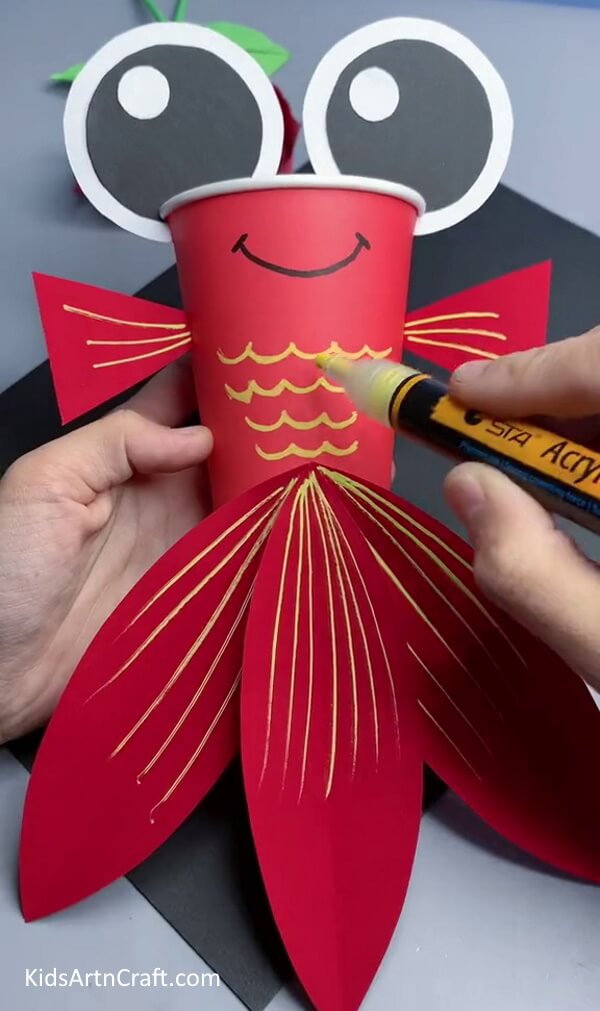
Lastly, add a smile on the fish’s face using a black marker and draw details on the fish’s body using a yellow marker.
Final Image – Paper Cup Fish Craft Is Ready!
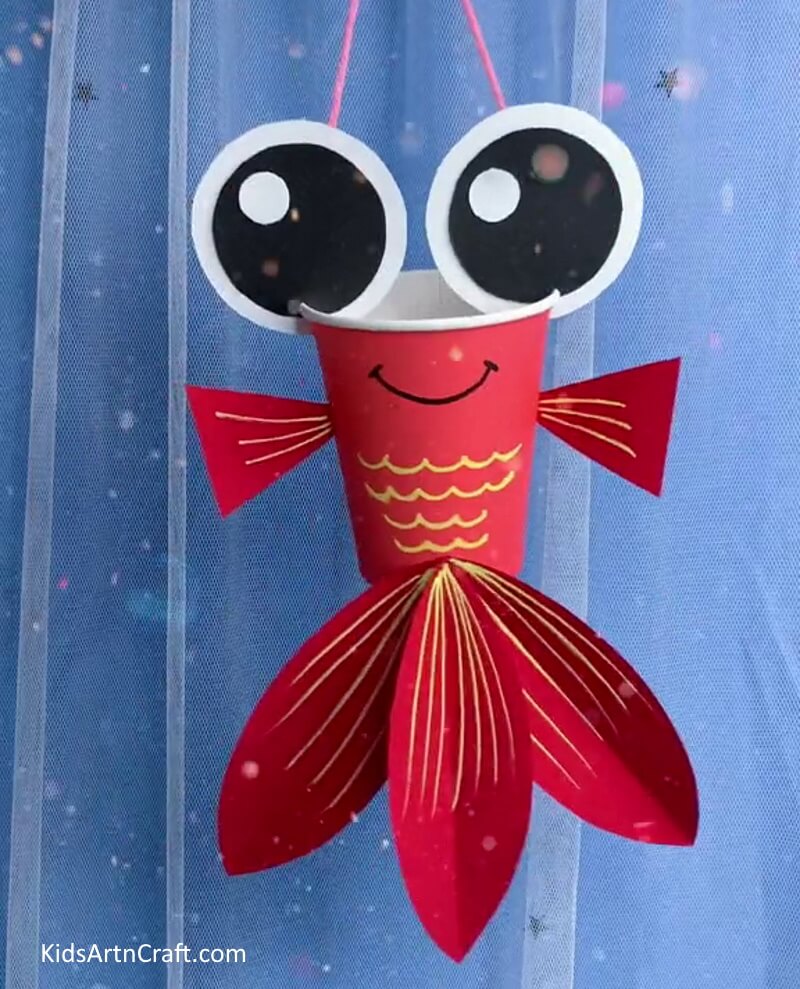
Your paper cup fish is now complete! Hang it up or use it as decoration anywhere in the house. This craft is a great way to have fun and show off your creativity. It’s easy to make, inexpensive, and fun to do with family or friends. Plus, it’s a great way to learn about the ocean’s creatures. What are you waiting for? Have fun and get creative!
Some More Fish Craft Tutorial
Lovely Fish Craft using Leaf For Little Ones
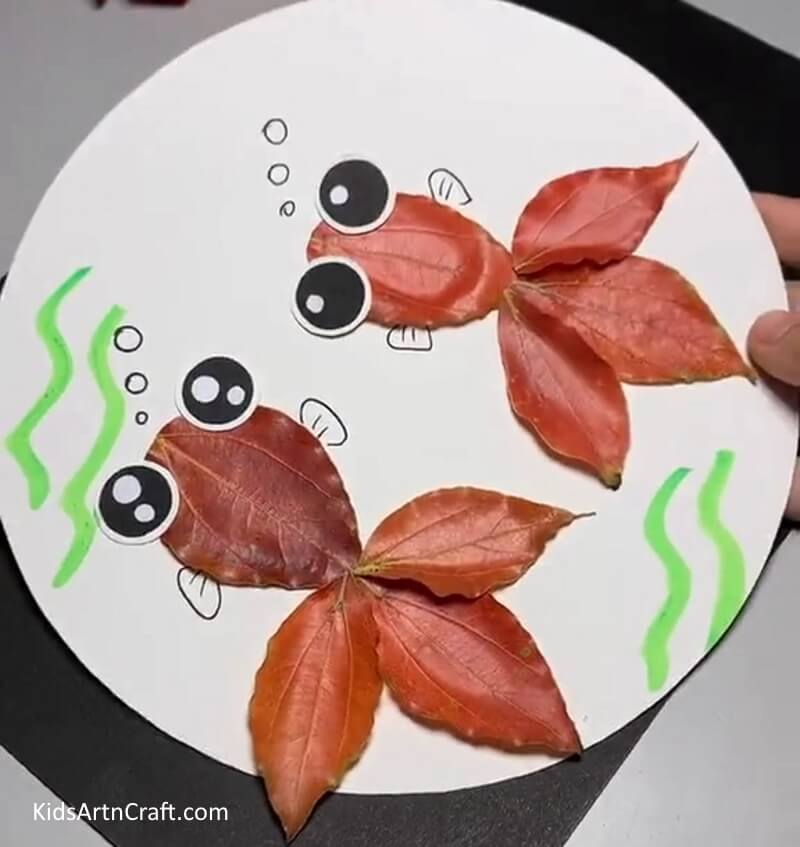
Image Source/Tutorial: Kids Art & Craft
This lovely fish craft is perfect for little ones to make. It’s simple and fun to do, using a leaf as the body of the fish. With a few simple materials, your little one will have a wonderful craft to show off.
Amazing Fish Craft From Paper Cups For Youngsters
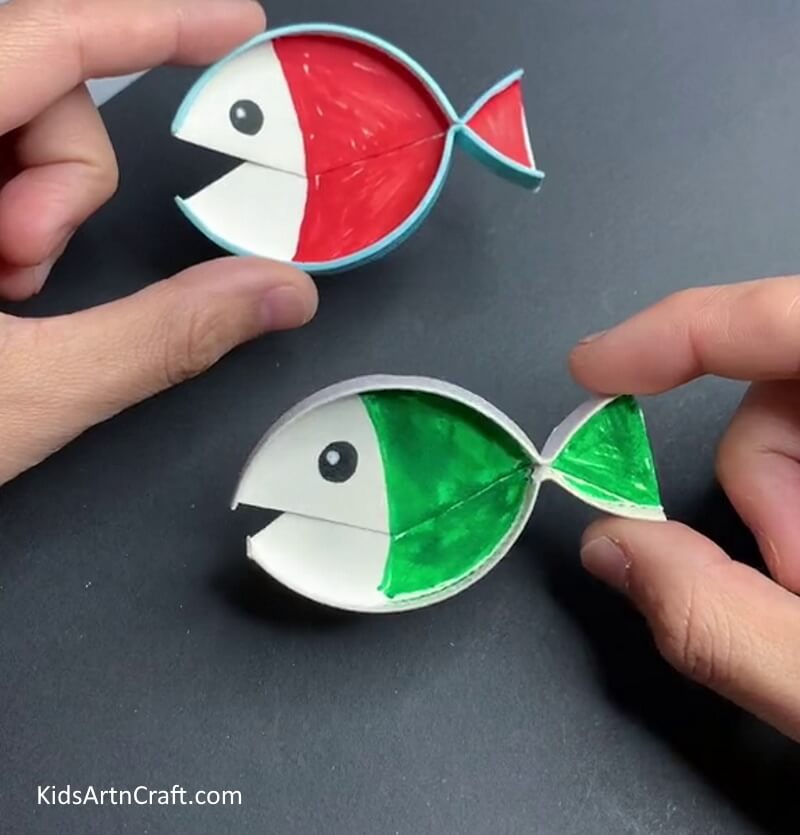
Image Source/Tutorial: Kids Art & Craft
This craft is perfect for young children to have fun and express their creativity. It involves turning paper cups into amazing fish designs with colorful markers and other materials. It’s a great way to spend quality time with your youngster, and the results are sure to be very impressive.
Creating a Handprint Fish Craft With Kids
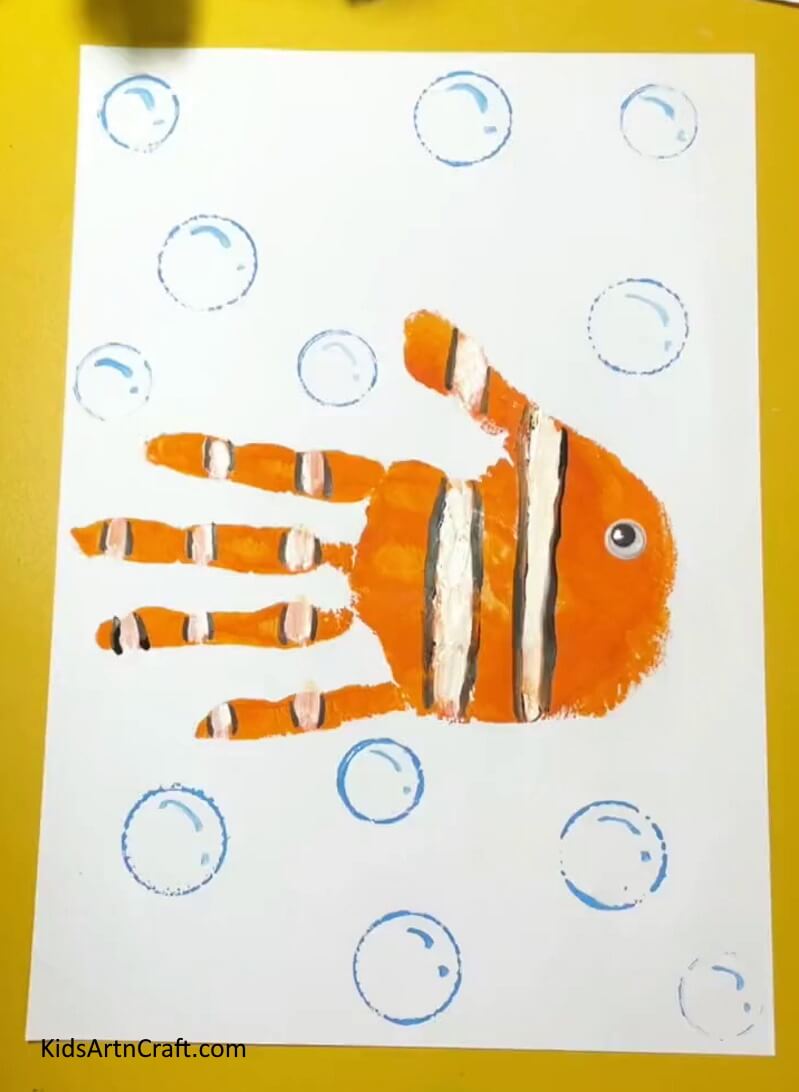
Image Source/Tutorial: Kids Art & Craft
Creating a handprint fish craft with kids is a fun and easy way to introduce them to art. It helps them explore their creativity and have fun while learning. It’s also a great way to bond and create memories that will last a lifetime!
Follow us on Youtube for art and craft tutorials and much more.
FAQ’s Easy Paper Cup Fish Craft In Simple Steps
1. What materials do I need to make this craft?
Answer: You will need paper cups, construction papers, scissors, glue, and markers.
2. How do I make the eyes for the fish?
Answer: Make the eyes of the fish using black and white paper.
3. How do I attach the eyes to the fish?
Answer: Attach the eyes to the paper cup.
4. How do I make the fins for the fish?
Answer: Cut a triangle shape from the paper and glue the fin onto the fish.
5. What other decorations can I add to the fish?
Answer: You can add scales, bubbles, or seaweed to the fish using paint or markers.
6. How do I make the fish look 3D?
Answer: Bend and shape the paper cup before cutting and painting it to give it a 3D effect.
7. How long will it take to make this craft?
Answer: This craft should take approximately 30 minutes or less.
8. What age group is this craft suitable for?
Answer: This craft is suitable for children aged 3 and up.
More Articles from Kids Art & Craft
- Recycled Turtle Craft With Sun Using Leaves
- Recycled Bookmark Ideas for Kids
- Decorative Mason Jar Washi Tape Crafts
- Simple and Creative Plastic Bottle Crafts Video Tutorial for Kids
- Super Easy Paper Craft Activities Video Tutorial for All


