


Kids Activities
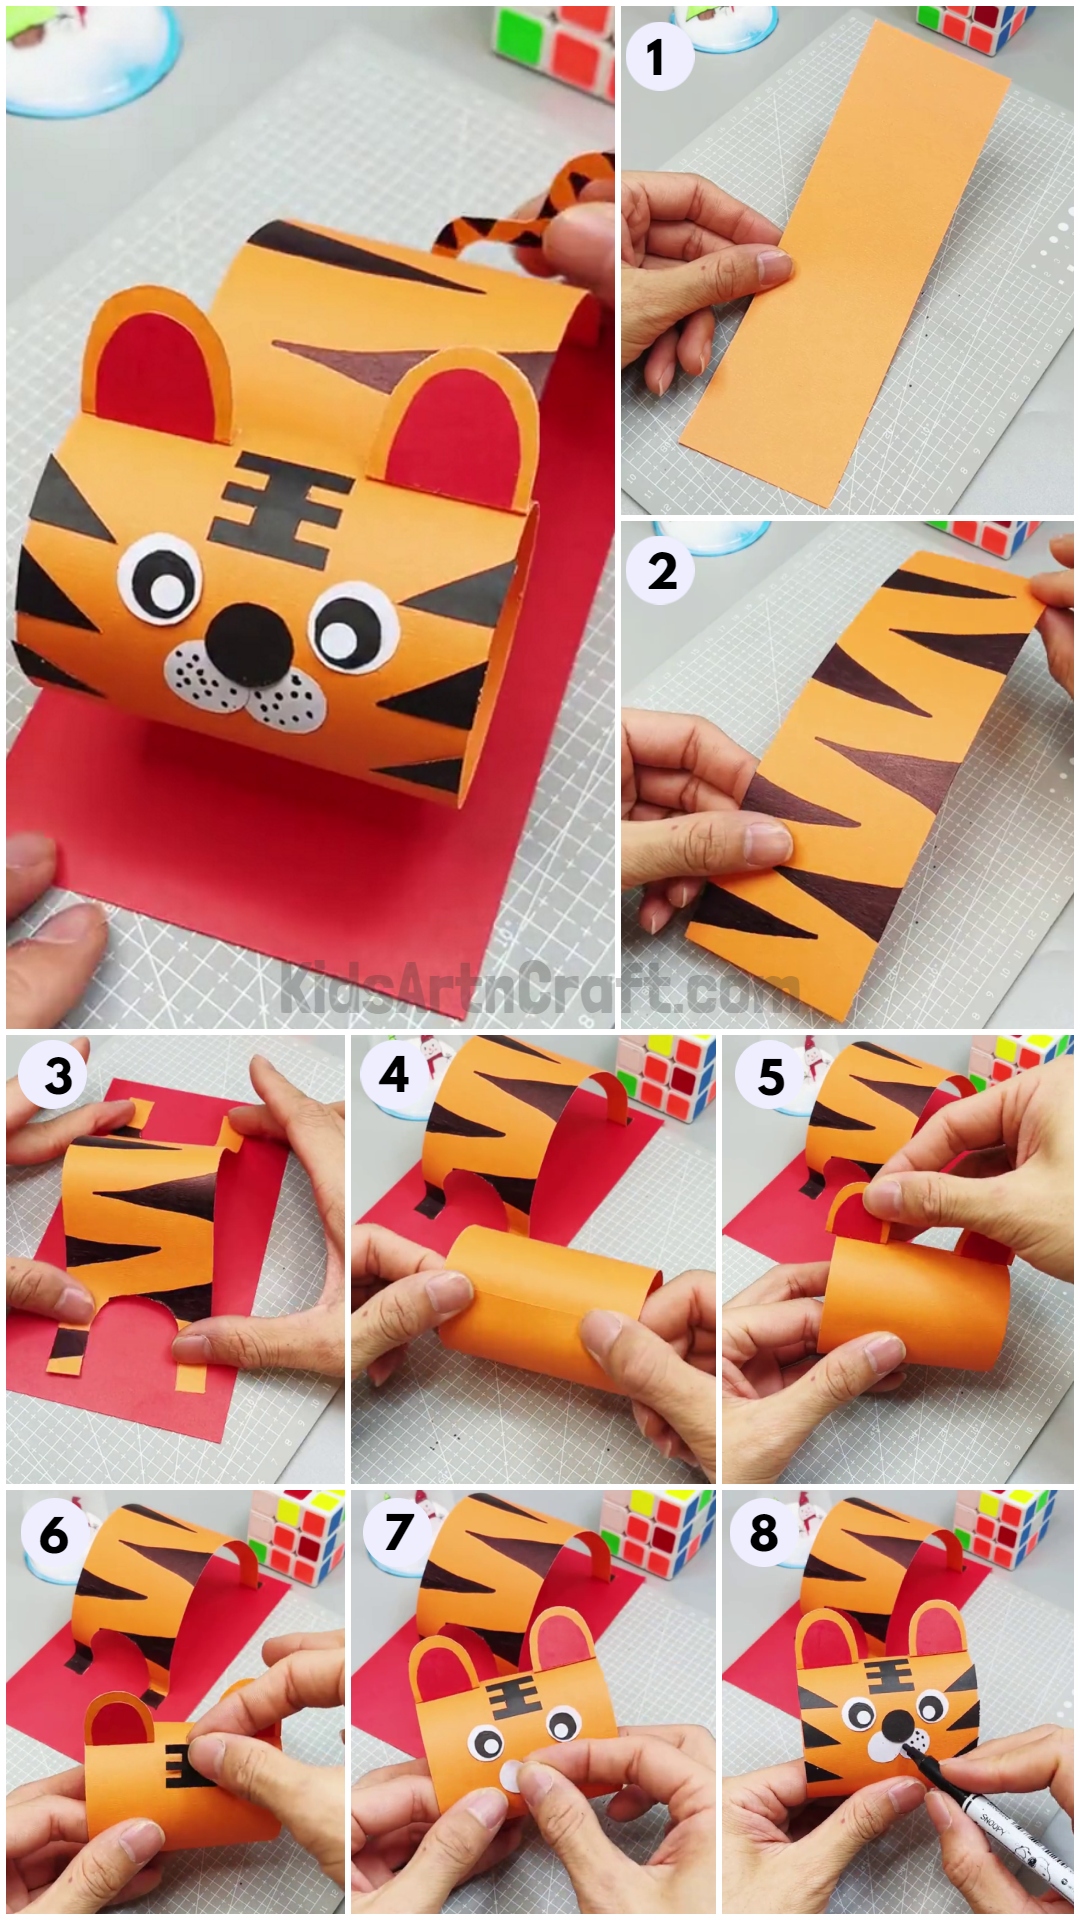
Simple Tiger Paper Craft Step by Step Tutorial

Learn how to make a simple tiger paper craft with this step-by-step tutorial. Perfect for kids and adults alike, this craft is fun and easy to make. Plus, you can customize the design to make it your very own!
Welcome to this easy paper tiger craft tutorial! If you’re looking for a fun and easy activity for kids, you’ve come to the right place. With a few simple materials, kids of all ages can make their own paper tiger in no time. Not only is this craft easy to make, but it’s also fun and can be a great way to teach children about tigers. So let’s get started!
Easy Paper Tiger Craft Tutorial For Kids To Make
Read More: Easy Paper Robot Craft Step-By-Step Tutorial
Materials Required
- Colored sheets ( Orange, Black, White, Red)
- Black marker
- Glue
- Scissors
Procedure
Step 1: Cutting Out A Rectangle Of Orange Paper

Let’s start this craft by cutting out a rectangle from orange-colored paper.
Step 2: Taking A Black Marker
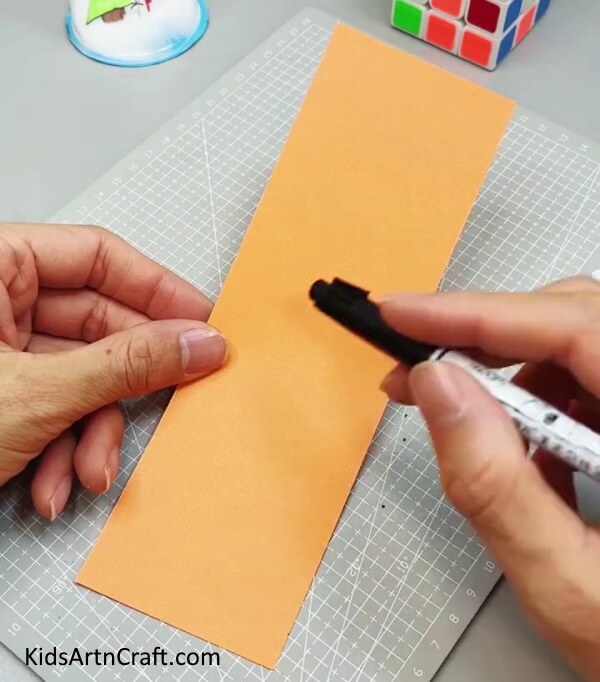
Take a black marker to fill out the patterns of the tiger.
Step 3: Making Patterns Of The Tiger
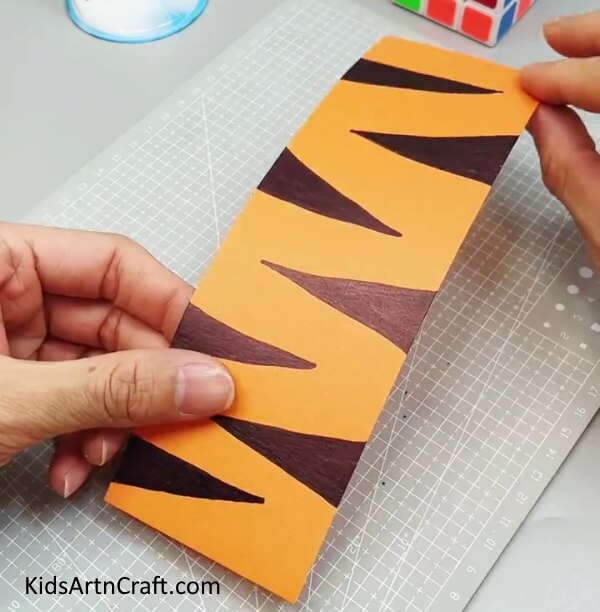
Make the triangle patterns of the tiger over the paper by the marker.
Step 4: Folding The Paper
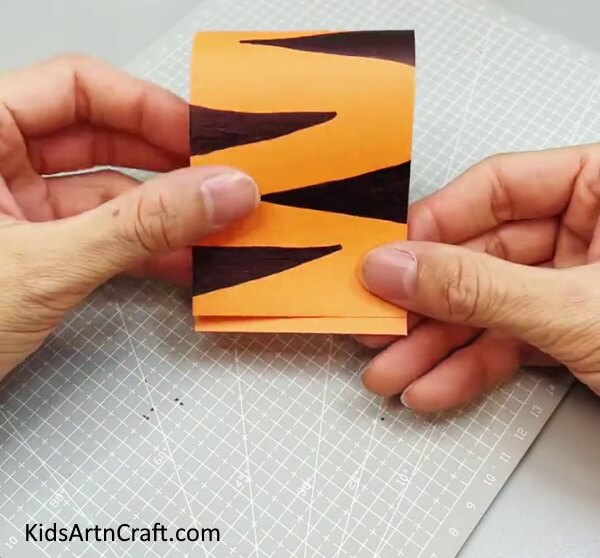
Fold the paper in half from its longer side without making a crease.
Step 5: Taking A Pair Of Scissors
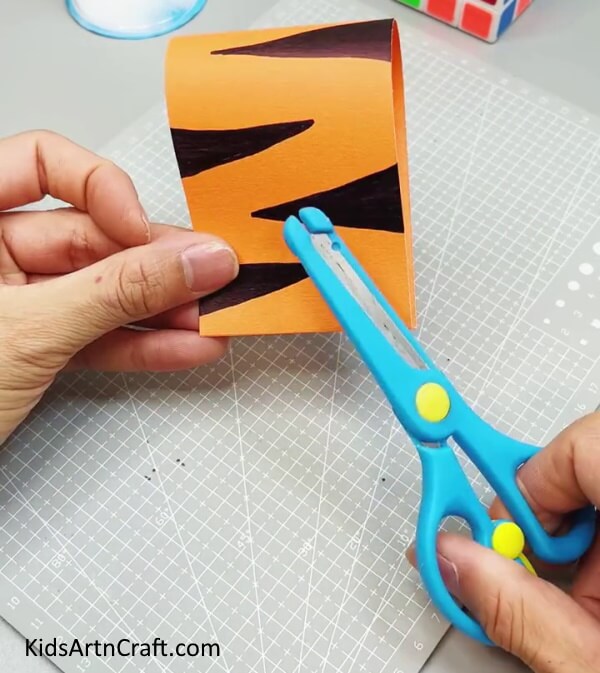
Take a pair of scissors.
Step 6: Cutting Out A Semi Circle
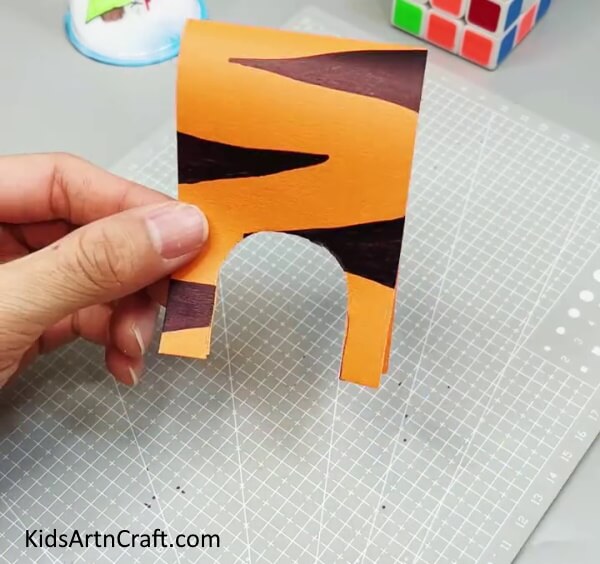
Cut out a C from the end of the folded sheet.
Step 7: Pasting The Sheet Over Red Paper

Open the sheet and place it over a red-colored sheet by forming a loop. Stick it over the red paper by applying glue on the side corner of the sheet.
Step 8: Making Legs Of Tiger

Using a black marker color all 4 side corners of the tiger paper for them to look like its legs. And make creases on the legs which are stuck to the red paper.
Step 9: Cutting Out Another Orange Rectangle

Cut out another rectangle from orange-colored paper.
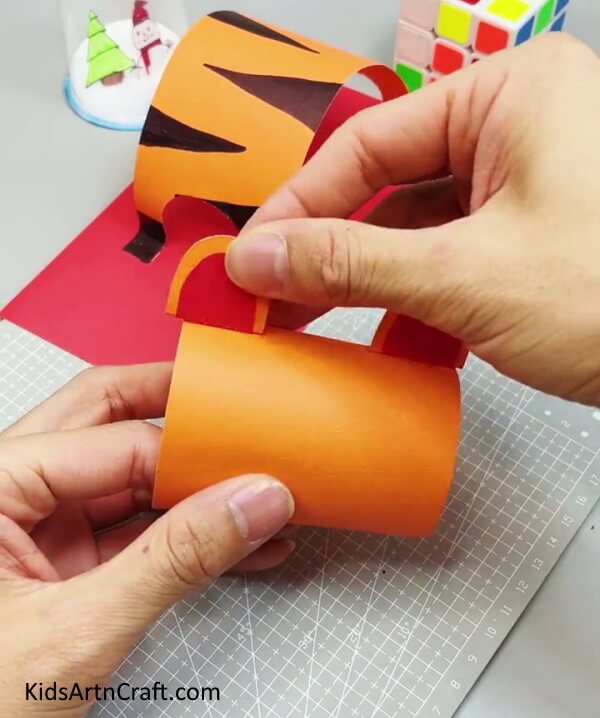
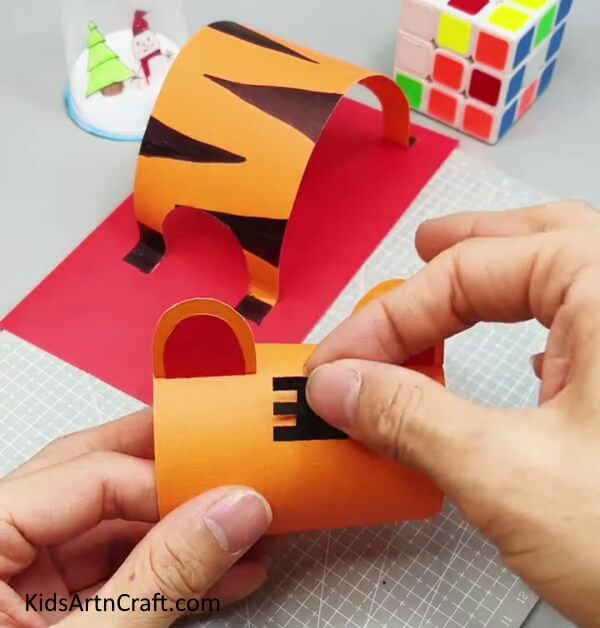
Step 10: Rolling The Paper
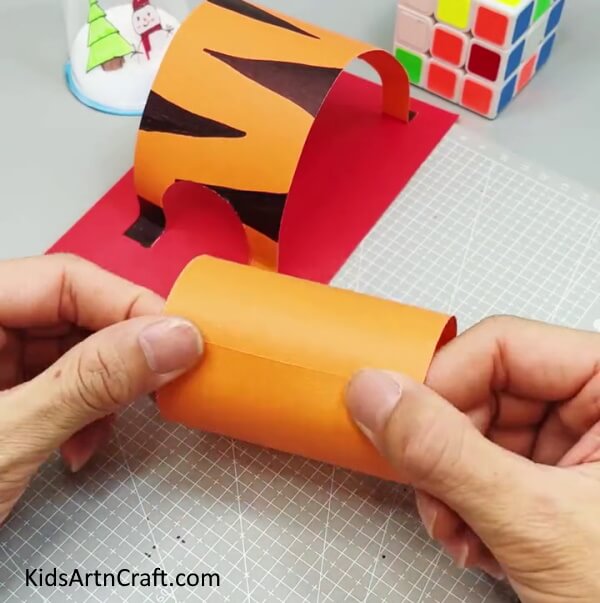
Roll the sheet to form a cylinder and paste the ends of it one over the other using glue for the face of the tiger.
Step 11: Making Ears
Using red and orange colored sheets cut out 2-2 D shapes of each, red ones smaller than orange ones. stick the red ones over the orange ones. Fold the sides of D a little, apply glue under it, and paste it over the face of the tiger.
Step 12: Making Tiger’s Head Stripes
For its head strips, cut out an E-both-sideways shape from a black-colored sheet and paste it over the head of the tiger.
Step 13: Making Eyes
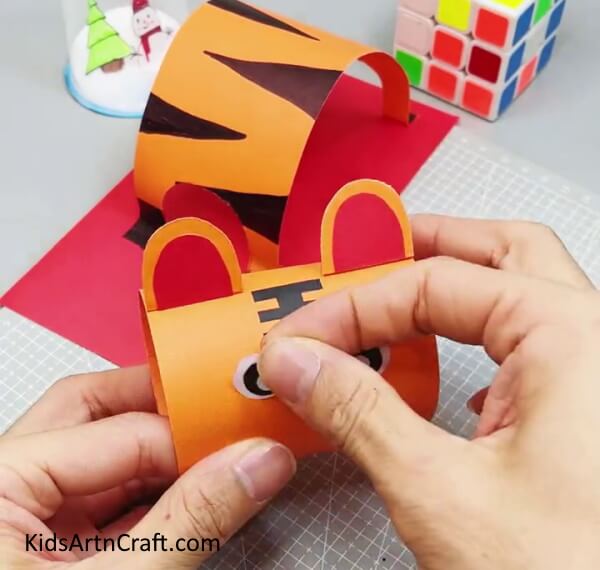
Using a white sheet cut out 2 circles for its eyes and make eyeballs over them using a black marker. Paste its eyes over the face of the tiger.
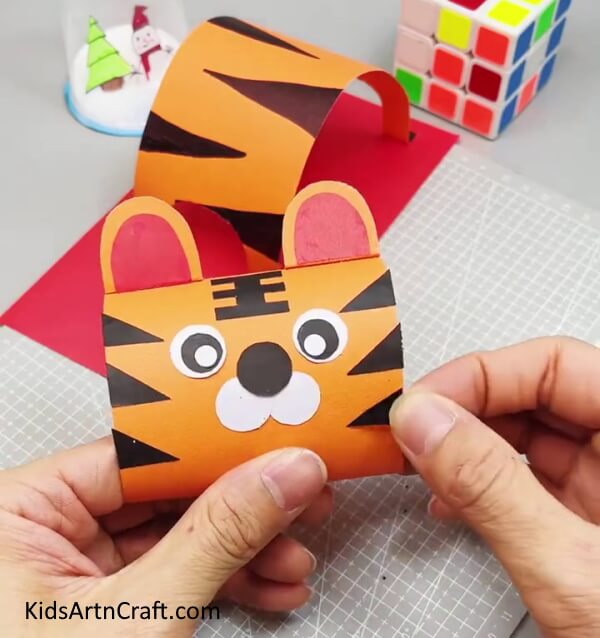
Step 14: Making The Nose Of Tiger
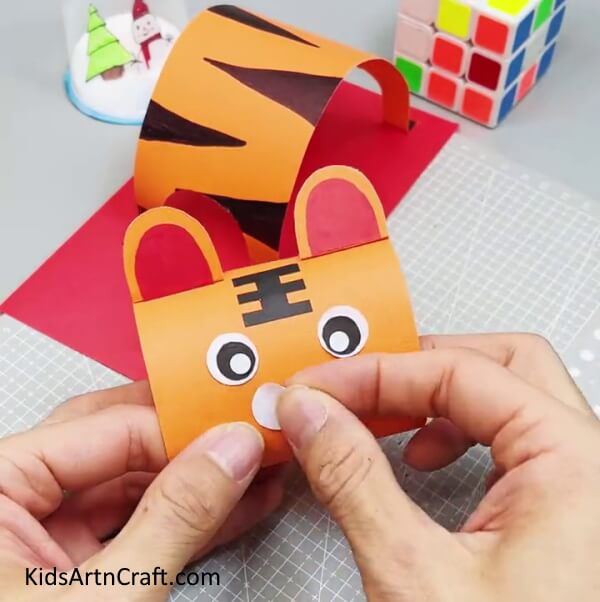
Cut out 2 white circles for the mouth of the tiger and paste them over the face using glue, one slightly over the other.
Step 15: Completing The Nose
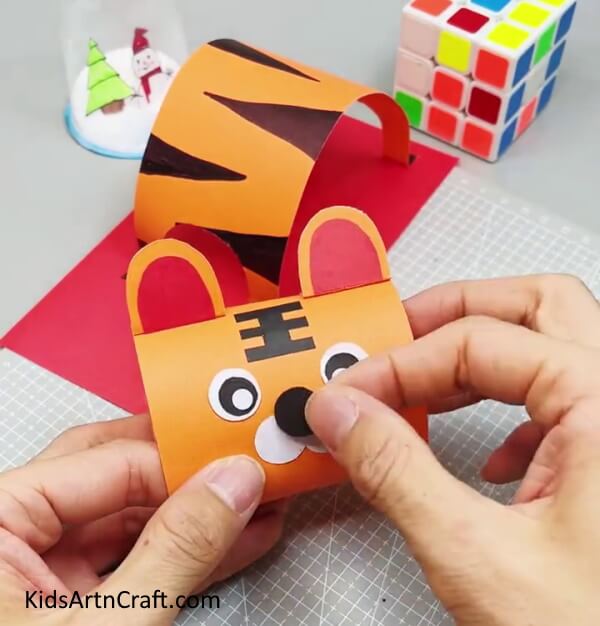
Using a black-colored sheet cut out a small circle and paste it in a little above and between the white circles.
Step 16: Making Tiger Patterns
Make tiger patterns by cutting out 6 acute triangles from a black sheet and pasting 3-3 of them on both sides of the tiger’s face.
Step 17: Drawing Moustache Of Tiger
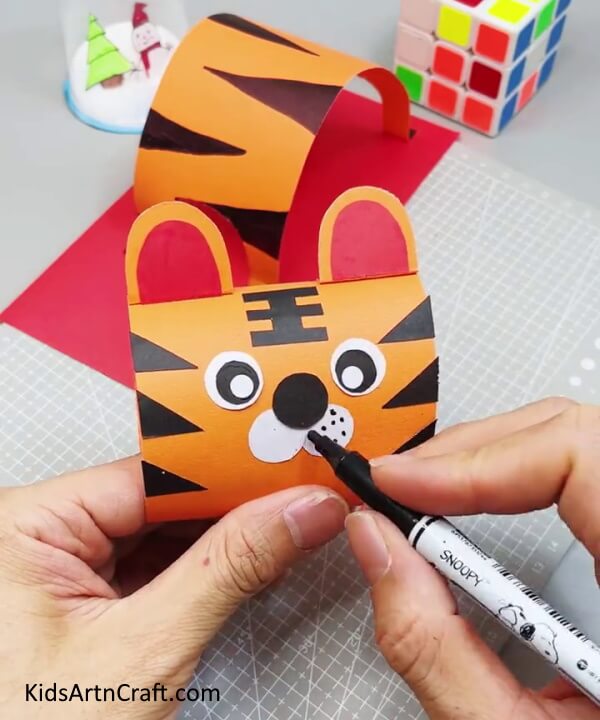
With a black marker, make some random dots over the white part of the nose of the tiger.
Your Easy Paper Tiger Craft Is Ready!
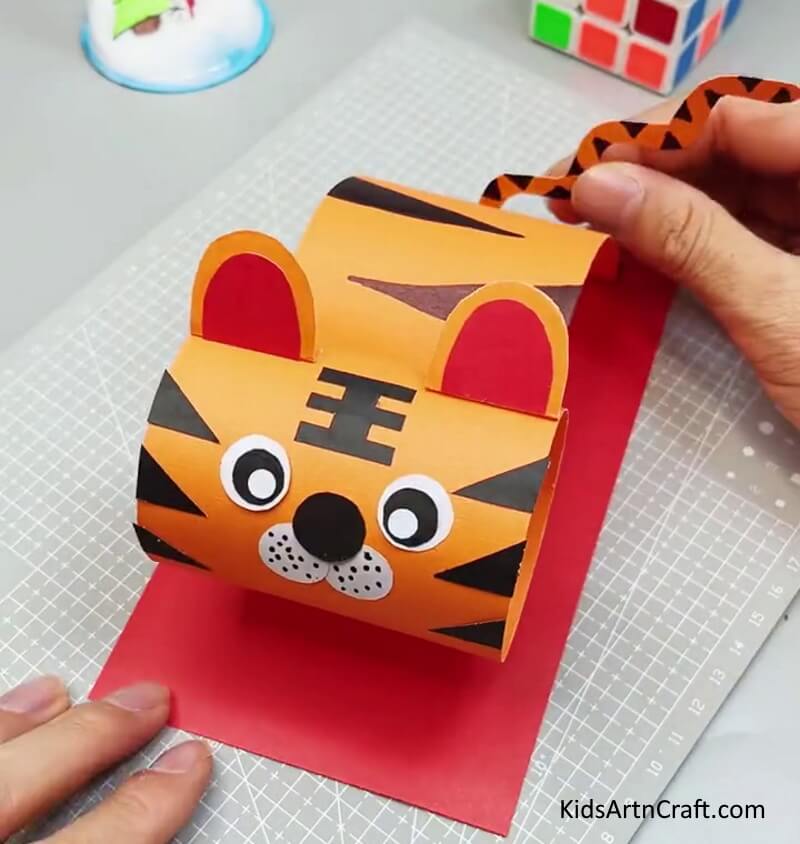
Give the end touch of your tiger by pasting a stripy tail behind it using an orange sheet and black marker. Congratulations! your paper tiger craft is ready.
Some More Tiger Craft Tutorial
Creating A Tiger Balloon Craft For Kids
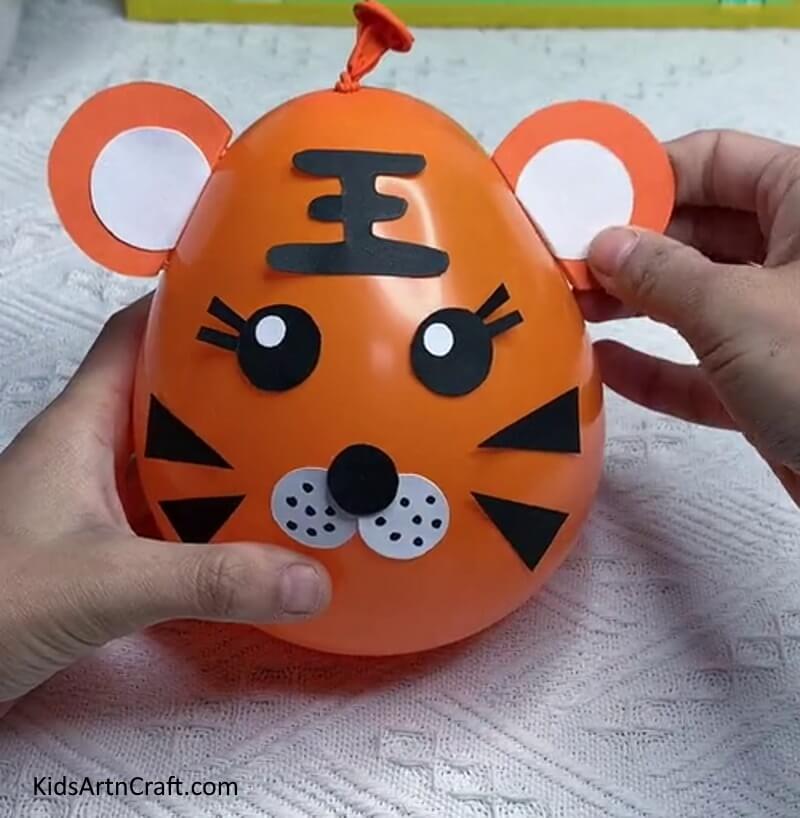
Image Source/Tutorial: Kids Art & Craft
Creating a tiger balloon craft for kids is a fun and easy activity. Kids can use balloons, markers, and other craft materials to make a unique and creative tiger craft that will bring a smile to their faces. It’s a great way to get creative and have fun!
DIY Paper Cup Tiger Craft For Kids
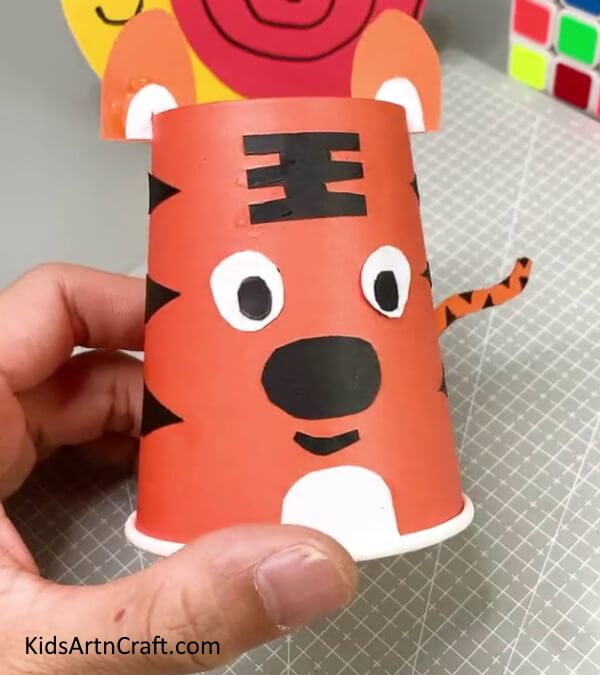
Image Source/Tutorial: Kids Art & Craft
This DIY Paper Cup Tiger Craft is a fun and easy activity for kids to make. Kids will love creating their own tiger using paper cups and paint, and it’s sure to be a hit with the whole family. It’s a great way to get creative while having a blast!
FAQs Related To Tiger Paper Craft
1. What materials do I need to make a simple tiger paper craft?
You will need paper in orange, black, white, and red, scissors, glue, and a black marker.
2. What type of paper should I use to make a tiger craft?
Thicker paper such as card stock or construction paper works best.
3. How do I make the eyes of the tiger?
Cut two small circles from the white paper, make eyeballs, and glue them to the tiger’s face.
4. How do I make the tail of the tiger?
Cut a wavy tail from the orange paper and glue it to the back of the tiger.
5. What can I do with the finished paper craft?
You can display the paper craft in your room, use it as decoration, or give it as a gift.
6. How long does it take to make the papercraft?
It usually takes about 10 minutes to make this papercraft.
This Easy Paper Tiger Craft Tutorial For Kids To Make is a great way to keep the kids engaged in their creative pursuits while also having some fun. With its simple instructions and materials, it’s a great project for children of all ages to enjoy.
Follow us on Youtube for art and craft tutorials and much more.
More Articles from Kids Art & Craft
- Simple Paper Animal Craft Ideas Video Tutorial for All
- Easy to Make Paper Chicken Craft Tutorial
- How To Make Cardboard Tube Swan Craft Tutorial For Kids
- DIY Easy Paper Strawberry Tutorial For Kids
- Paper Crafts And Activities Video Tutorial for Kids


