Kids Activities
Playful Paint Combination Ideas for kids

Explore fun, colorful Playful Paint Combination Ideas for Kids that inspire creativity through easy painting activities, art projects, and color-mixing experiments. These kid-friendly painting ideas help develop fine motor skills, imagination, and artistic confidence.
Today, we bring you some of the most amazing color combination ideas to make you fall in love with colors. All these ideas are very easy, so anyone can do them.
Playful Paint Combination Ideas for Kids

Kool-Aid sand paint
Mixing color with sand gives it a cool and smooth texture. It gives a different look to the whole color. All you have to do is mix all the ingredients well.
- Level: Easy
- Materials required: Flour, Kool-Aid, craft sand, water
- Procedure: In a glass bowl, take a desired amount of flour and add the Kool-Aid to it. You can also add the Cool-Aid powder. Now, slowly start adding water to it. Add a little amount, mix it. You can add more water if the consistency is too thick. Put the craft sand and mix well. Your sand paint is ready. Use it as you want.
Scented Chalk Paint

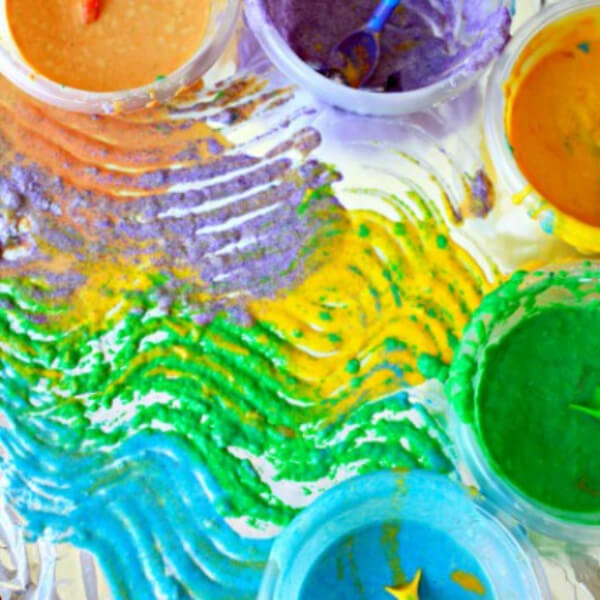
Image Source/Tutorial: LearnPlayImagine.
Making your colors is fun! But staining is the biggest headache. Food colors leave a stain that is difficult to remove.
Today, we bring you the easiest recipe for paint that will not stain your house.
- Level: Easy
- Materials required: Chalk, Kool-Aid, water
- Procedure: First of all, you have to make the chalk powder. Take all the chalks together and mash them with a hammer or anything to make a powder. Add the powder to a bowl. Put a Kool-Aid color and start adding water. If the consistency is thick, add more water, and you’re ready to play.
DIY Watercolors From Dried-Out Markers
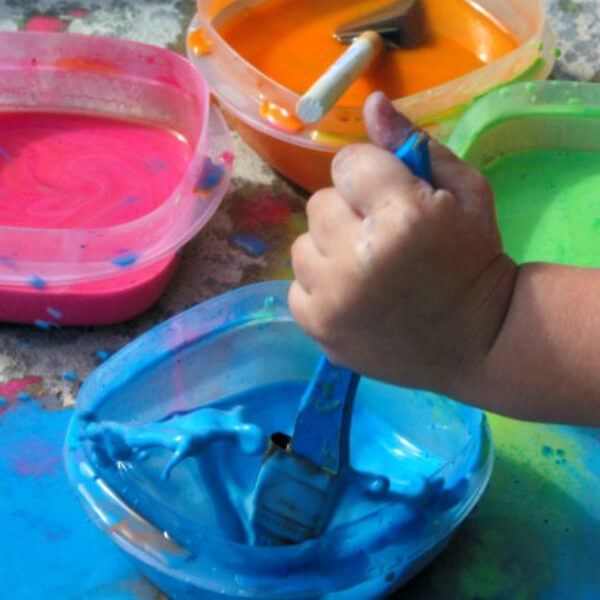
Image Source/Tutorial: Parenting Chaos
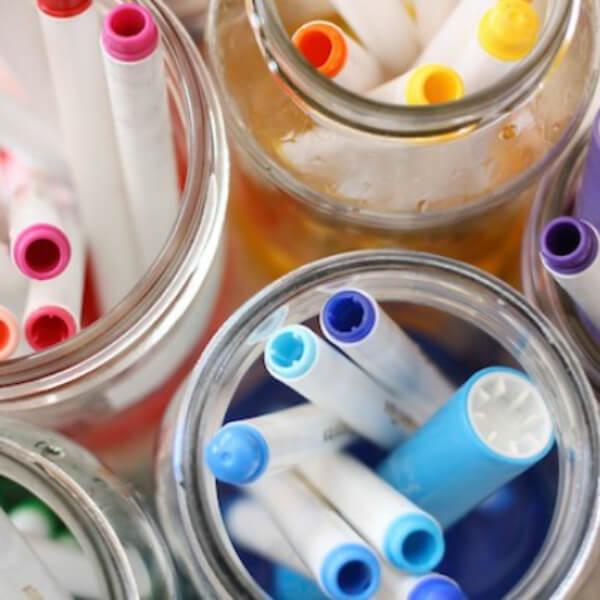
What if you could use the dried-out markers that you were going to throw away to create homemade watercolors? Sounds exciting, right?
Today, we are going to make those expensive watercolors with the easiest recipe you can get. All you need is patience. So, let’s get started.
- Level: Easy
- Materials required: Dried-out markers, water, and glass jars
- Procedure: Collect all the dried-out markers and put all of them in one place. Fill the glass jars half with water. Remove the cap of the markers and put the lid in the water. You’ll see the water changing its color. Let the marker sit in water for 5 days or a week. You’ll see that the ink of the water has been absorbed into the water. After a week, your watercolor is
DIY Fingerpaint
This fingerpaint is so simple to make that even a little kid can make it easier. Easy and inexpensive, it is completely safe to use on the hands as it is made of all-natural and homemade ingredients.
- Level: Easy
- Materials required: Flour, water, food color/ watercolor
- Procedure: In a bowl, take a desired amount of flour and add water. Heat the mixture on a low flame by stirring continuously. When the mixture starts leaving the sides, switch off the flame. Add the food coloring and mix well. If the mixture is too solid, add cold water.
Washable Window Paint
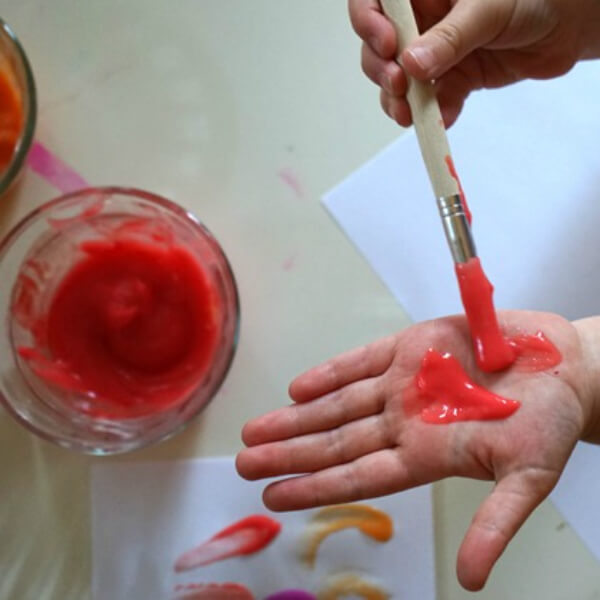
Image Source/Tutorial: Tinkerlab
Create some vibrant designs on your window to give it a beautiful look. Make these washable window paints to decorate your house windows.
- Level: Easy
- Materials required: All-purpose flour, water, food color, dishwashing bar/ liquid
- Procedure: Take a cup of flour in a bowl. Add water, dishwashing bar/ liquid to it. Mix well. Make sure that there are no lumps in it. Then, add your favorite color, and your washable paint is ready.
DIY Natural Dye Fingerpaint
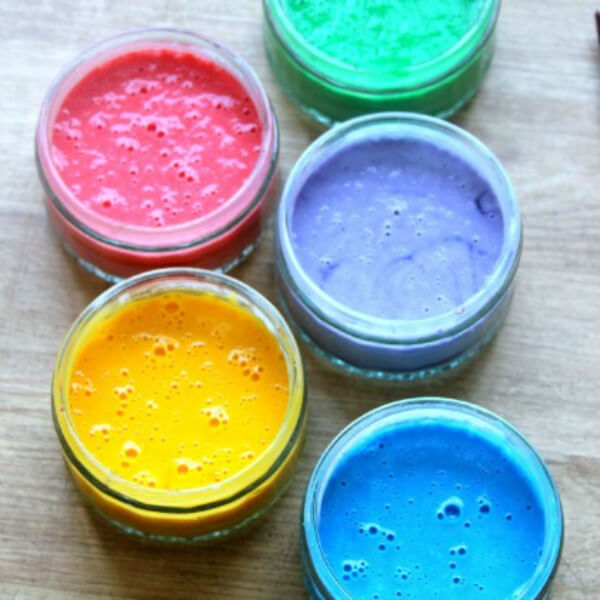
Image Source/Tutorial: The Imagination Tree
This fingerpaint is completely natural and easy to make. The things used for color are all-natural and easily available in your house. So let’s start making.
- Level: Easy
- Materials required: All-purpose flour, carrot, beetroot, spinach, turmeric, blueberries, water, bowl
- Procedure: For making the pink color, add a slice of beetroot, flour, and water to a mixer and blend well. For the orange color, add a carrot, flour, and water to the mixer and blend until smooth. Repeat the same process with all the things to get the desired color.
DIY Textured Paint
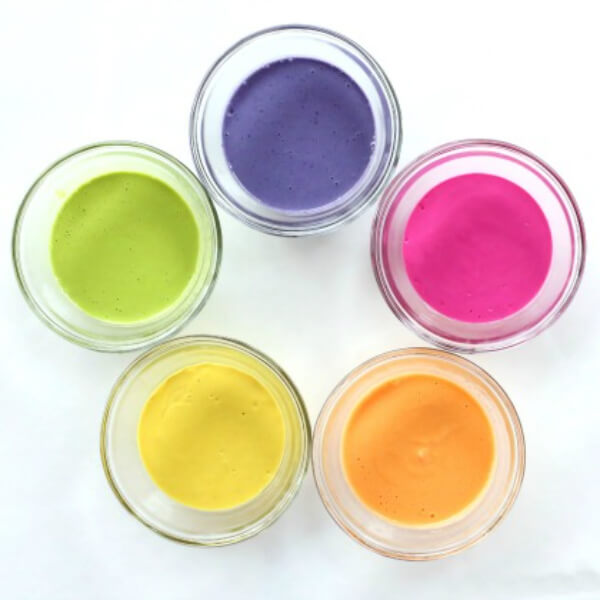
Image Source/Tutorial: Fun at Home with Kids
Textured paints are very interesting to make. They give your hands and the painting a completely different look.
- Level: Easy
- Materials required: Painting colors, essence, herbs, spices, paintbrush, container
- Procedure: In a container, mix the painting colors, essence, and any other herb or kitchen ingredient. Mix all well. Your textured paint is ready.
Bubble Bath Bathtub Paint
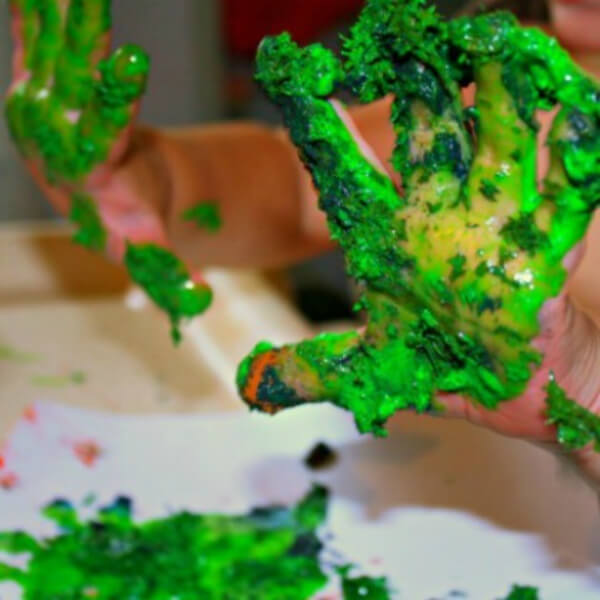
A bubble bath is fun, right? Today, we will make a bubble bath bathtub paint to give our bathtubs a completely new look. The recipe is quite simple.
- Level: Easy
- Materials required: Painting colors, bubble bath, paintbrush, container
- Procedure: In a bowl, add colors and a bubble bath. Mix well. You can add some water if needed. Transfer to a container and start showing your painting skills.
Edible paint
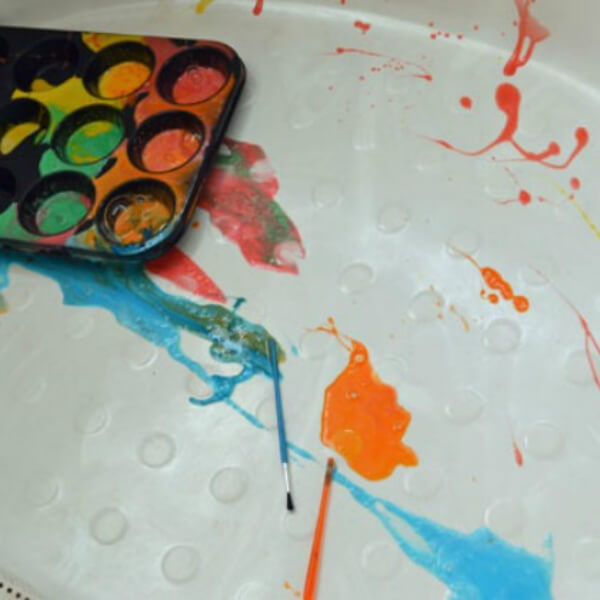
Image Source/Tutorial: Simple Fun for Kids
The colors look beautiful, right? What if you can eat those beautiful colors with great taste?
We’ve got a yummy paint recipe for you. It’s easy to make and delicious.
- Level: Easy
- Materials required: Rice cereals, milk, food color
- Procedure: In a bowl, take the desired amount of rice cereal and add milk to it. Mix well. Next, add food coloring and mix. Your edible color is ready.
Scratch & Sniff Paint
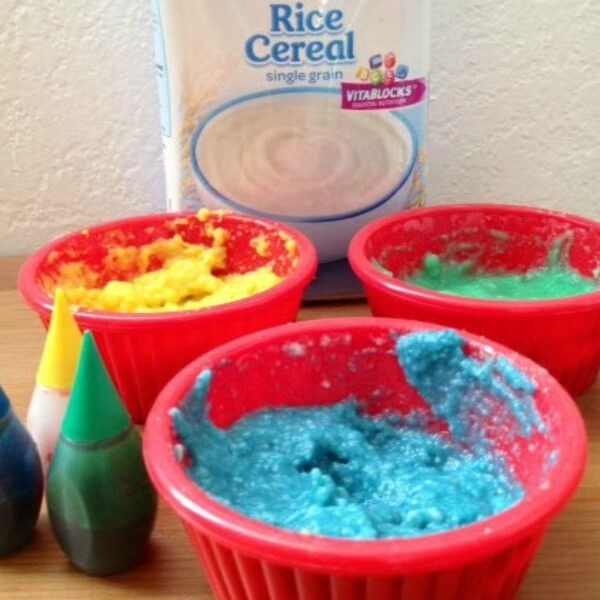
Image Source/Tutorial: Munchkins and Moms
Scratch & sniff paints are easy to make and are very playful. You can use this paint to decorate your cards or just play with it.
- Level: Easy
- Materials required: White glue, water, chocolate powder/ food color
- Procedure: In a bowl, take white glue and mix it with a little water. Next, add chocolate powder or any color that you want to make. Mix well, and it’s ready. Apply it wherever you want.
Beautiful Sparkling Colors
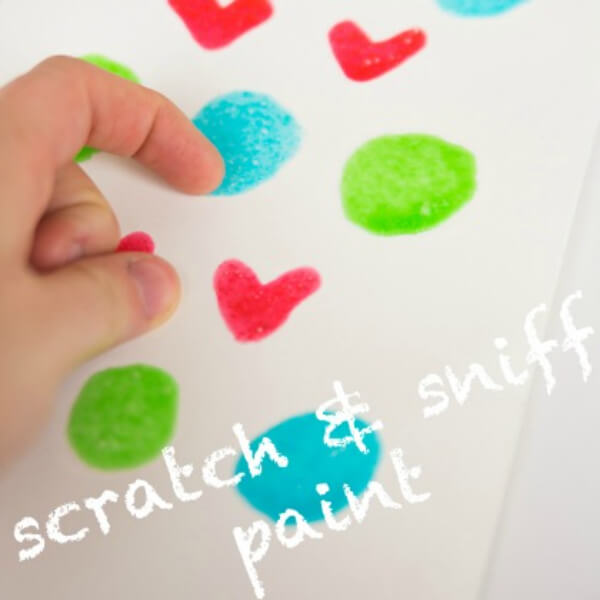
Image Source/Tutorial: Kids Activities Blog
These beautiful, glittering colors look amazing and smell good. And it is super easy to make.
- Level: Easy
- Materials required: Skittles, corn syrup, container
- Procedure: Separate different color skittles and put every color in a different container. Now fill the containers with corn syrup. Let it sit for some time. After a few hours, you’ll see that the syrup has turned a color. Now you can use these colors for your craft. It will give you a beautiful shimmery effect.
Diy Candy Paint
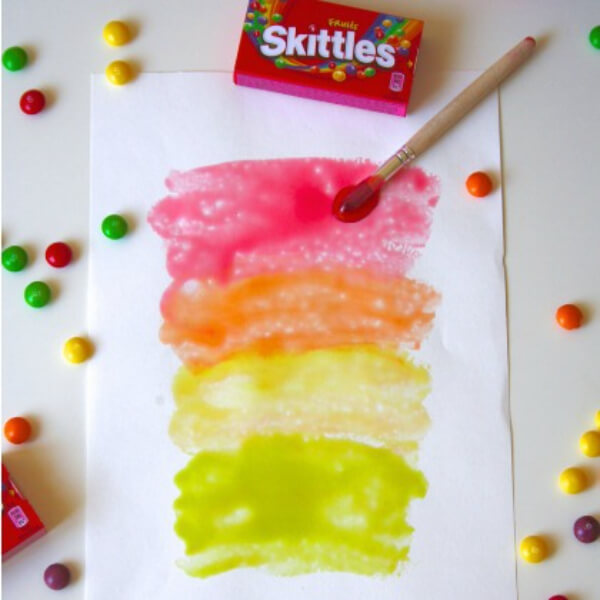
Image Source/Tutorial: mama papa bubba
These candy paints are very easy to make and affordable at the same time.
- Level: Easy
- Materials required: Colorful candies, cornstarch, water
- Procedure: In a container, add candies of the same color. Put it on a low flame. When the candy starts melting, add water and cornstarch to it. Mix well so there are no lumps left. Repeat the same with all the other candies.
Jelly Pudding Paint
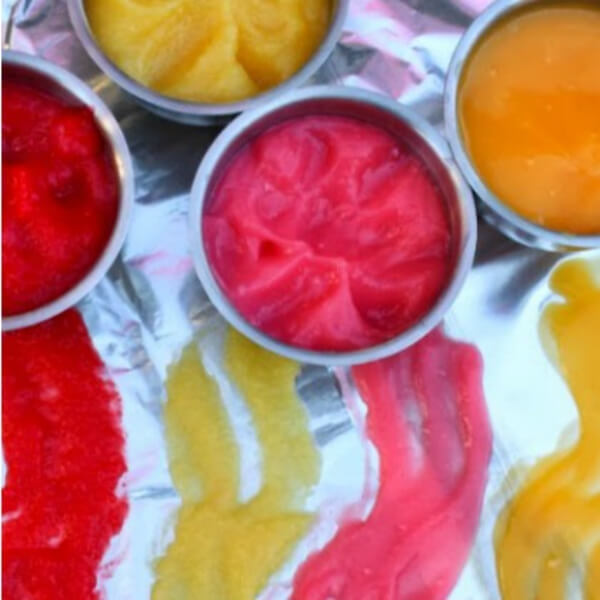
Image Source/Tutorial: learn play imagine
Jelly pudding paints are easy to make, and their texture is very smooth and creamy.
- Level: Easy
- Materials required: Colorful jellies, cornstarch, water
- Procedure: Melt the jellies of the same color in a container on a low flame. After melting, add cornstarch and water. Mix well. Now you can use this color. Store the extra color in an airtight container.
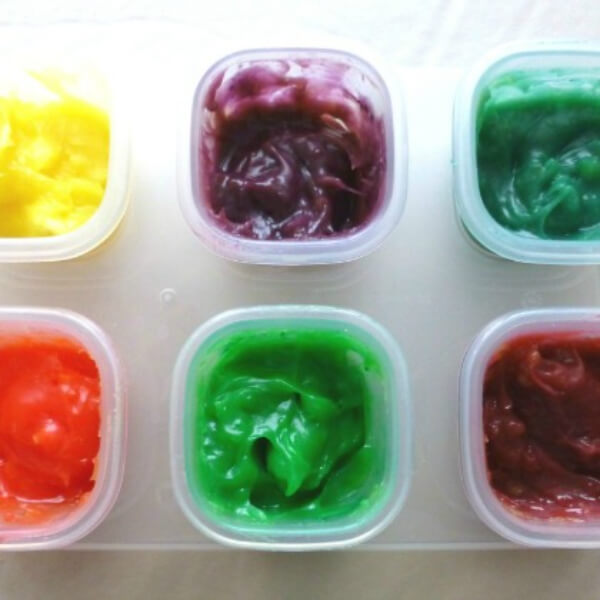
Image Source/Tutorial: Craftulate
Glitters look beautiful. The shine of the glitter colors can turn even a simple painting into an amazing one. So, what are you waiting for? Collect the materials and start making your glitter glue paint.
- Level: Easy
- Materials required
Diy Glitter Glue Paint
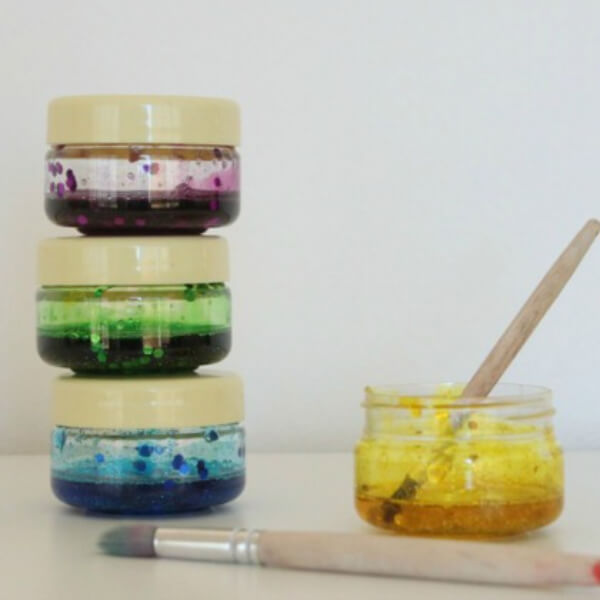
Image Source/Tutorial: mama papa bubba
These colors are completely safe if your kids have the habit of eating everything. It can be made very easily and is very effective to use.
- Level: Easy
- Materials required: Poster paints, craft sticks, empty yogurt pots
- Procedure: Transfer the paint color to the empty pots and put the popsicles in them. Let it freeze. After the colors are frozen, you can use them.
Rainbow fingerpaints
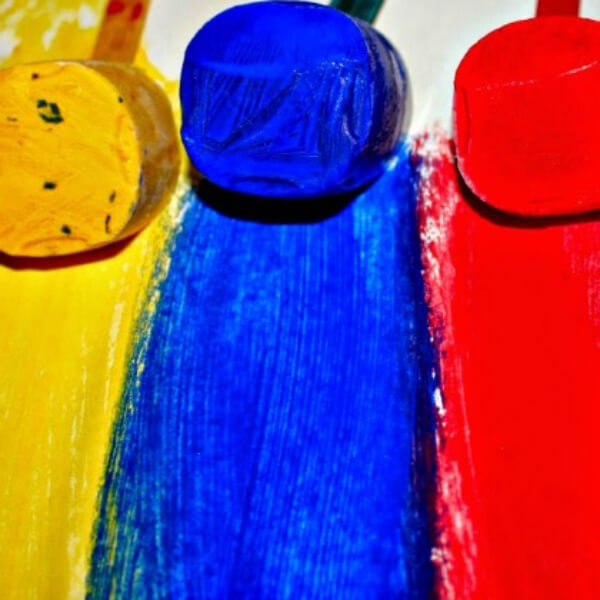
Image Source/Tutorial: Messy Little Monster
These rainbow finger paints look stunning when used and are completely safe. You can use them without any fear.
- Level: Easy
- Materials required: Unflavored gelatin, cold water, cornstarch, 7 packets of Kool-Aid (red, orange, yellow, green, blue, purple, pink), mason jars (7), popsicle sticks
- Procedure: Add one packet of colors to every jar. Combine the gelatin and water in a small bowl. Allow the solution to rest for several minutes. Pour the cornstarch and water into a small saucepan. Heat and stir constantly until the mixture thickens. Whisk in the gelatin solution with a fork until combined. Divide the mixture evenly among the jars. Stir well with a popsicle stick.
Magic Milk Experiment
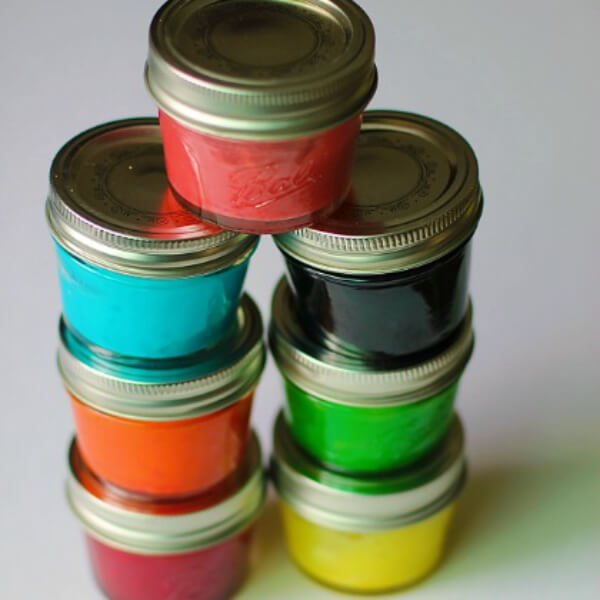
Image Source/Tutorial: Fireflies and Mudpies
This experiment will leave you completely amazed. You’re surely going to love this experiment.
- Level: Easy
- Materials required: Almond Milk or Cow’s milk, dish soap, Q-tips, cotton Balls, food coloring
- Procedure: Fill a plate with milk and add 2 drops of each color. Soak a cotton ball in dish soap and place it in the center of the bowl. The color will explode. Let the reaction continue.
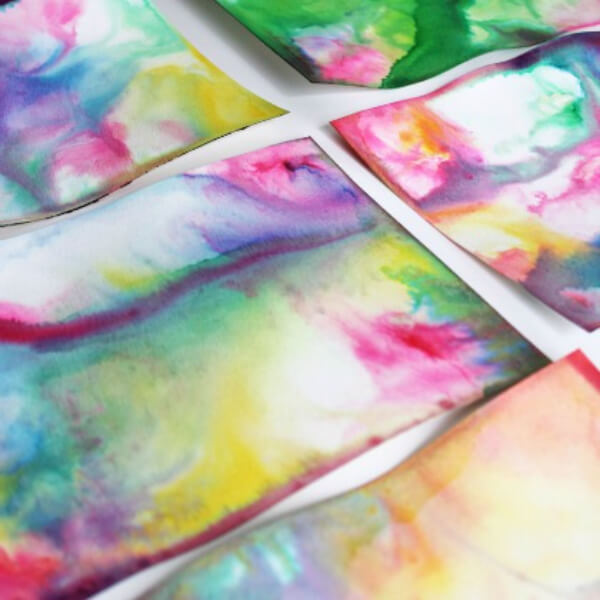
Image Source/Tutorial: Babble Dabble Do
Why coat your bread with butter and jam whenever you can twist it by making some edible colors?
- Level: Easy
- Materials required: one small container per color, some milk, some food coloring, and a pack of paint brushes
- Procedure: Pour a bit of milk into each container and add a little food coloring to each one. Then mix it well. Your edible colors are ready. You can use these colors to decorate your beads.
Painted Toast
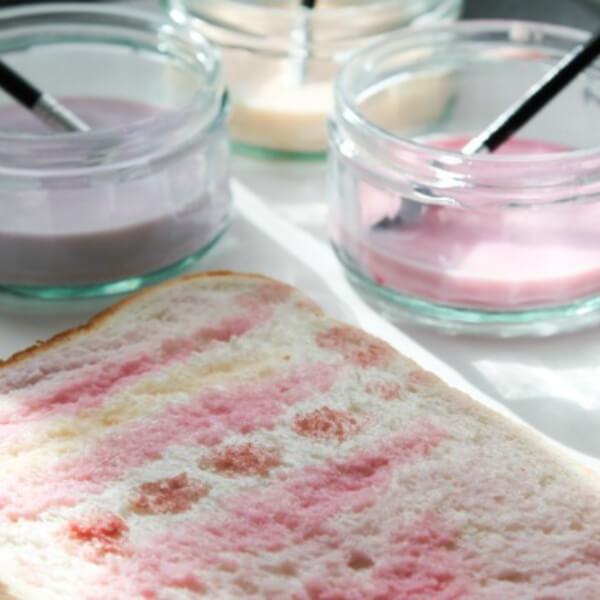
Image Source/Tutorial: In the Playroom
Playful Paint Combination Ideas for Kids – Easy Creative Art Guide
Learn fun, step‑by‑step paint combination ideas for kids in this easy tutorial! Discover creative color mixing tips, playful techniques, and simple art projects perfect for children. Boost creativity while making vibrant paintings — ideal for parents, teachers, and young artists seeking inspiration and hands‑on learning activities.
How to Choose the Best Paint Combination for Kids
1. Age of the Child
- Toddlers → Soft pastels (peach, mint, lavender)
- School-age kids → Balanced bright + calm colors
- Teens → Personalized themes and bold accents
2. Room Function
- Play area → Bright & energetic colors
- Study corner → Cool tones (blue/green)
- Sleeping area → Light, soothing shades
3. Lighting in the Room
- Natural light → Works well with darker tones
- Low light → Choose light, reflective colors
4. Child’s Personality
Let kids participate—this builds confidence and creativity.
Trending Paint Color Combinations for Kids
- Mint Green + Peach → Fresh and cheerful
- Lavender + Light Yellow → Soft and dreamy
- Navy Blue + Coral → Bold and playful
- Teal + Purple → Creative and artistic
- Cream + Aqua → Balanced and energetic
Safety Tips for Kids’ Room Painting
- Use low-VOC or non-toxic paints to protect indoor air quality
- Choose washable paints for easy cleaning
- Avoid strong odors and chemicals
- Opt for durable finishes for long-lasting walls
You May Also Like
- Easy Painting Ideas for Kids
- DIY Craft Ideas for Kids
- Fun Art Projects for Preschoolers
- Creative Drawing Ideas for Beginners
How Colors Impact Kids’ Mood & Creativity
Choosing the right paint combination is not just about looks—it directly affects a child’s mood, behavior, and creativity.
- Bright colors like yellow and orange can boost energy and imagination, making them ideal for play areas.
- Soft tones like blue and green help create a calm and focused environment, perfect for study or bedtime zones.
- Pastel shades provide a safe, soothing atmosphere, helping kids feel relaxed and secure.
Do you like mixing colors to create a new color? I’m sure you do. Creating new colors is exciting.
FAQs
1. Which color combination is best for kids?
Answer: Soft combinations like blue & white or mint & peach are ideal because they balance calmness and creativity.
2. Are bright colors good for kids?
Answer: Yes, but use them in moderation—too many bright colors can feel overwhelming.
3. How many colors should a kids’ room have?
Answer: Follow the 60-30-10 rule:
- 60% main color
- 30% secondary color
- 10% accent color
4. Should kids choose their room colors?
Answer: Yes! It encourages creativity, confidence, and emotional expression.
So these are some of the easy and amazing paint ideas that anyone can make without much effort. All of this DIY is simple yet amazing and will help in enhancing your creative skills. Stay updated with our newest content—join our Telegram group today! Don’t forget to follow us on YouTube & Facebook for creative art and craft tutorials, fun ideas, and much more.
Don’t forget to drop your valuable comments so that we can keep on providing you with easy DIY ideas.
Reviewed By Rachit Gupta
Read More:
- Halloween Decoration With Pumpkin Painting Ideas
- Fork Flower Painting Art Ideas
- Christmas Sponge Paintings
- Dog Paintings For Kids
- Puff Paint Ideas For Kids