Paper Crafts
DIY Paper Mask Step by Step Tutorial For Kids

This step-by-step tutorial will show kids how to make their own paper masks at home in a fun and creative way. Perfect for school projects or dress-up days, this easy DIY project is sure to spark creativity and imagination.
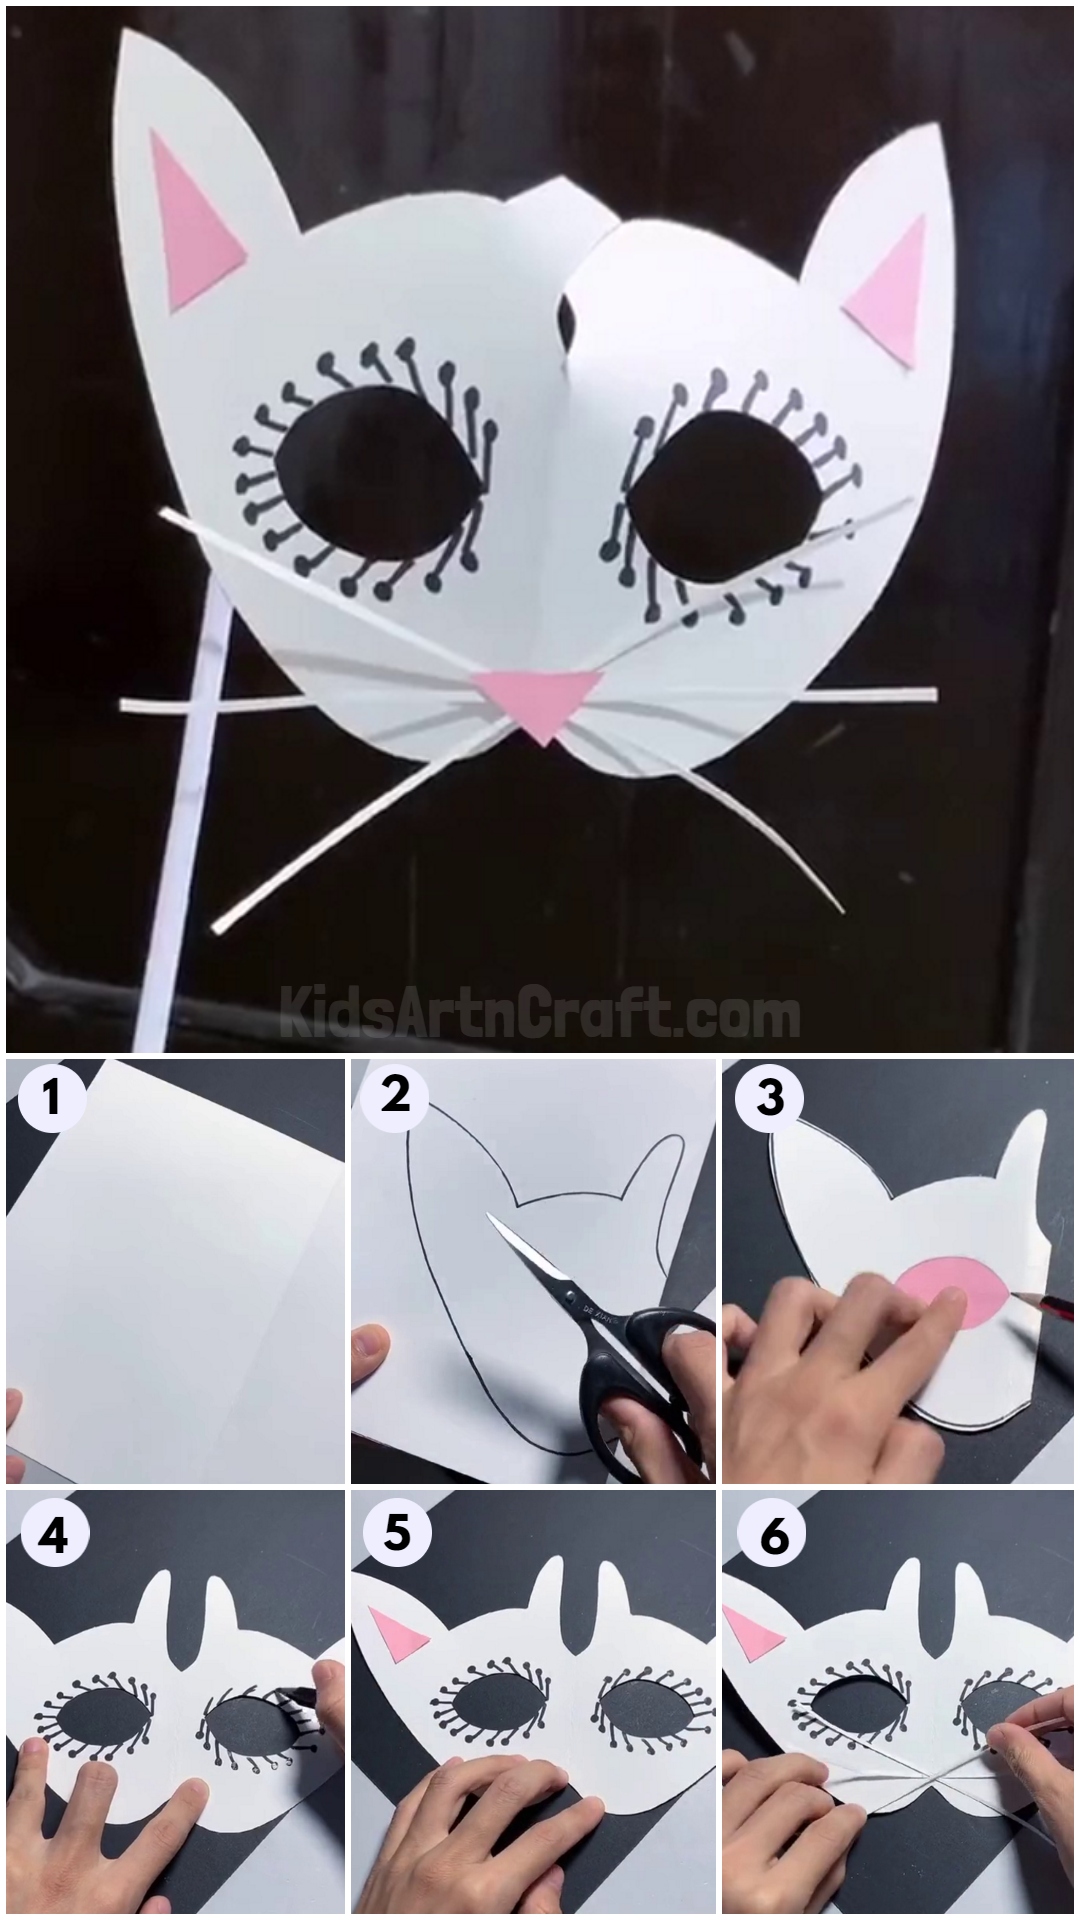
In this tutorial, we will guide you through the process of creating a fun and adorable cat mask! And that too with the help of simple materials! You can wear it at any mask party to flaunt and also on Halloween to complete your outfit to the fullest! This craft project is perfect for kids of all suitable age groups. It is evident to say that they can unleash their creativity while engaging in a hands-on activity. Let’s get started!
Easy to Make Paper Mask Craft Idea For Kids

Read More: Easy Paper Craft Activities At Home Video Tutorial for All
Materials Required
- White and Pink Sheets
- Pencil
- Scissors
- Black Marker/Sketch Pen
- Glue
Procedure
Step 1: Folding The White Sheet
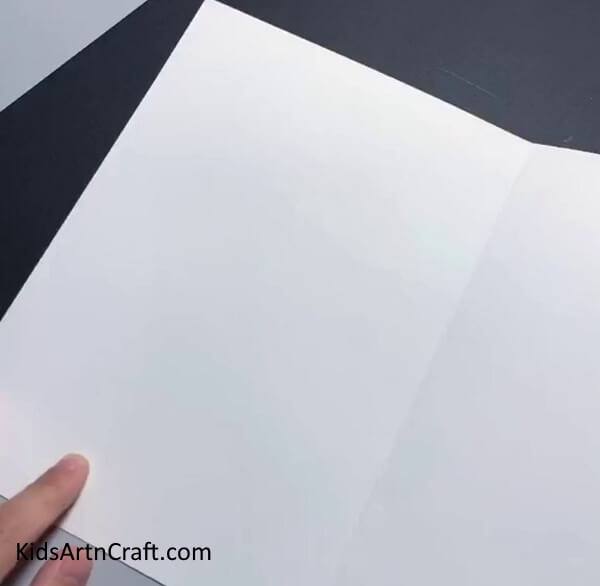

Let’s start this crafty mask by taking a white sheet, folding it in half, and forming a crease.
Step 2: Outlining Cat Mask Shape
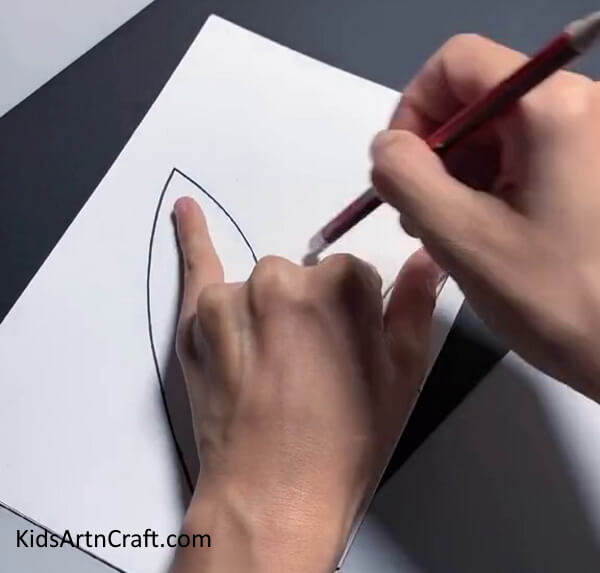

Make a hand gesture of stretching out the pinky finger and the thumb and put it over the folded side of the paper. Freely draw a cat-shaped mask outline using a pencil as shown in the image.
Step 3: Cutting The Outline


Once you’re satisfied with the shape, carefully cut along the outline using scissors.
Step 4: Cutting Out Eye Shape


Using a pink sheet of paper, cut out an eye shape by folding the paper to make it symmetrical.
Step 5: Outlining The Eye Shape
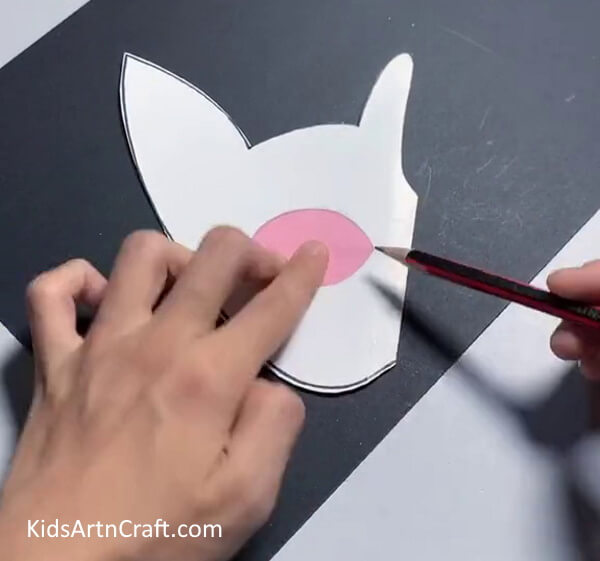

Open up the folded eye shape and put it over your mask, using a pencil trace the outline of the eye shape on the mask.
Step 6: Cutting Out The Eyes
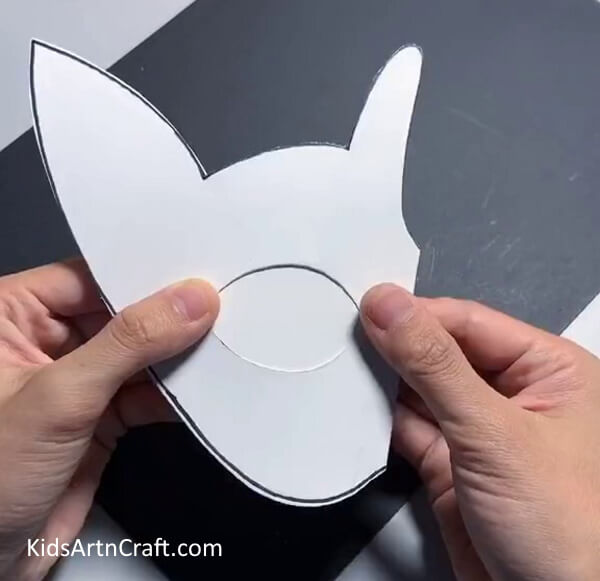

Using scissors, cut out the eye outline. From the other side too cut out the eye outline of the mask.
Step 7: Decorating The Mask
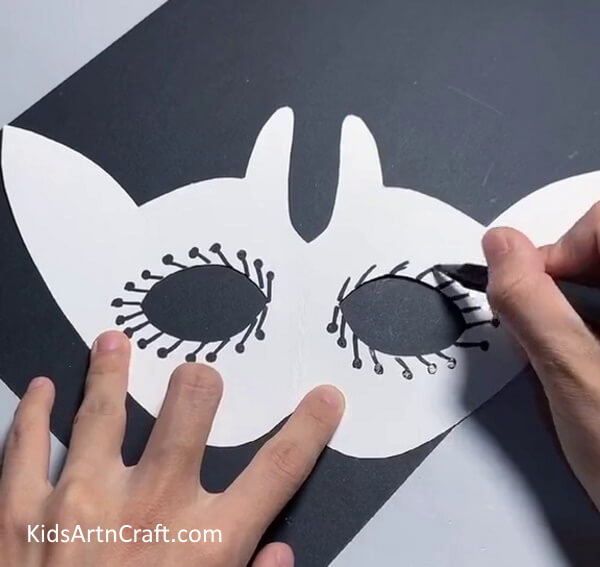

Unfold the mask and using a black marker add more prominent eye detailing around the cut parts as shown in the image.
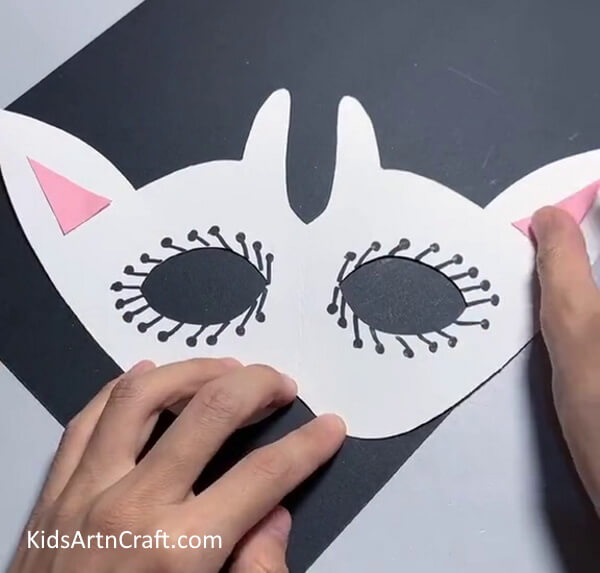
Step 8: Making Ears
Step 9: Preparing The Whiskers
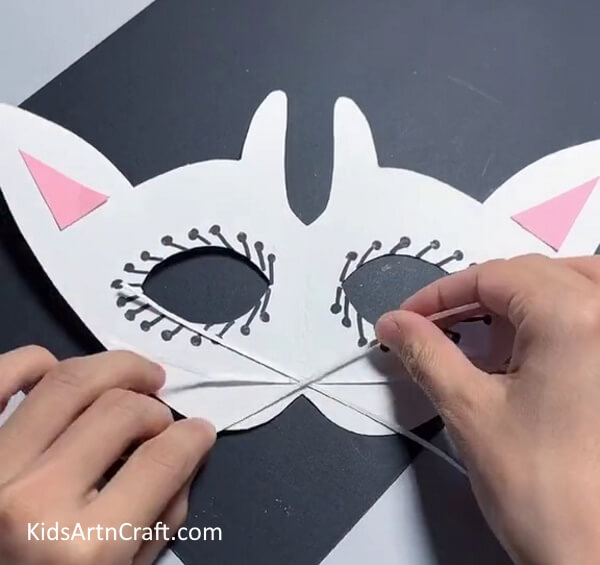

Now, for the whiskers part take a white sheet and cut thin strips and paste them over the mask as shown. Also, cut out a rounded triangle from pink paper and paste it in the middle of the whiskers.
Step 10: Shaping The Mask
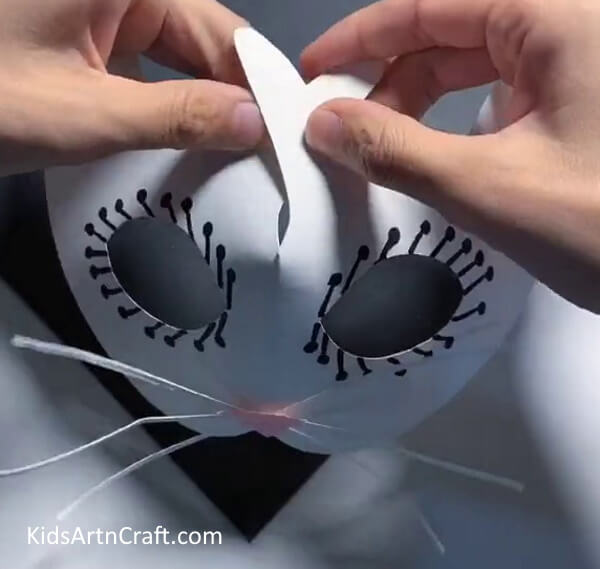

Twist the open edges in front of the mask in a way that they overlap each other. Refer to the image for a better understanding. Turn the folded edges to the back and insert one into another, giving your mask a subtle and more realistic look.
Step 11: Making Mask Handle
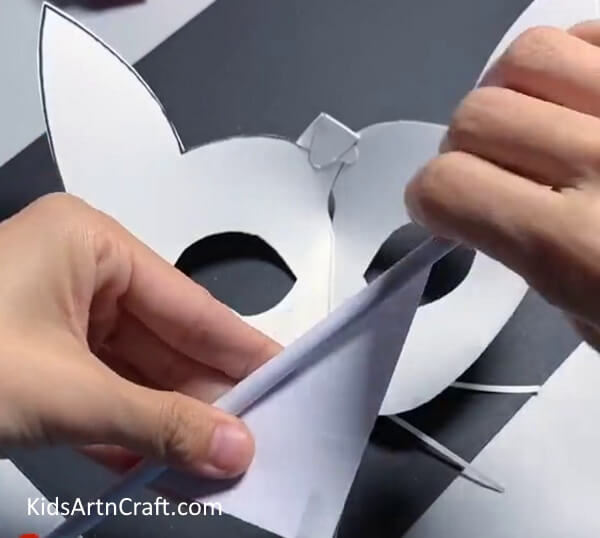

Roll over a white paper to form a stick and attach it to one corner of the mask from behind.
Your Cat Mask Is Ready!
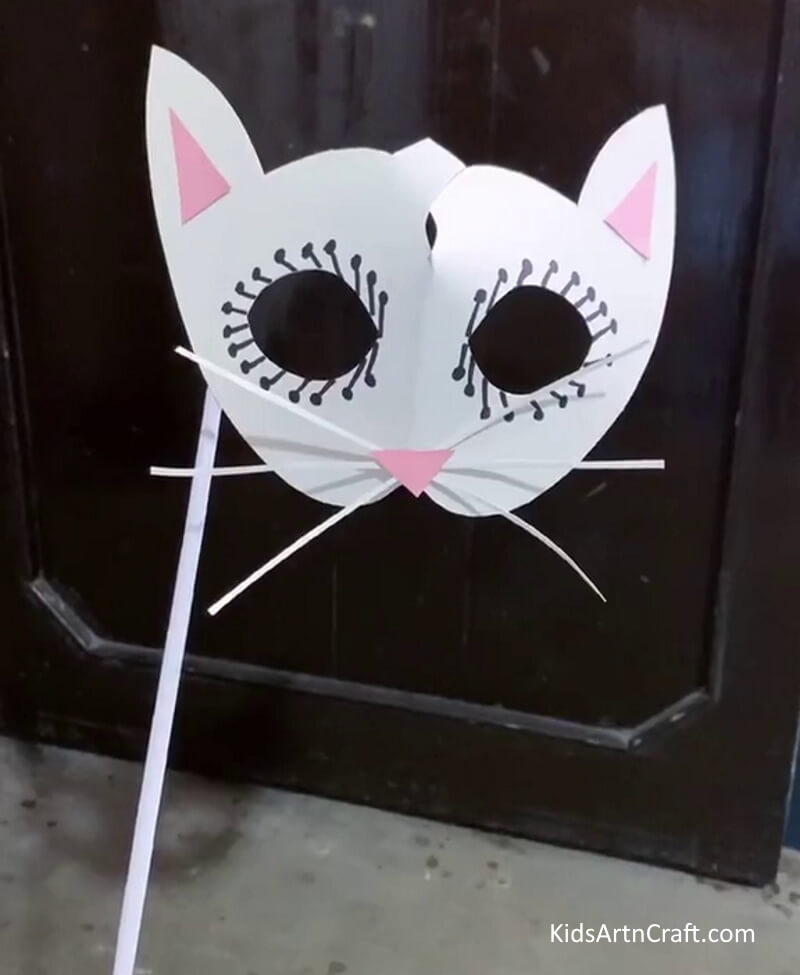

Once everything is securely attached and dry, your cat mask is ready to be worn!
Congratulations on creating your very own cat mask! You can personalize it further by adding colors, and patterns if desired. Use this mask for imaginative play, costume parties, or as a fun craft project to share with friends. Enjoy your new feline disguise!
Follow us on Youtube for art and craft tutorials and much more.
More Articles from Kids Art & Craft
- Simple Way To Make Paper Flower Tree Craft
- Paper-Cutting Designs For Projects
- Easy Paper Crafts DIY Video Tutorial for All
- Easy Paper Crafts Activity Try At home Video Tutorial for All
- Easy Craft Ideas Make At-Home Video Tutorial