Recycled Crafts
DIY Stick Lamp Home Decoration Using Pampas Grass Tutorial

Find out how to make a one-of-a-kind home decor item with this DIY Stick Lamp. Learn how to use pampas grass to create a beautiful lamp that will give any room a fashionable look. Everything you need is listed in this simple guide.
Welcome to this tutorial! Learn how to make an attractive DIY stick lamp with the help of this step-by-step tutorial. This lamp is appropriate for both kids and adults, using simple craft materials you can create this lamp. This DIY lamp is an interesting craft to create which is perfect for home decoration. Let’s begin!
DIY Stick Lamp Using Pampas Grass

Read More: Table Lamp Craft From Paper cup For Kids
Materials Required
- Wooden chopsticks
- Pampas grass
- Scissors
- White glue and hot glue
- Tissue paper
- Spray bottle with water
- Jute rope
- Paper cup and painting brush
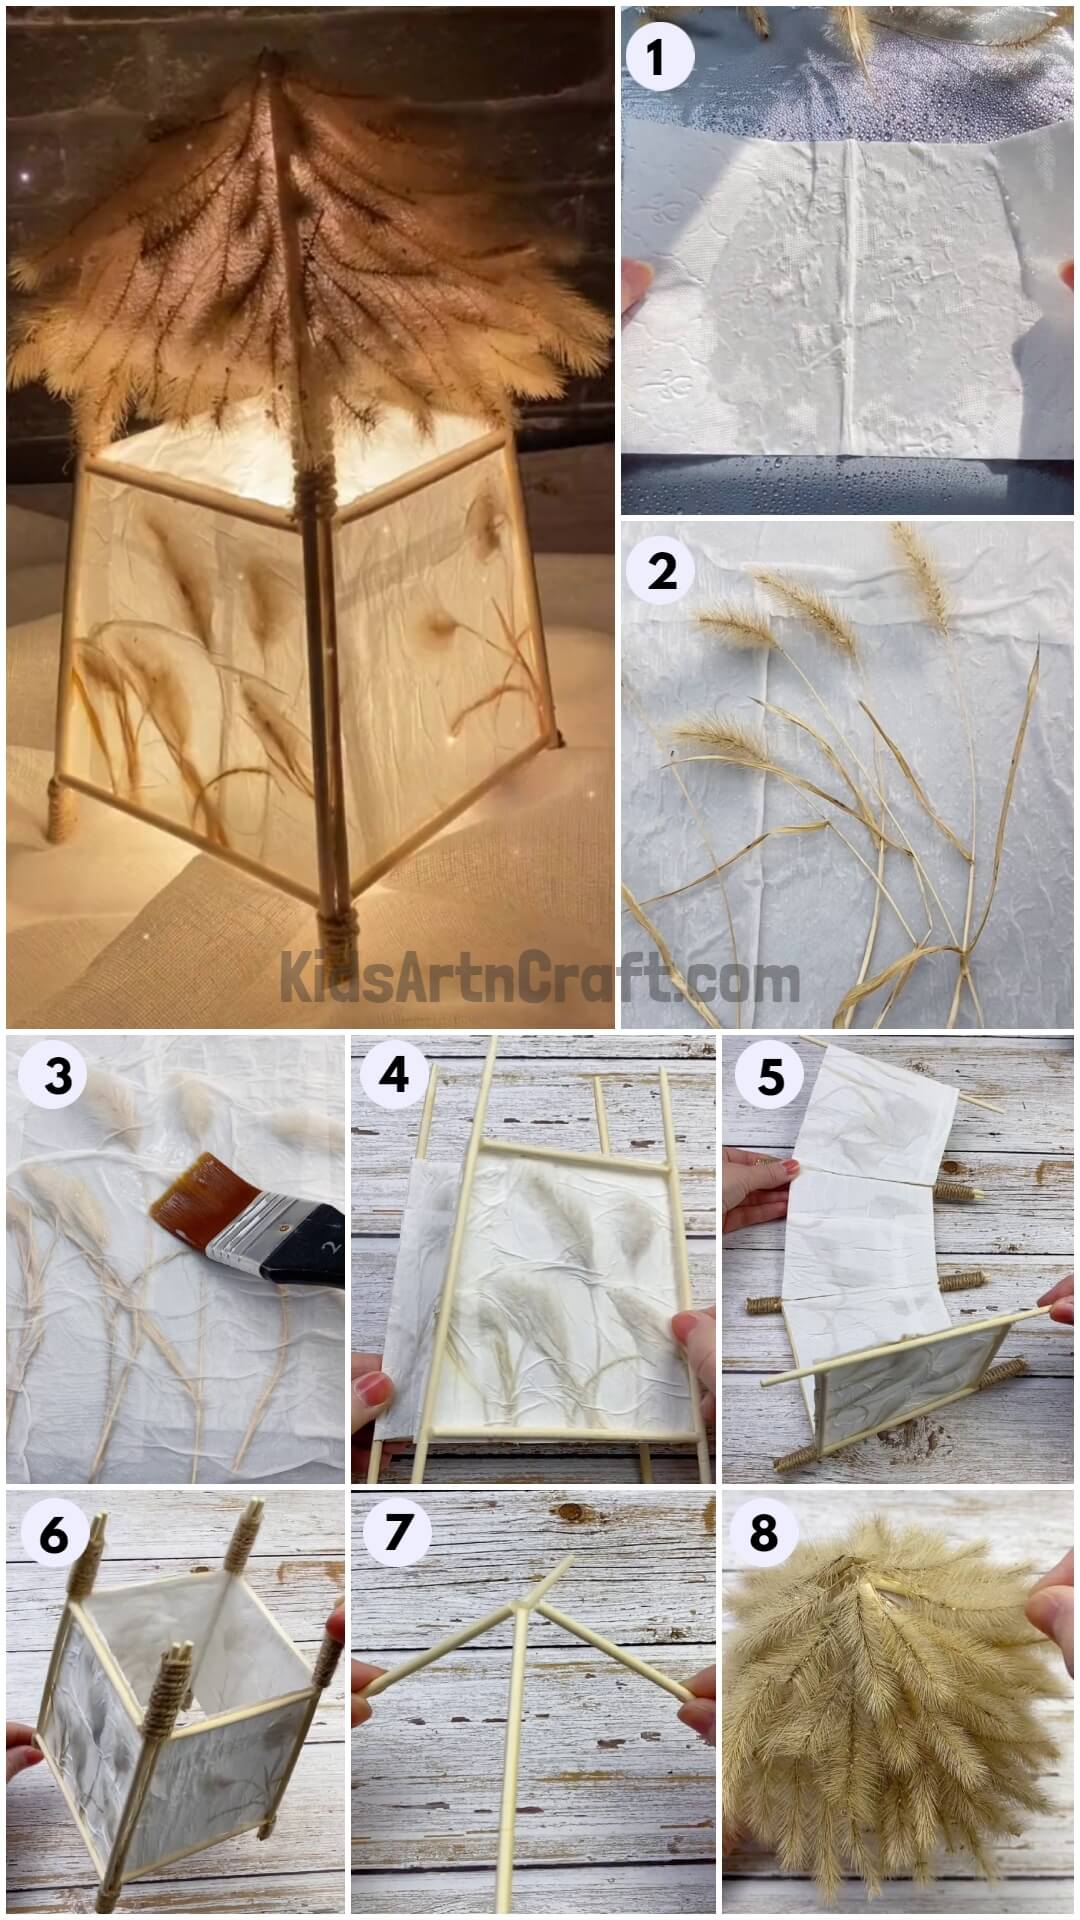
Procedure
Step 1: Spraying Water On Tissue Papers
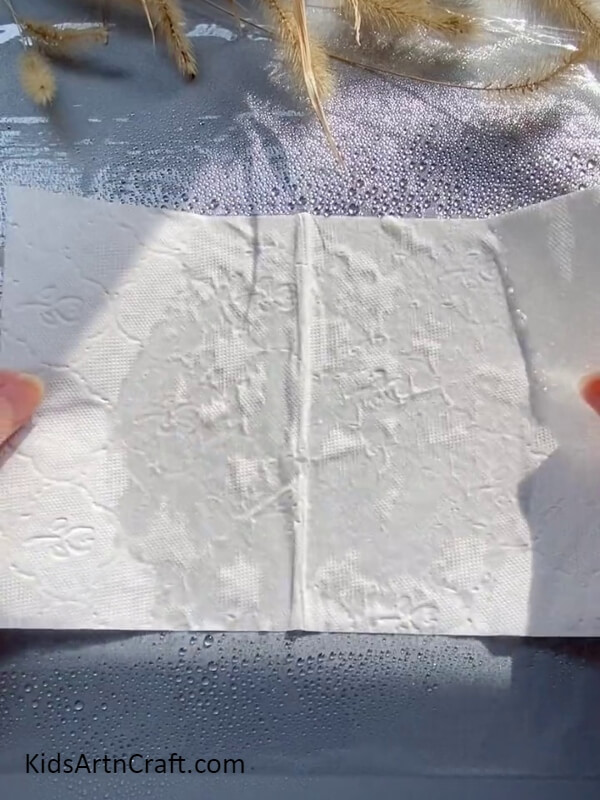

Take two pieces of tissue paper, open and put them closely on a flat surface, then spray some water on the tissue paper.
Step 2: Placing Pampas Grass On Tissue Paper
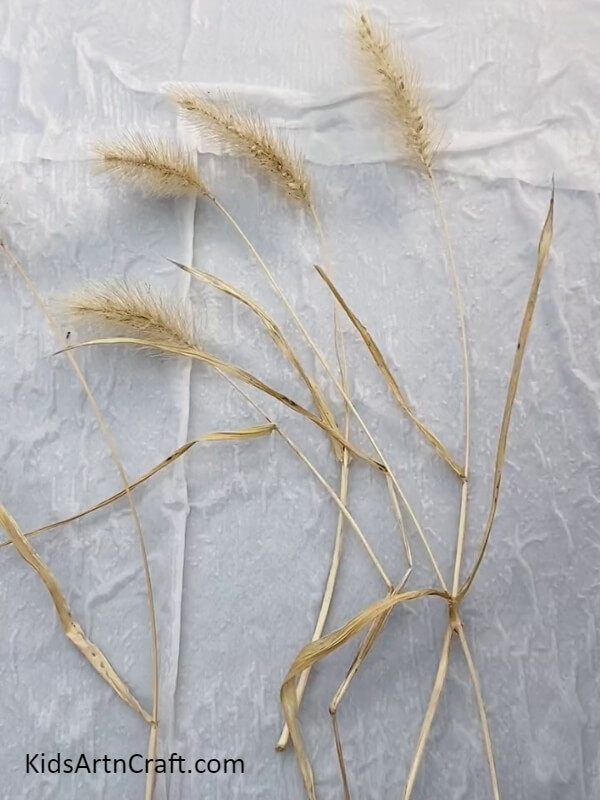
Take some 4 to 5 pieces of pampas grass, place all those pieces of pampas grass on that tissue paper as shown in the image and keep it aside.
Step 3: Mixing White Glue With Water Using Painting Brush
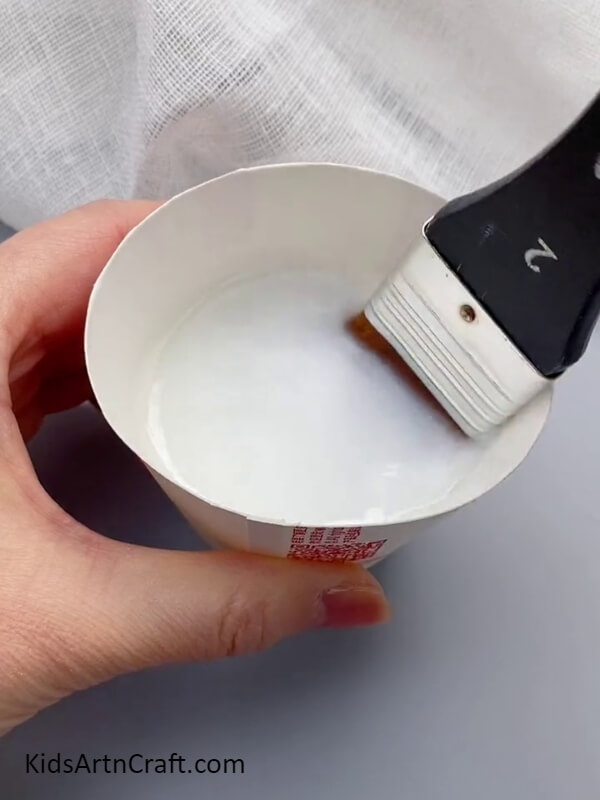
Take a paper cup, squeeze out some white glue in that paper cup and pour a small amount of water into it and then mix your glue with water with the help of a painting brush. Mix it until your glue gets into watery consistency, pour some more water if needed.
Step 4: Applying Glue On Tissue Paper
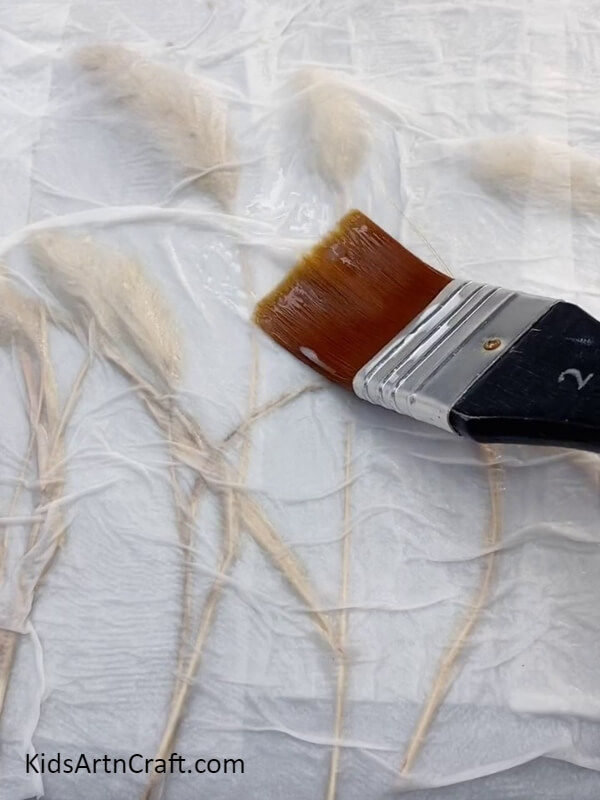
Again take two pieces of tissue paper and spray some water on it, then place it on your pampas grass which we place on soaked tissue paper before. Now, apply the prepared glue on that tissue paper completely as shown in the image.
Step 5: Making Frame Using Wooden Chopsticks

Take three pieces of wooden chopstick and cut one chopstick into two, then apply some hot glue on both edges of that pieces and paste remaining two chopsticks with it like frame.
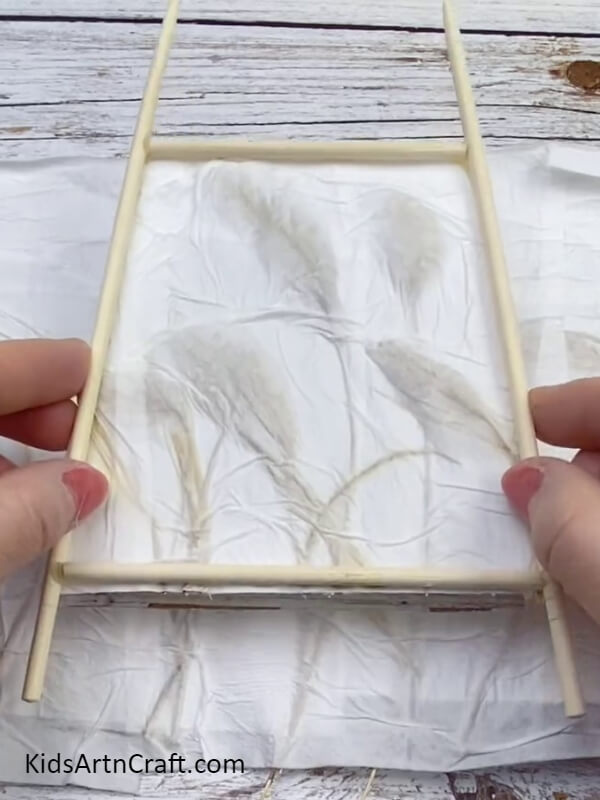
Step 6: Pasting Chopstick Frame With Tissue Paper
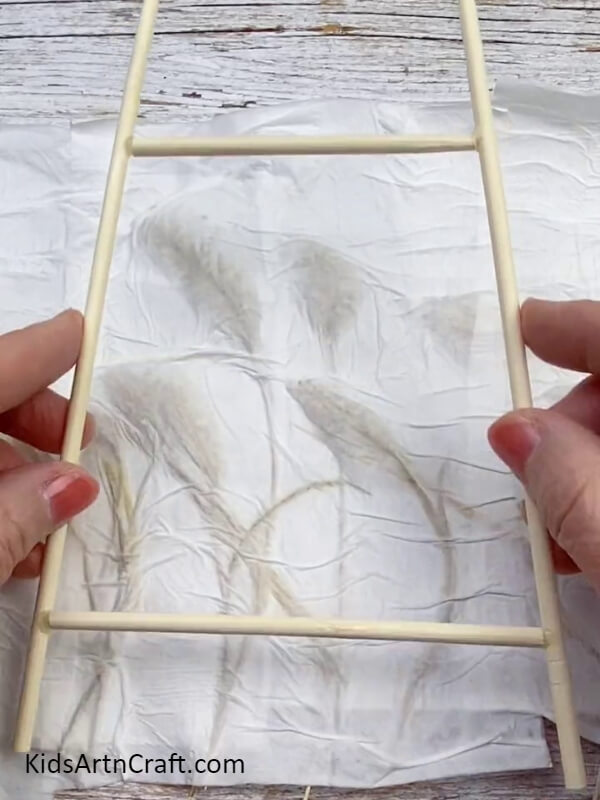
As shown in the image, paste your wooden chopstick frame on the pampas tissue paper that we make before.
Step 7: Cutting Out The Extras From Frame
Now, with the help of scissors, cut out the extras from your frame as shown.
Step 8: Making Three More Frames
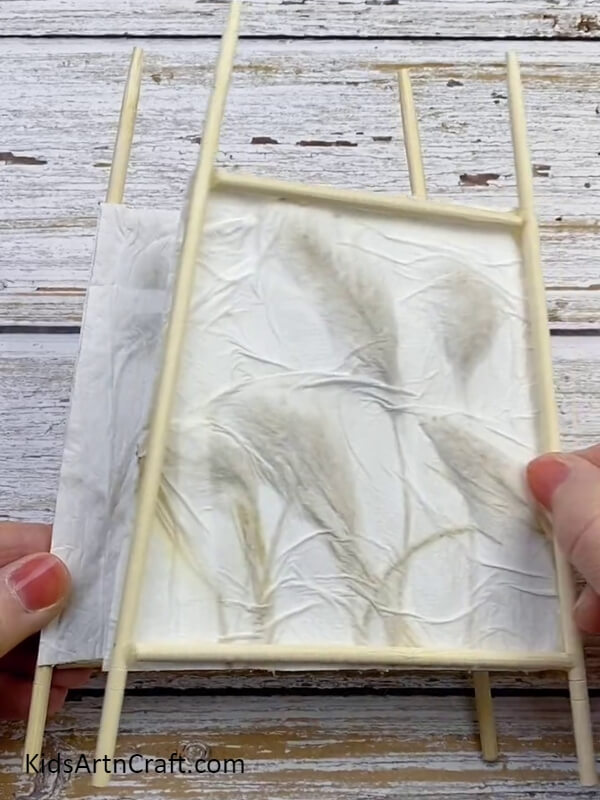
Just like the first one make three more frames to create your lamp.
Step 9: Knotting Our Frames Together Using Jute Rope
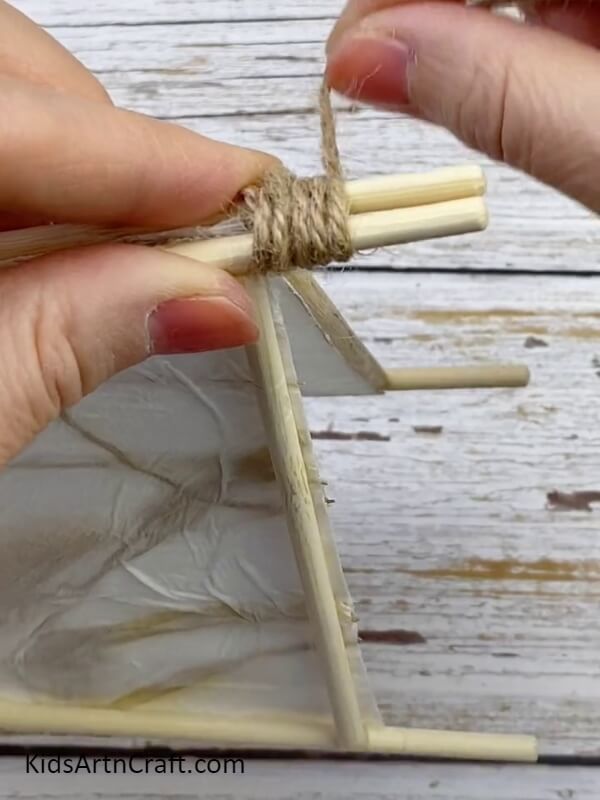
Grab two frames, join both frames, roll jute rope, and make a knot on one side of both edges of that frame.
Step 10: Attaching Remaining Frames Together
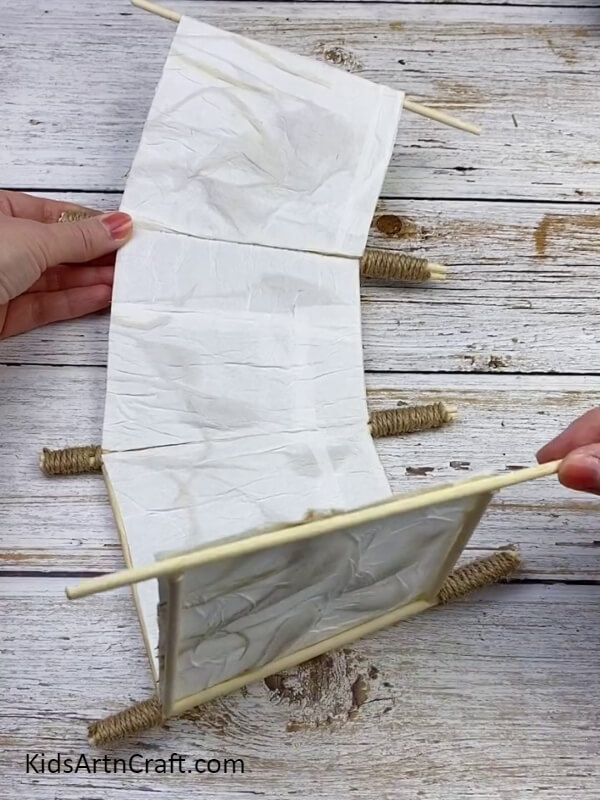
Like the first two frames, attach the remaining two frames together by following the same method.
Step 11: Attaching Four Frames Together
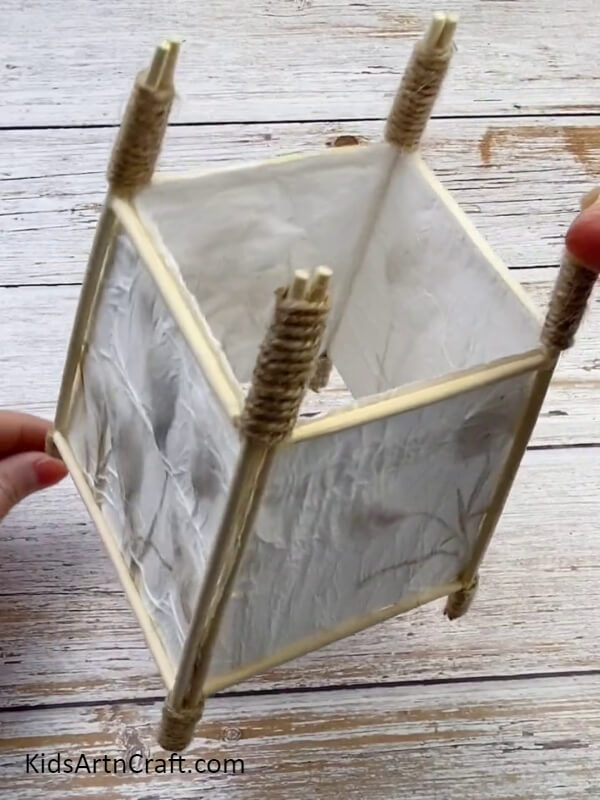
As shown in the image, knot four frames together using jute rope to create a lamp.
Step 12: Creating Roof With Chopsticks
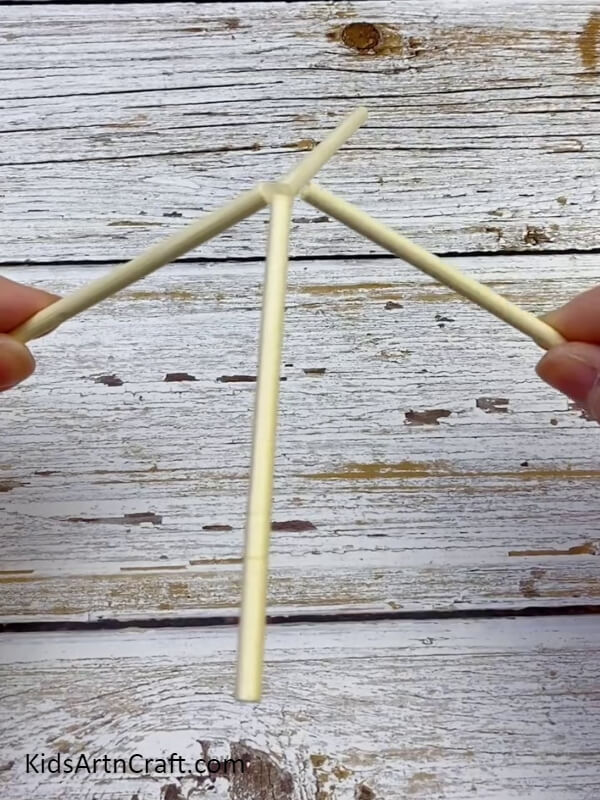
Cut four small pieces from wooden chopsticks and apply hot glue on one edge of each piece, then paste all pieces together like a roof.
Step 13: Pasting Pampas Grass With Roof
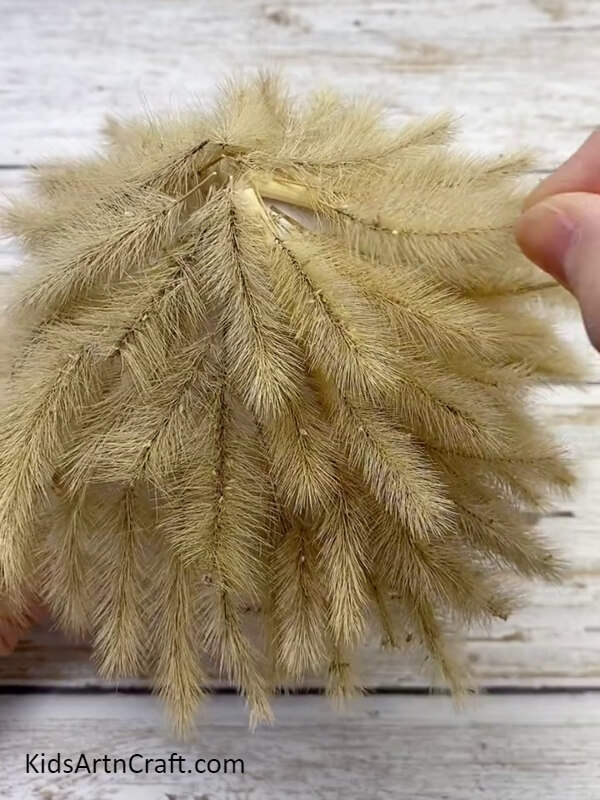
Cut four triangle pieces from tissue paper, then paste them with a roof that we create before, and paste some pieces of pampas grass on your roof as shown.
Pasting Roof With Lamp To Complete Our Lamp Craft
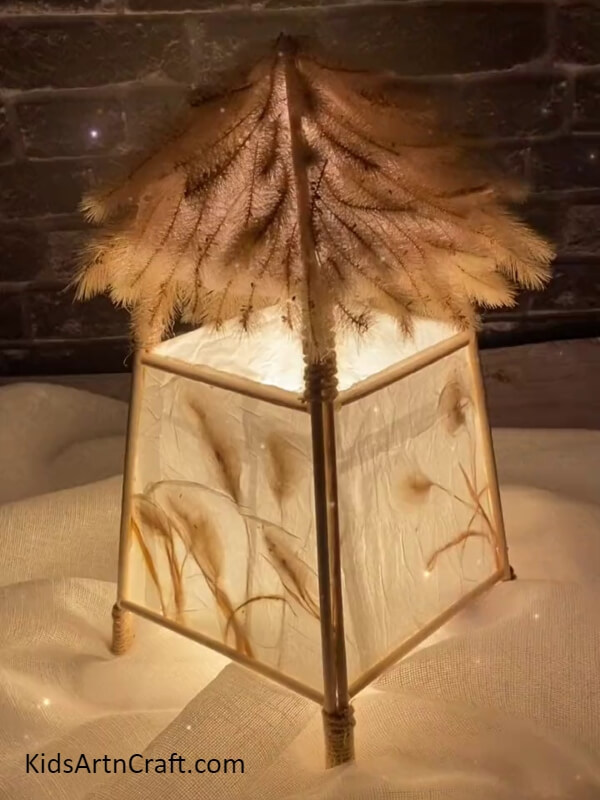
Then, paste the roof with the lamp and that’s all our DIY stick lamp is ready! This attractive lamp is perfect for room decoration, using our detailed tutorial you can create this lamp very easily.
Hope you like this stick lamp step-by-step tutorial, share your thoughts about this tutorial in the comment section. Visit more art and craft projects on our website.
Thank you for visiting our website.
Follow us on Youtube for art and craft tutorials and much more.
More Articles from Kids Art & Craft
- Easy to Make Snowman by Bottle Craft Tutorial
- How to Make Paper Cup Wrist Watch Tutorial for Kids
- Easy Ladybugs Craft from Recycled Egg Carton
- How to Make Bubble Wrap Corn Craft Easy Tutorial
- DIY Car With Balloon and Straw Easy Tutorial