Clay Crafts
Beautiful Clay Cherries Craft Step-by-step Tutorial For Kids

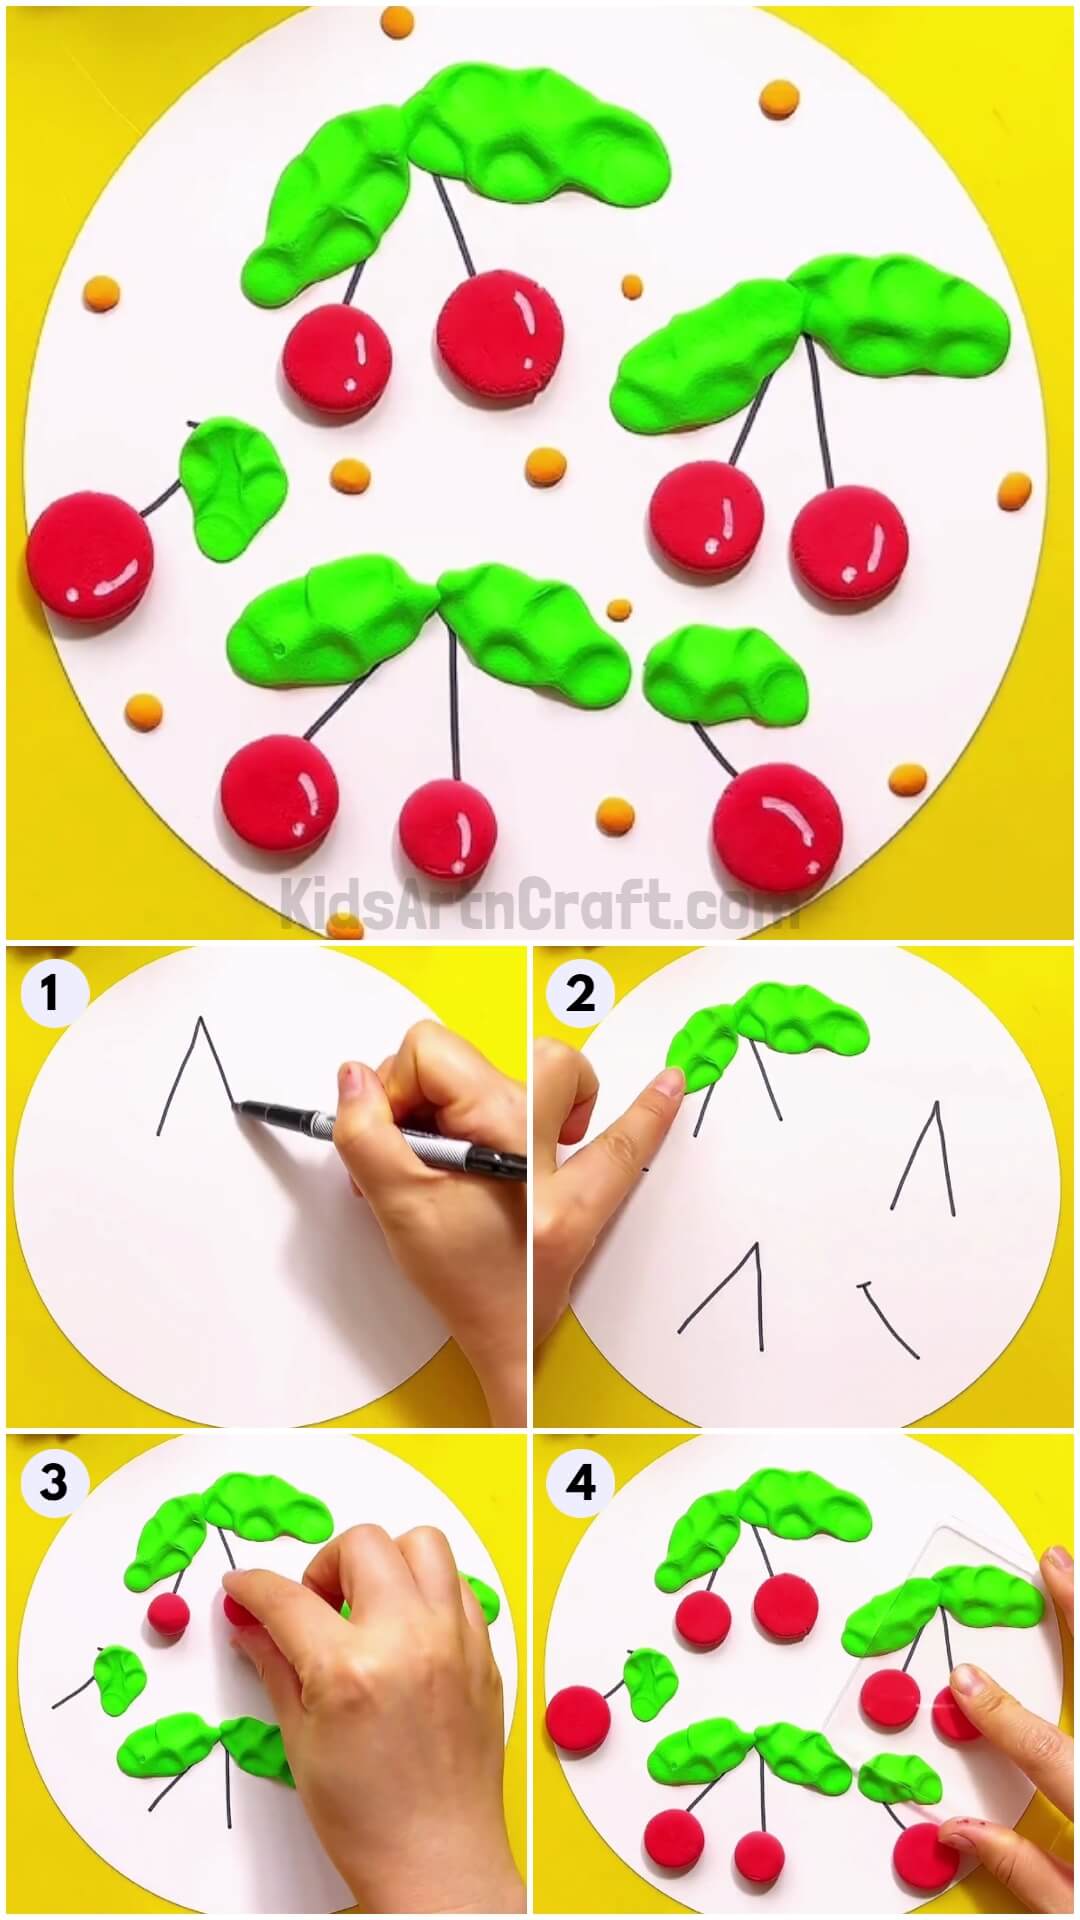
This guide is great for kids to learn how to make clay cherries! It has simple and clear instructions so they can create them from beginning to end. It’s perfect for arts and crafts and decorations.
Welcome to this step by step tutorial on how to make beautiful clay cherries craft. This is super fun and easy tutorial. In this you will learn some basic craft skills and also some clay modelling skills for your other clay crafts. This can be made by kids as well as adults. You will need some basic material which are easily available and rest your finger is sufficient for clay modelling . So without any further ado, lets get started.
by Aashika Jain
Beautiful Clay Cherries Craft

Read More: Beautiful Doll Face Craft Step-by-step Tutorial For Kids
Materials Required
- Black sketch pen
- Green clay
- Red Clay
- Transparent sheet
- White marker
- White paper
- Orange modelling Clay
Procedure
Step 1: Drawing Lines For Making The Stems Of The Cherries With Black Sketch Pen
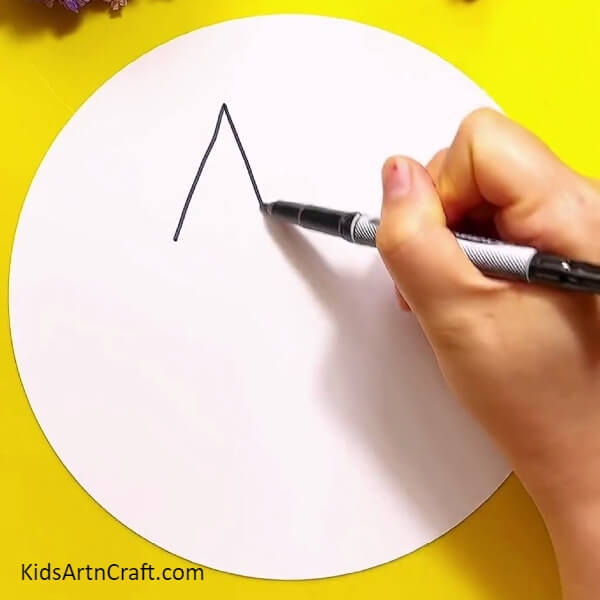

For this craft start by making stems of the cherries. First we need to draw inverted v shape with black sketch pen to make stems of the cherries.
Step 2: Keep On Drawing More Stems With Black Sketch Pen
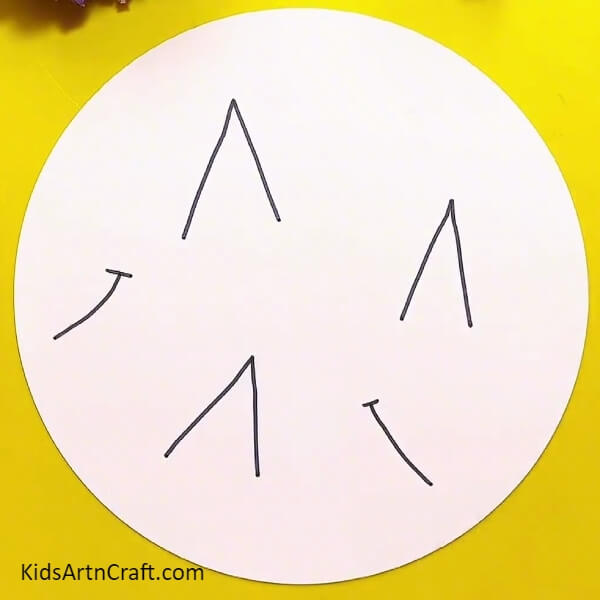
Make more inverted v shape here and there with black sketch pen to make stems for more cherries. Now make half smile with black sketch pen as shown in the above image to make more stems for the cherries.
Step 3: Take Green Modelling Clay For Making Leaves Of The Cherries
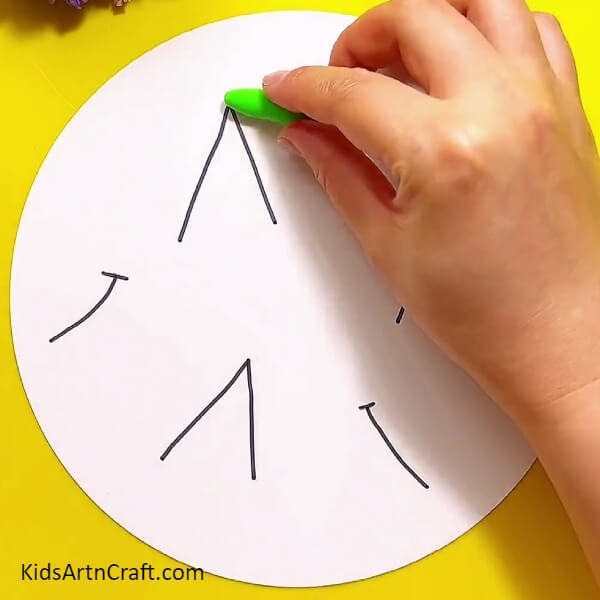
After making the stems, now take green modelling clay for making leaves of the cherries.
Step 4: Tabbing Green Modelling Clay To Make Leaves Of The Cherries
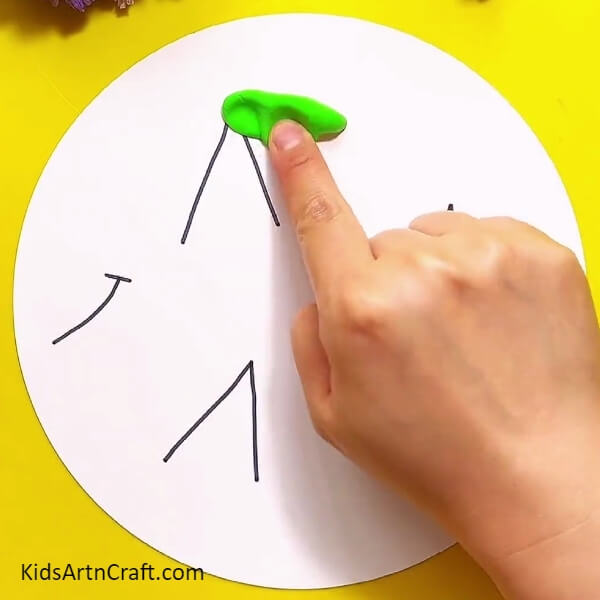
After sticking the green modelling clay, start dabbing it to give a form like leaf.
Step 5: Making Another Leaf Of The Cherries With Green Modelling Clay

After making one leaf now make another one. Similarly take clay and put it beside the previous leaf as shown in the image.
Step 6: Dabbing The Green Modelling Clay To Make Leaf Of The Cherries
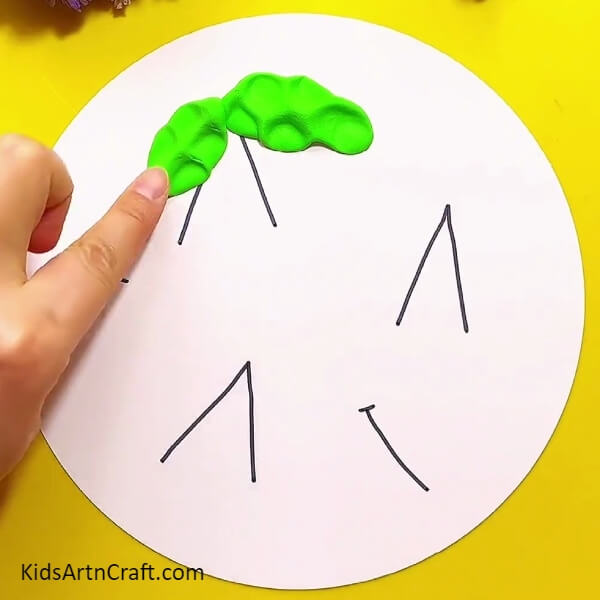
After putting the green modelling clay, now its turn to make it detailed. For this dab with the fingers to make the veins keep dabbing as shown in the photo above. Keep making leaves in similar way for all other stems.
Step 7: Making Cherries With The Red Modelling Clay
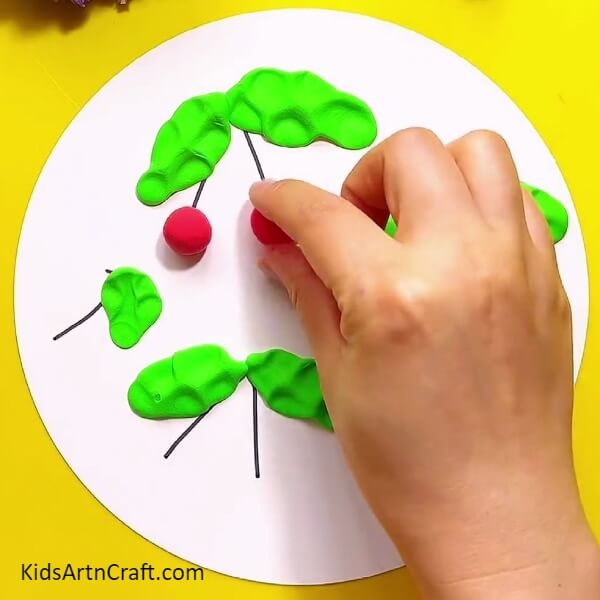
After making all the leaves for all the stems. Start making the cherries with red modelling clay. For this make circular balls with red clay and stick it in the stems as shown in the photo above.
Step 8: Keep Making Cherries In Similar Way With Red Modelling Clay
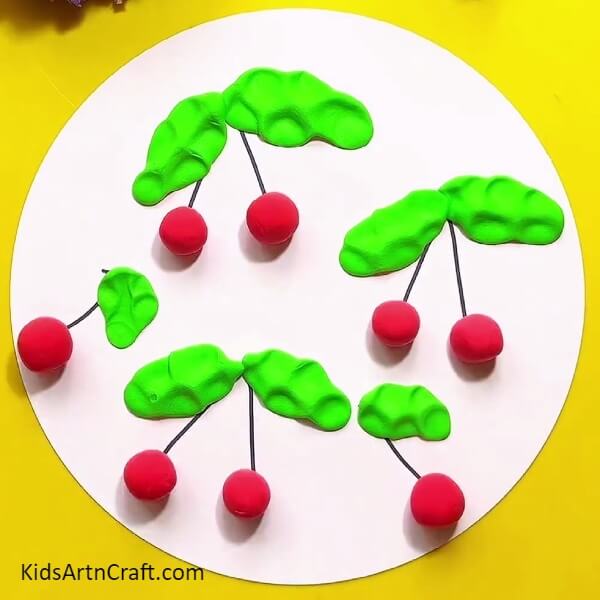
After making cherries for one stem, keep making them for all the other stems in similar way by making circular ways as shown in the photo above.
Step 9: Start Dabbing With Transparent Sheet Red Modelling Clay Balls To Make Cherries
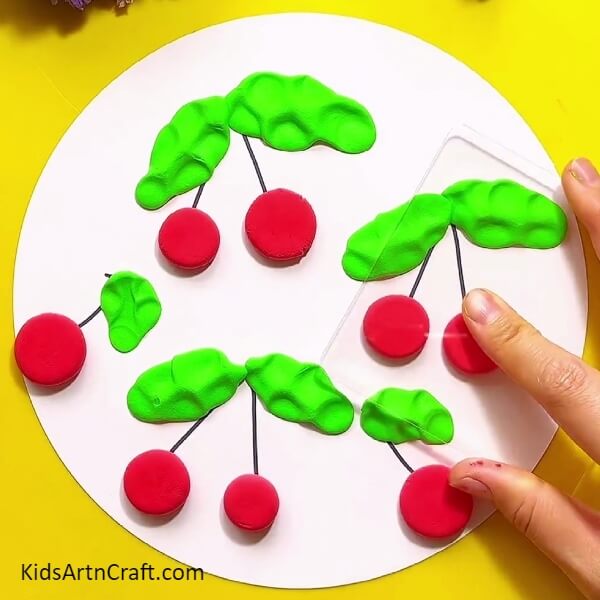
After making circular balls for cherries and sticking them, now take transparent sheet and then start dabbing cherries to flatten them as shown in the photo above.
Step 10: Making Details Of The Cherries With White Marker
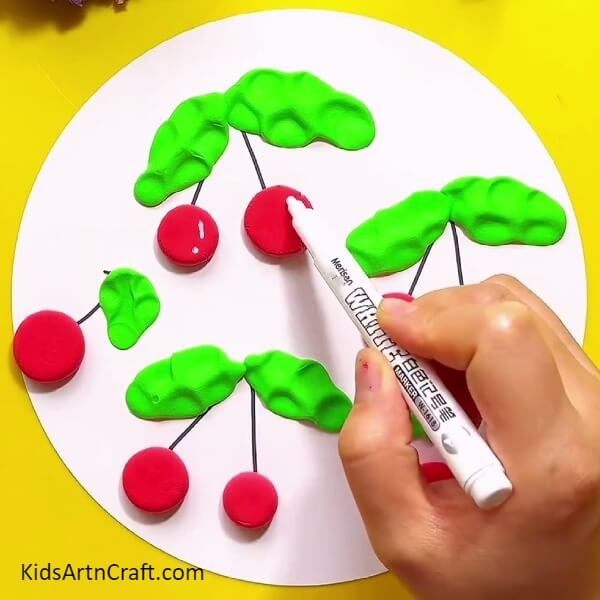
After completing the cherries, now its time to give them some detailing to make them realistic and shining. Take white marker and make small broken lines and dot on the flattened red modelling clay cherries as shown in the photo above to make them fresh as everyone loves fresh cherries.
Step 11: Make More Background Detailing With Orange Modelling Clay
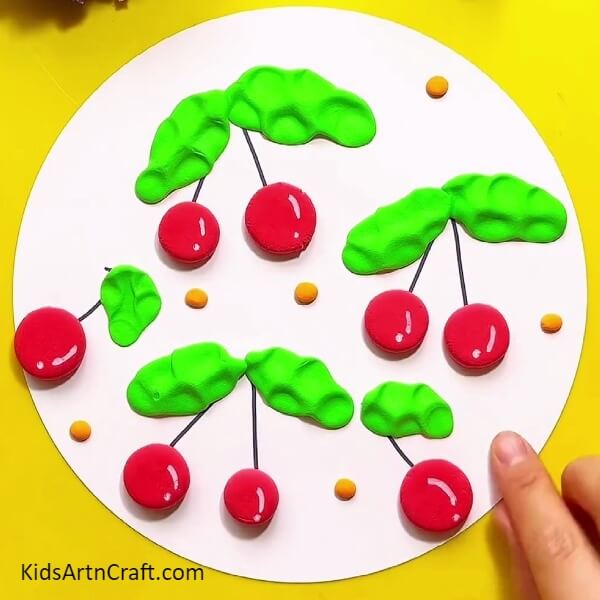
After completing the details of the cherries. Now its time to make some details for the background for this make very small flatted circular balls with orange clay. Make 8- 10 balls with orange modelling clay and stick them in the background as shown in the photo above.
Hurray !!Your Craft Is Ready!!
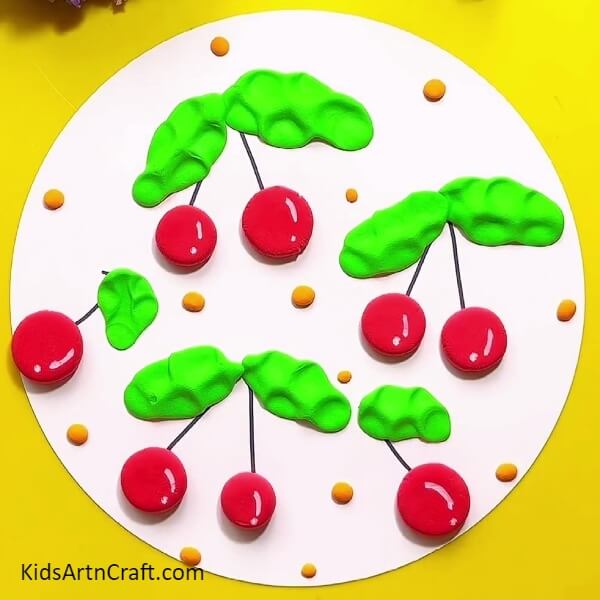
Tada! our fresh and beautiful cherries are ready. This is a super easy and fun art idea that kids will enjoy making and it will give boost to their creativity. They will gain craft skills for all of their future art projects. It requires little effort and can be made in less time provided all materials available. Be creative and make more cherries along with more details to them as per your choice. Above all enjoy the tutorial. Now it’s your turn to try it out. And do let us know in the comments how much you enjoyed making this craft. We would love to read your comments.
And also visit our other articles for more such fun and easy art ideas!
Thanks for visiting our website!
Follow us on Youtube for art and craft tutorials and much more.
More Articles from Kids Art & Craft
- How to Make Clay Flower Easy Tutorial for Kids
- How to Make Worm Using Clay For Kids
- DIY Clay Giraffe Step by Step Tutorial For Kids
- How to Make Clay Flowers Artwork for Beginners
- Simple & Tasty Ice-Cream Craft Using Clay – Step by Step Tutorial