Kids Activities
DIY Paper Sword Craft Tutorial for Kids With Step by Step Instructions

This tutorial provides easy step-by-step instructions on how to make a paper sword craft for kids. Get creative and have fun making your own sword to play with!
Welcome to this homemade paper sword craft tutorial for kids! Making paper swords is an easy and fun way for kids to take part in creative crafting activities. This tutorial will provide step-by-step instructions on how to make a paper sword with materials that are easy to find around the house. Making a paper sword is a great project to do with your children and will help them to develop their creativity and problem-solving skills. So let’s get started!
Homemade Paper Sword Craft Tutorial For Kids

Read More: DIY Easy Paper Strawberry Tutorial For Kids
Material Required
- Gloss paper (Orange, Blue)
Procedure
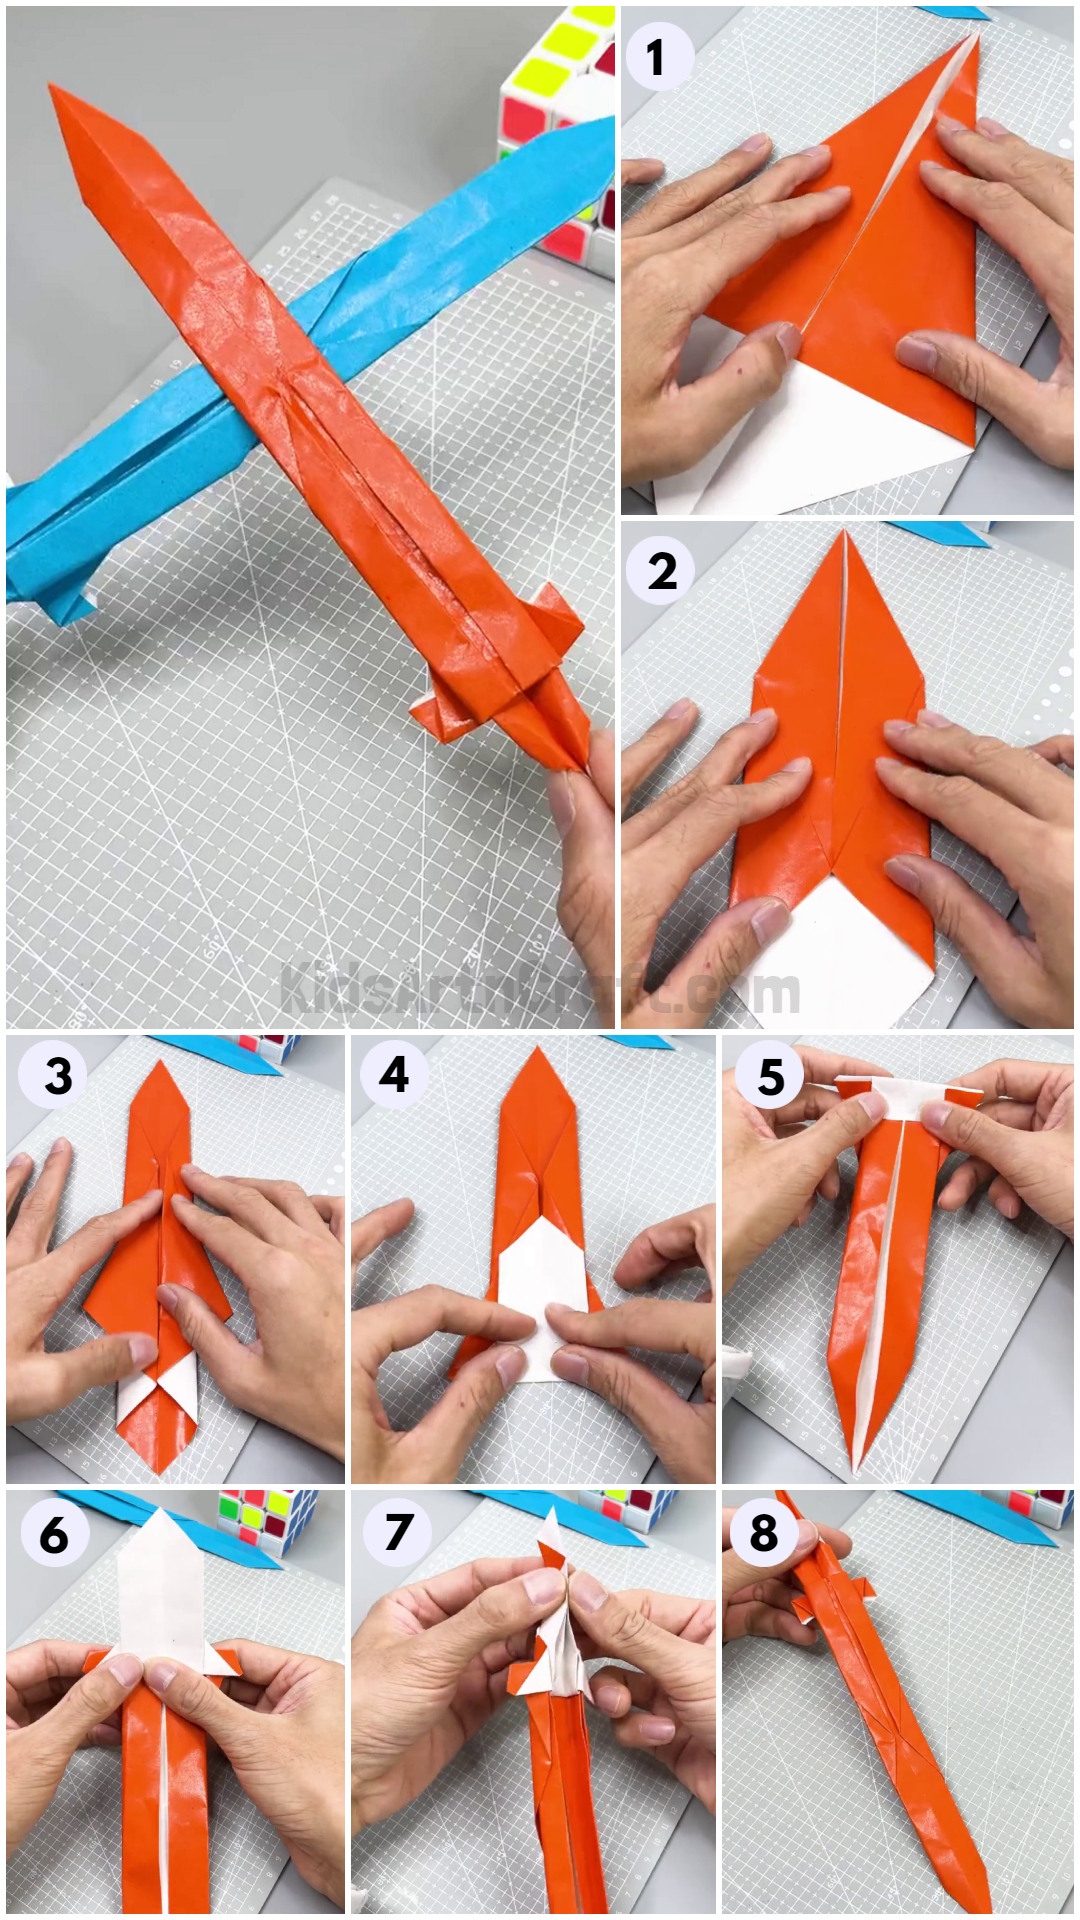
Step 1: Creasing The Orange Gloss Paper
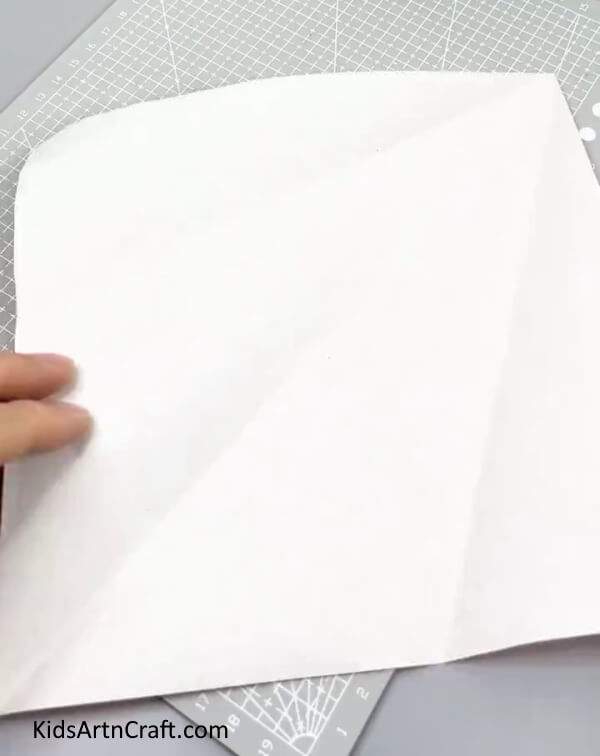

Take an orange square gloss paper. Fold it along one of its diagonals. Now, pick one corner and fold it to the center line. Repeat the same with the other corner. You will get creases as shown in the image.
Step 2: Folding The Gloss Paper
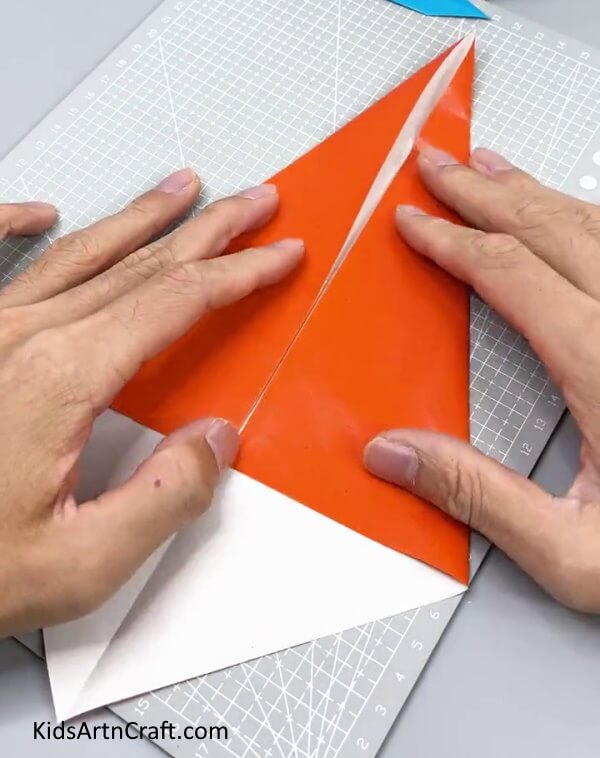

Now, pick two corners that are opposite to the diagonal crease, and fold them to the center line, as shown.
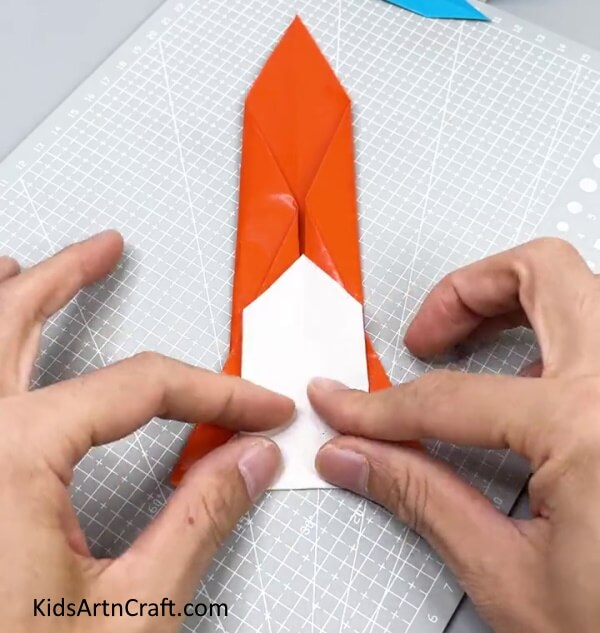
Step 3: Folding The Two Corners Of The White Triangle


Now, fold the outer two corners of the triangle towards the center line as shown.
Step 4: Inverting And Folding The Paper Sword

Now, invert the sword. Fold the two outer side flaps toward the center seam.
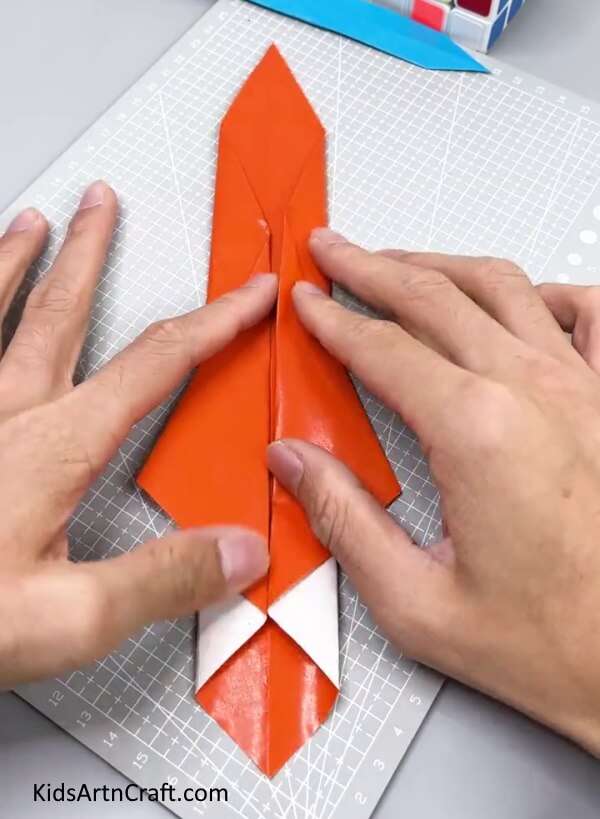
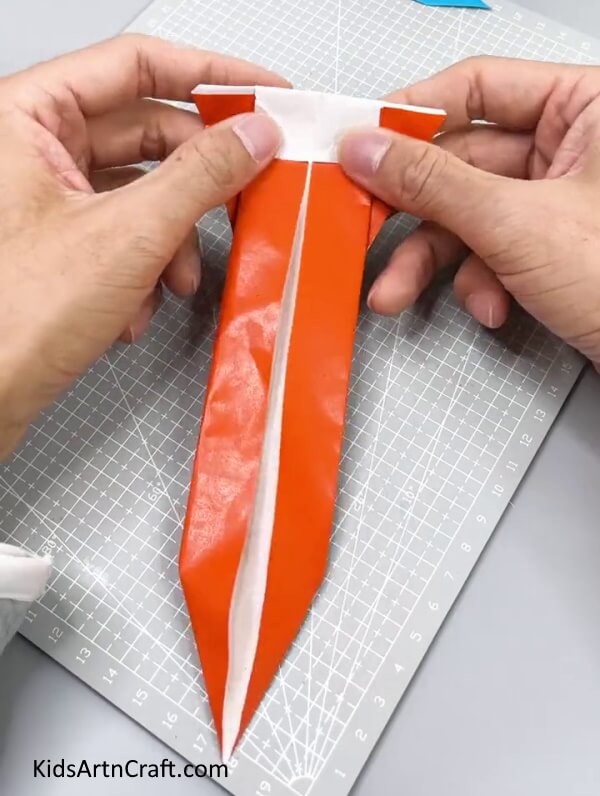
Step 5: Folding The Tail Of The Sword

Now, from the bottom fold the tail of the sword upwards till the tip of the tail reaches the center of the sword as shown.
Step 6: Inverting The Paper Sword

Now, to make the hilt of the sword, first, invert the paper model.
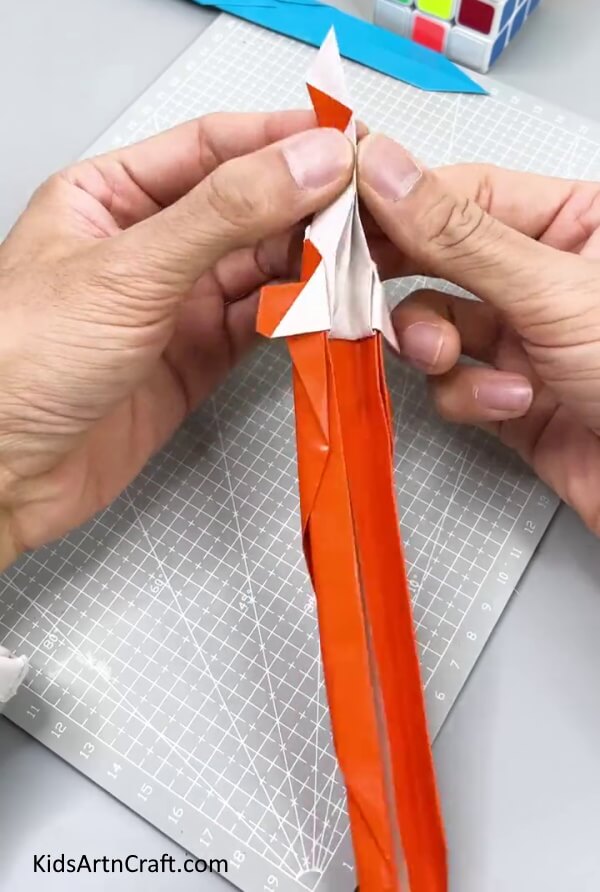
Step 7: Making The Hilt Of The Sword
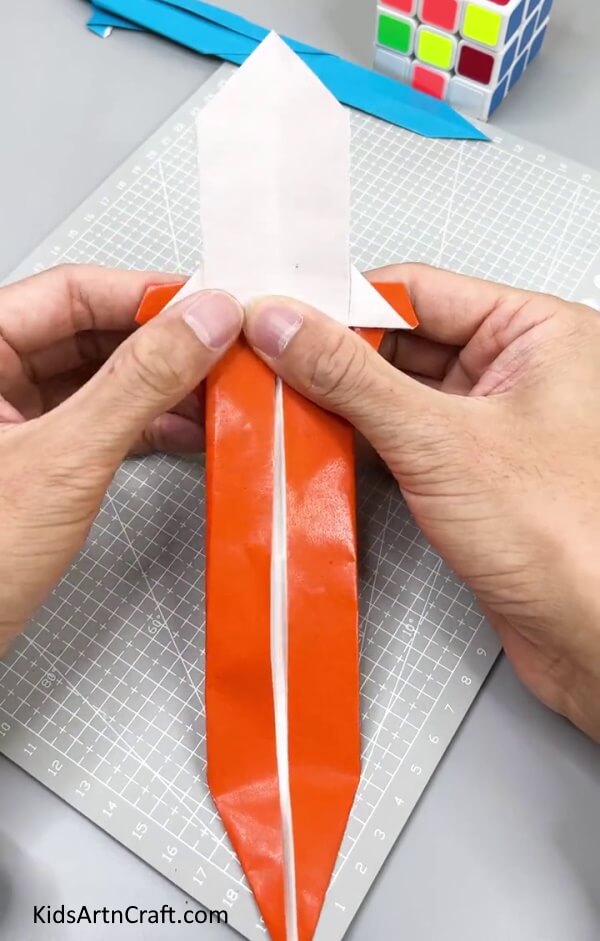

Now, unfold the white paper tail. Also, unfold the two outer pockets so that two white triangles appear beside the white paper tail as shown in the image.
Step 8: Folding The Paper Sword Model In Half
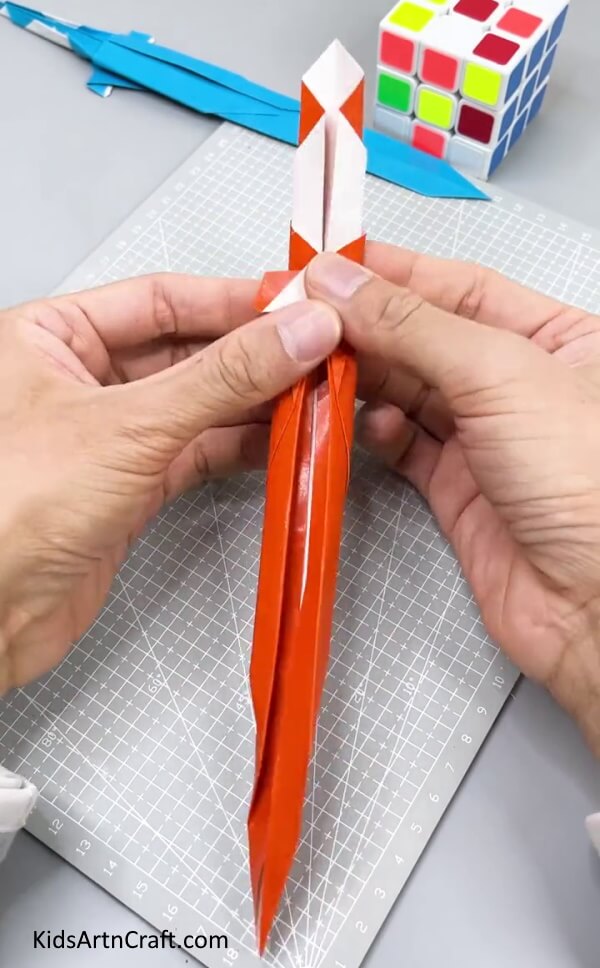

Now, fold both outer flaps of the sword towards the center seam as shown.
Step 9: Folding The Hilt Of The Sword In Half

Now, fold the hilt in half along the center line as shown.
Step 10: Flipping The Paper Sword
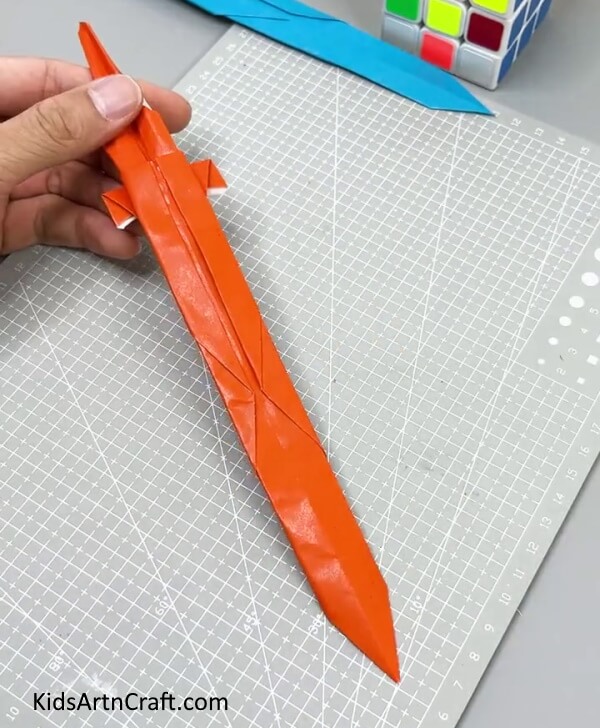

Now, flip the paper model to get the final origami sword. You can make one more sword using blue gloss paper or any other color of your choice.
Yay! This Is The Final Look Of Our DIY Paper Sword!
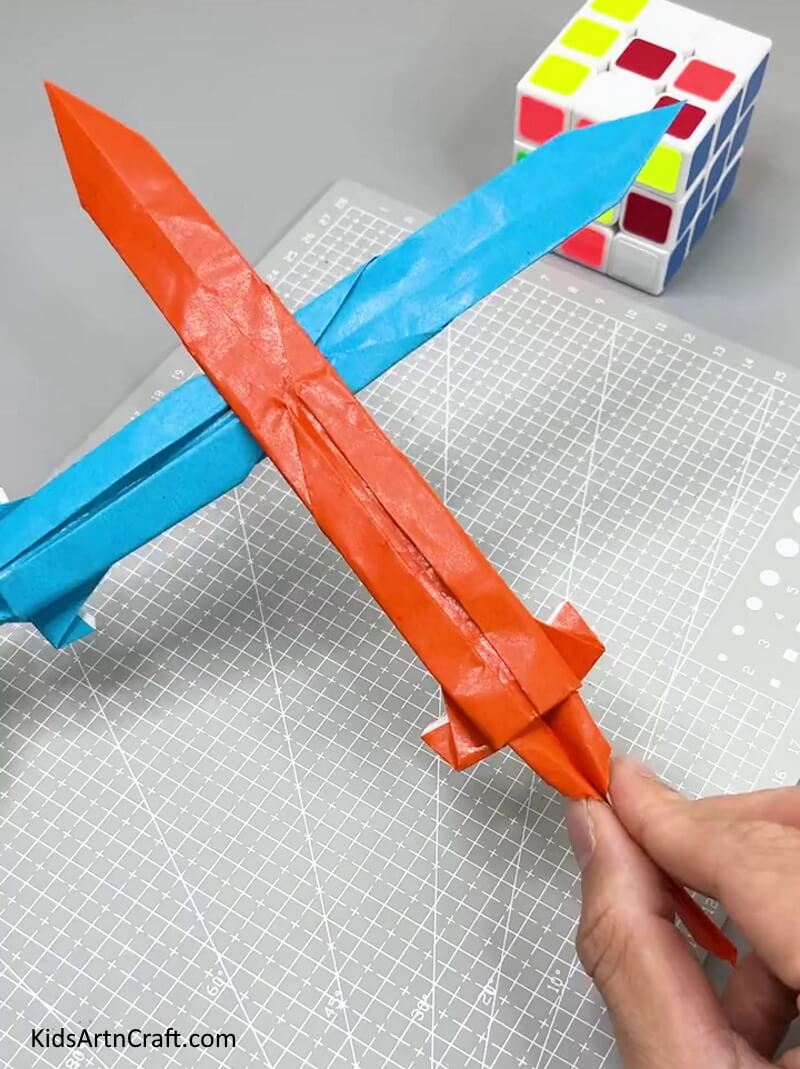

Congratulations! You have completed your very own DIY paper sword! You can now proudly display your creation and impress your friends. You have created something truly unique and special. It is a great way to make a fun sword for kids to play with, while also increasing their creativity and imagination. This is a great example of how to make a fun project using simple materials! Have fun!
FAQs Related To DIY Paper Sword Craft For Kids
1. Is this craft suitable for kids?
Yes, this craft is suitable for kids ages 5 and up.
2. How long does it take to make the paper sword?
The time it takes to make the paper sword will depend on how quickly your child can cut and assemble the pieces. Generally, it takes about 10 to 15 minutes.
3. Can I use paint to decorate the sword?
Yes, you can use paint to decorate the sword. Make sure to use non-toxic paint that is safe for kids.
4. What types of paper can I use to decorate the sword?
You can use any type of colorful paper. You can also use construction paper, scrapbooking paper, or even recycled paper.
5. Is this craft difficult for kids?
No, this craft is suitable for kids of all ages and skill levels. With adult help and supervision, kids should be able to make their own paper swords.
This DIY paper sword craft tutorial for kids is a fun and easy activity that is sure to provide hours of entertainment.
Follow us on Youtube for art and craft tutorials and much more.
More Articles from Kids Art & Craft
- Easy to Make Paper Chicken Craft Tutorial
- Learn To Make Tree with Paper step by step Tutorial
- How To Make A Paper Heart Bee Craft Tutorial
- DIY Fun Craft Activities At Home Video Tutorial
- DIY Creative Craft Ideas Video Tutorial for Kids