Recycled Crafts
Learn to make a Paper Cup Flower Craft Tutorial for Kids

This craft project is great for children of all ages. Have fun and get creative by making a flower out of paper cups with your kids!
Welcome to this wonderful tutorial on making a paper cup flower craft! In this tutorial, you will learn how to transform simple paper cups into charismatic and vibrant flowers. These paper flowers can be hung on the walls or can be placed in flower pots to make a creative masterpiece. Engage your kids in this amazing activity and hone their artistic minds and creative abilities. These adorable DIY paper cup flowers are adorable and really beautiful. Let’s get started with our crafting journey!
Easy To Make A Paper Cup Flower Crafts


Read More: DIY Easy Paper Cup Octopus Craft For Kids
Materials Required
- Paper cups(Red, Green, Black)
- Marker(Black, Red)
- Craft paper(Green, Blue)
- Scissors
- Glue
Procedure
Step 1: Getting Two Paper Cups
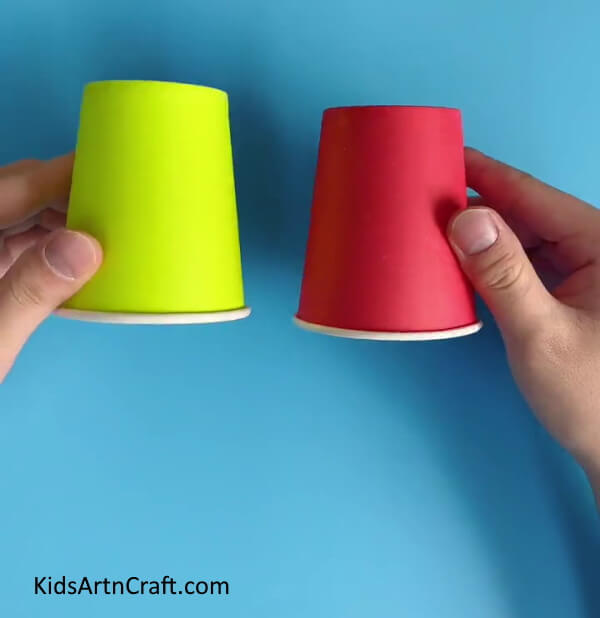

Let’s begin the craft by taking two colored paper cups.
Step 2: Cutting The Paper Cup
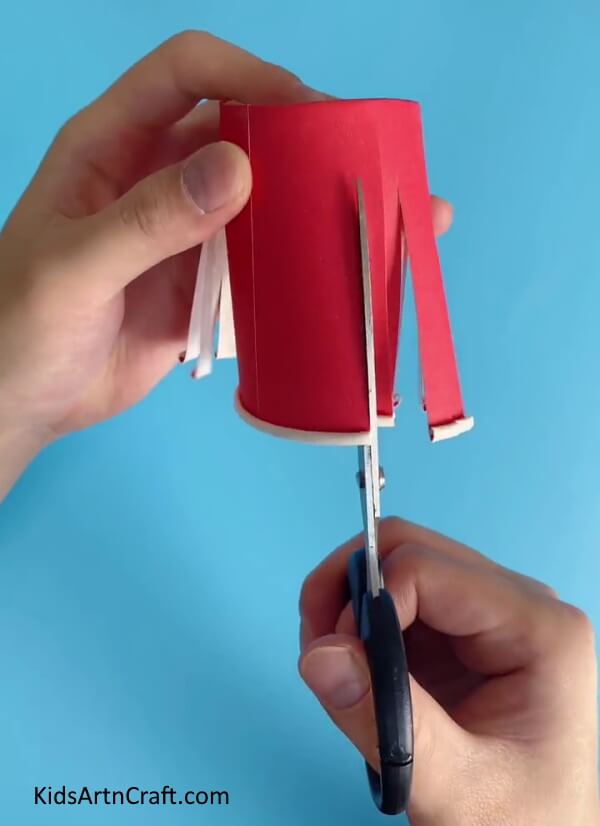

Take the scissors, and cut narrow and vertical strips on the paper cup as shown in the image.
Step 3: Pressing The Bottom Of The Paper Cup
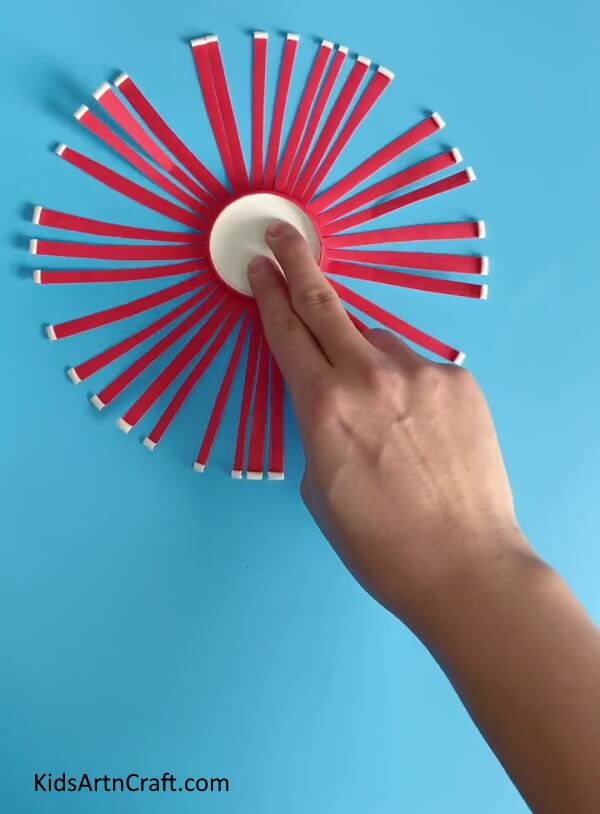

Now, press the white bottom of the paper cup with your fingers to flatten out the entire structure as shown.
Step 4: Folding The Strips

Now, take a pencil and roll the ends of the strips inwards to make a spiral at the tips. Each strip should be rolled in the inner direction.
Step 5: Drawing A Funny Face
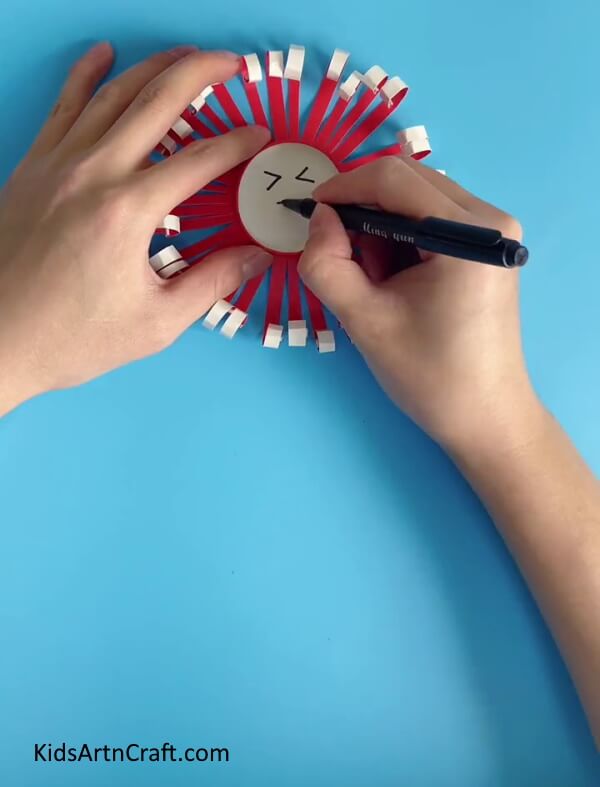

Using a black marker, draw a funny face on the bottom of the paper cup.
Step 6: Cutting A Paper Cup In Half
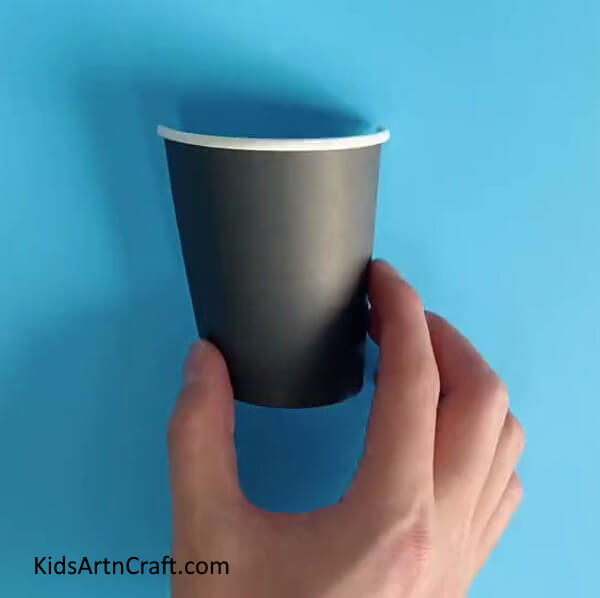

Now, to make the flower pot take another paper cup, preferably in black color. Cut the paper cup in half as shown. Take a blue craft paper and paste the paper cup on it.
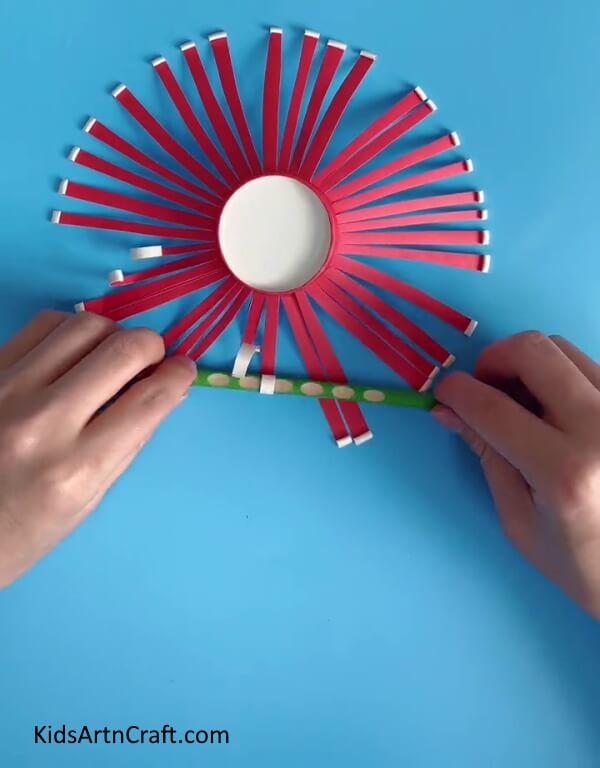
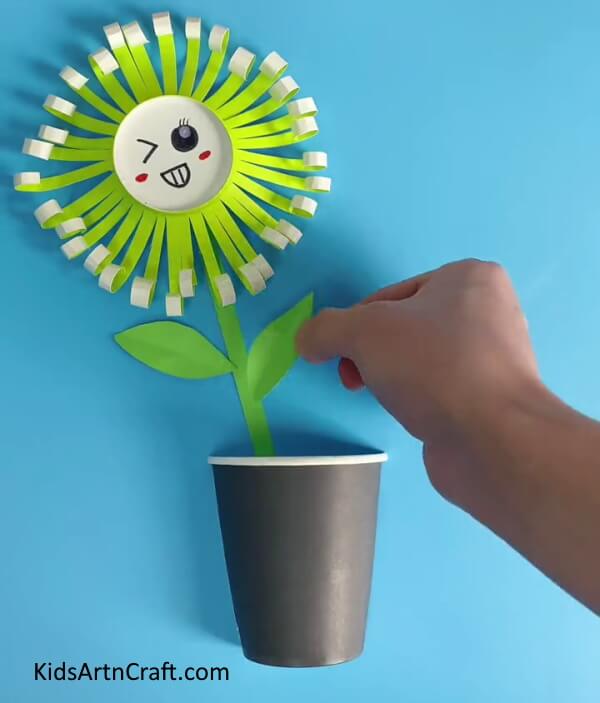
Step 7: Pasting A Green Stem
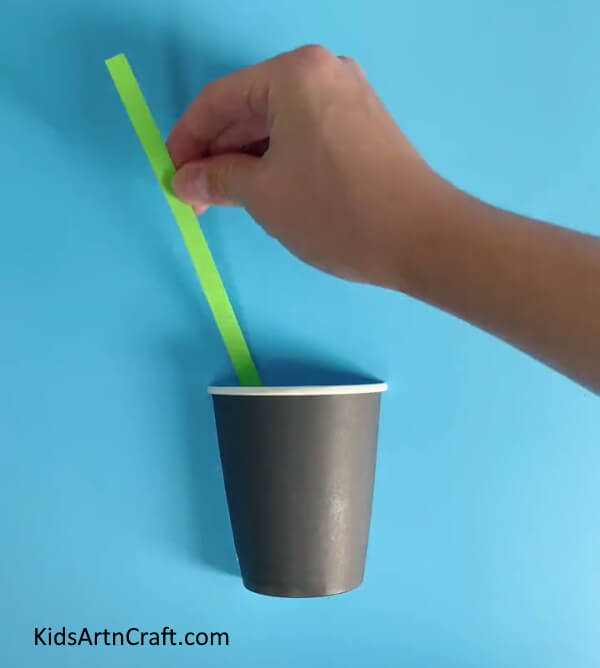

Take a piece of green paper and cut a thin rectangular strip out of it. This will become the stem of the flower. Paste the stem inside the paper cup.
Step 8: Pasting A Flower On The Stem
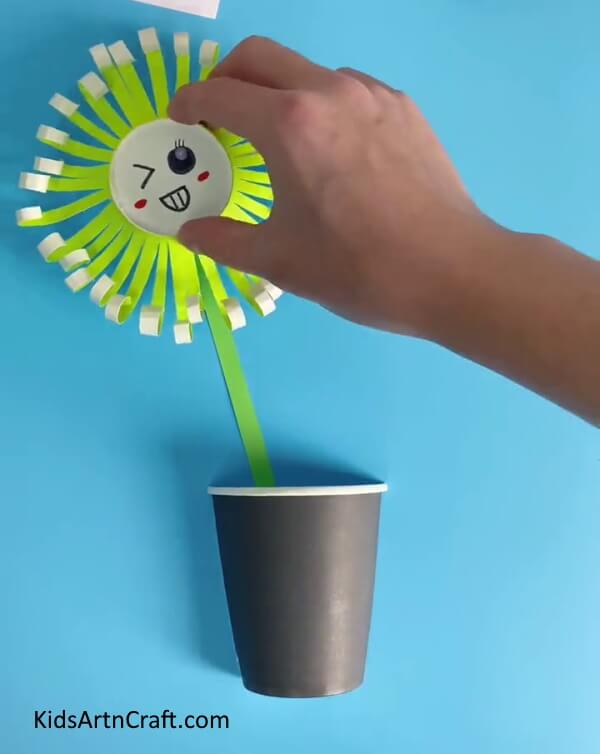

Take a green paper cup and repeat the above steps and make a green paper flower. Paste this green paper flower on the stem as shown in the image.
Step 9: Pasting The Leaves

To make the leaves, take a piece of green craft paper and cut two leaves out of it. Paste the leaves on the stem as shown.
Step 10: Pasting One More Green Stem
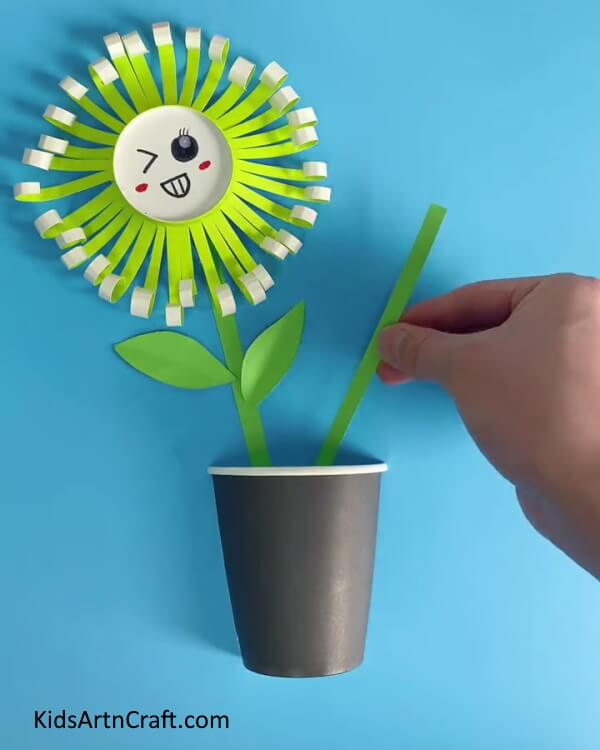

Using the green craft paper, make one more green stem and paste it inside the paper cup.
Step 11: Pasting One More Flower
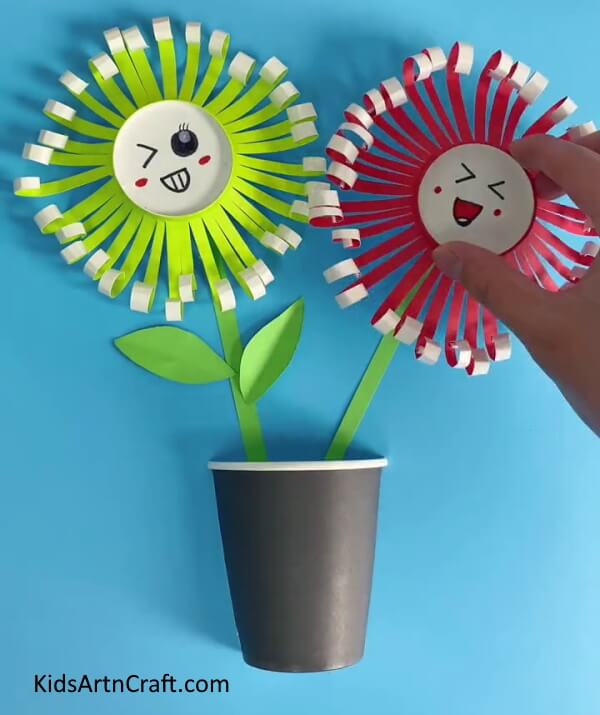

Now, paste the red paper flower on the green stem to complete the flower pot as shown.
The Paper Cup Flower Craft Is Ready!
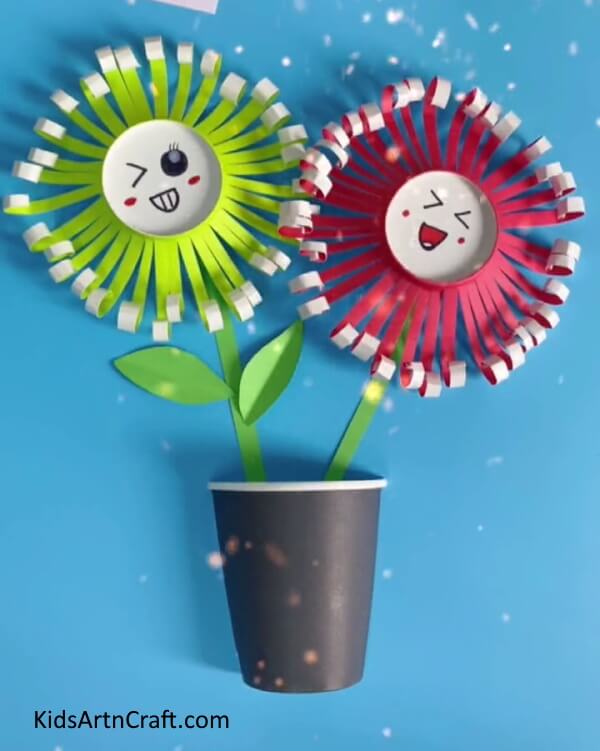

And that’s it, you have completed the paper cup flower craft using simple steps.
Kids can easily collect all the materials required in this craft and can make this craft with great ease and simplicity. They will have fun cutting the strips on the paper cup and rolling each of them to get a flower pattern. The paper cup flower craft is a great home decor item. It can be hung on the walls or can be placed on the mantlepiece. Keep following our website for more creative ideas and content.
Thank you for visiting our website!
Follow us on Youtube for art and craft tutorials and much more.
More Articles from Kids Art & Craft
- Tissue Paper Flower Artwork For Kids
- How to Make Handmade Straw Fan Tutorial for Kids
- Easy to Make Snowman by Bottle Craft Tutorial
- Easy Peanut Shells Giraffe Art And Craft For Kids
- How to Make Origami Flower Easy Tutorial For Kids