Paper Crafts
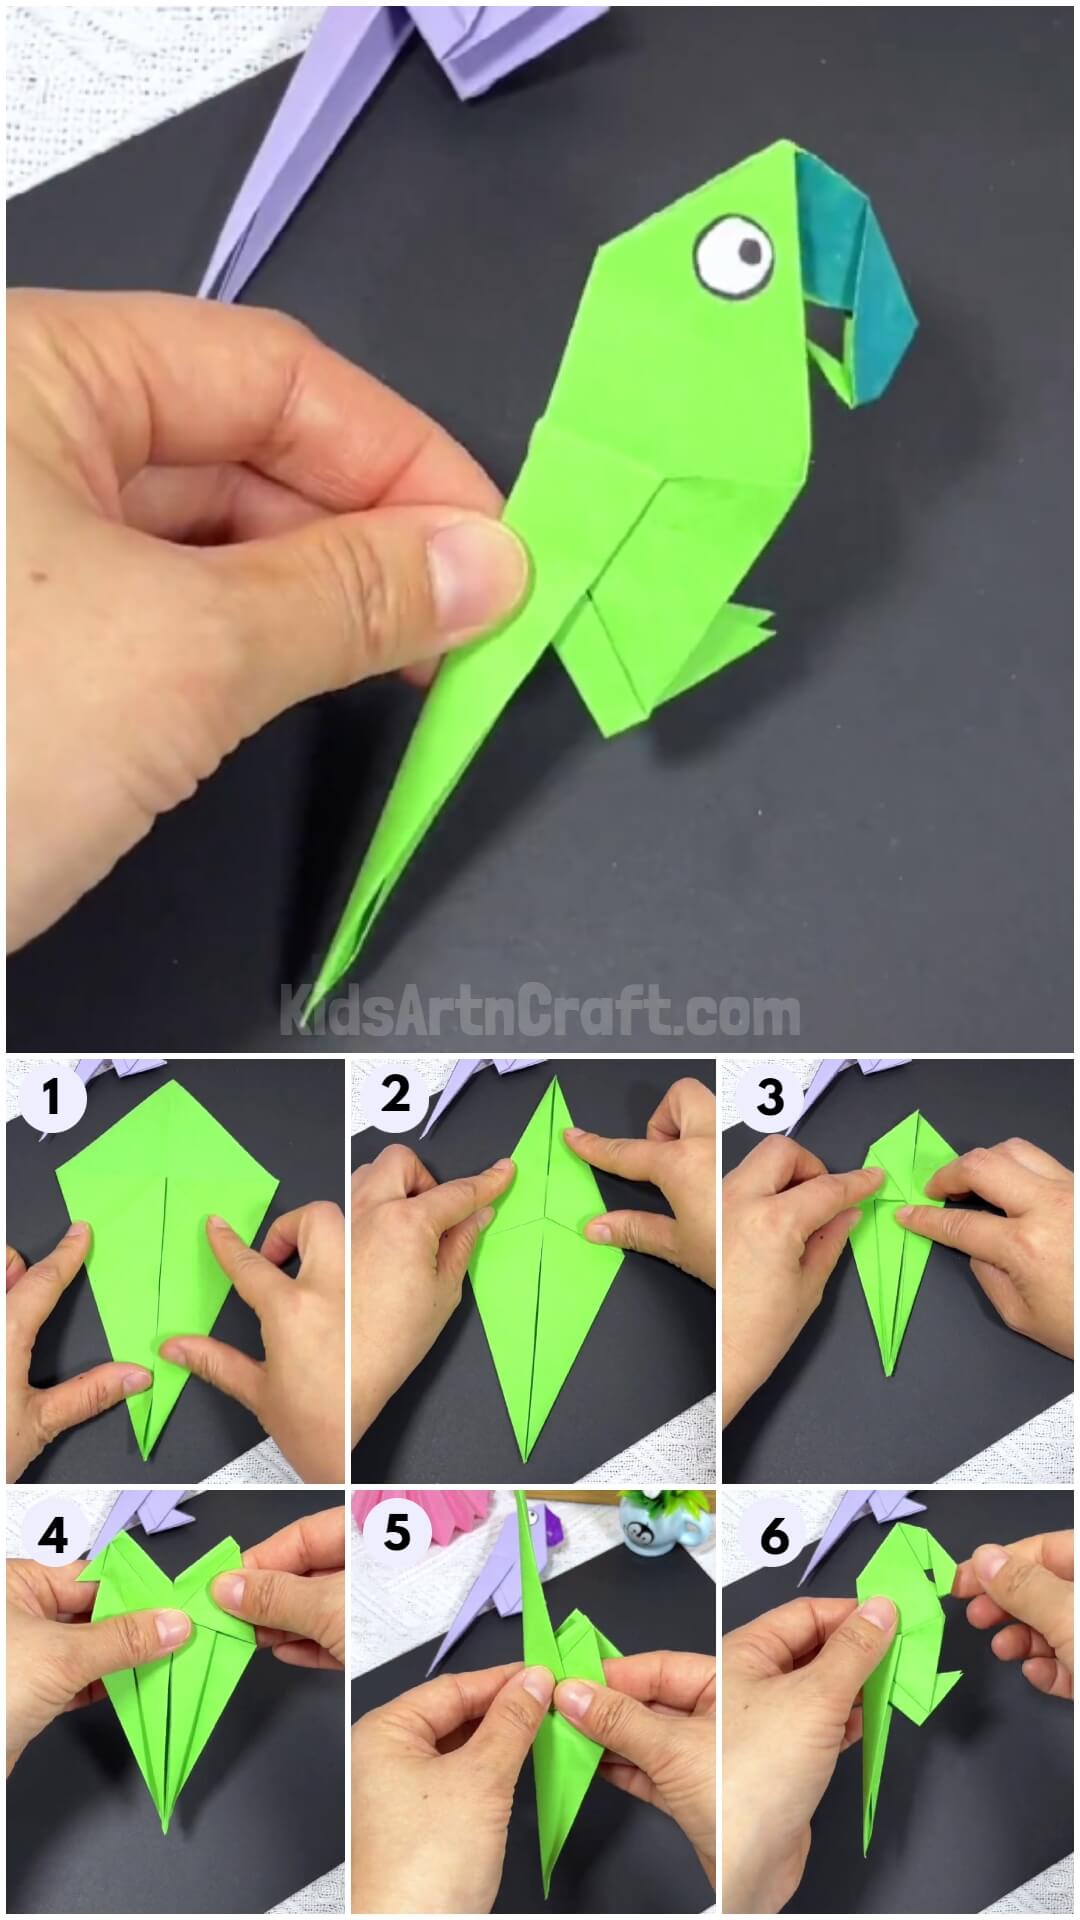
How To Make Origami Parrot Craft Tutorial For Kids

This parrot craft will be a hit addition to your craft collection! With this step-by-step tutorial create this origami parrot in minutes!
Do you know? Parrots are the only animal in the world that can mimic human speech! Today, we brought you a paper origami craft inspired by these amazing creatures! A parrot itself! With just some folds and turns of paper, you will be able to ace this parrot craft with the help of our guidance through this step-by-step tutorial! This craft can be the perfect classroom activity for the kids to learn about parrots or even a craft for the home! Unleash the creative madness in you while making this paper parrot craft and show off your own parrot puppet!
DIY Origami Parrot Craft For Kids

Read More: Easy Ladybug Craft For Kids Using Leaves and Paper
Materials Required
- Green Colored Origami Paper
- Black And White Ink Pen
- Dark Green Sketch Pen
Procedure
Step 1: Making ‘+’ Creases
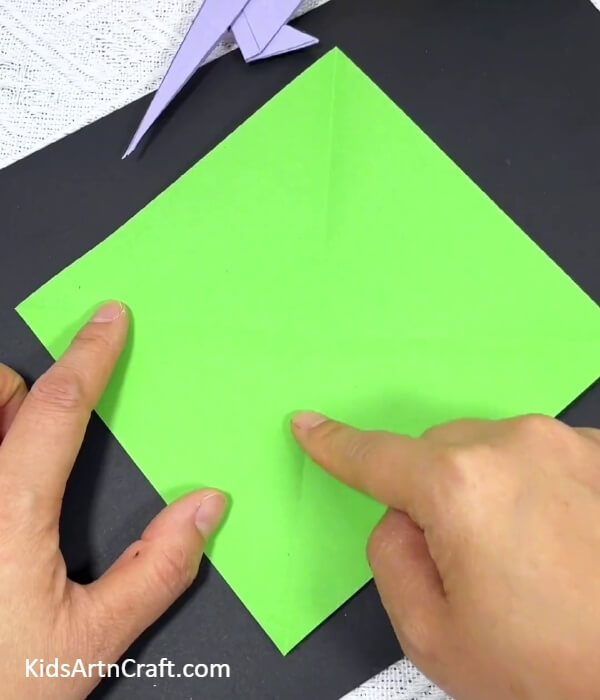

Start this craft by taking a green origami paper sheet and folding it in half from the opposite corners to make a diagonal crease and again fold the other two corners in half to again form the diagonal crease and unfold the paper. This makes ‘+’ creases over the paper.
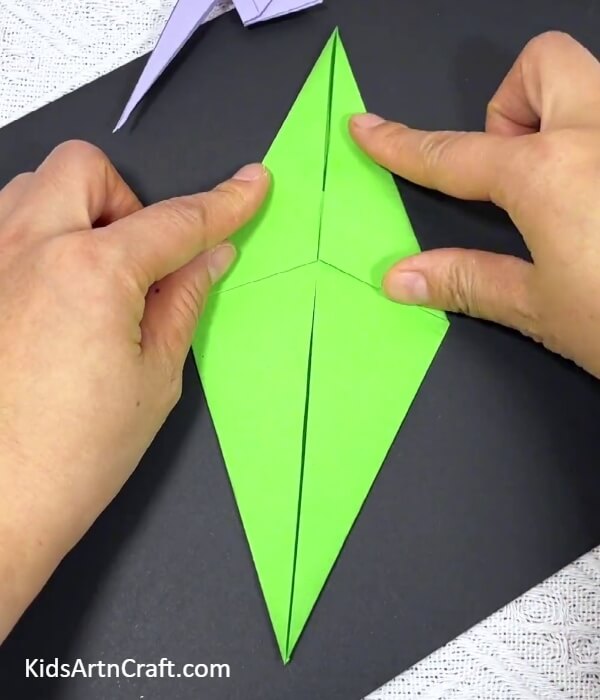
Step 2: Making A Kite Shape
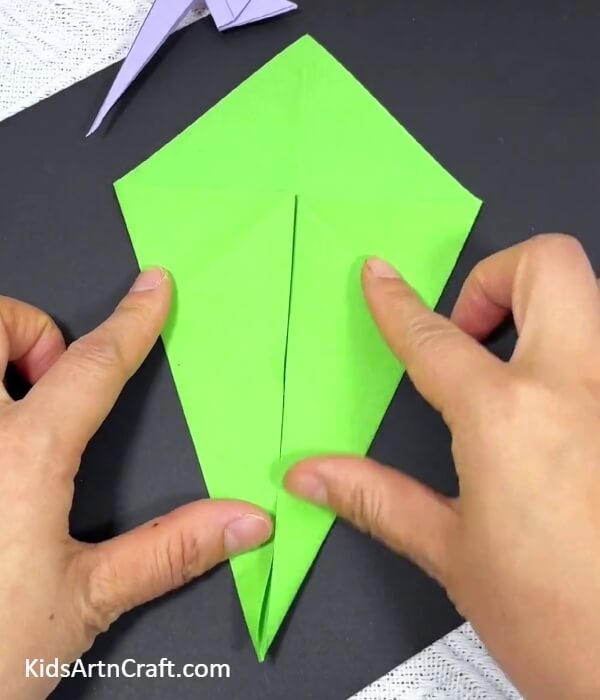
Fold the sides of the paper along the vertical diagonal crease to make a kite shape.
Step 3: Folding The Upper Part Of The Kite Shape
Fold the upper smaller part of the kite shape to the vertical diagonal crease from the left.
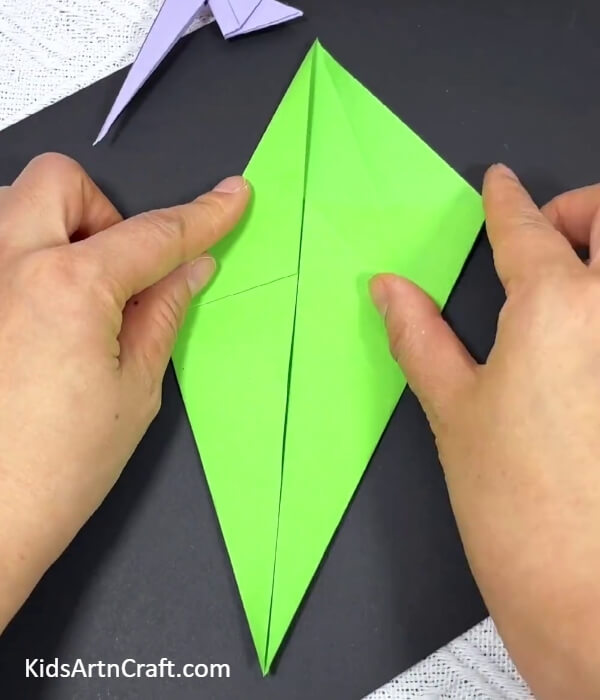
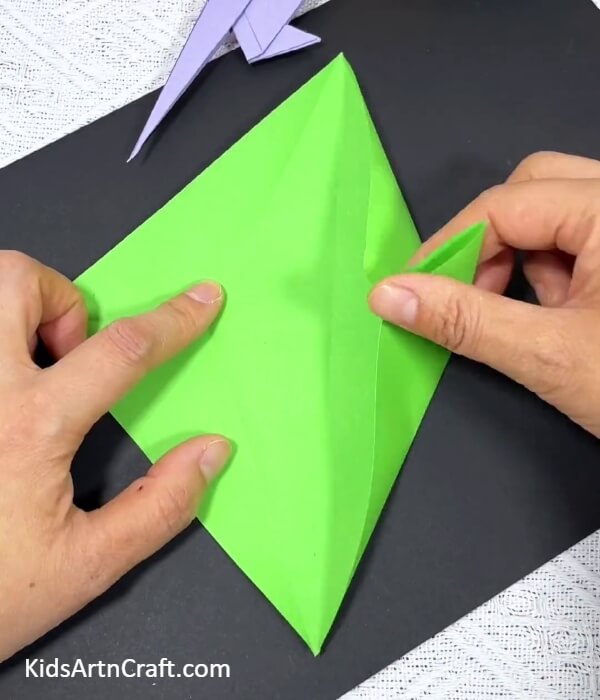
Step 4: Making A Diamond Shape
Fold the right upper part to the vertical diagonal crease to form a diamond shape.
Step 5: Making A Loop
Unfold the paper and you will see many creases. Now, from the horizontal crease and titled creases on the sides of the horizontal crease fold the paper to make a loop of paper from the right side.
Step 6: Folding Along The Diamond Creases
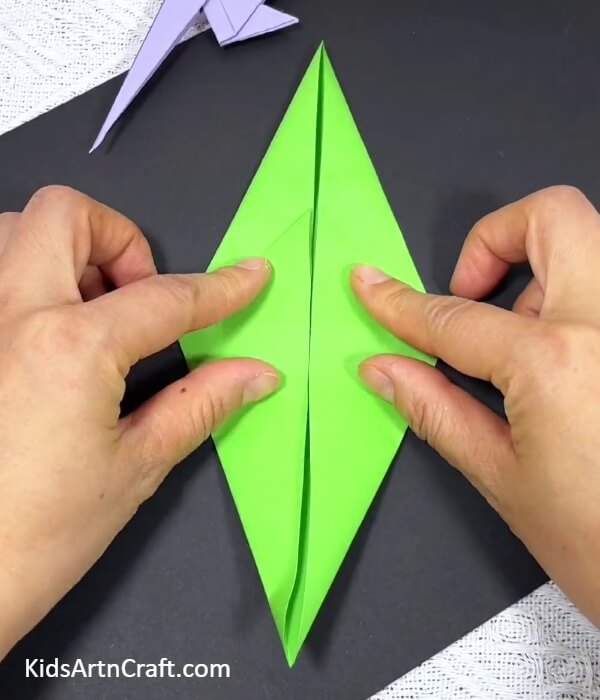
Fold the loop along the diamond creases and do the same for the left side of the paper to again form the diamond shape of the paper.
Step 7: Again Forming The Kite Shape
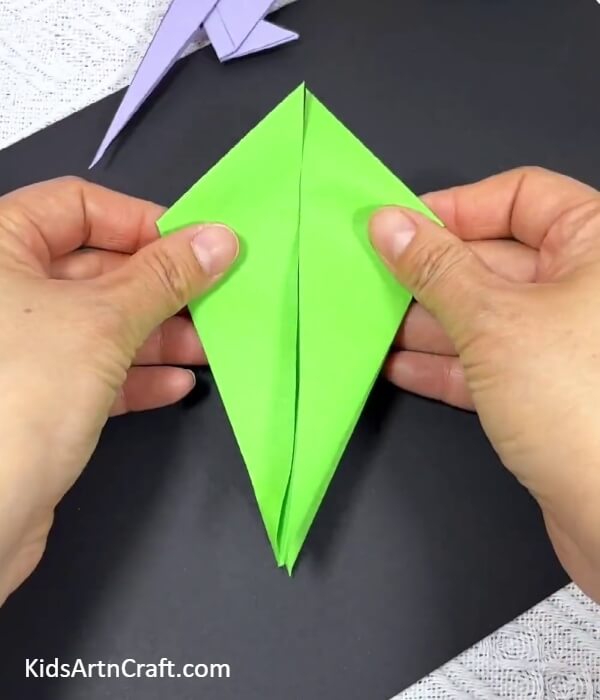
Fold the upper part of the diamond to the back to overlap it with the front one. You will leave the loops folded and observe a kite shape.
Step 8: Folding The Left Corner Of The Kite
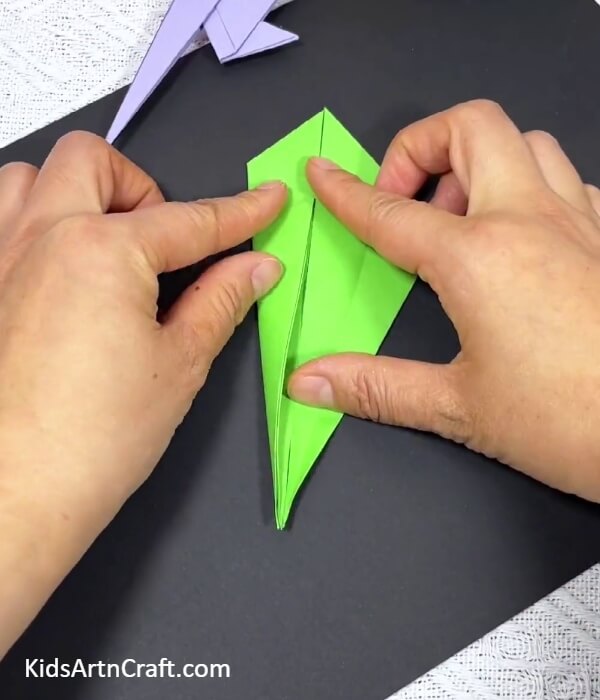
Fold the left corner of the kite to the middle partition and make a crease.
Step 9: Folding The Right Corner Of The Kite
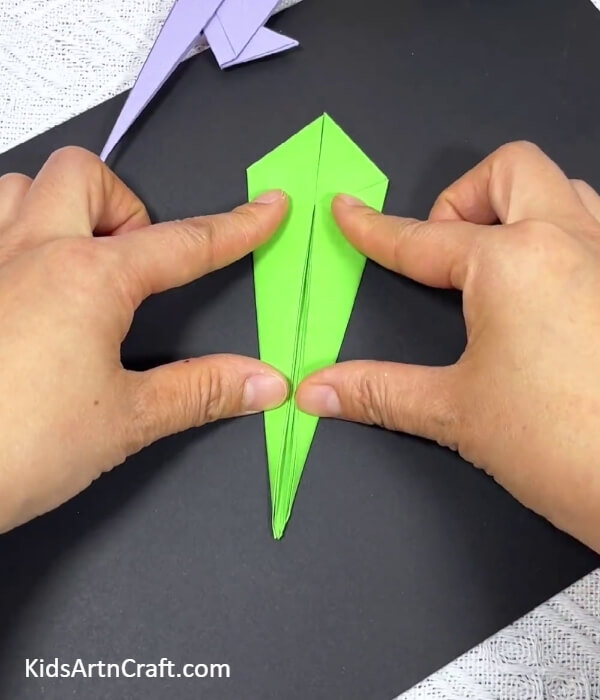
In the same way, fold the right corner of the kite to the middle partition and make a crease.
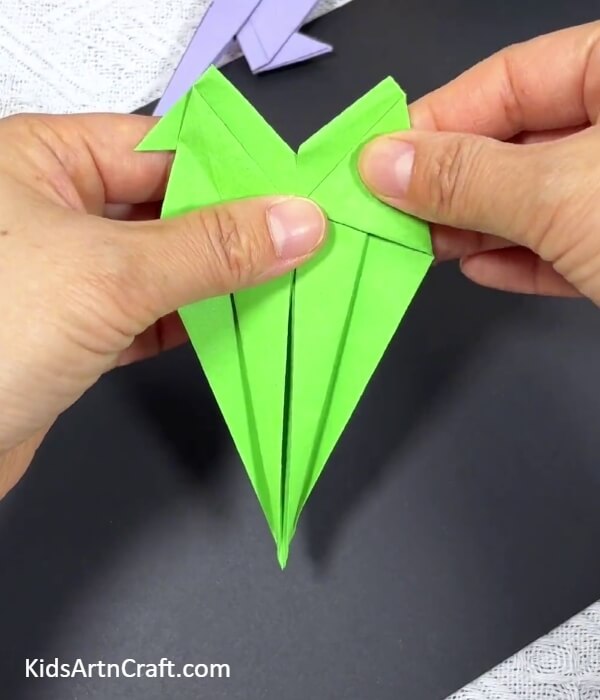
Step 10: Forming Small Triangles
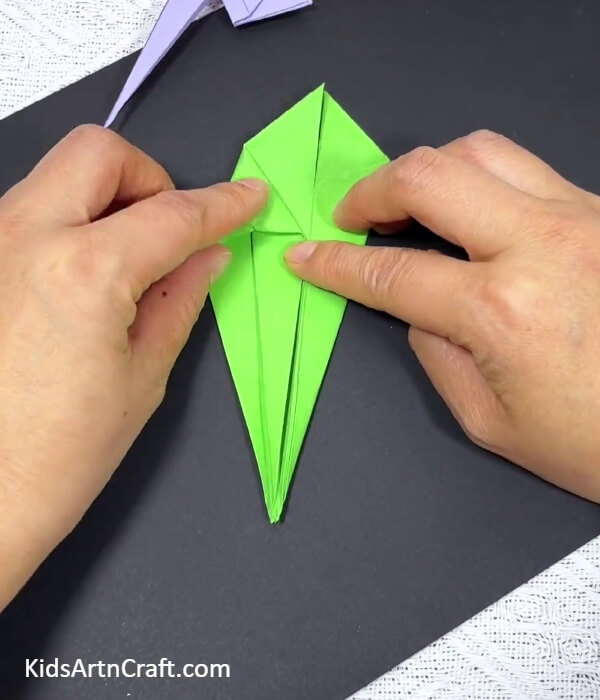
Wide open up the middle part of the folded corner outward and press in the loop-like paper from the top to form a triangle. Again do the same for the other folded corner to form a small triangle on the other side too.
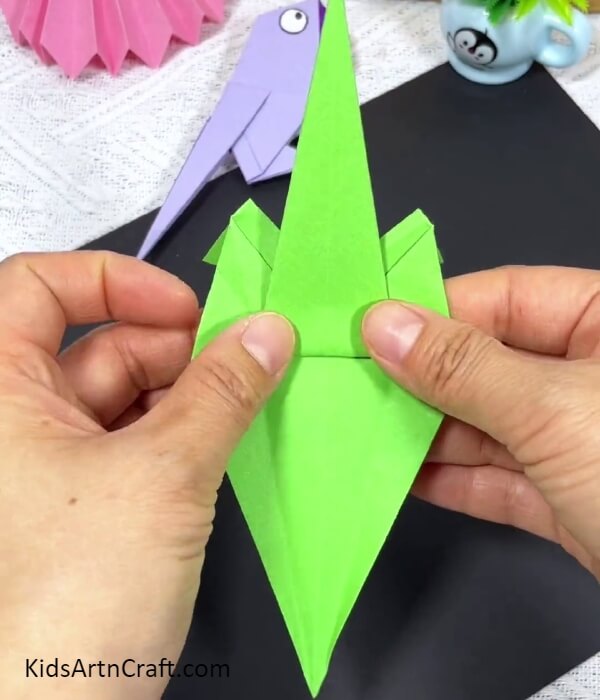
Step 11: Folding The Left Diamond Partition
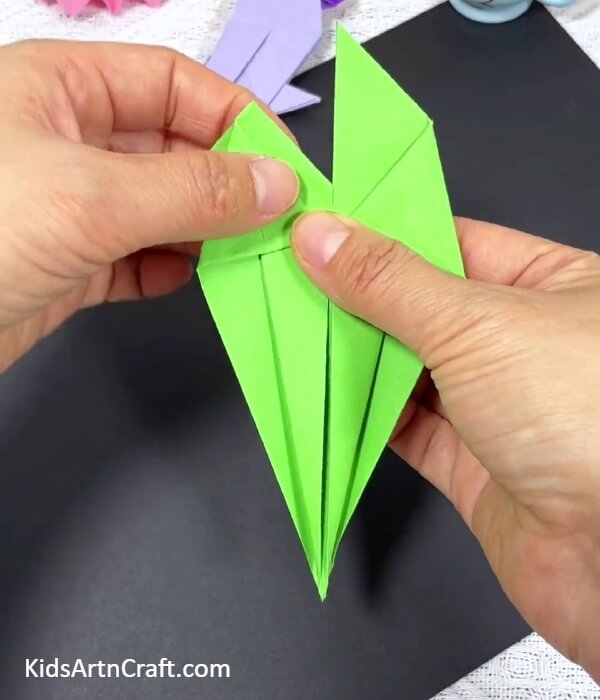
You will see a small diamond shape on the top-mid of the figure with a middle partition. Now, hold the left-side partition and fold it from the back in a way to keep the boundary of it aligned with the side of the triangle below it. Make sure to keep a space between the fold and the triangle side.
Step 12: Folding The Right Diamond Partition
Do the same previous step for the right side of the diamond partition. i.e. fold it from the back to align with the triangle side after leaving some space in between them.
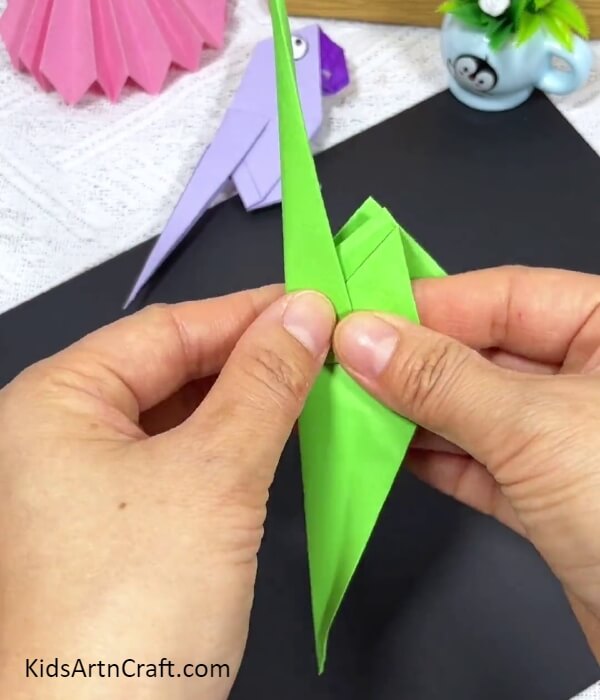
Step 13: Folding Upward A Long Triangle
Below the triangles, you will see a long triangle paper in between the figure. Fold the long triangle upwards and make a crease till it reaches the limit touching the triangle boundaries.
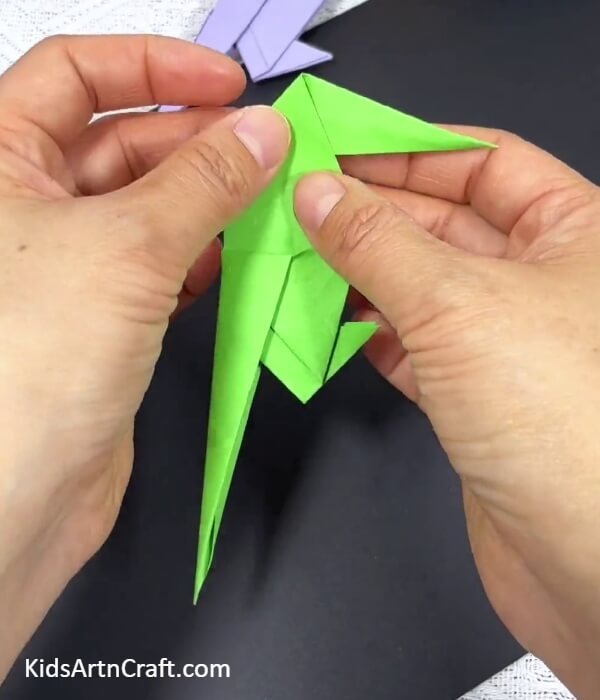
Step 14: Folding The Figure In Half
Fold the whole figure and the long triangle from the center to overlap the sides. Make sure to fold in a way that keeps the long triangle outwards not inwards the fold. Crease the fold nicely. Invert in the figure, the long triangle folded part will become the tail and feathers of the parrot and the remaining upper folded part will become the body and face.
Step 15: Folding The Top Of The Body
Fold the end top of the body from the back in a way to make the fold look horizontally straight and you will see a triangle.
Step 16: Forming The Beak Of The Parrot

Fold and crease the triangle top part downwards to form the beak of your parrot.
Step 17: Shaping The Beak Of The Parrot
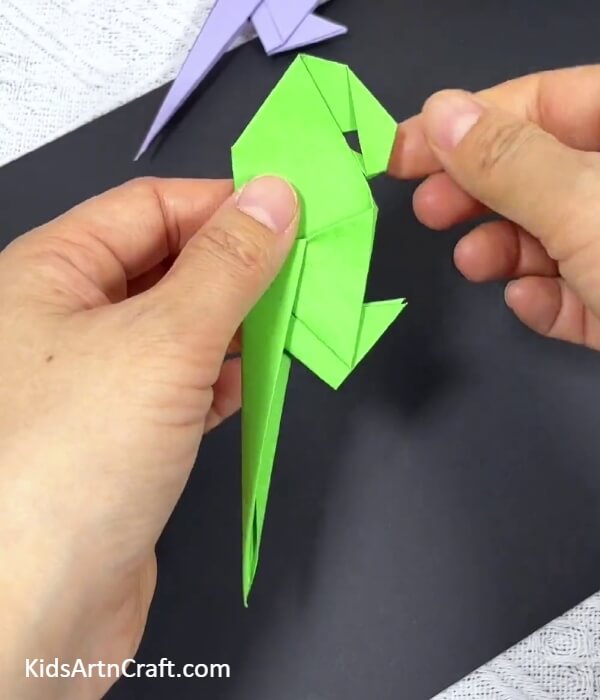
Now, fold the very end of the beak to the back, a little tilted towards the body to shape the beak of your parrot.
This Is The Final Look Of Your Origami Parrot!
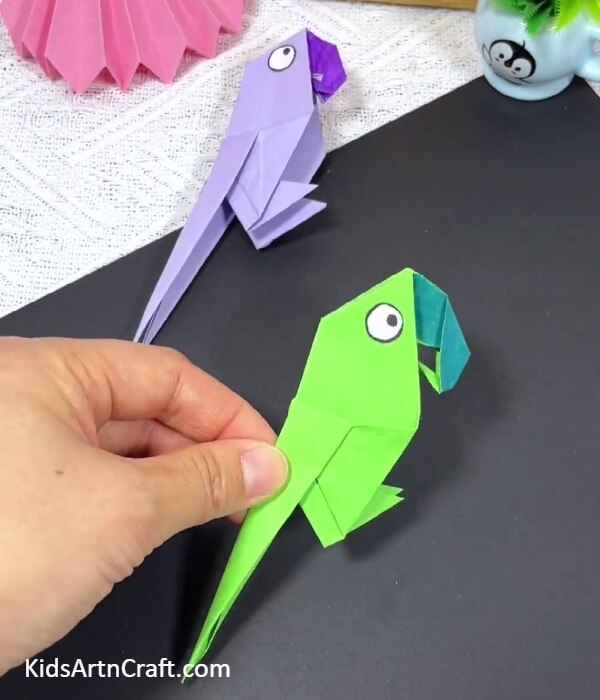
For the last step, color the beak using a dark green sketch pen and take a white and black pen. Using the black pen, make a circle eye beside the beak on the body and make a dotted eyeball in the circle. Now, using the white pen color out the circle eye leaving the dotted eyeball.
Congratulations! You have finally completed your paper parrot craft in no time!
Well, now you have your own mimicking parrot! Use it as a puppet and play with it the whole day! Show it off to everyone including your friends and family and flaunt your origami skills through it, you can also have fun while teaching others to make it too! Let everyone admire your creation! You can even use this craftwork as your school craft project or this paper origami parrot can be a classroom activity as well!
Hope you liked the article and the description of it! Give us your feedback in the comment section and like this article, also, share it with your friends to make this parrot altogether!
Follow us on Youtube for art and craft tutorials and much more.
More Articles from Kids Art & Craft
- How to Make Paper Sparrow in Simple Steps
- DIY Bird Nest Paper Craft For Kids
- How to Make an Easy Paper Craft Bird Artwork
- Easy Paper Bird Toy Craft To Play For Kids
- Fun Paper Craft Ideas Make At Home Video Tutorial for Kids