DIY and Crafts
Easy Origami Flower Craft For Kids

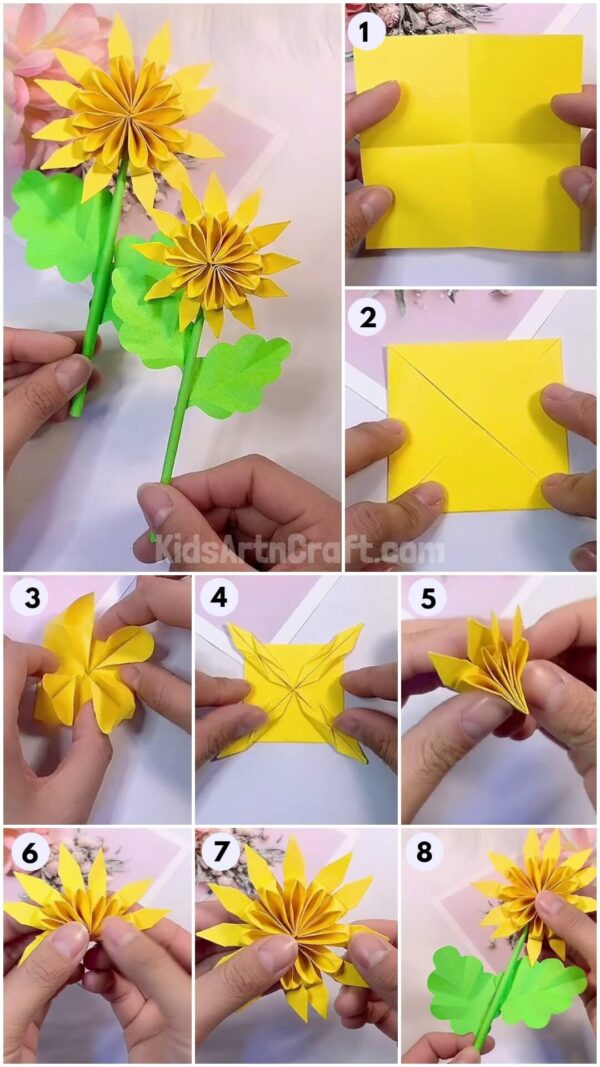
This DIY craft is perfect for kids to make! Learn how to make a beautiful origami yellow paper flower with just a few simple steps. Great for parties, decorations, or just for fun!
A glad welcome to you! Create this origami flower with these easy step-by-step instructions given by us which will make any craft-making easier for you! Origami helps in driving those fine motor skills in a creative manner! Make this beautiful origami flower that will look stunning anywhere in your home! The folds in this flower make it look realistic and will surely brighten up any corner! This is a perfect fit for easy, beautiful, and affordable home decor that you yourself can make in minutes! Grab up those crafty supplies and read on more to know how!
Easy Origami Paper Yellow Flower For Kids

Read More: DIY Paper Carrot Step-by-Step Tutorial For Kids
Materials Required
- Yellow and Green Origami Papers
- Glue
- Scissors
Procedure
Step 1: Folding Paper Into Halves And Form Creases
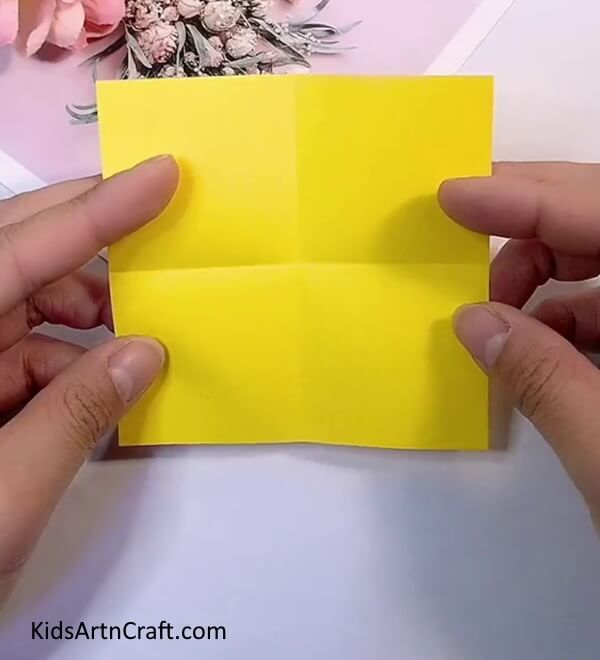

Let’s start this origami flower by taking a yellow origami paper sheet. Fold the paper in half and again fold it in half and make creases. Unfold the paper you will see ‘+’ creases.
Step 2: Folding The Corner To The Crease
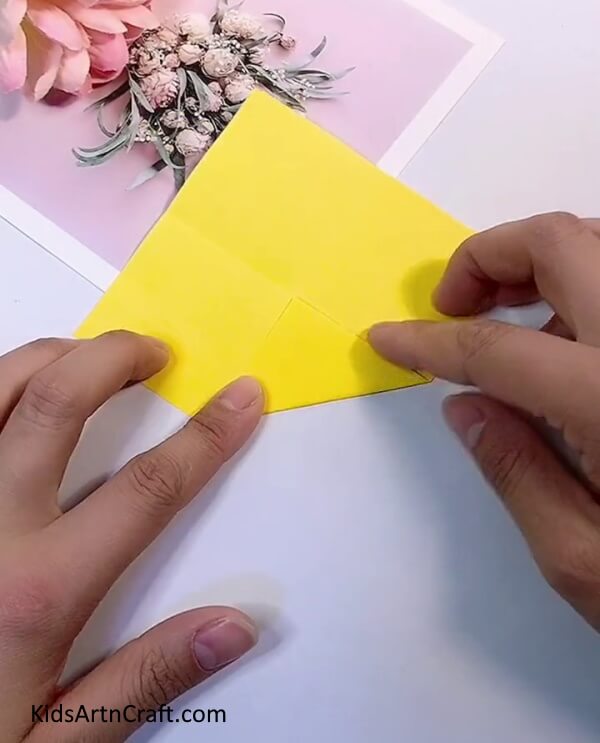

Fold the corner of the paper to the ‘+’ crease and make a crease.
Step 3: Folding The Other Corners To The Crease
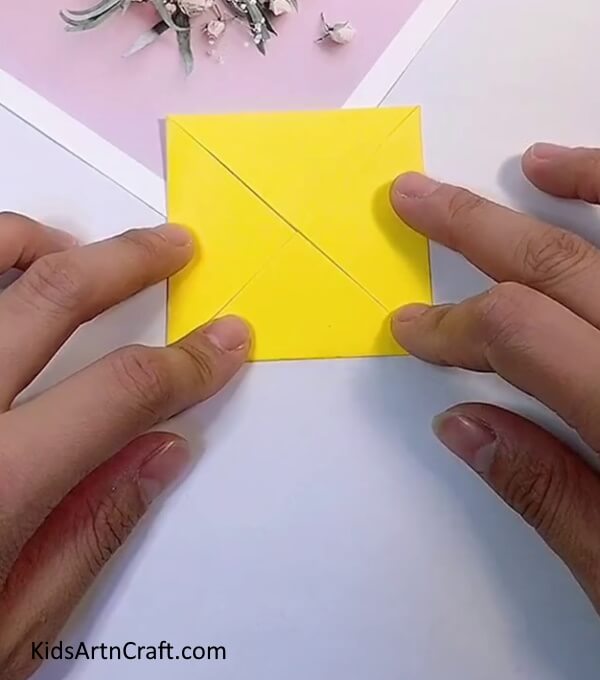

Fold the other 3 corners to the ‘+’ crease and form 2 intersecting diagonals.
Step 4: Folding The Corner To The Diagonal
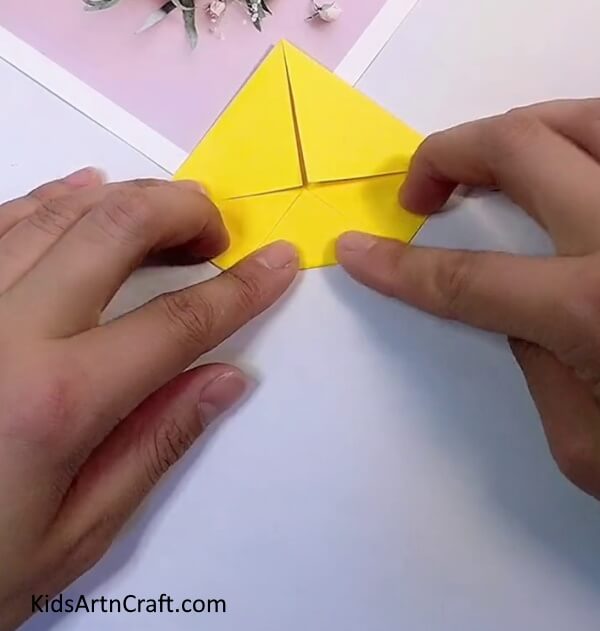

Fold the corner to the intersection of the diagonal.
Step 5: Folding The Other Corners To The Diagonal

Fold the remaining corners to the intersection of diagonals. You will see further small diagonals.
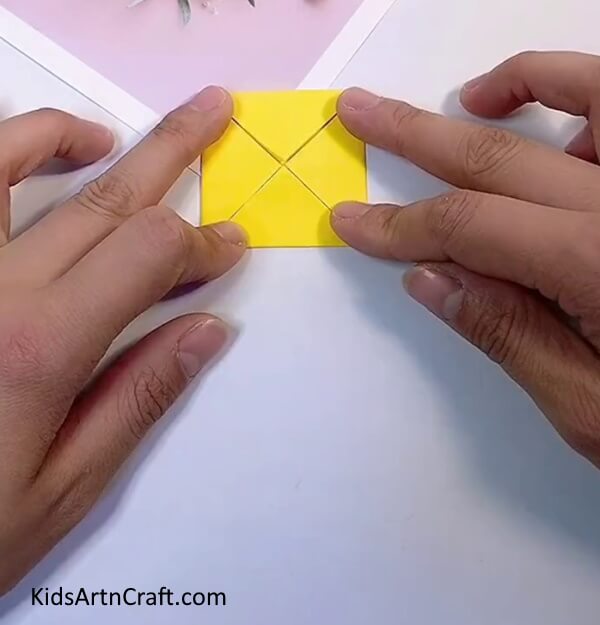
Step 6: Pulling Out Corners Of Paper

Unfold the whole paper and you will see various creases and a square crease. Push in 2 adjacent sides of the paper from the square and pull out the corner along the creases.
Repeat this step to pull out every corner.
Step 7: Forming 4 Squares In A Square
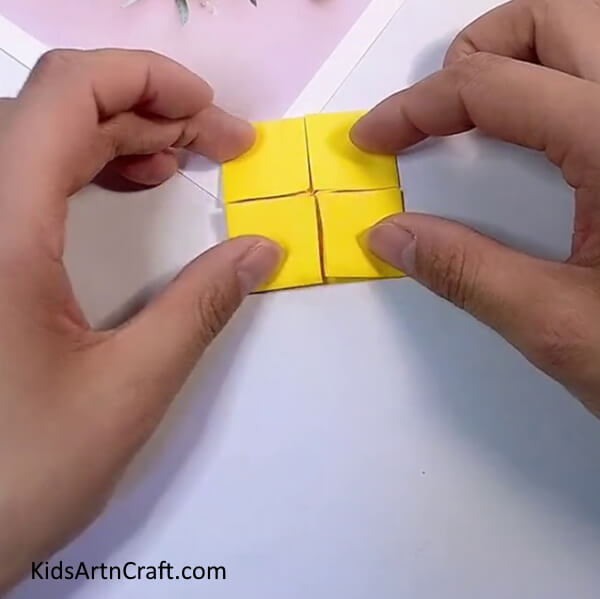

Press the pulled-out corners in the middle and form 4 squares in a square and form creases.
Step 8: Forming Square to Diamond
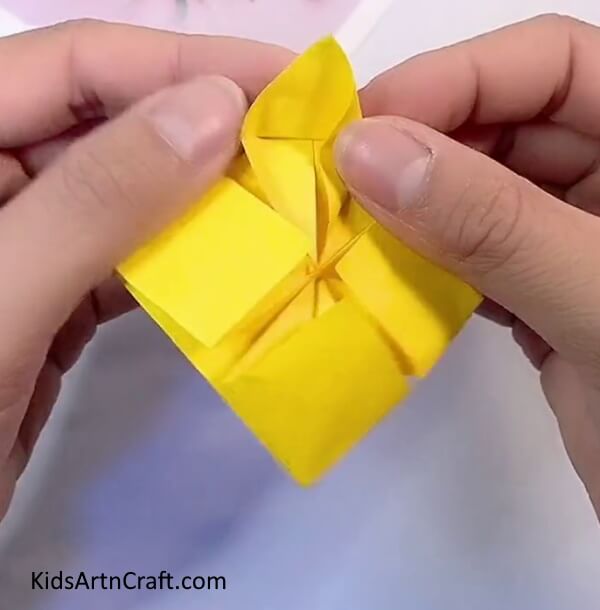

Pull open the squares from the center to form a diamond. Fold the right side of the diamond to the center line visible in it.
Step 9: Folding The Other Side Of The Diamond

Fold the other side of the diamond to the center to make a rhombus.
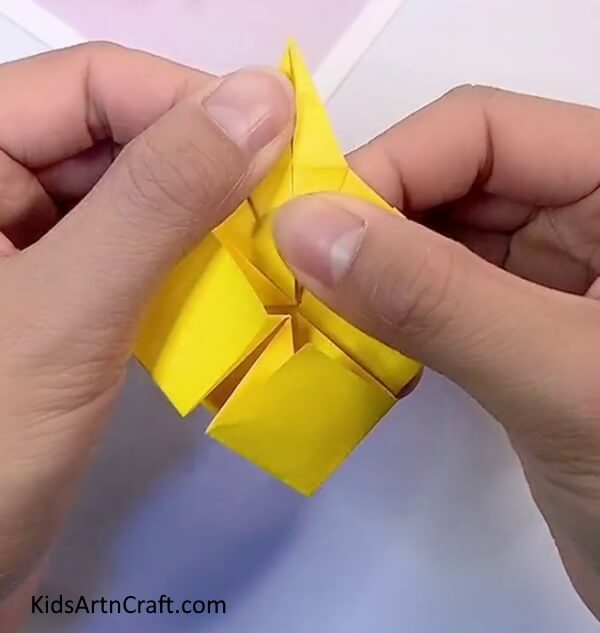
Step 10: Folding The Sides Of The Rhombus

Further, fold the corners of the rhombus to meet them in the center.
Step 11: Repeating Steps 8-10

Repeat steps 8 to 10 for all the squares.
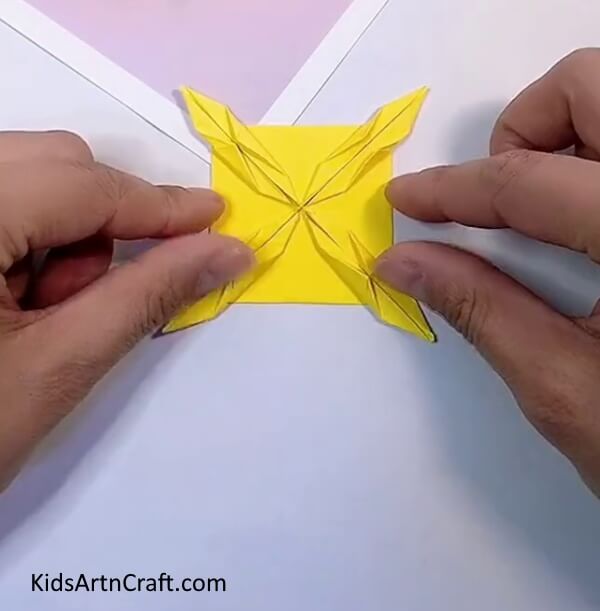
Step 12: Forming A Star Shape
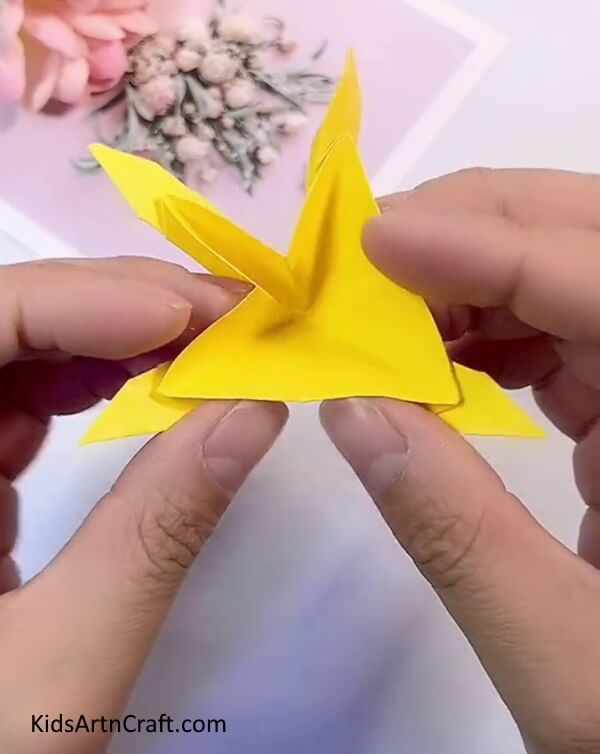

Flip the paper and you will see a square. Fold the square to form diagonal creases over it. hold the diagonal creases from the corners and push in the ‘+’ creases to form a star shape.
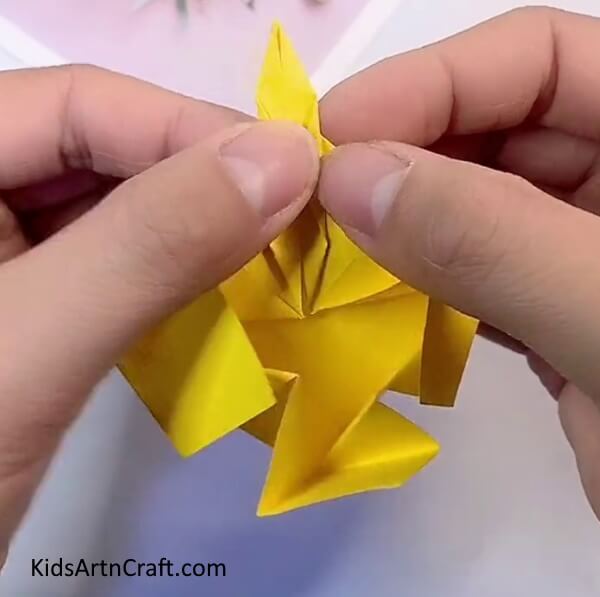
Step 13: Pressing The Star Corners Together
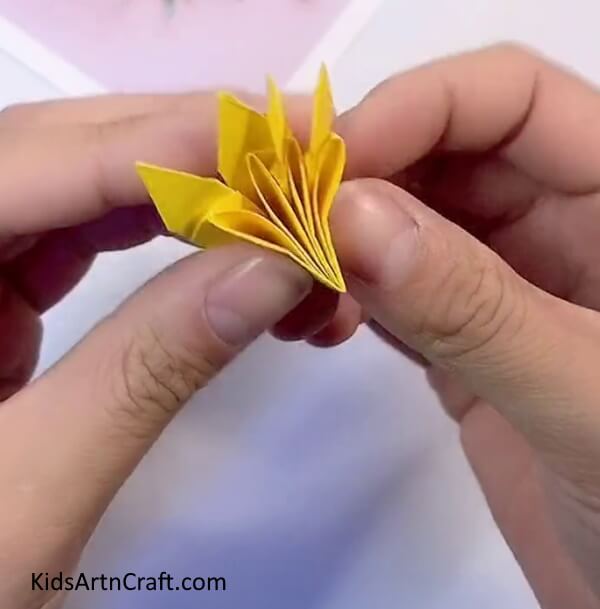

Take the corners of the star altogether and fold and press them together to form a crease.
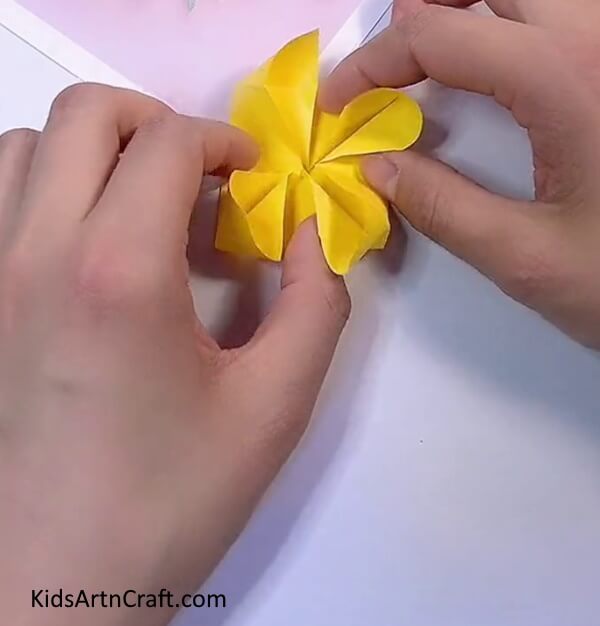
Step 14: Making Petals

Hold and pull the paper strips which are coming out to form petals.
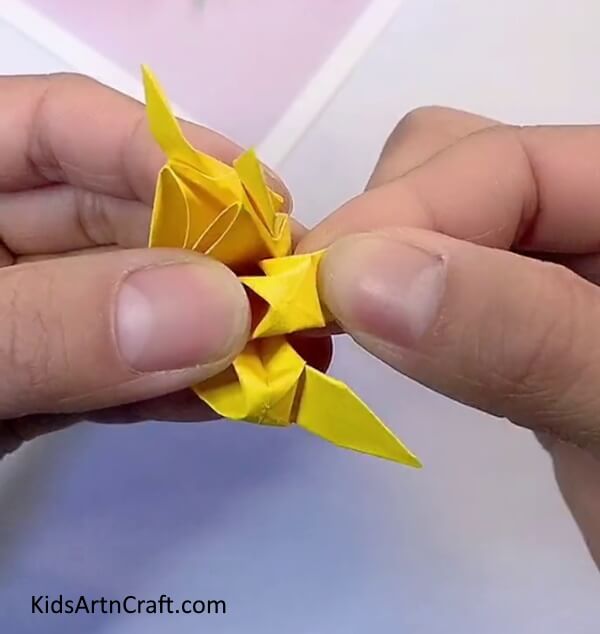
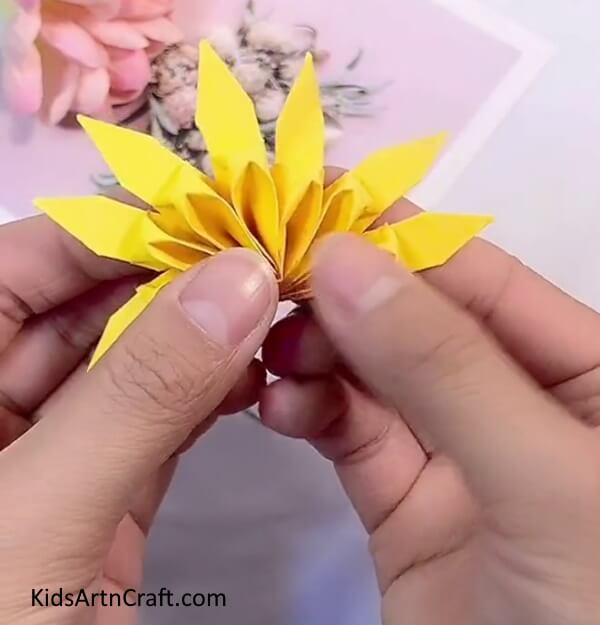
Step 15: Glueing The Small Petals
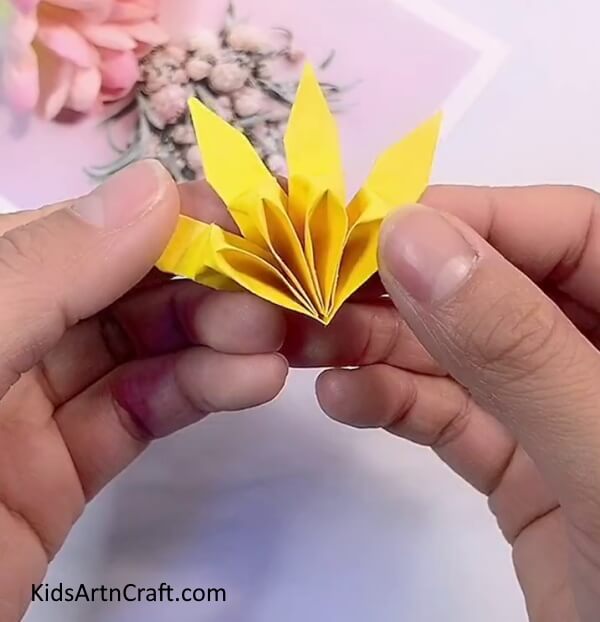

Glue the inner small petal altogether. and you will form a set of 4 petals of the flower.
Step 16: Pasting Another Set Of Petals
Using the above-mentioned steps, make another set of petals and stick both sets together.
Step 17: Making A Flower
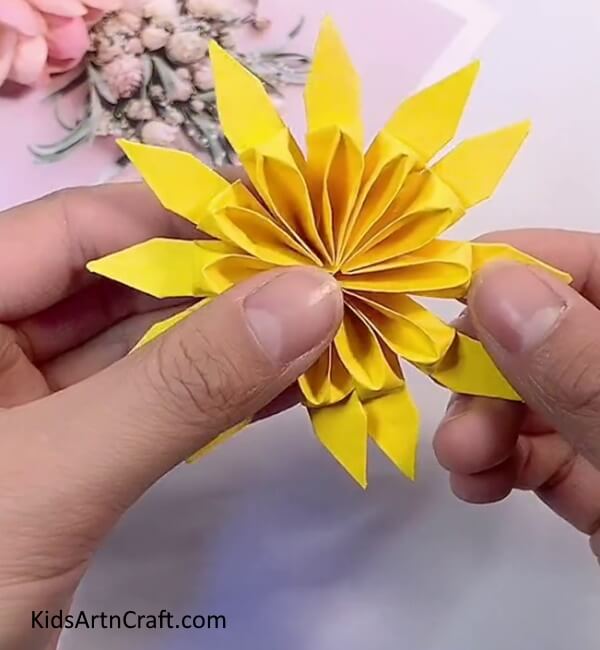

Make 2 more sets of petals and stick all of them in a circle to form a flower.
Step 18: Making Stem And Leaves
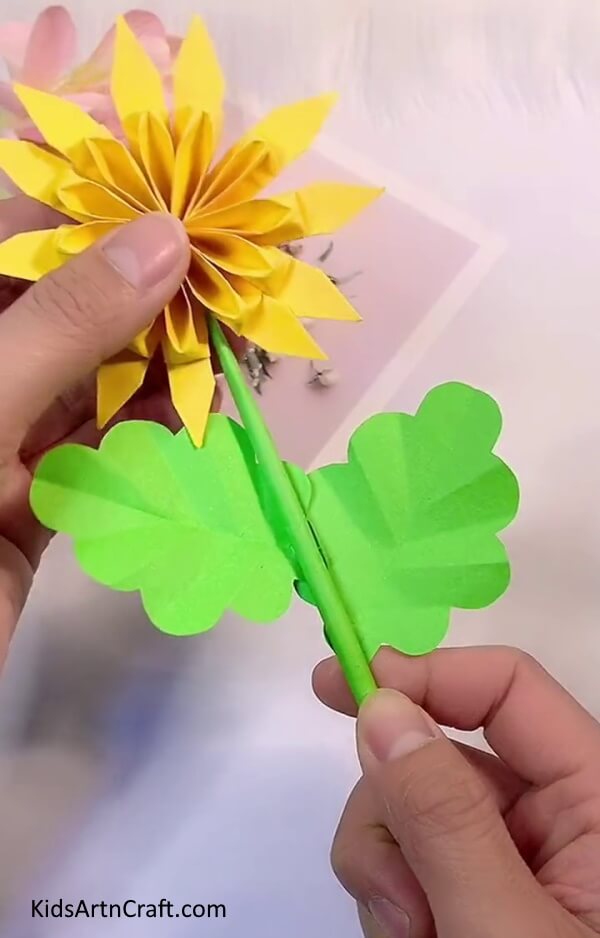

Using green paper make the stem and leaves of the flower. Roll over a piece of green paper and glue the end to it to form the stem. Using scissors, cut out leaves from green paper and fold them in half then further fold them slantingly in a zig-zag way, unfolding them to form leaves. Stick the leave to the stem and the stem to the flower from behind.
Your Paper Origami Yellow Flower Is Ready!
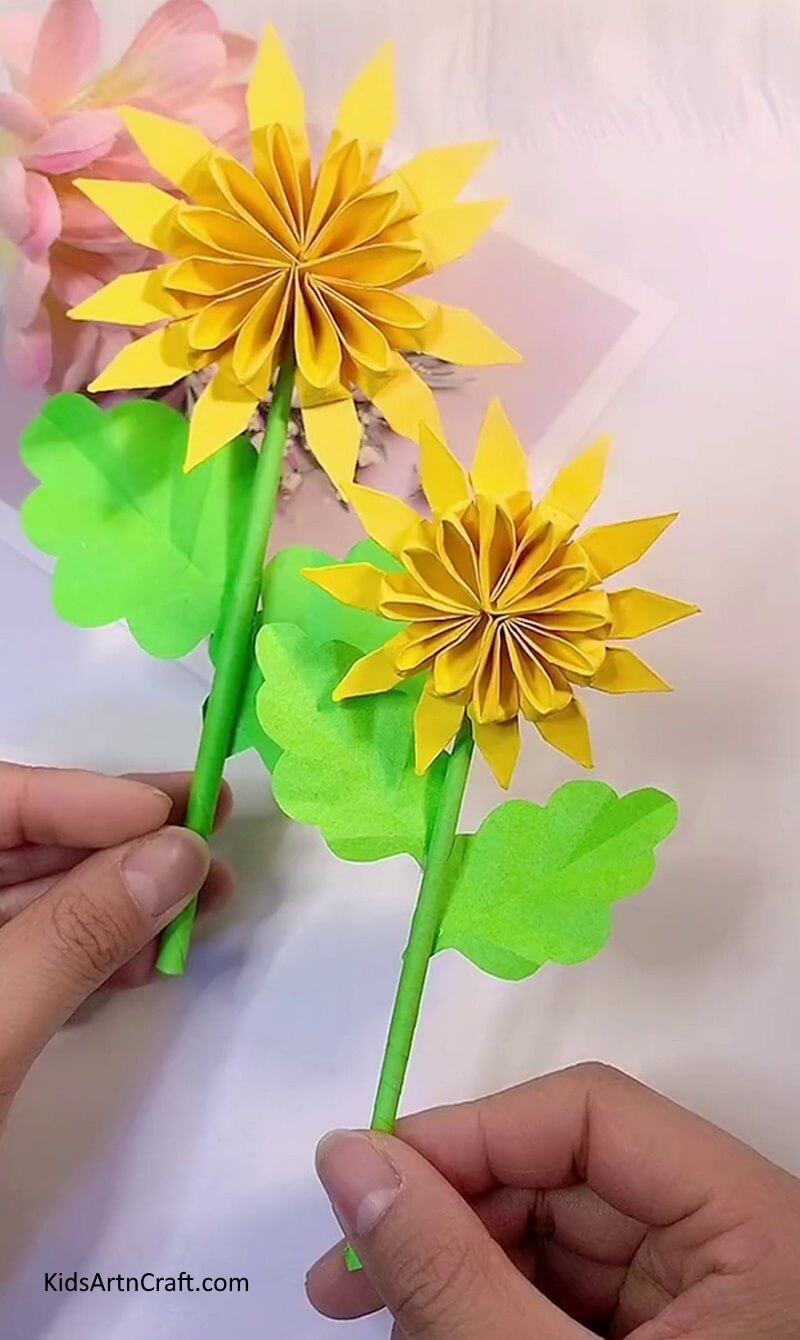

Woohoo! Your Paper Origami Flower is ready in minutes!
Decorate this stunning flower anywhere to brighten up your home! You can also create a bunch of these flowers in different colors as per your preference! These flowers can also be gifted to your loved ones by making their bouquet, and what gift can be better than everlasting flowers? Learn to make this flower and show it off to everyone! What’s stopping you from that? Bang on!
Some More Paper Rose Craft Tutorial
Reuse Foam Net Flower Craft for Youngsters

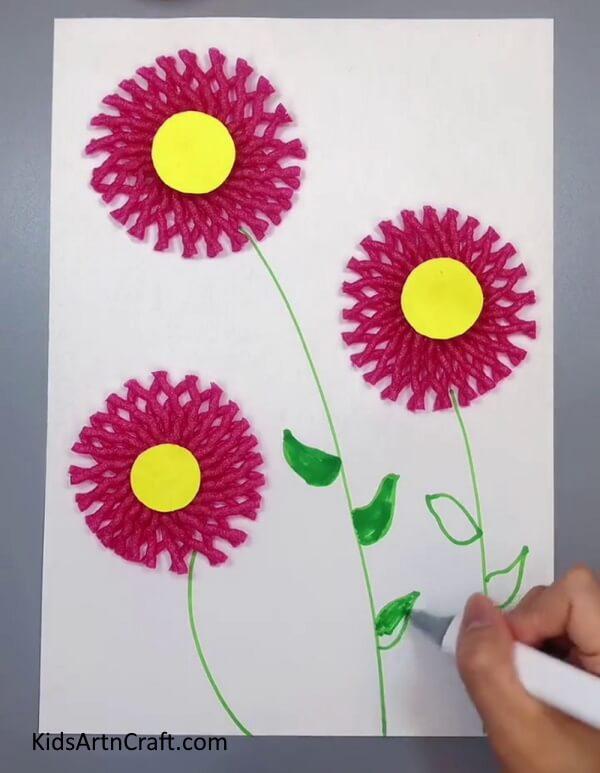
Image Source/Tutorial: Kids Art & Craft
This fun craft is perfect for young children, as it uses foam nets to create beautiful flowers. It is an easy and inexpensive way to keep kids entertained and also teaches them about recycling!
Pocket-Friendly Paper Rose Craft

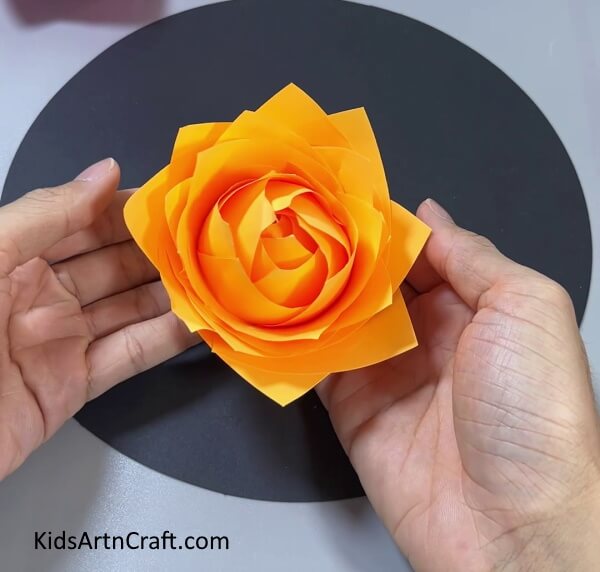
Image Source/Tutorial: Kids Art & Craft
This pocket-friendly paper rose craft is perfect for kids of all ages! It’s an easy and fun way to create a beautiful flower with just paper and glue. It’s a great activity to do on a rainy day or to give as a gift. Plus, it’s a great way to show your creativity!
Pocket-Friendly Paper Rose Craft
Image Source/Tutorial: Kids Art & Craft
This pocket-friendly paper rose craft is perfect for kids of all ages! It’s an easy and fun way to create a beautiful flower with just paper and glue. It’s a great activity to do on a rainy day or to give as a gift. Plus, it’s a great way to show your creativity!
Awesome flower craft from clay for kids

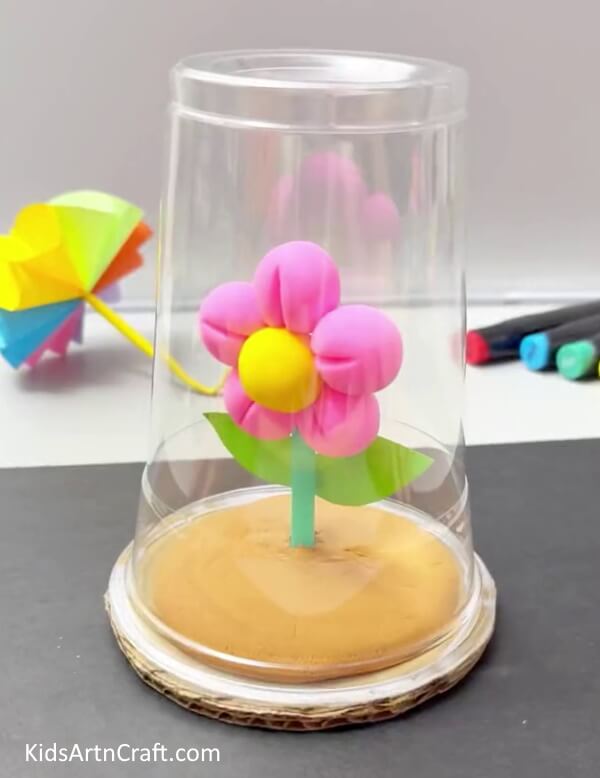
Image Source/Tutorial: Kids Art & Craft
This flower craft made from clay is an awesome way to keep kids entertained and creative. It’s easy and fun to make, and the end result is a beautiful flower that they can be proud of.
Art And Craft Activity For Kids To Make Flower Craft

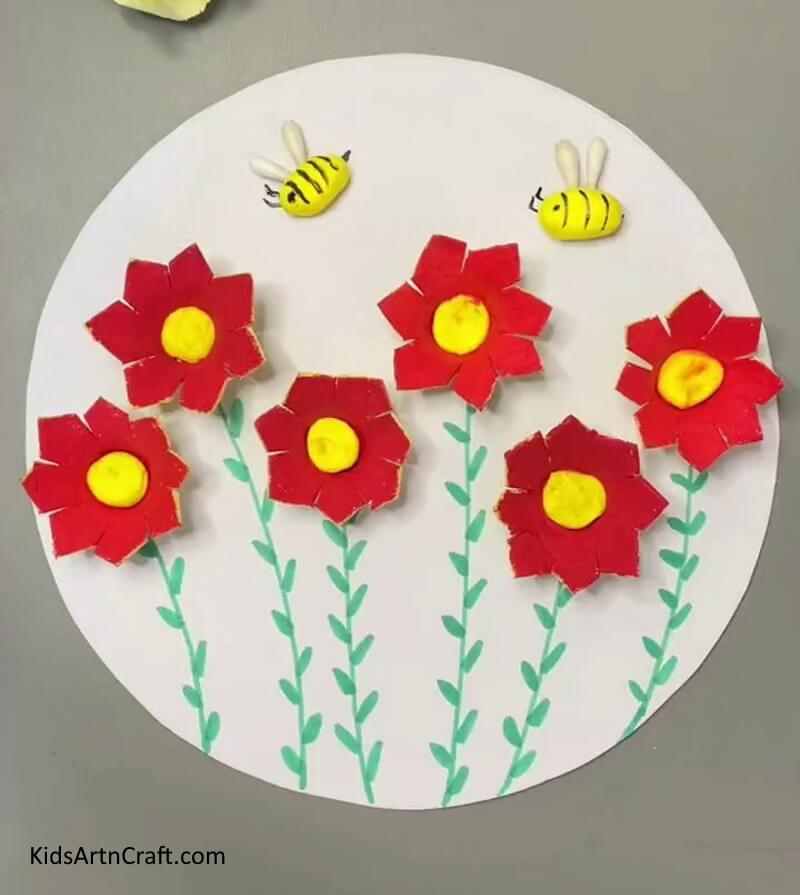
Image/Tutorial: Kids Art & Craft
This activity is an easy and fun way to teach kids to make a beautiful butterfly craft. It is a great way to introduce them to the world of art and craft. Kids can learn how to create something out of simple materials, while having fun and developing their creativity.
Follow us on Youtube for art and craft tutorials and much more.
More Articles from Kids Art & Craft
- DIY Bird Nest Paper Craft For Kids
- Easy Ladybug Craft For Kids Using Leaves and Paper
- DIY Easy Paper Cactus Craft Tutorial for kids
- Paper Strips Frog Craft Step-By-Step Tutorial
- DIY Easy Paper Strawberry Tutorial For Kids