DIY and Crafts
Paper Strips Frog Craft Step By Step Tutorial

DIY Frog Craft Made With Paper Strips
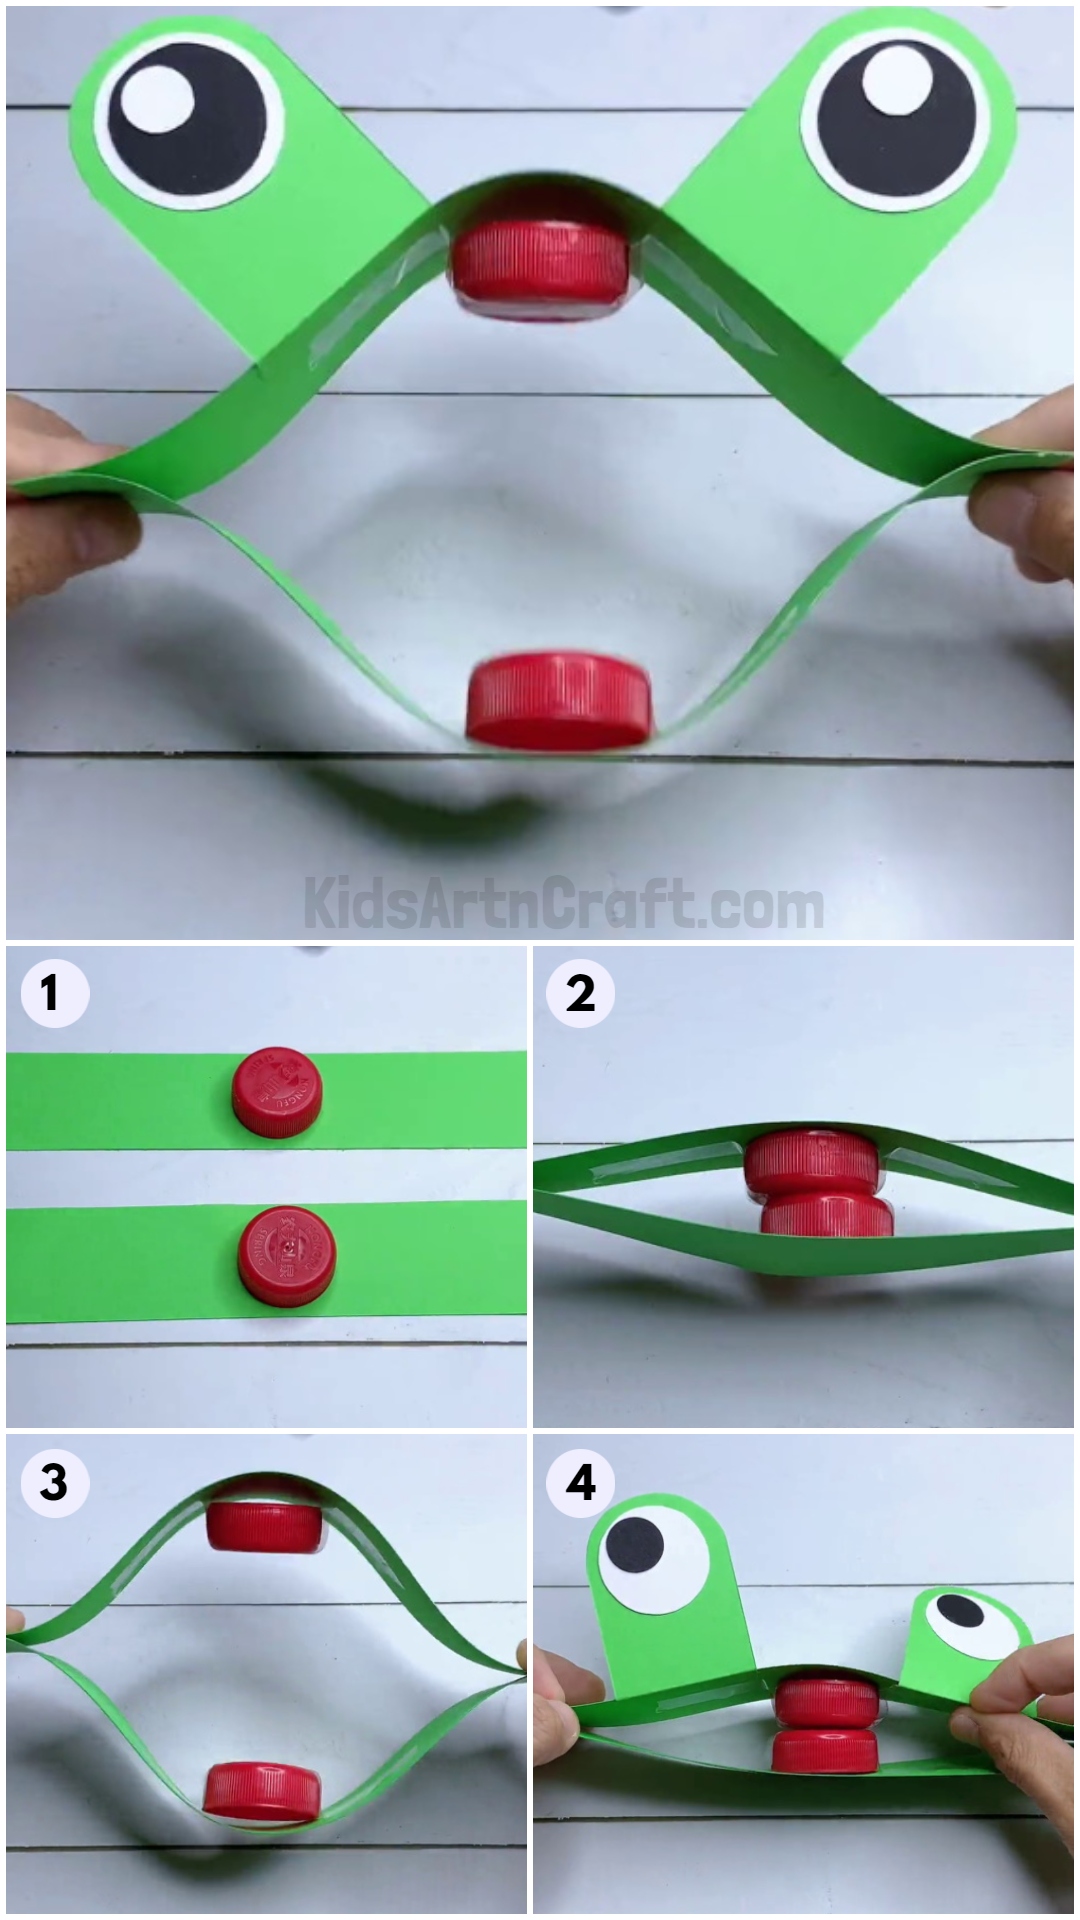
Materials Required:-
- Green Paper
- Two Bottle Caps
- Tape
- Scissors
- Glue
Step 1: Cutting Wide Green Paper Strips
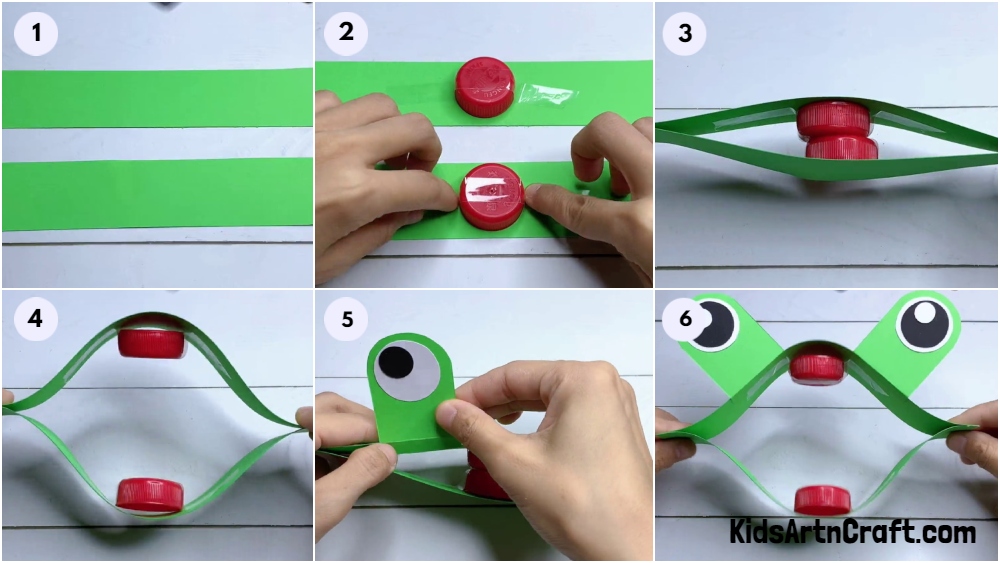
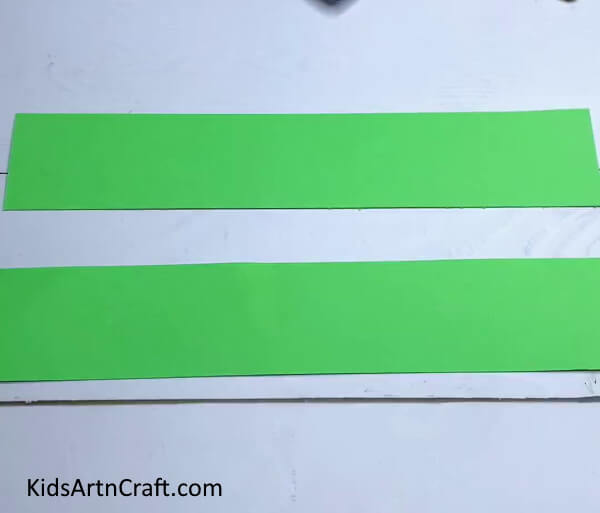 Cut two wide strips from green paper.
Step 2: Placing Bottle Caps On Strips
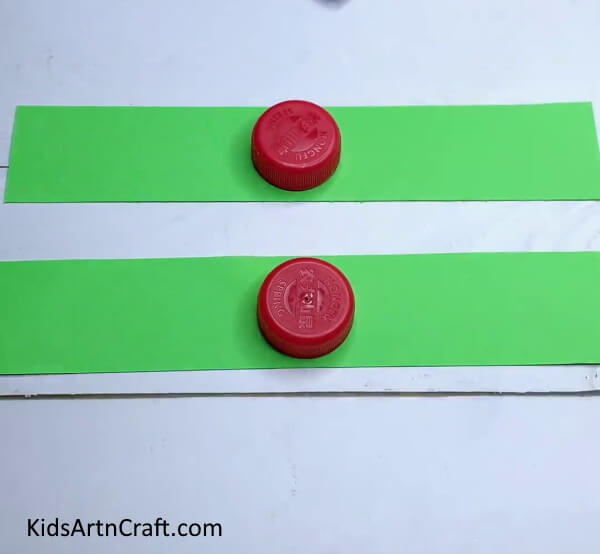 Place the bottle cap in the middle of each green paper strip.
Step 3: Applying Tape On Bottle Caps
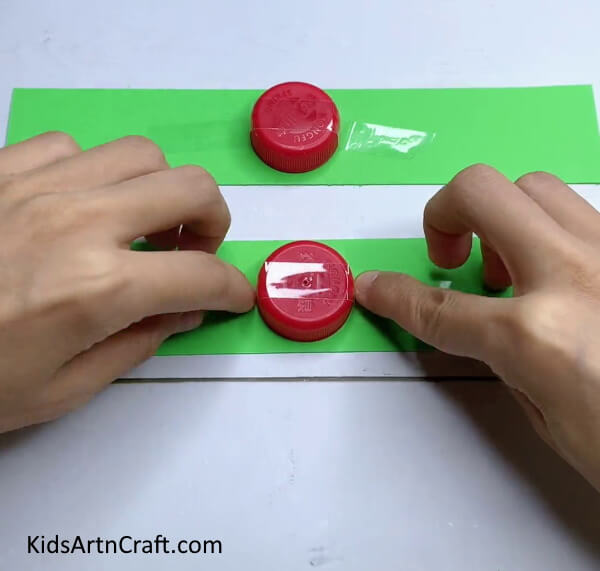
Step 4: Placing Strips On Each Other
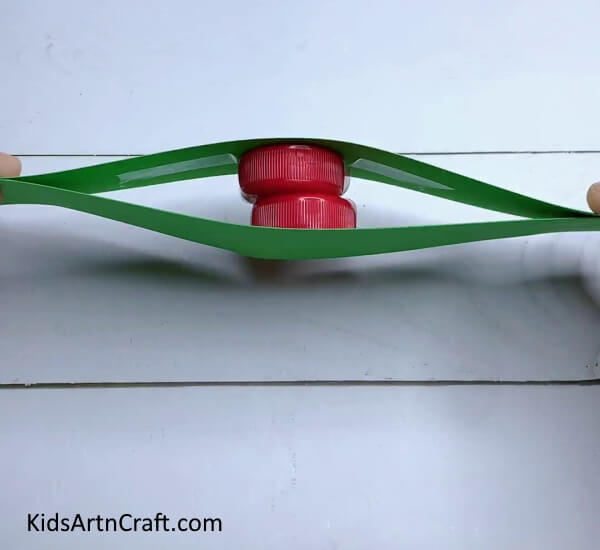 Now place strips on each other in a way that bottle caps face each other. Paste the side edges with glue.
Step 5: Pushing In The Strips
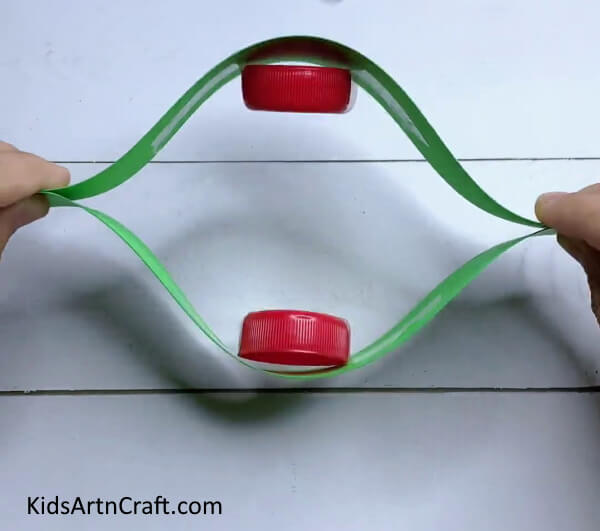 Now, push the strips together to form a lip curve shape as shown in the above image.
Step 6: Making Eyes Of The Frog
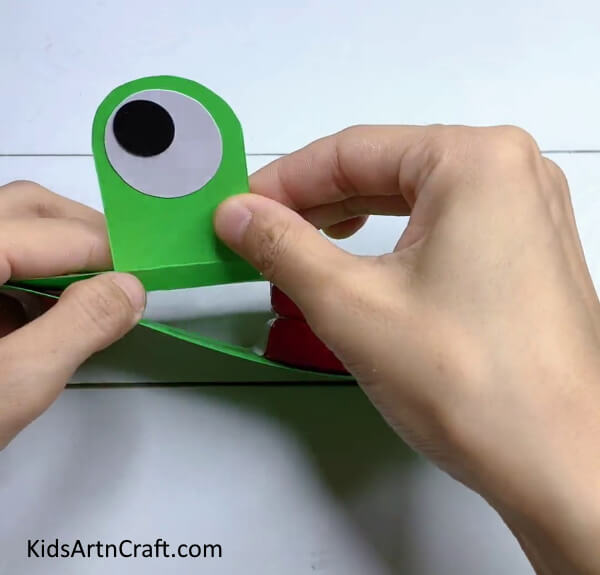 Cut a green rectangle and cut its one breadth in the curve to form an eye of the frog. Now, make the eyes of the frog using a black and white sheet and paste it on the green paper.
Fold a tiny part of eyes inside the strip and then paste it using glue or tape.
Step 7: Pasting Other Eye
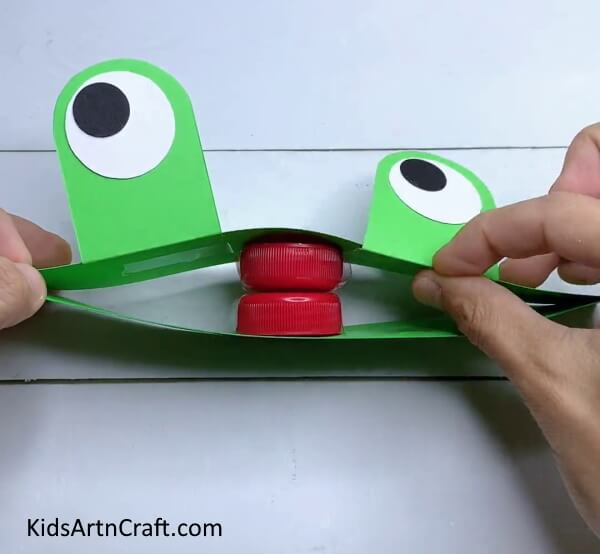
Step 8: Pushing In The Strips
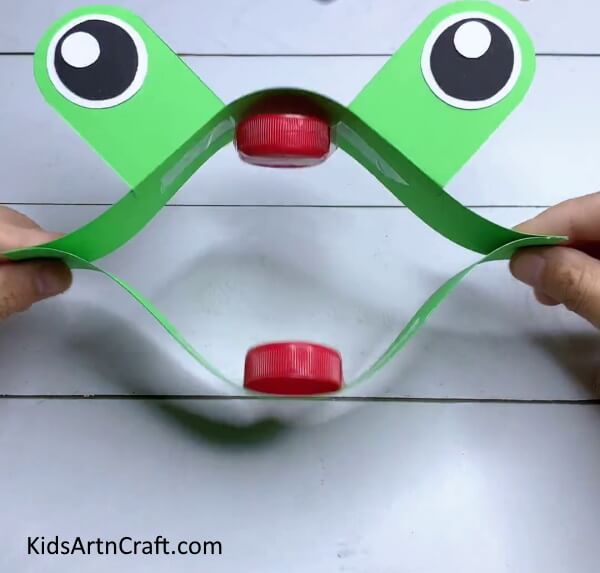 Again, push in the strips.
Final Image – Unique Paper Strip Frog Craft Is Finished!
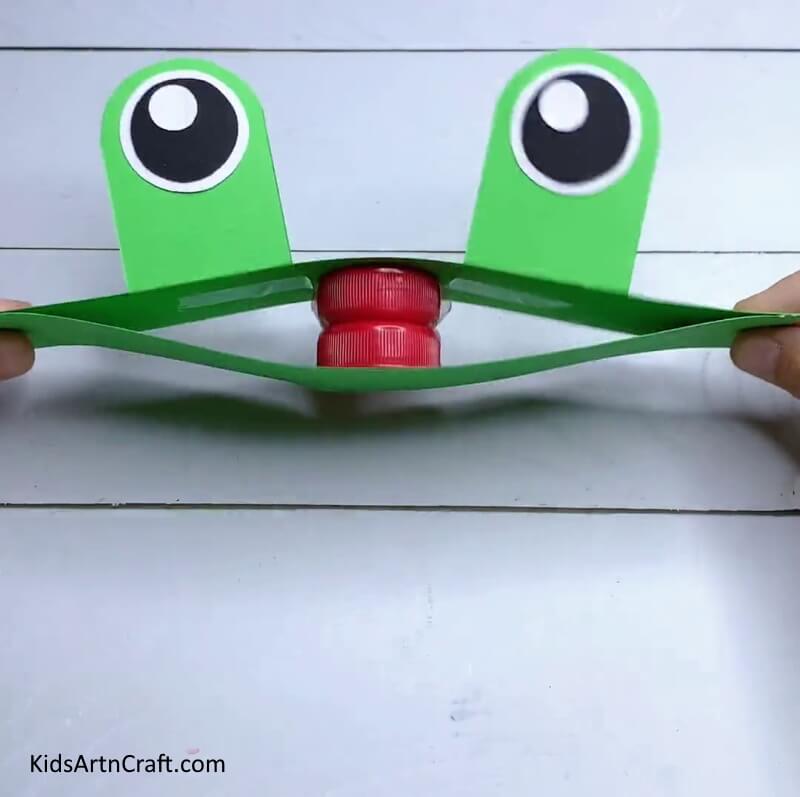 Congratulations – you have just crafted your very own, one-of-a-kind paper strip frog! This unique paper strip frog craft is an easy and fun way to get your kids involved in an arts and crafts project. With just a few simple supplies and some creative imagination, your kids can create their own paper strip frog that will make a fun addition to any room in the home.
This Paper Strips Frog Craft Step By Step Tutorial is a great way to get creative with your kids and make something special together. Have fun!
Some More Frog Craft Tutorial
Ideas For Kids To Make Frog Craft
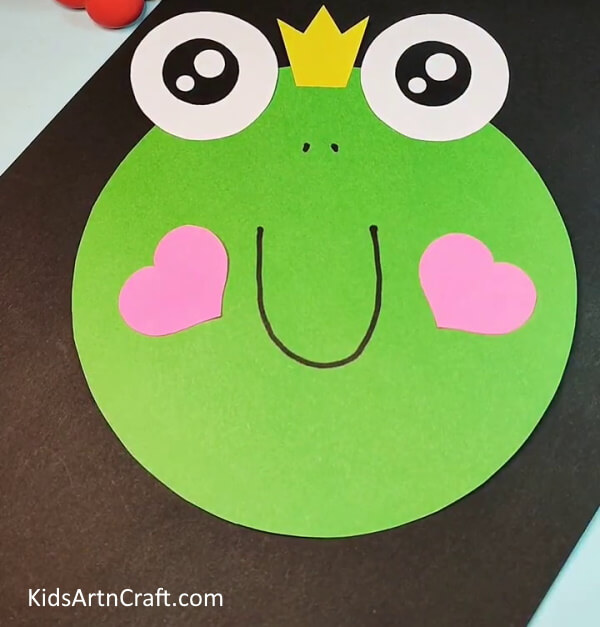
Image Source/Tutorial: Kids Art & Craft
FAQs Related To Paper Strips Frog Craft Step-By-Step Tutorial
1. What materials do I need for the paper strips frog craft?
You will need a few sheets of green paper, scissors, glue, a black marker, and optionally, some googly eyes.2. How do I cut the paper strips?
You can use scissors to cut the paper into 1-inch strips.3. How do I fold the paper strips?
You can fold each paper strip in half and then accordion fold it.4. How do I assemble the frog?
Glue the paper strips together in a circular pattern to form the frog’s body. Then use the black marker to draw two eyes and a mouth. Optionally, you can glue on some googly eyes for a more realistic look.5. Do I need to use a specific type of paper?
No, you can use any type of paper for this craft. However, green paper will work the best.6. Can I make the frog craft with different colors?
Yes, you can use different colors for the paper strips to make different-colored frogs. Follow us on Youtube for art and craft tutorials and much more.More Articles from Kids Art & Craft
- DIY Paper Crafts Video Tutorial for All
- Creative Art & Craft Activities Video Tutorial for All
- Easy Craft Activities that Make Everyone Video Tutorial for All
- Simple Paper Crab Craft – Step-By-Step Tutorial
- DIY Star Wand Ideas for Kids


