Paper Crafts
Easy Paper Circles Apple Tree Craft Step-by-step Tutorial

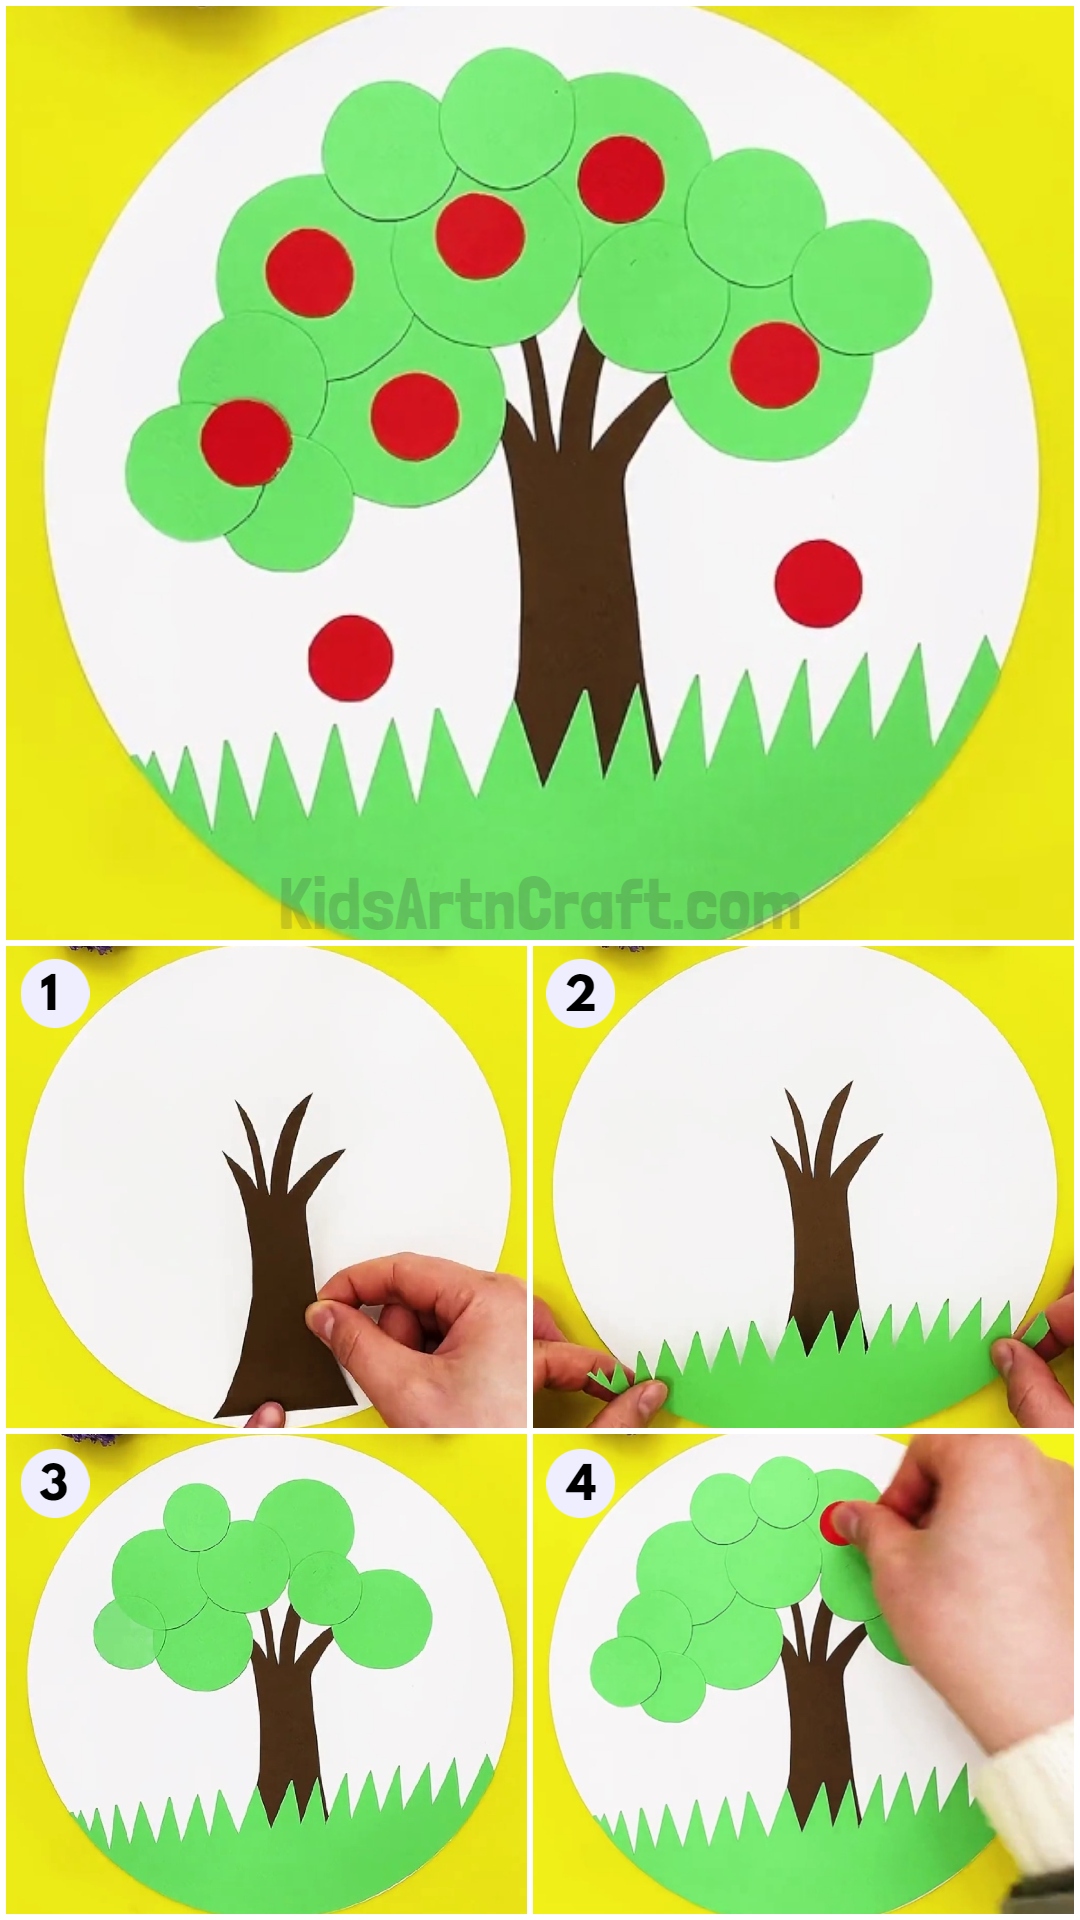
Make a fun apple tree craft with your kids using simple paper circles. This tutorial will help you and your children create a vibrant tree. Great for a day when it’s raining or a fun weekend activity.
While growing up we have always remembered apples from the alphabet ‘A’. Whenever we say apples, we start to imagine a red curvy shape. The red curvy shape apples have many benefits such as it can make your immune system strong, it also contains antioxidants which lower the risk of cancer in humans. So, to know more about apples, we will make an apple craft. Let’s get started!
Bring all the materials that is required for this craft and follow the teeny tiny steps to make an apple craft.
Simple Paper Circles Apple Tree Craft

Read More: DIY Bird Nest Paper Craft For Kids
Materials Required
- White craft paper
- Brown craft paper
- Green craft paper
- Red craft paper
- Scissors
- Glue
Procedure
Step 1: Take A Brown Craft Paper And Make A Tree Trunk

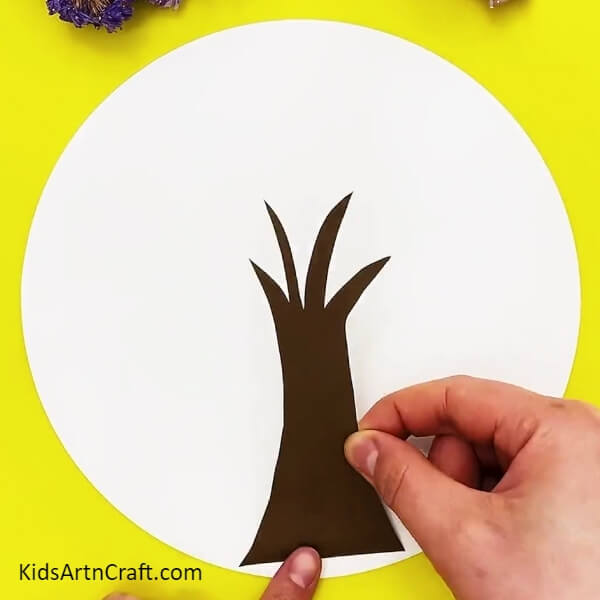
Your first step is to take a white coloured craft paper. The white coloured craft paper should be in circle shape.
After taking a circular white coloured craft paper, take a brown coloured craft paper. After taking a brown coloured craft paper, make a tree trunk with the help of scissors and a brown coloured craft paper. After making a tree trunk with the help of scissors and a brown coloured craft paper, stick the brown tree trunk in the middle of the white coloured craft paper.
Step 2: Make Grasses With Green Craft Paper
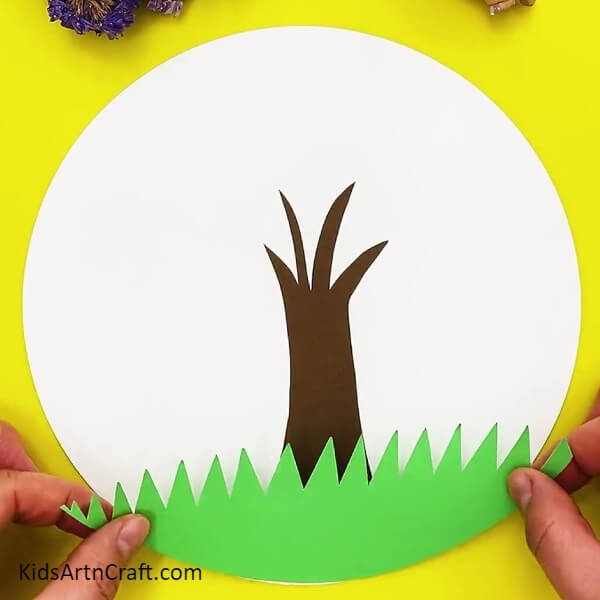
Now, take a green coloured craft paper. After taking a green coloured craft paper, make grasses with green coloured craft paper and scissors. Cut the green colored craft paper in a zig zag shape. After making grasses with the help of green coloured craft paper and scissors by making it into a zig zag shape, stick the green grasses on the bottom of the white coloured craft paper with the help of glue.
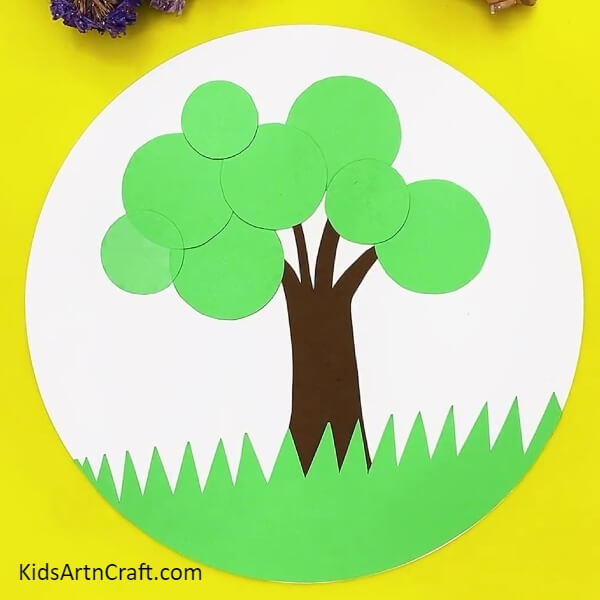
Step 3: Make Circle With Green Craft Paper
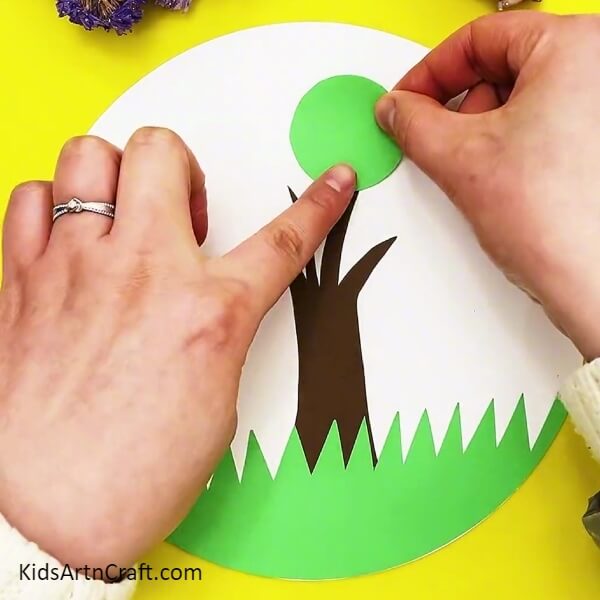
Take a green coloured craft paper. After taking a green coloured craft paper, make circle with the help of scissors and the green coloured craft paper. After making a circle with the help of green coloured craft paper and a scissors, stick the green coloured circle with the help of glue, on the branches of the tree which you made from brown coloured craft paper.
Step 4: Make More Circles From Green Craft Paper
Repeat the step of making circles with the help of green coloured craft paper and the scissors. You can make any size of the circles with the help of green coloured craft paper. After making different sizes of the green coloured circles, stick the green coloured circles on the branches of the brown coloured tree trunks with the help of the glue. You can stick the different sizes of green coloured circles by overlapping the green coloured circles on each other.
Step 5: Stick More Green Circles With Glue
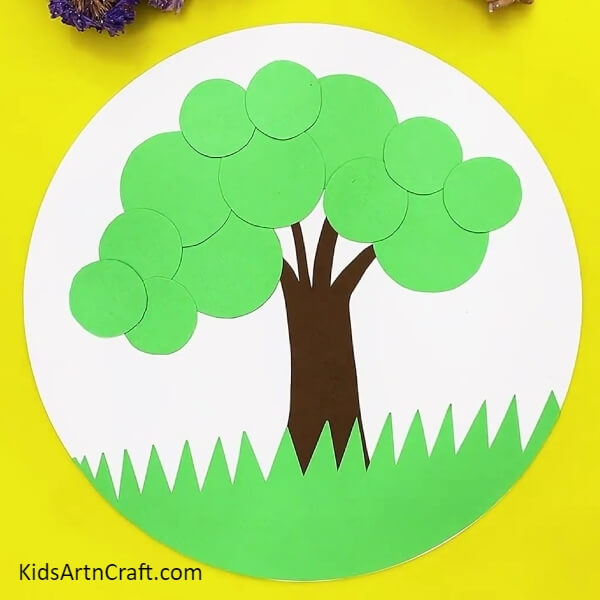
Keep repeating the step of making more green coloured circles with the help of green coloured craft paper. You can make different sizes of green coloured circles.
Repeat the same step of sticking the green coloured circles which you have made from green coloured craft paper with the use of glue, on the tree trunks which you have made from brown coloured craft paper. You can stick the green coloured circles which you made of different sizes by overlapping it on each other with the help of glue as shown in the picture.
Step 6: Make Red Circle With Red Craft Paper
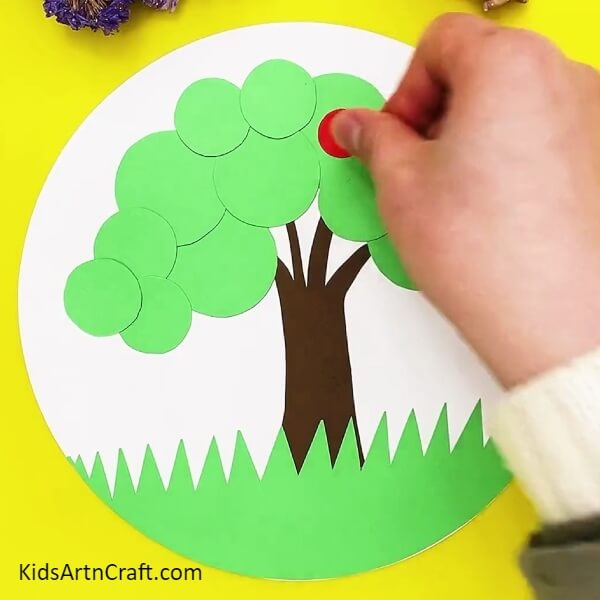
Now, take the red coloured craft paper. After taking the red coloured craft paper, make a red coloured circle with the help of scissors. Remember to make the red coloured circle little smaller than the green coloured circle. After making the red coloured circle with the help of red coloured craft paper, stick the red coloured circle on the green coloured circle, which you made from green coloured craft paper, with the help of glue.
Step 7: Stick More Red Circles From Glue
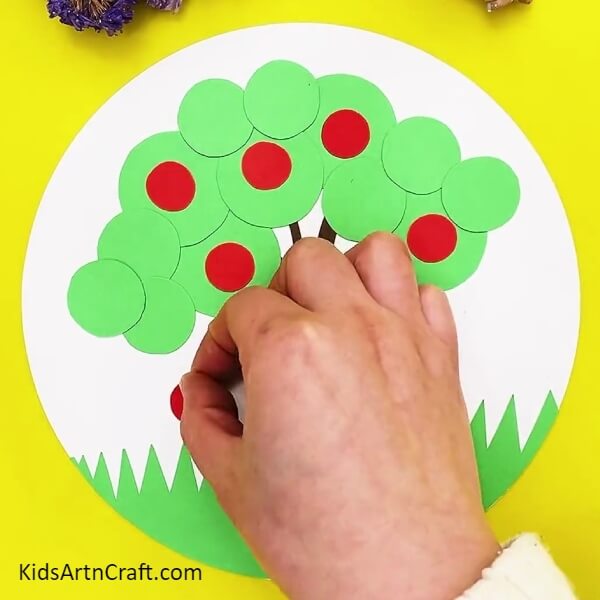
Keep repeating the step of making the red coloured circles with the help of red coloured craft paper. You have to remember to make the red coloured circles little smaller than the green coloured circles which you had stuck on the brown branches earlier.
After making the red coloured circles from red coloured craft paper, stick the red coloured circles on the green coloured circles which you made from green coloured craft paper, with the help of glue. You can even stick the red coloured circles on the white coloured craft paper, depicting apple falling from the tree by sticking the red coloured circle in the white coloured craft paper as shown in the picture.
Your Craft Is Ready!!
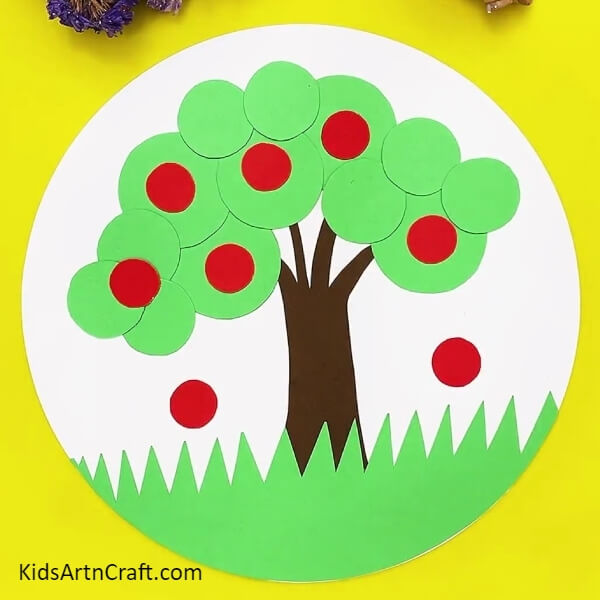
Finally your apple tree is ready where you can pick your apples and enjoy the benefits of the it. These apples are looking ripe and delicious. This craft is really very easy to make and kids can learn things like shapes and sticking. They can even learn more about apples and their benefits.
Some More Tree Craft Tutorial
Homemade Ginkgo Fall Leaf Tree Craft For Kids

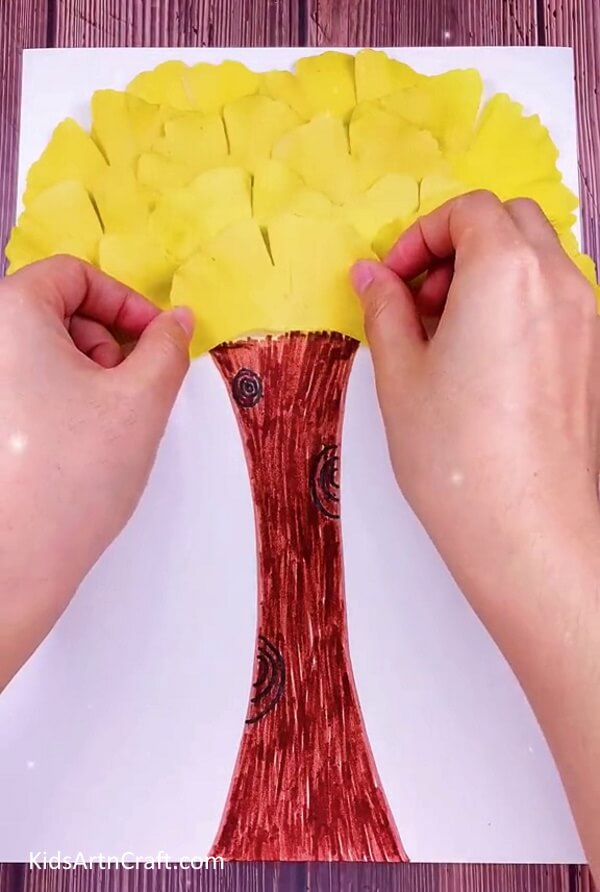
Image Source/Tutorial: Kids Art & Craft
This fun and easy craft is perfect for kids of all ages! With a few simple supplies, they can make a beautiful, homemade Ginkgo Fall Leaf Tree. It’s a great way to get them excited about the changing leaves of autumn.
Follow the guidelines on how to make the apple tree and you will definitely love the end result of your hardwork. You will even learn many things and even your craft skills will upgrade a little.
Follow us on Youtube for art and craft tutorials and much more.
More Articles from Kids Art & Craft
- Easy Paper Robot Craft Step-By-Step Tutorial
- Handprint Craft Paper Frog Easy Craft for Kids
- Easy Paper Snail Craft Tutorial For Kids
- Easy Bunny paper craft for kids
- How to Make a Paper Peacock Easy Craft