DIY and Crafts
Make a Handy Paper Origami Pouch For Kids

Add some excitement and imagination to your next craft activity with kids by following this simple tutorial to make a Handy Paper Origami Pouch! Our guide will show you how to make a special pouch out of paper that all ages can have fun with.
Welcome to this tutorial! This tutorial is about how to make your own handy origami paper pouch. This is a cute mini pouch, with some simple folding you can make this pouch very easily. This craft is suitable for everyone and even kids can create this craft with zero effort. You should have some designed craft paper in A4 size. There are so many designs are available in market, select your favorite design, but the size should be in A4. Alright, Let’s start!
Easy To Make a Handy Paper Origami Pouch For Kids

Read More: Learn to Make Origami Paper Ninja Star Craft Tutorial
Material Required
- Designed craft paper (A4 size)
Procedure
Step 1: Folding Craft Paper Into Half
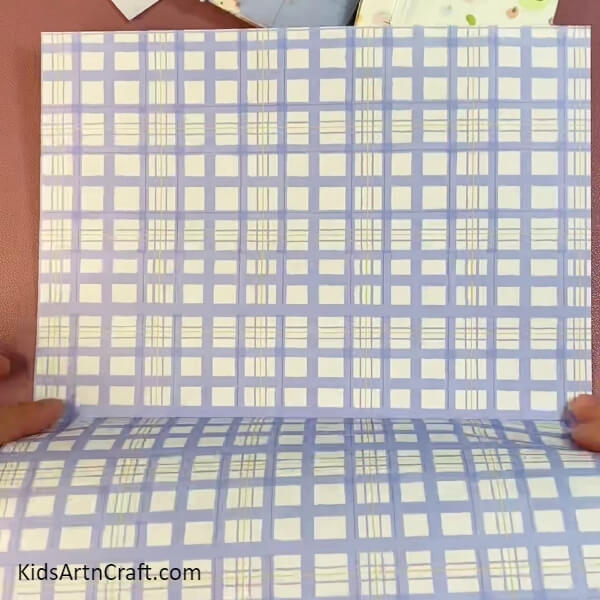

Take your A4 craft paper and fold it up into half, it would be in rectangle shape.
Step 2: Folding Craft Paper One More Time
Again fold your craft paper from right to left.
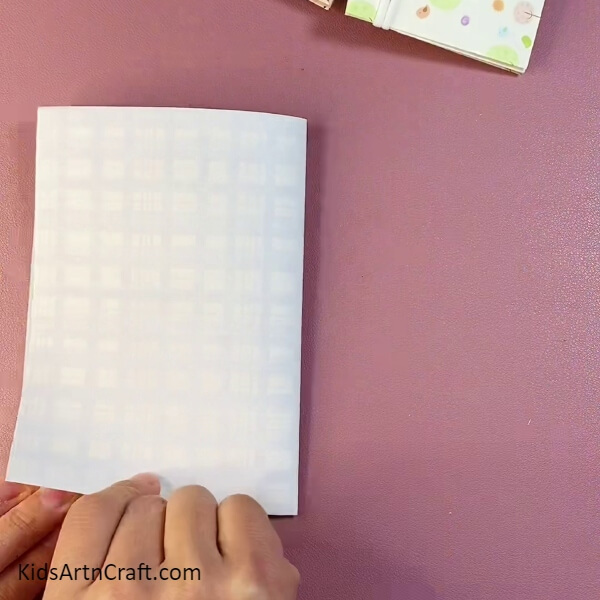
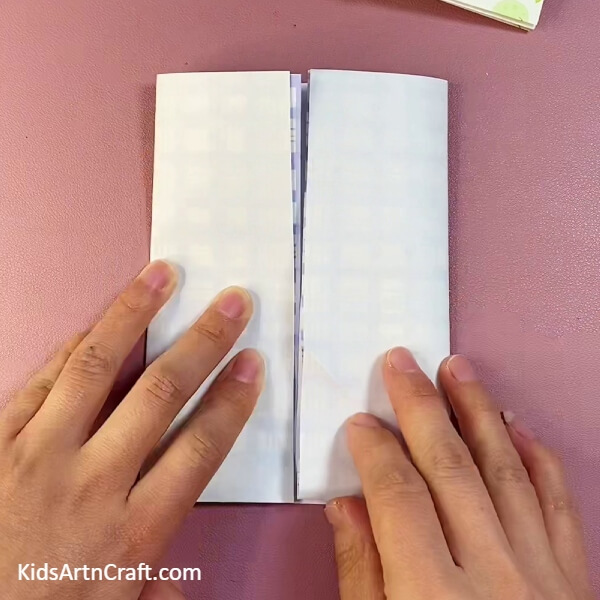
Step 3: Unfolding Craft Paper
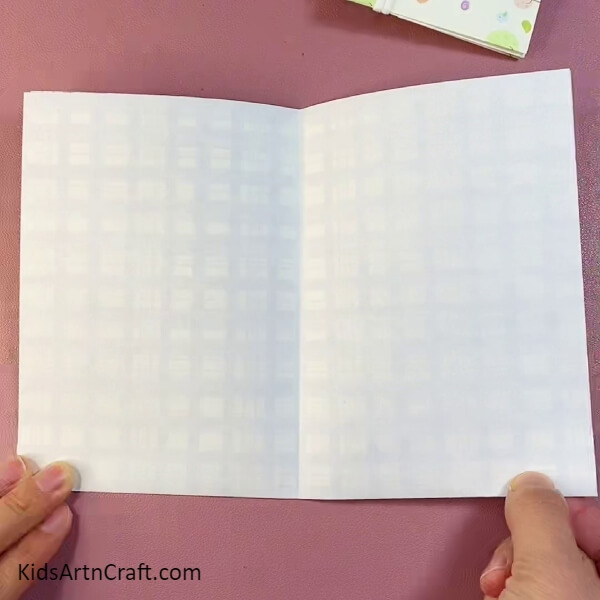
Then, unfold your craft paper once and it should be in rectangle.
Step 4: Folding Right Side Of The Craft Paper Into The Center

Then fold right side of your craft paper into the center.
Step 5: Folding Right Side Of The Craft Paper Into Center
Fold left side of your craft paper into the center.
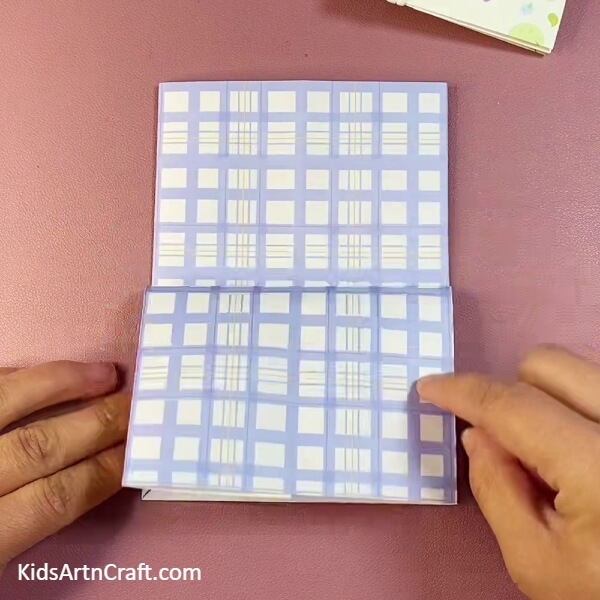
Step 6: Opening Both Side Of Craft Paper And Folding It To Make Upside Down Triangle Fold
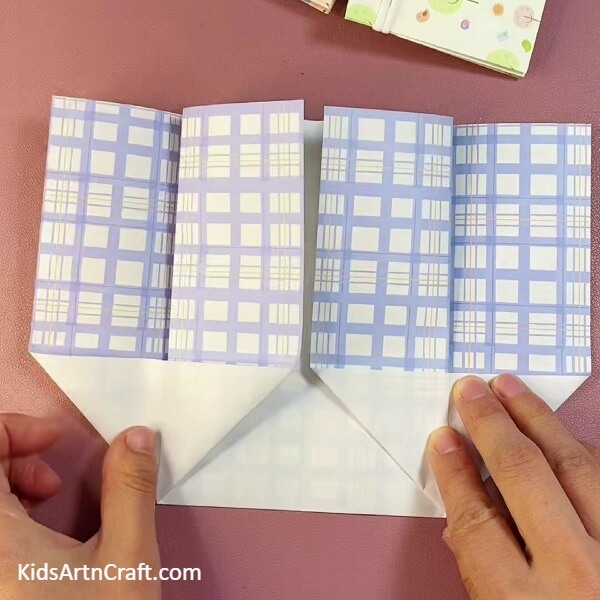
Then open both side of that folding and under that folding give little pressure on both sides with your thumb finger to fold it to create upside down “triangle fold” on both sides as shown in the image.
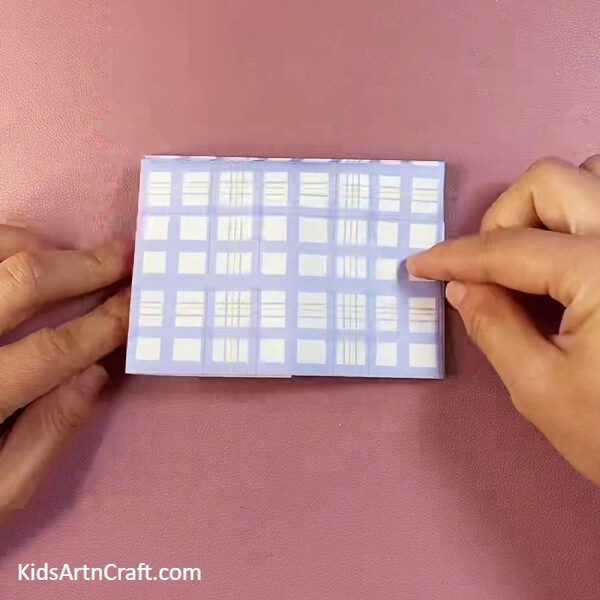
Step 7: Folding Right Side Of Craft Paper
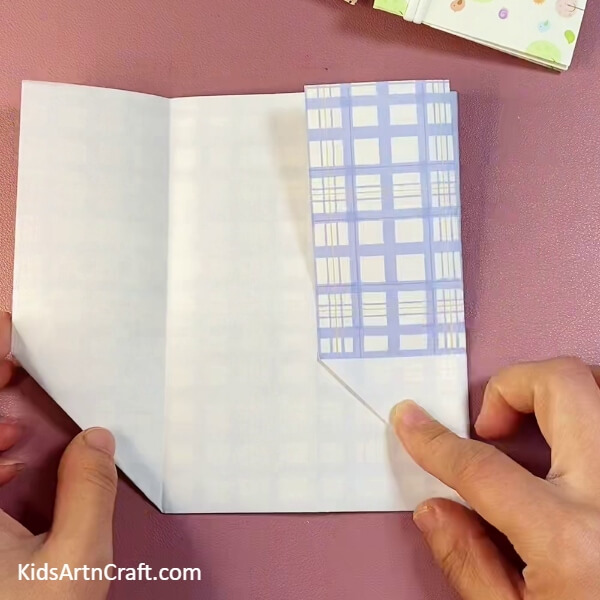
Turn your paper and you can see that excessive parts of that folding. Grab right side of craft paper and then fold it into center.
Step 8: Folding Left Side Of Craft Paper
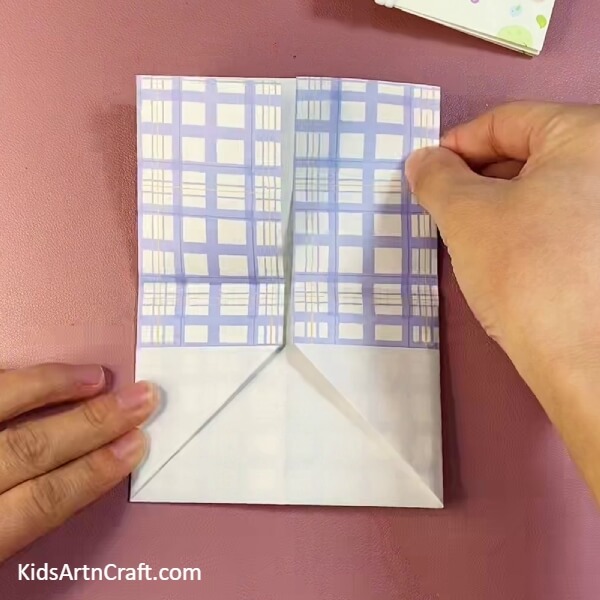
Grab left side of craft paper and fold it into the center as well.
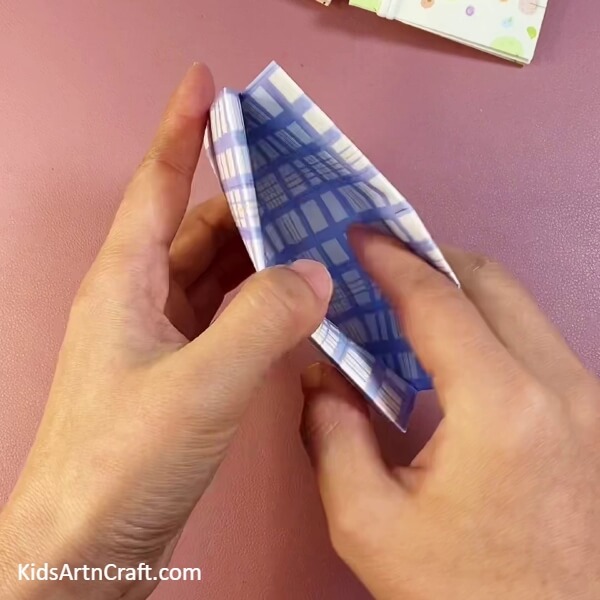
Step 9: Folding Front Piece Of Paper
Fold the front piece of craft paper below as shown.
Step 10: Folding Another Back Piece Of Your Craft Paper
Then turn your craft paper and also fold the remaining one piece of craft paper as well.
Step 11: Opening Your Paper Pouch In The Middle To Make Space
Then you can see the gap between your craft paper, separate it to make space.
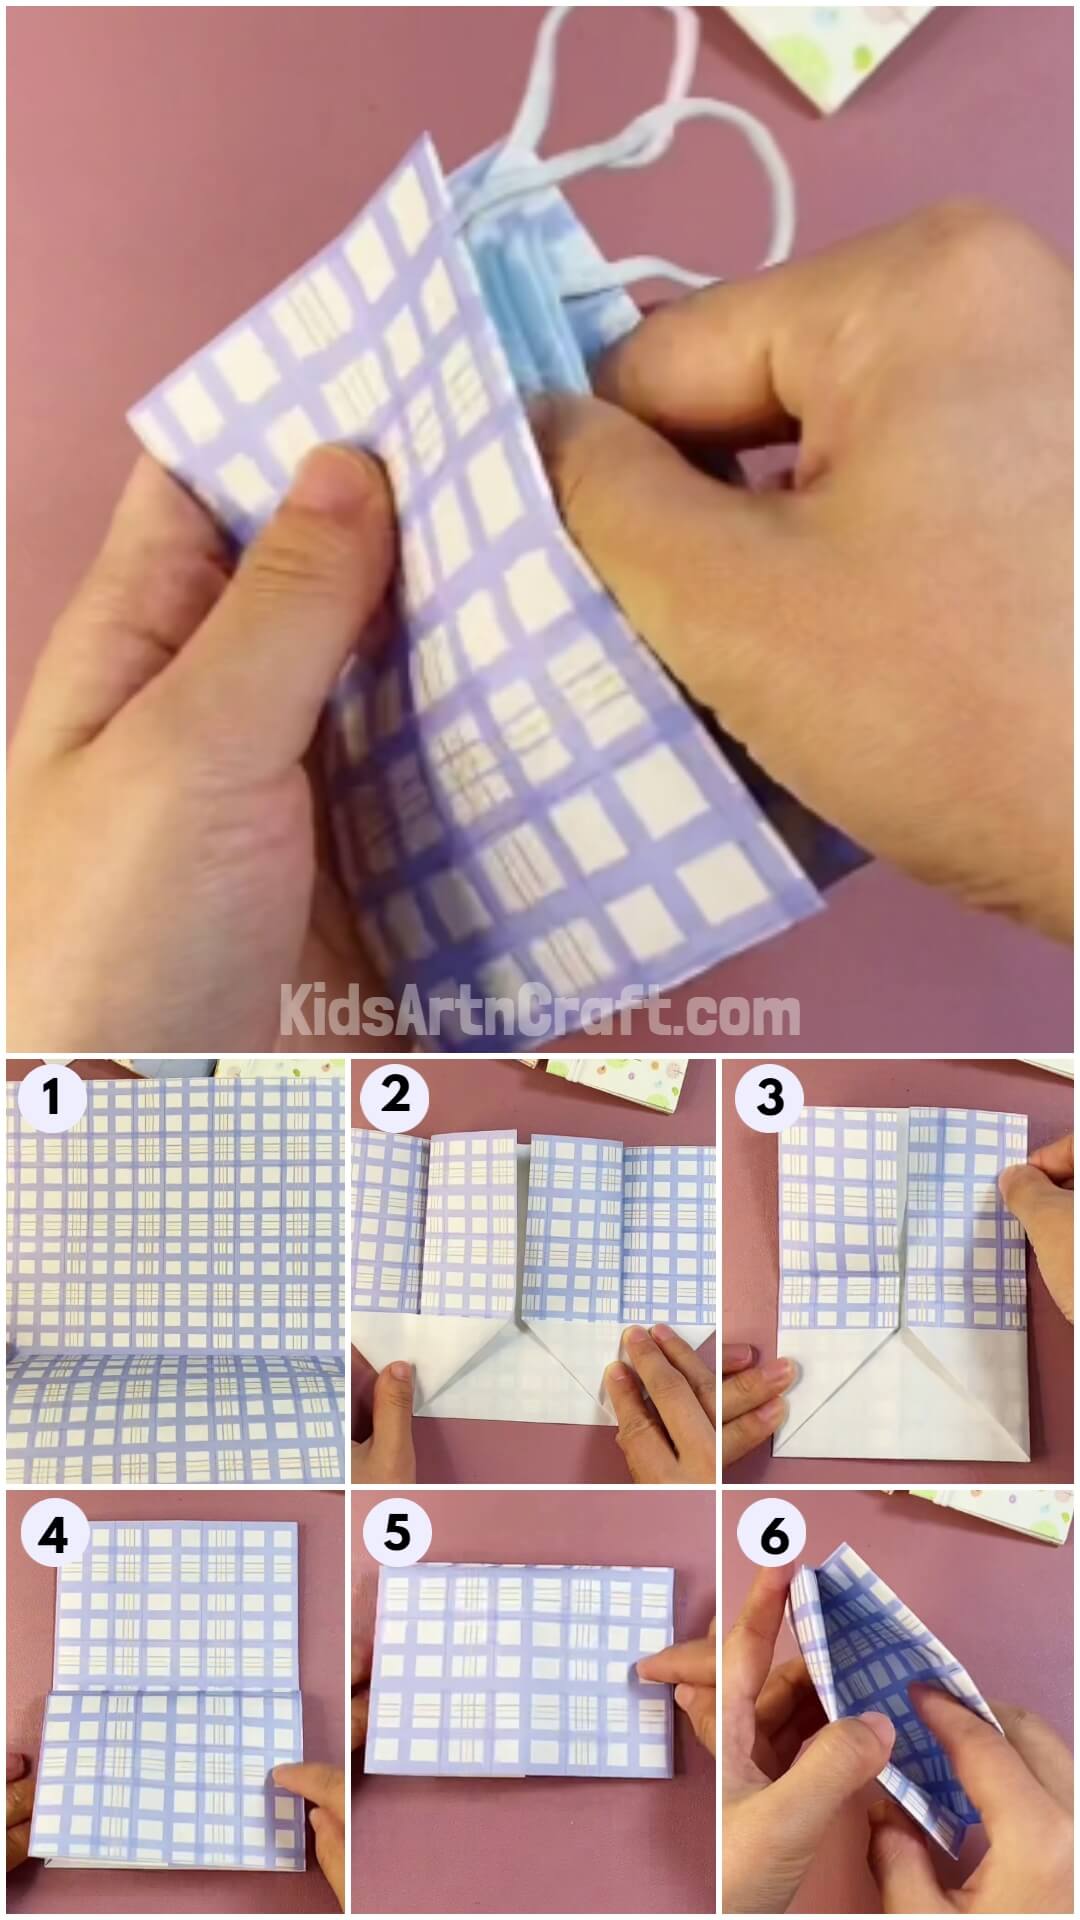
Finally !Our Handy Origami Paper Pouch Is Done!
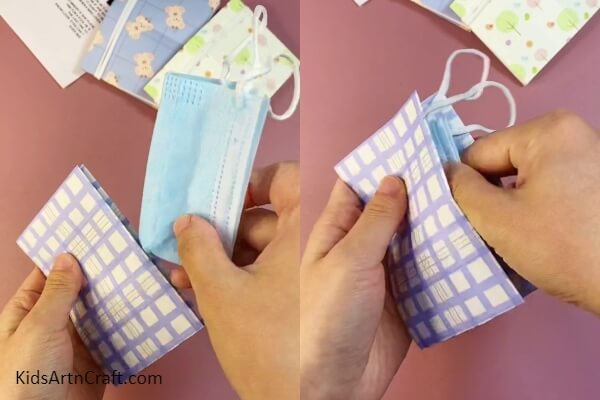

Finally our mini handy origami pouch is ready. You can use this mini pouch to put your mask, coins and money.
We hope this handy paper pouch craft tutorial is useful for you. Share your thoughts about this tutorial in comment box below and for more useful and easy crafts like this, visit our website.
Thank you for visiting our website!
Follow us on Youtube for art and craft tutorials and much more.
More Articles from Kids Art & Craft
- How to Make Paper Umbrella Craft for Kids Tutorial
- How to Make Easy Paper Snowflakes Tutorial
- Learn To Make Easy Heart Shaped Paper Mouse Craft
- How to make Paper Strips Boat Craft Tutorial For Kids
- DIY Heart Shape Cat Craft for Valentine’s Day