Paper Crafts
DIY Paper Worm Craft tutorial for Kids

This fun craft is perfect for kids of all ages! Learn how to make a cute paper worm craft with simple supplies. Easy-to-follow instructions and no mess make this craft a perfect activity for a rainy day.
This craft is simple enough for even the littlest crafters, and the finished product can be used for imaginary play, story-telling, or even as decorations. Plus, all the materials you need can be found around the house. It is the perfect way to get your kid’s creative juices flowing! If you’re looking for a fun and easy craft for your kids to make, then a DIY paper worm craft is the perfect project.
Not only is this craft easy to do and requires minimal supplies, but it is also loads of fun. This craft is sure to keep your kids entertained and is a great way to get them to use their imaginations. Read on to find out how to make your own Paper Worm Craft.
Easy To Make Paper Worm Craft For Kindergartners


Read More: How To Make A Paper Heart Bee Craft Tutorial
Materials Required
- Two Different Colored Papers
- Black Paper
- Scissors
- Glue
- Red Marker
Procedure
Step 1: Taking A Blue Paper Strip
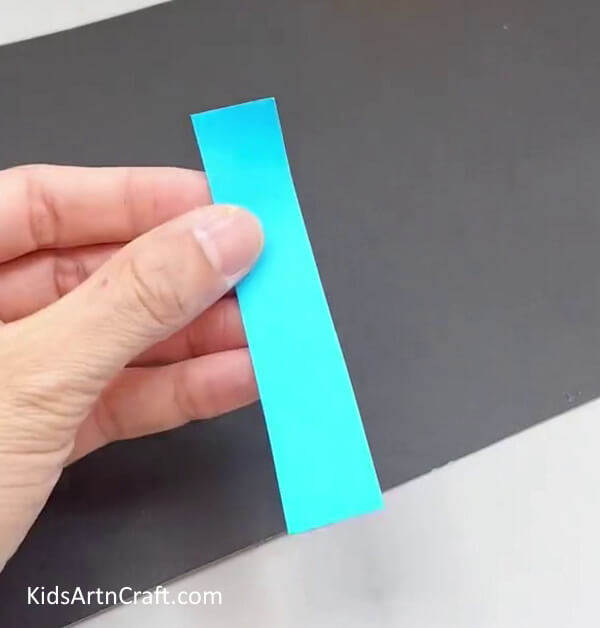

Let’s begin this craft by taking a blue paper strip. You can choose any color of strips you want.
Step 2: Applying Glue
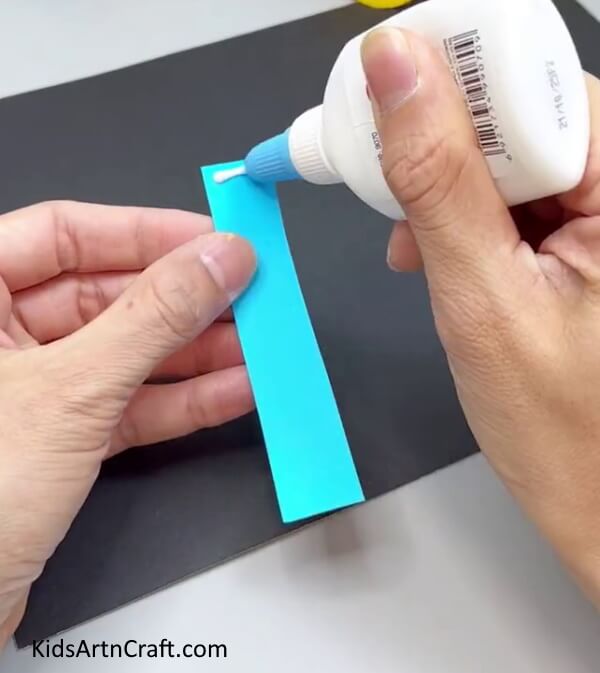

Apply glue on one of its breadths.
Step 3: Folding Paper To Form A Ring


Fold the blue paper to make a ring shape and stick its end.
Step 4: Inserting Yellow Paper Strip In Blue Ring
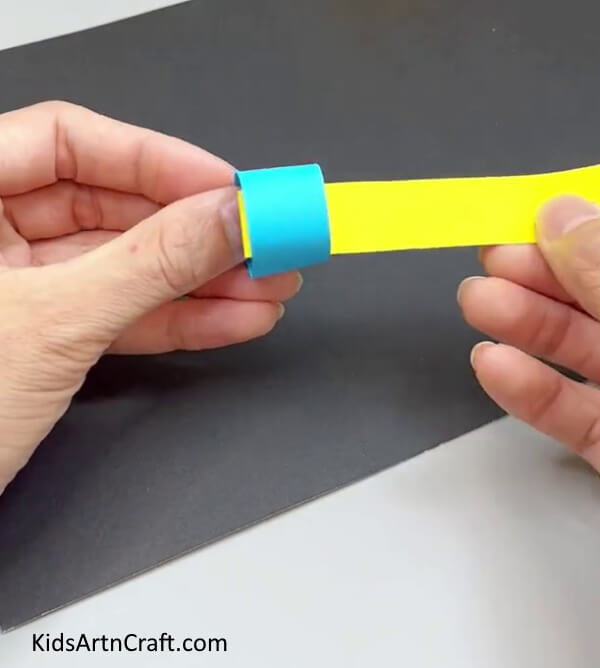

Now, insert a yellow paper strip in the blue ring.
Step 5: Folding Yellow Paper To Form A Ring
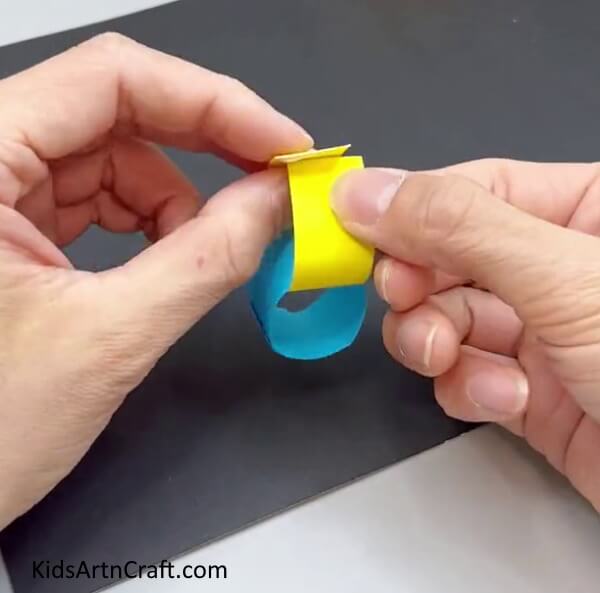

Apply glue on its breadth and make a ring by folding it as shown in the above image.
Step 6: Making Blue Ring Attached To Yellow Ring
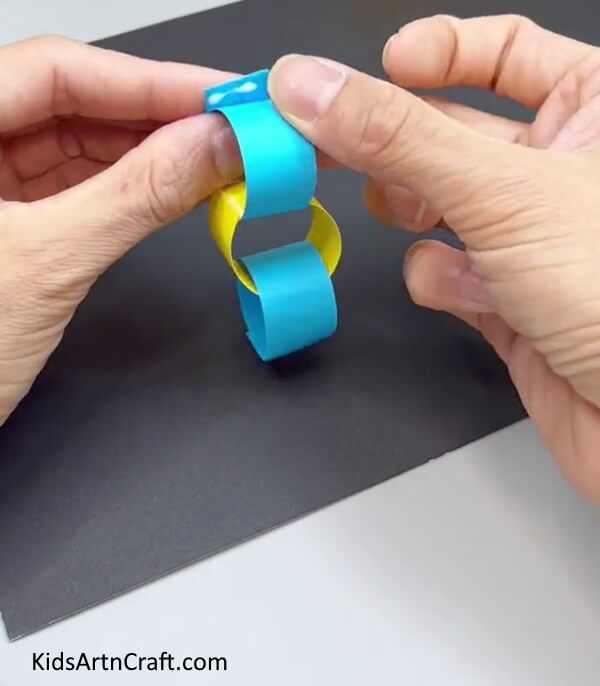

Similarly, attach a blue ring. Using the same procedure make rings of yellow and blue paper alternately. You can make the length of paper worms as you want.
Step 7: Cutting A Yellow Paper Circle
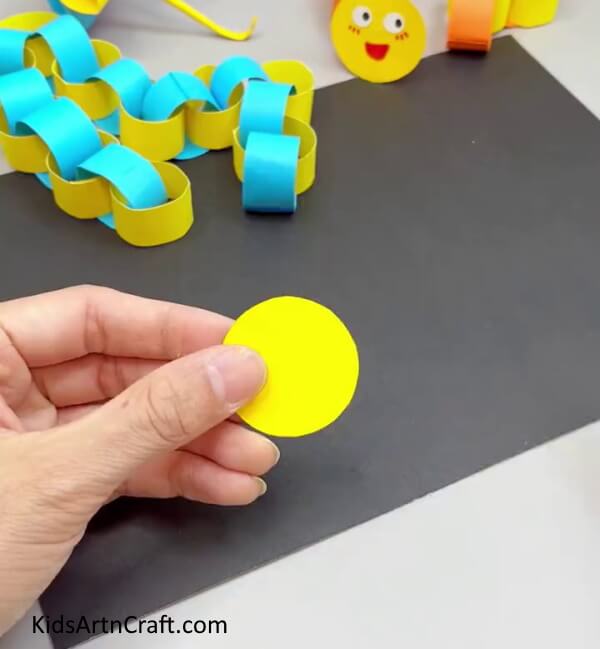

Next, cut a circle out of yellow paper using scissors.
Step 8: Making Antennas of Paper Worm
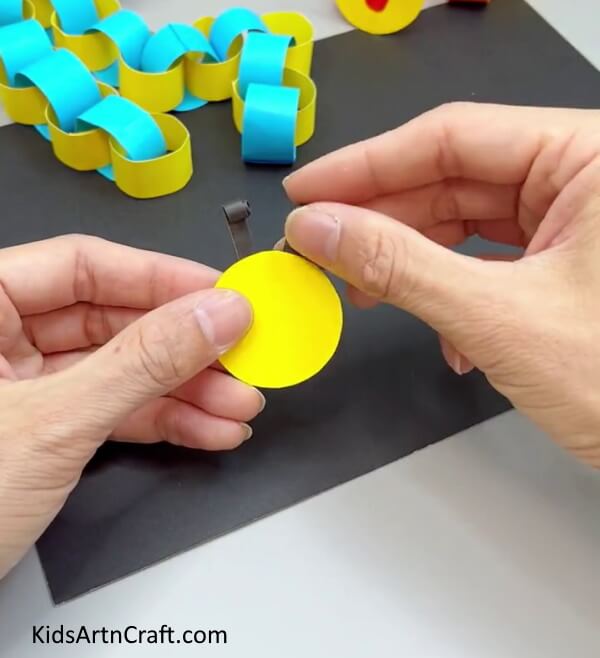

Make the antennas by pasting a thin black paper strip on the top of the face and folding its ends.
Step 9: Making Face of Paper Worm
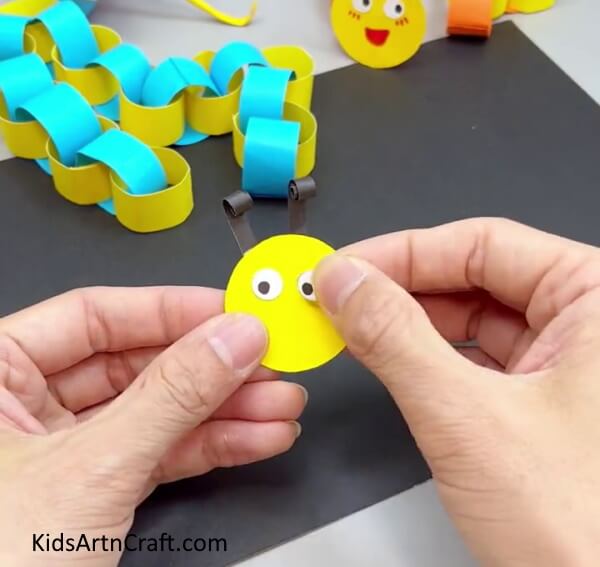

Make the face of the paper worm by pasting eyes and drawing a smile and cheeks using a red marker.
Step 10: Pasting Face To Body
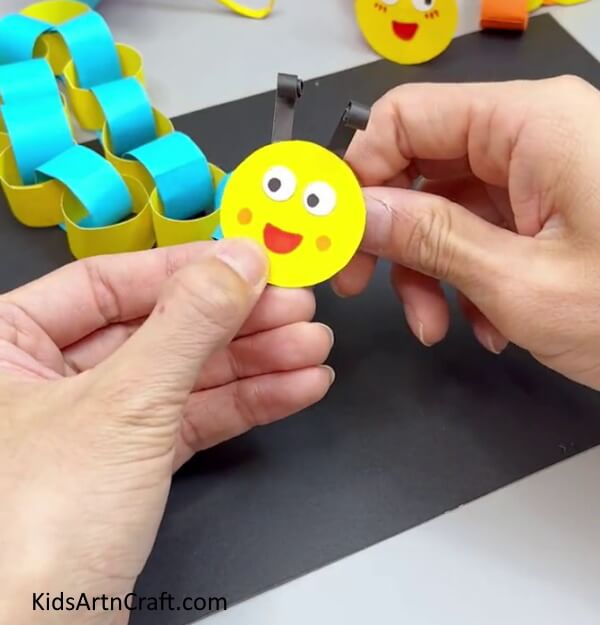

Finally, paste the face on the end ring of the body to complete the craft.
DIY Paper Worm Craft Is Ready To Play!
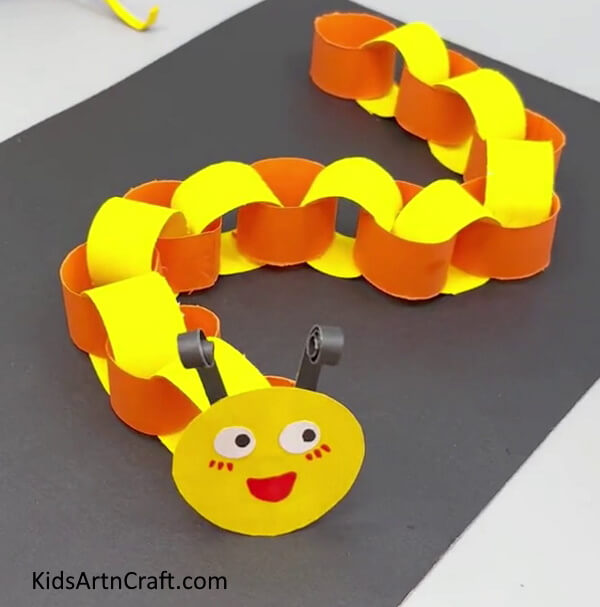

That’s great! DIY paper worm crafts can be a lot of fun for kids to make and play with. They can set up an imaginary world for their worms to explore or create a special game with their worms. Not only is it fun and easy to make, but the finished product is sure to bring a smile to your child’s face! So, why not give it a try?
This DIY Paper Worm Craft for Kids is a great activity to do together as a family or with friends! It’s a fun and creative way to spend time together and make something unique.
Follow us on Youtube for art and craft tutorials and much more.
More Articles from Kids Art & Craft
- Paper Crafts And Activities Video Tutorial for Kids
- How To Make Cardboard Tube Swan Craft Tutorial For Kids
- Learn To Make Paper Duck Craft Tutorial
- DIY Paper Animal Crafts Video Tutorial for Kids With Parents
- Learn To Make a Tree with Paper Step-by-step Tutorial