Kids Activities
How to make Tree Painting Using Earbuds tutorial for kids

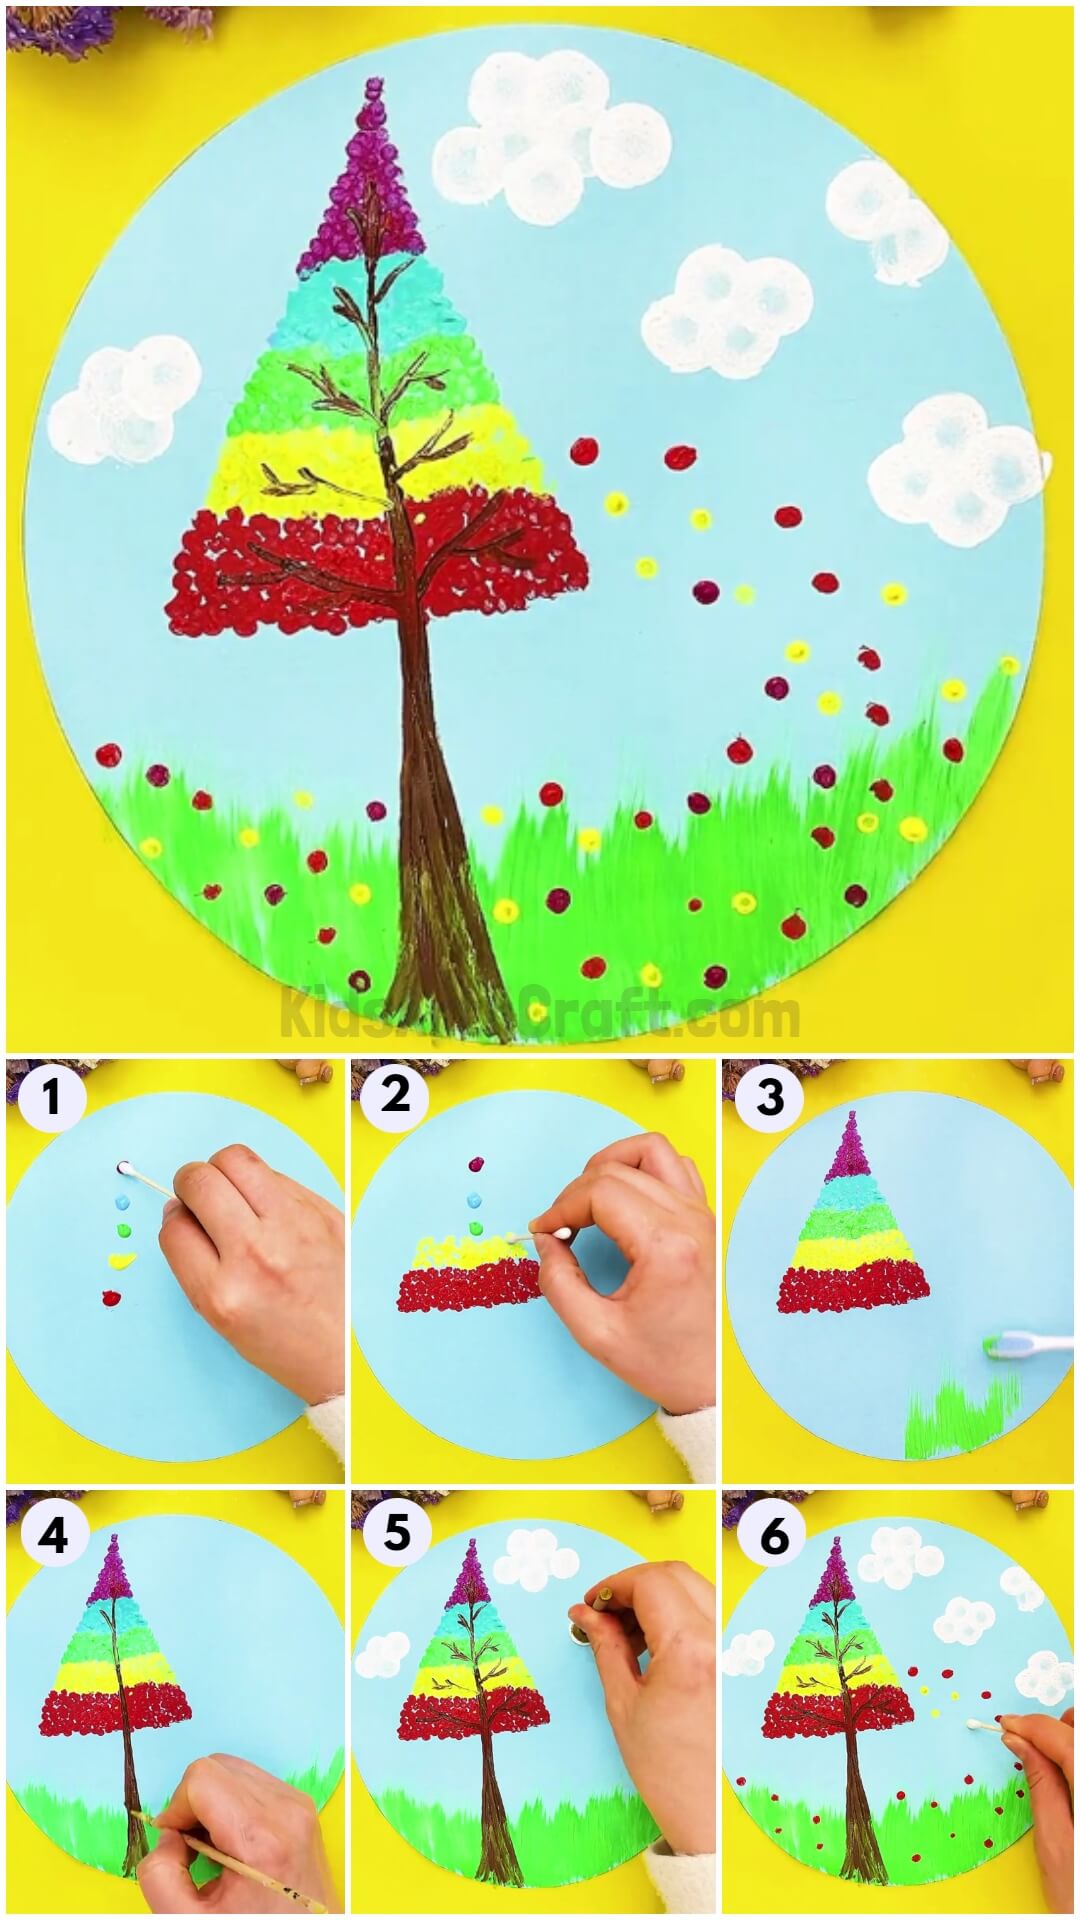
Explore your fantasy world right in front of your eyes by making this colorful tree painting! This tutorial will guide you through the process!
Learn to make this amazing colorful tree on your own! This tree will be suited for your fantasy world and will get you to dive into the imagination of your fantasy world in this art-making! This tutorial involves very easy and simple steps for making this artwork! You will also learn something new and unique tricks and techniques of making art with supplies other than the basic ones! This craft will let you explore your creative side along with driving your motor skills! It will give you shooting vibes by looking at the final results of your artwork! Let’s gather the supplies and start to make it!
Earbuds Tree Painting Art Idea For Kids

Read More: Painting Tips and Craft Video Tutorial for Beginners
Materials Required
- Paint Colors
- Paintbrush
- Cotton Earbud
- Toothbrush
- Blue Circular Paper Sheet
- Circle Stamp
Procedure
Step 1: Making Paint Dots
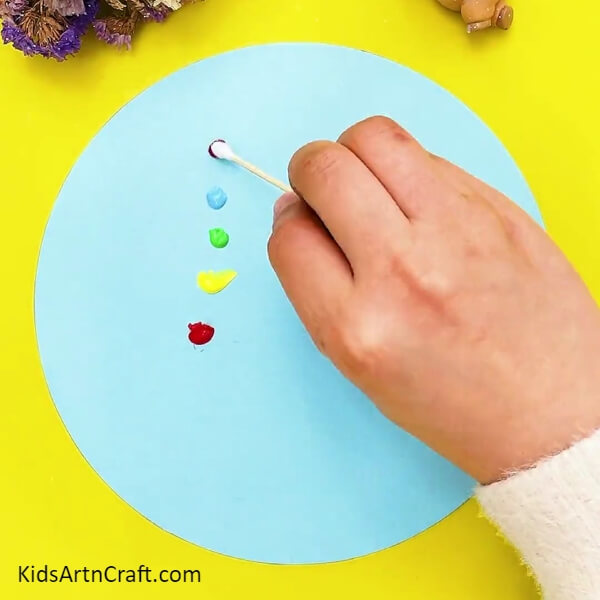

To begin this art, take a blue circular paper sheet and a cotton earbud. Dip the bud into red paint and dab it over the sheet in the middle left. Now, one by one dip and dab the bud into yellow, green, blue, and purple paint dots over the other in a line starting from above the red dot. Make sure to put the dots at some certain distance.
Step 2: Making Red Leaves Of Tree
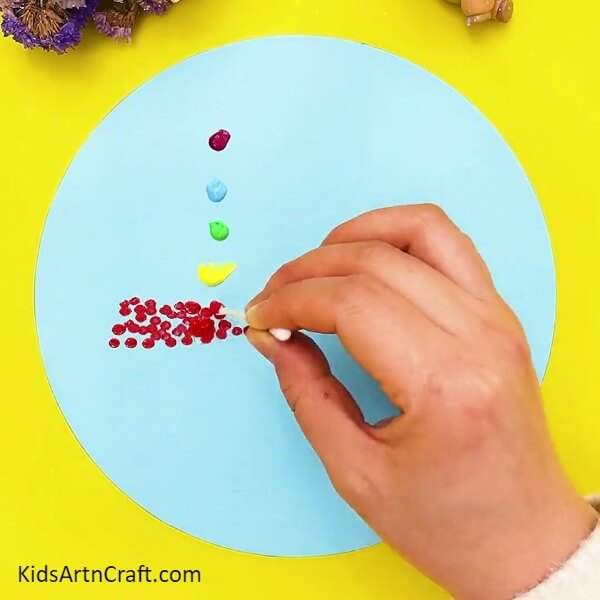
Using the cotton bud, spread the red paint dot by continuously dabbing closely and randomly in a trapezium shape for the red leaves.
Step 3: Making More Leaves

Following the same previous step, make the remaining leaves, starting from the next, yellow paint. Make sure to make leaves in receding trapezium shapes so that altogether they form a triangle shape of the whole tree.
Step 4: Completing Making Leaves
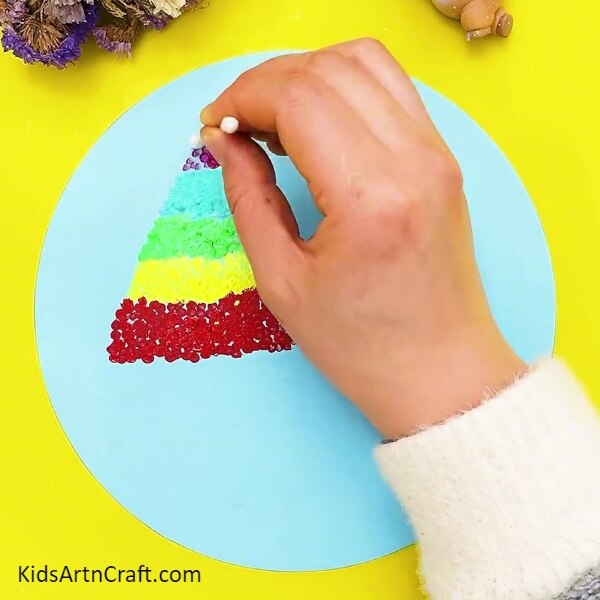
Make the last colored leaves i.e. purple, in a triangle shape dabbing to complete the leaves of the tree.
Step 5: Making Grass
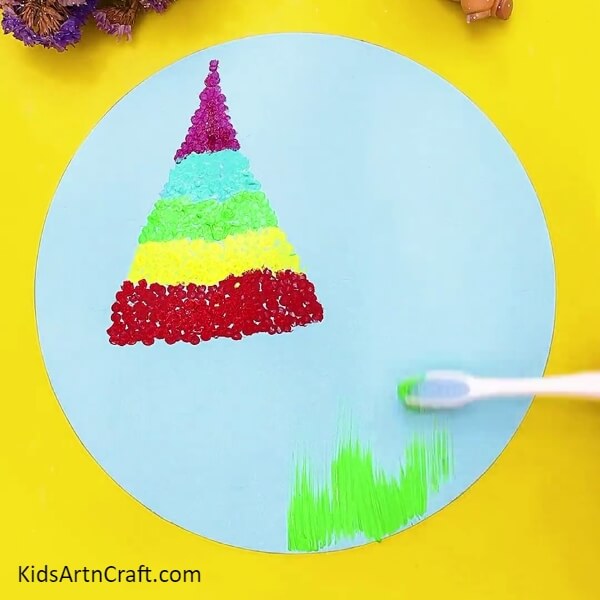
Dip a toothbrush into green paint and make strokes beneath the tree at the bottom of the base.
Step 6: Making Tree Trunk
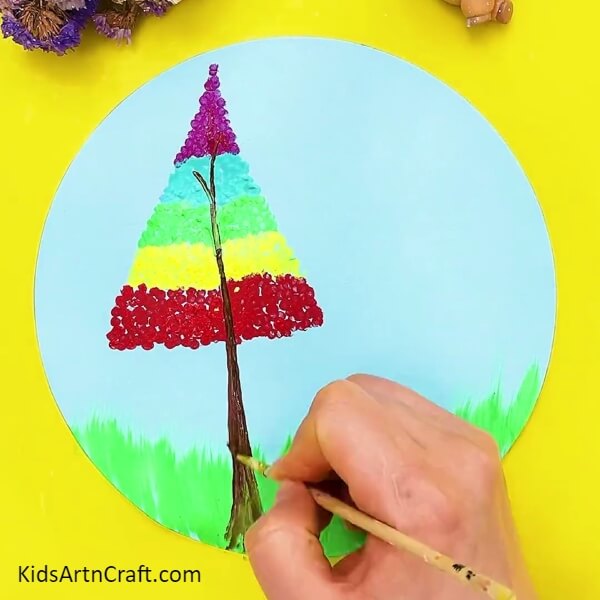
Using a paintbrush, make the tree trunk of brown paint. Make sure to make the trunk broader from the end and thinner at the top till the purple leaves.
Step 7: Making Branches
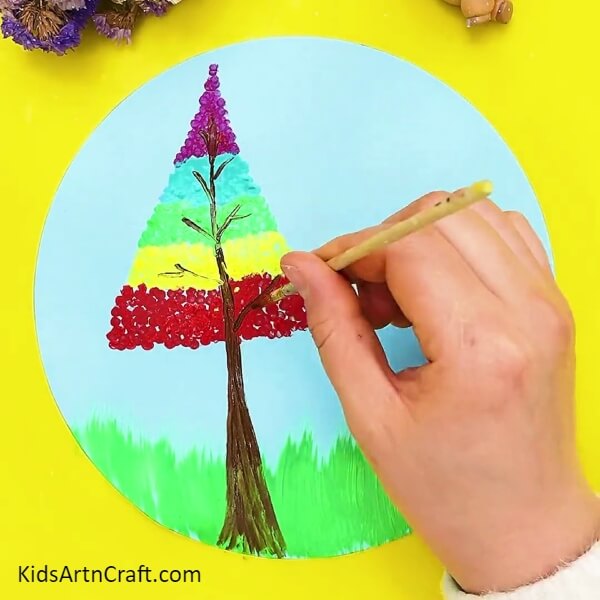
Using the same paint and brush, paint the branches of the tree on both sides of the trunk over the leaves.
Step 8: Making Clouds
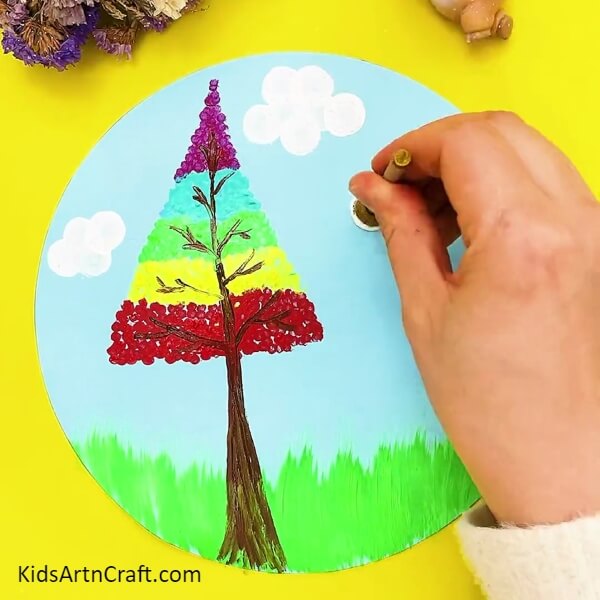
Dip a small circle stamp into white paint and dab it over the top of the artwork to form clouds in the sky.
Step 9: Making Red Falling Leaves
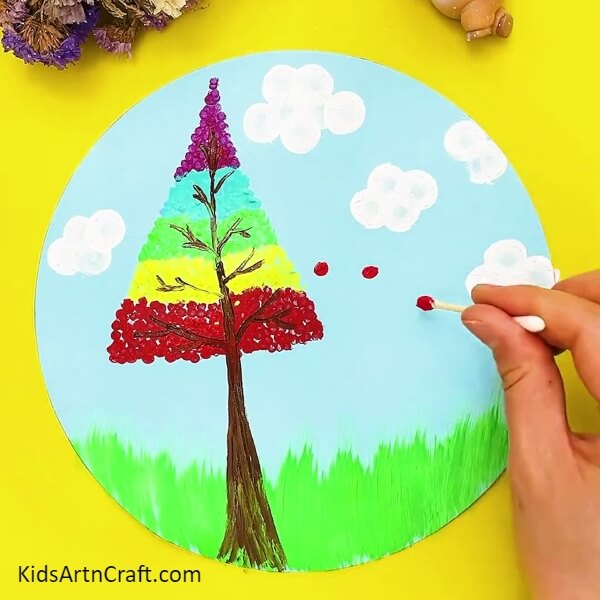
Dip the bud into red paint again and dab it over the blue base, coming to the right side and over the grass in a curve.
Step 10: Making Yellow Falling Leaves

Do the same as before to make the yellow falling leaves in the same curve as shown in the image.
Your Colorful Tree Scenery Is Ready!
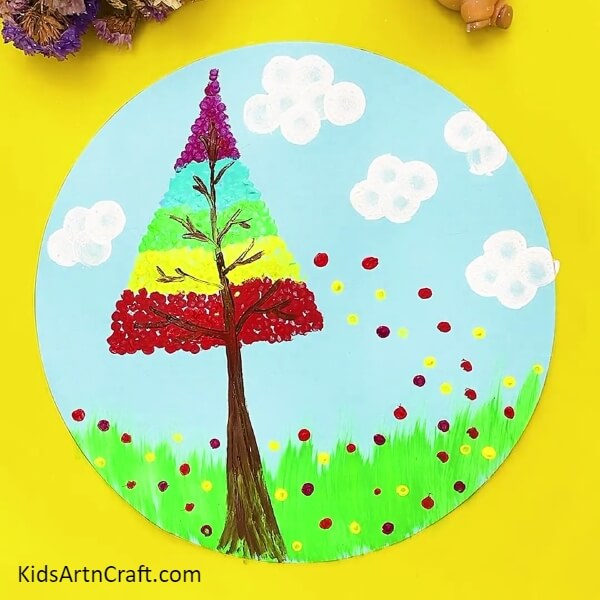
Congratulations! You have finally made this colorful tree scenery artwork in minutes!
Hang this artwork or painting over your wall to decorate the room! Also, show it off to your friends and family and all together you can lost in your fantasy world! This painting will definitely be admired by everyone in the room and you could also customize the colors of the painting or can even add up something more to it, your imagination is the limit! Unleash your artistic side with this painting!
Some More Tree Painting Tutorial
Make Tree Painting Using EarBuds For Kids

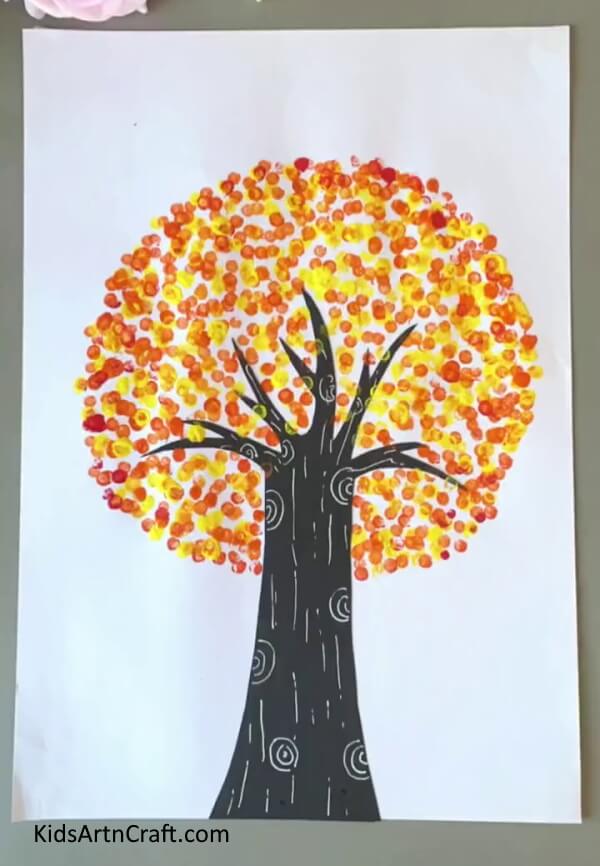
Image Source/Tutorial: Kids Art & Craft
This creative activity is fun for kids of all ages! Make tree painting using ear buds to create a unique and interesting painting. Kids can use their imagination and mix colors to create a beautiful work of art. It’s a great way to get creative and have fun with art!
Follow us on Youtube for art and craft tutorials and much more.
More Articles from Kids Art & Craft
- Creative Art & Craft Activities Video Tutorial for All
- Fabric Crafts for Halloween
- DIY Fun Crafts Video Tutorial for Kids
- Easy Leaf Fall Artwork And Craft for Kids
- How to Make a Clay Bird Easy Artwork tutorial for kids