Kids Activities
How To Make 3D Mushroom Using Paper And Plastic Bottle

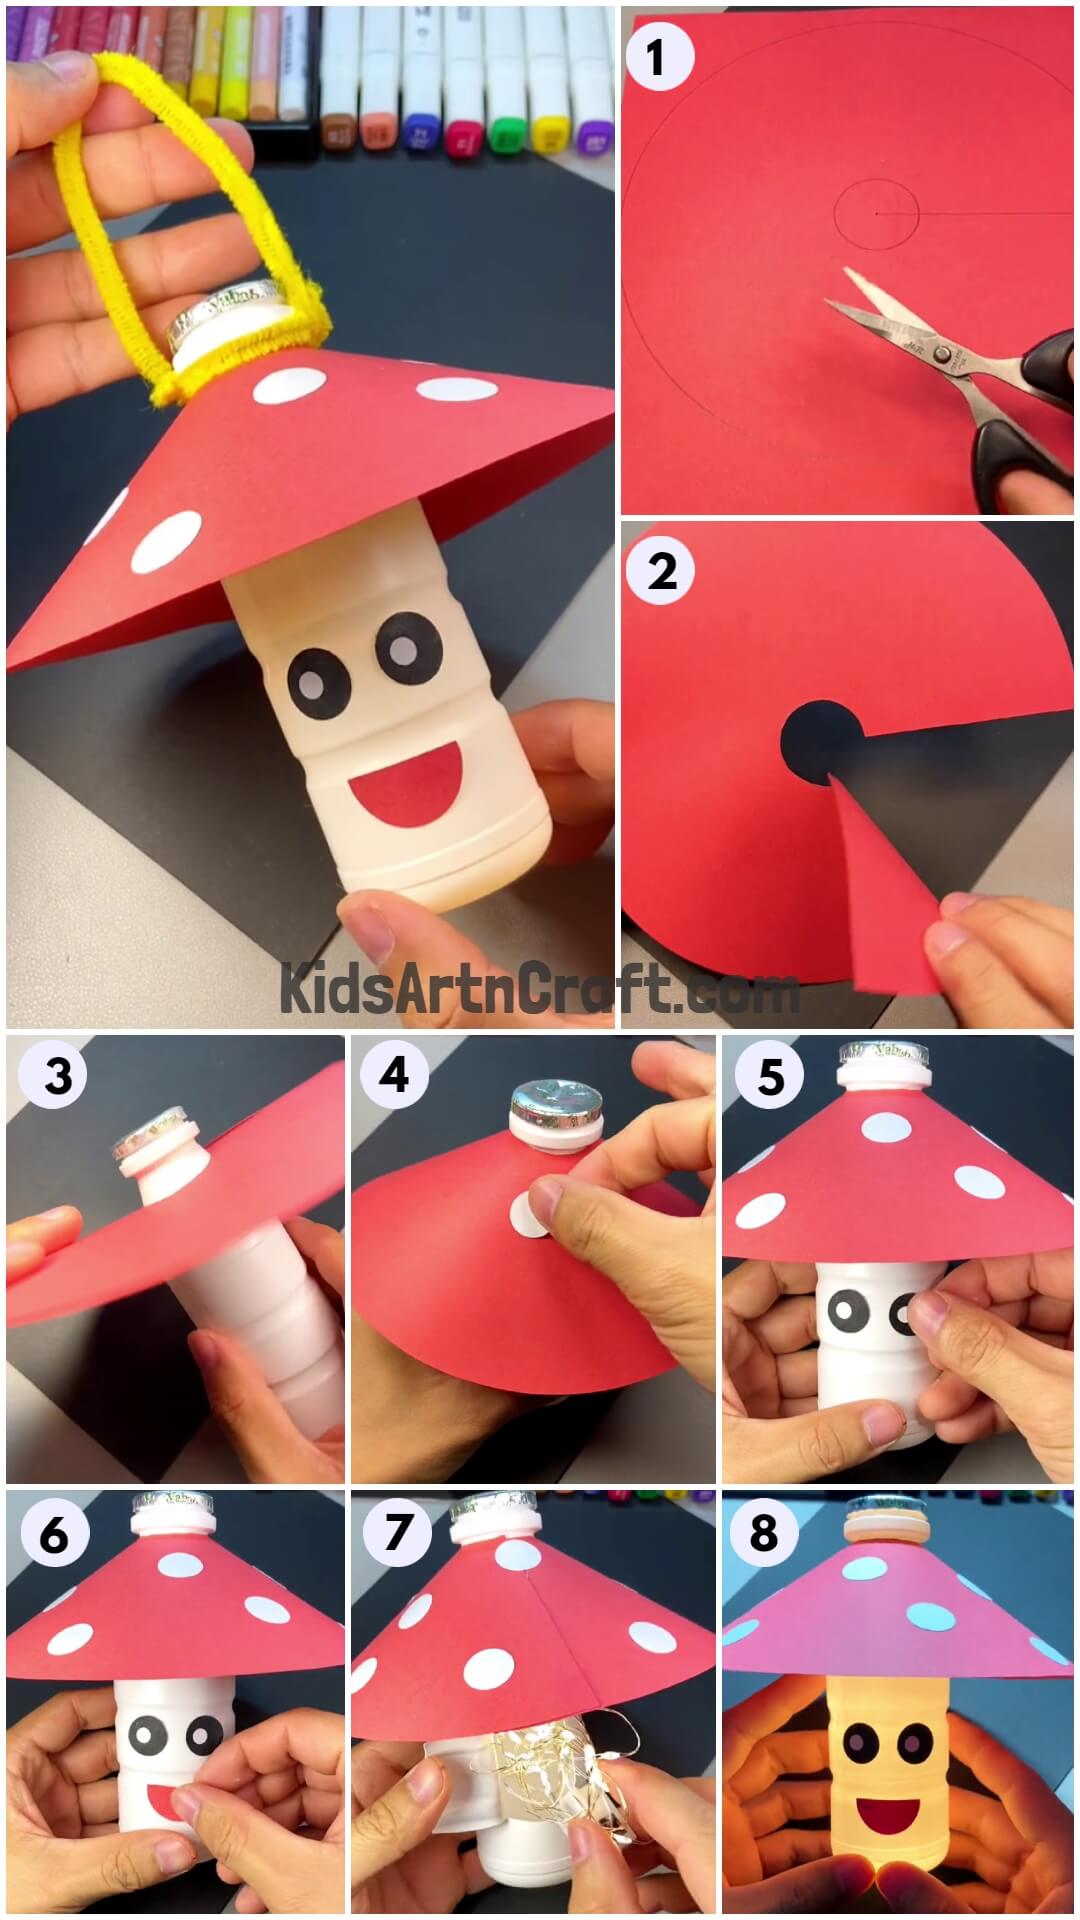
Learn how to make a 3D mushroom out of paper and a plastic bottle! This easy and fun craft is perfect for kids and adults alike and can be used as decoration or to make a unique gift. Follow our step-by-step guide to make your own 3D mushroom in no time!
Making 3D mushrooms using paper and plastic bottles is a great way to bring an extra dimension of art to your projects. This simple and fun craft is an excellent way to add an element of surprise and whimsy to any room or party setting. With the right materials and a bit of creativity, you can make your own 3D mushroom in no time.
3D Mushroom Using Paper And Plastic Bottle Craft Tutorial

Read More: Nativity Crafts for Kids
Materials Required
- Red color craft paper
- Compass and pencil
- Ruler
- White and black sheets
- Glue
- White color cooldrink bottle (medium size)
- LED serial light
- Scissors
- Yellow color pipe cleaner
Procedure
Step 1: Drawing A Circle On Red Color Craft Paper
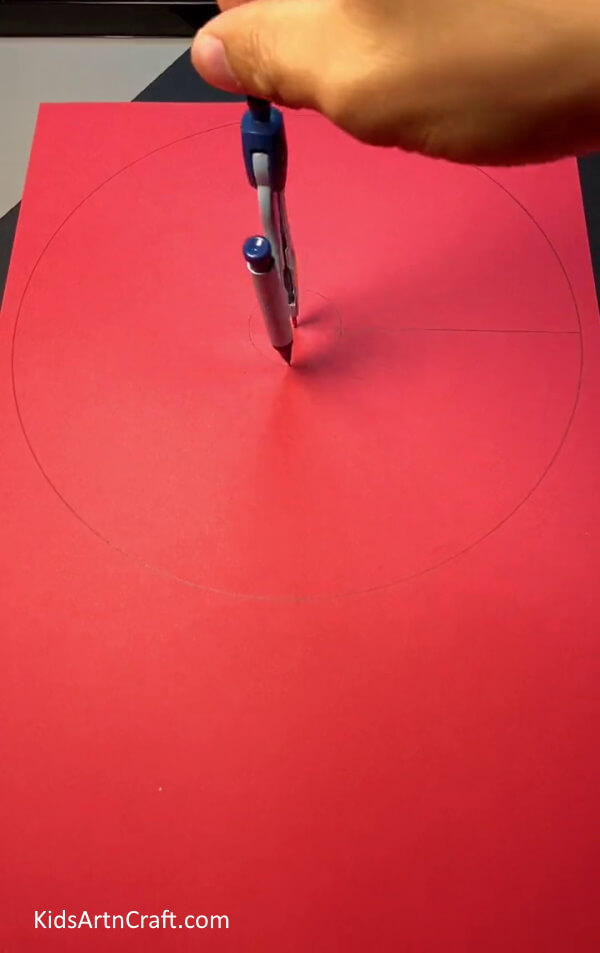

Grab your compass and pencil, fix your pencil in the compass and take 10cm measurement, then draw a circle on red color paper and take 1.5cm measurement again, draw a small circle in the middle of that big circle and with the use of scale draw a line from the middle of the circle.
Step 2: Cutting Straight Line On Red Color Craft Paper
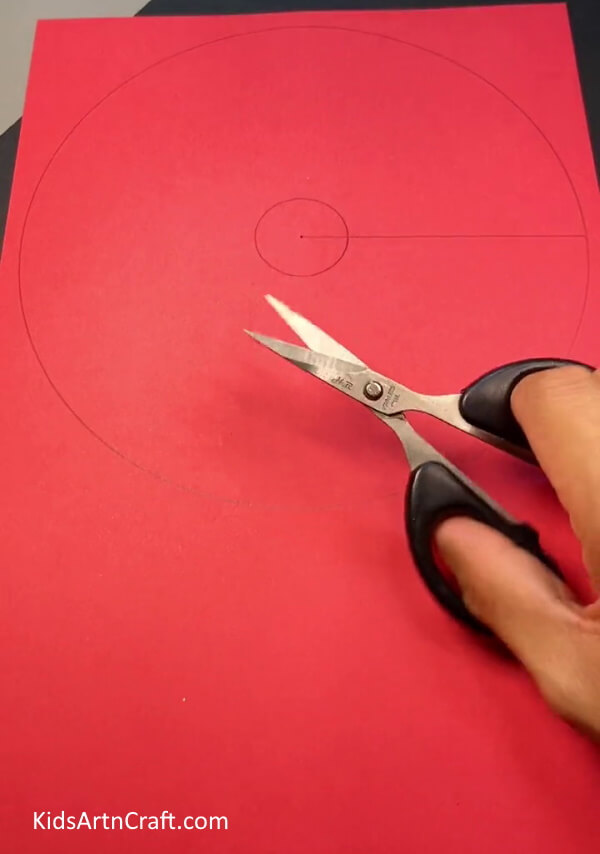

With the use of scissors, cut straight on the line till the middle point of the circle.
Step 3: Cutting Small Circle From Red Color Craft Paper
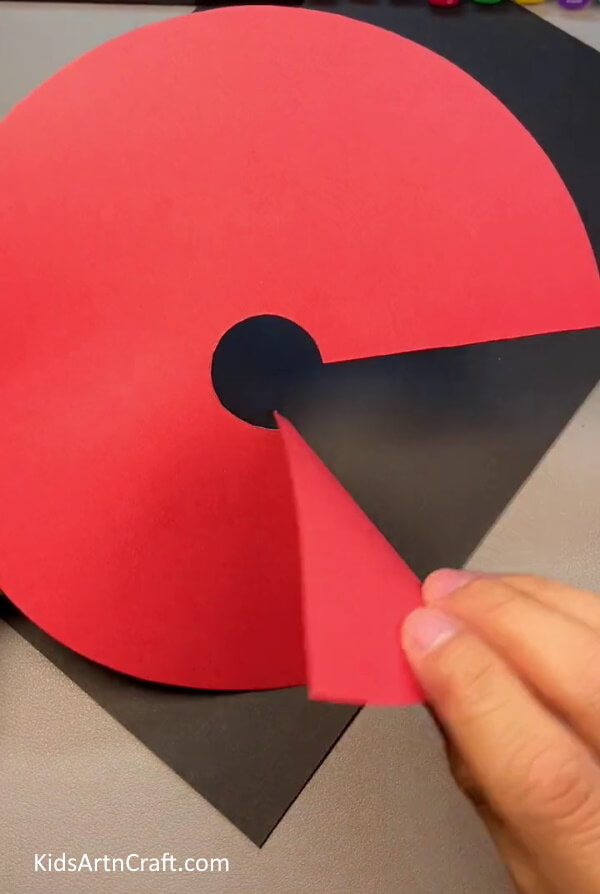

After cutting on the line, cut that small circle which we draw in the center of that big circle. After cutting that small circle, also cut the big circle from red craft paper.
Step 4: Placing The Plastic Bottle In A Small Hole On A Red Circle To Make The Mushroom’s Head
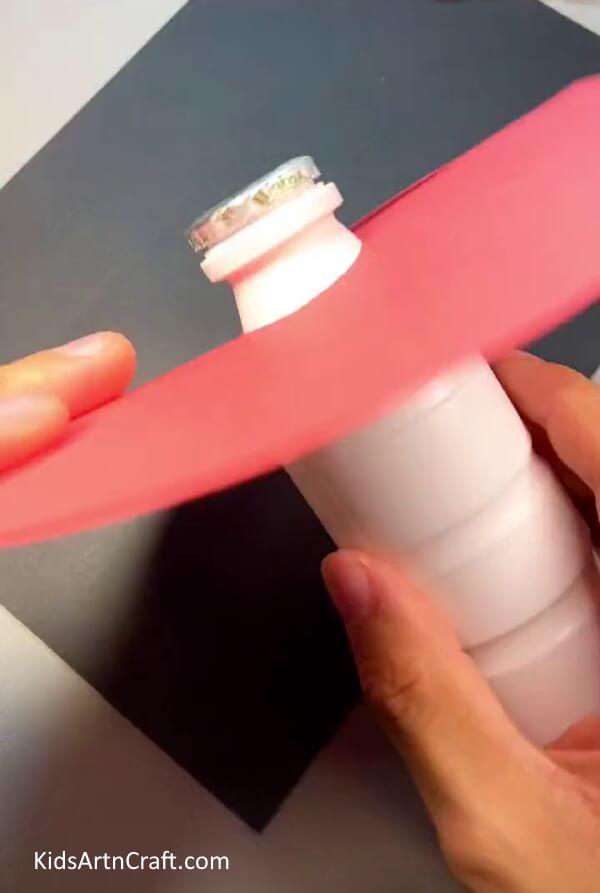

Take your plastic bottle and insert the top of the plastic bottle into the small hole in the middle of our red paper as shown in the image. Then apply some glue on the straight line and cut and paste two edges together to make it look like an umbrella, for the mushroom’s head.
Step 5: Cutting Small White circles From The White Sheet
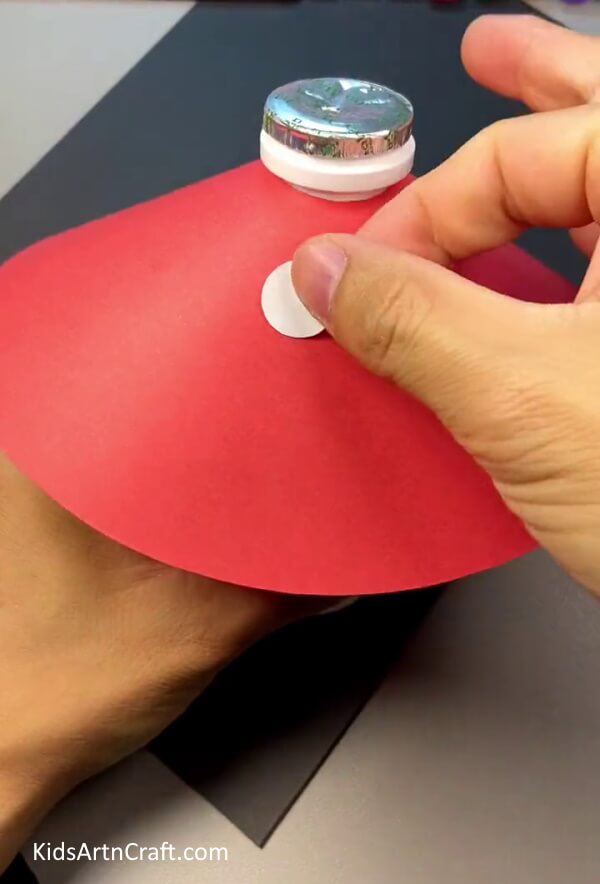

Draw some 0.5cm circles on a white sheet and cut it out from that white sheet.
Step 6: Pasting White Circles On The Mushroom Head
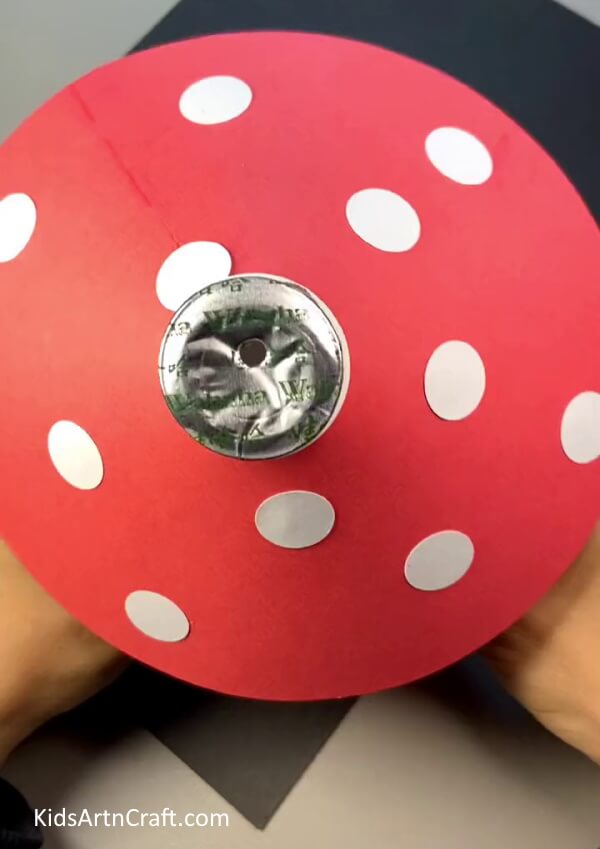

Paste all those small circles randomly on the mushroom’s head using glue.
Step 7: Make Eyes And Paste It On A Plastic Bottle
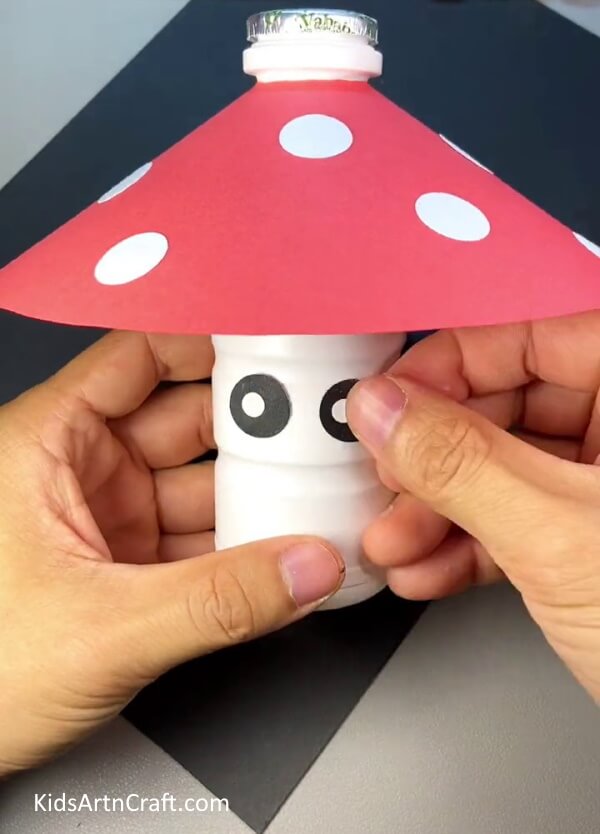

Cut two small circles from black paper and another two very small circles from a white sheet, and paste white circles in the center of black circles to make eyes. Then paste those eyes in the middle of a plastic bottle.
Step 8: Creating Mouth For Mushroom
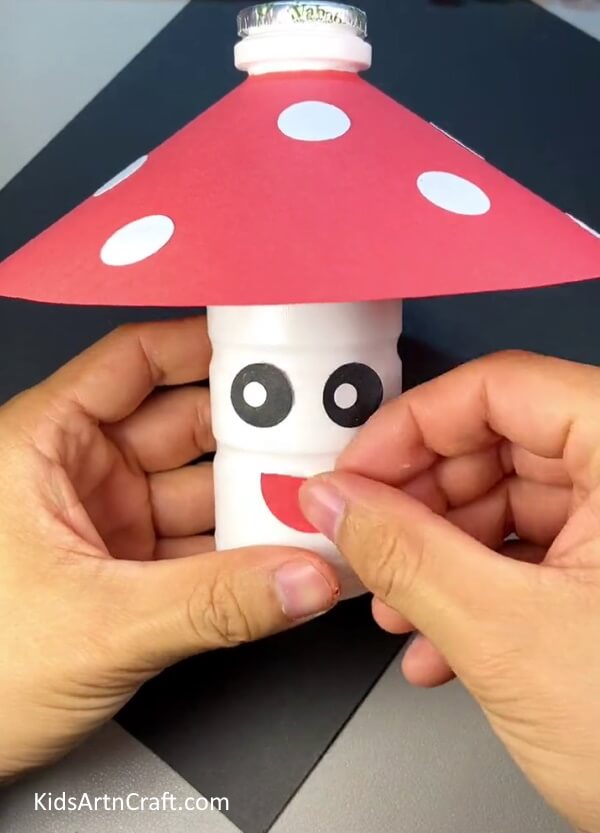

To create a mouth, cut a 2cm circle from red craft paper and cut it into half, then paste it under the mushroom’s eyes.
Step 9: Cutting Plastic Bottle To Put LED Serial Light
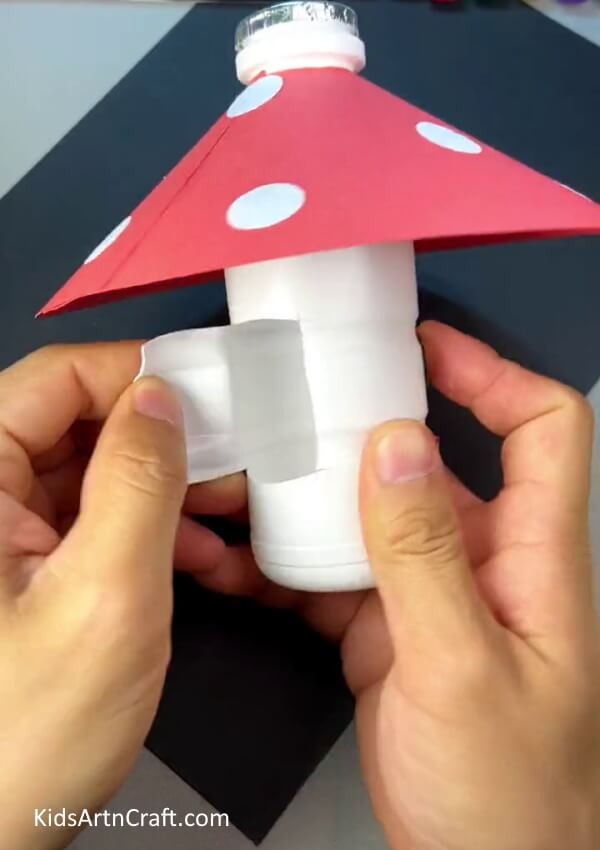

Turn your mushroom and cut a small door-like way using scissors as shown in the image to put LED serial light inside the bottle.
Step 10: Placing LED Serial Light In A Bottle
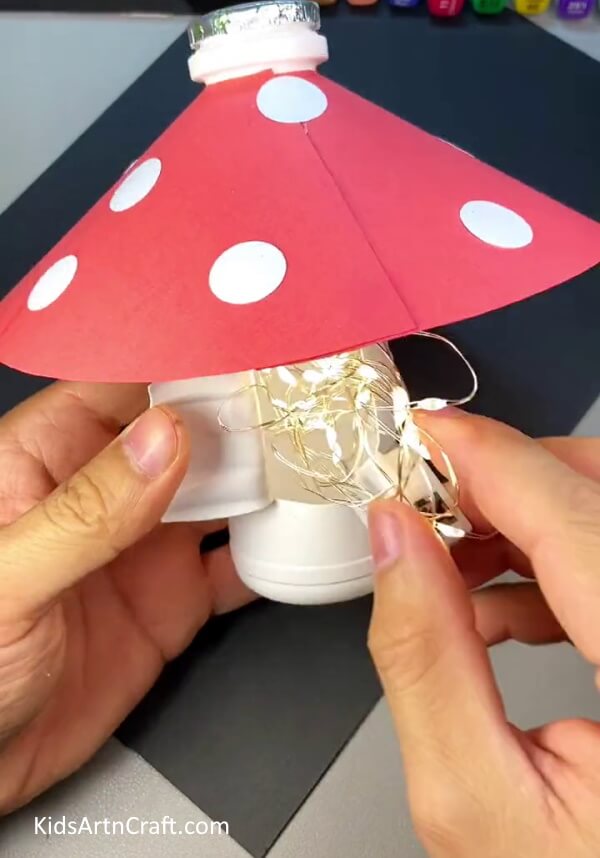

Turn on your LED serial light and put it inside the plastic bottle using the way we cut it.
Step 11: Closing The Way We Create Behind The Mushroom

After putting the LED serial light in a bottle, just simply close the gap which we create behind our mushroom.
Step 12: Create A Hanger For Mushroom Using Pipe Cleaner
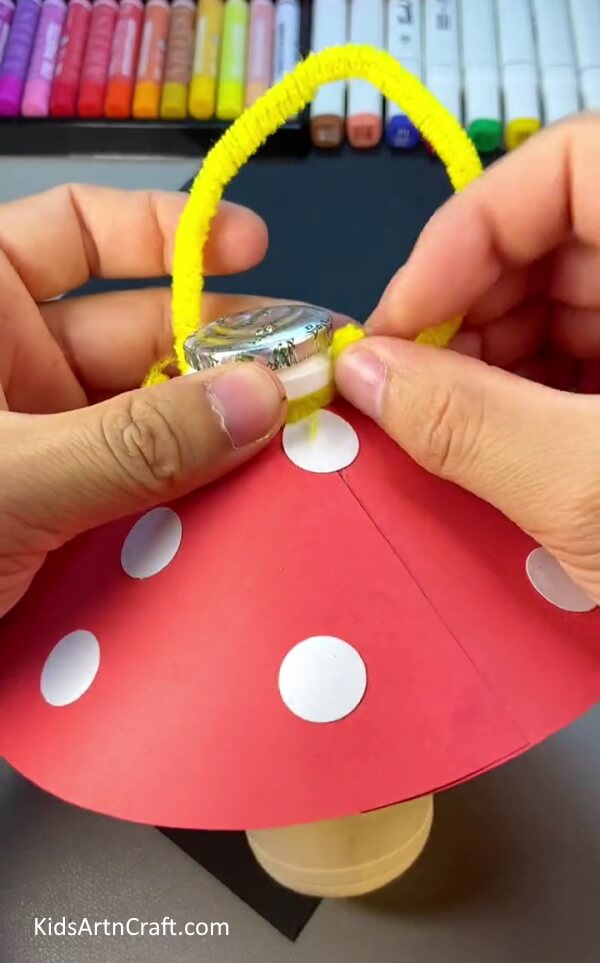

Take a piece of pipe cleaner and roll it around the top of the plastic bottle and make a little knot.
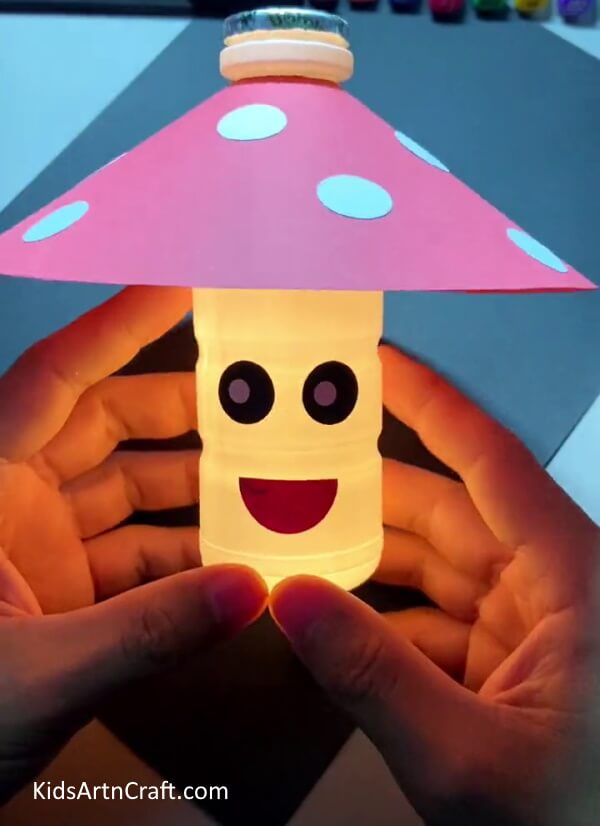
Final Step: Cute 3D Mushroom Craft Is Done!
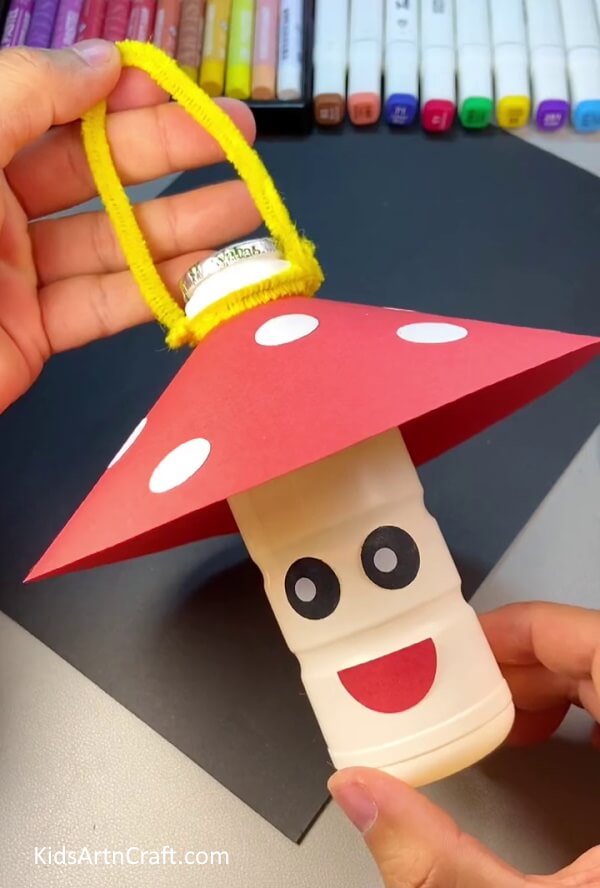

Our 3D mushroom craft is done, use this cute mushroom to decorate your room, study table, office table, and even in the living room.
We hope you all like this cute 3D mushroom craft. We like to know your thoughts about this step-by-step tutorial, share your comments in the comment box below and if you are interested in making more crafts and arts, visit more projects on our websites.
Follow us on Youtube for art and craft tutorials and much more.
More Articles from Kids Art & Craft
- Caterpillar Crafts & Activities for Kids
- Pigeon Drawing & Sketches For Kids
- Fairies in Jar Craft Ideas for Kids
- DIY Christmas Yarn Wreath Ideas
- Farm Animal Crafts for 3-Year-Olds