Kids Activities
Learn to Make 3D Paper Fruits Craft Tutorial for Kids

This tutorial teaches kids how to make 3D paper fruits with just paper, scissors, and glue. Step-by-step instructions and visuals make this an easy and fun craft for the whole family to do together!
Welcome to this 3D paper fruits craft tutorial for kids! This tutorial will guide you through the simple steps of creating fun and colorful 3D paper fruit decorations. With just a few materials such as colored paper, scissors, and glue, your kids will have a blast creating their own 3D paper fruits. Whether it’s for a school project, party decorations, or just for fun, this tutorial will teach your kids how to make beautiful 3D paper fruits in no time. So let’s get started!
3D Paper Fruits Craft Tutorial With Step By Step Instructions


Materials Required:-
- Cardboard
- Colored Papers
- Glue
- Scissors
- Pencil
- Black Marker
Read More: Cool Paper Craft Video Tutorial for Kids
Step 1: Making Pear Using Paper
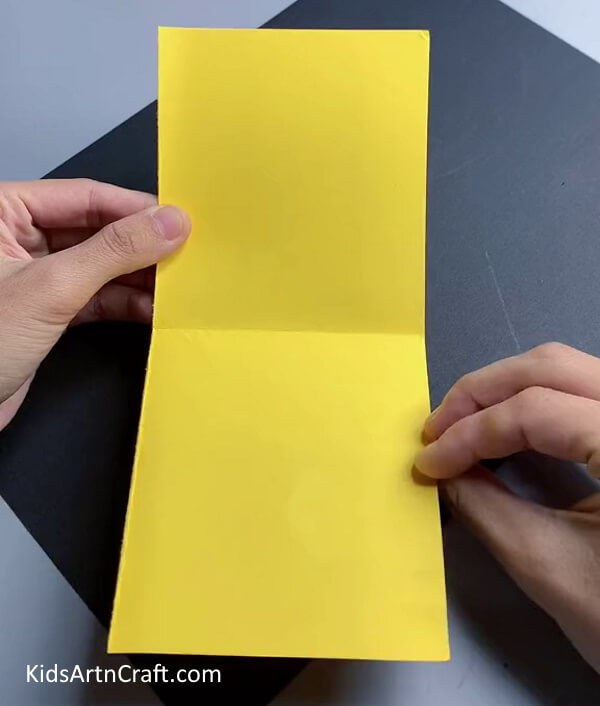

To make a pear, we are taking a yellow sheet and fold it from the middle.
Step 2: Drawing Pear
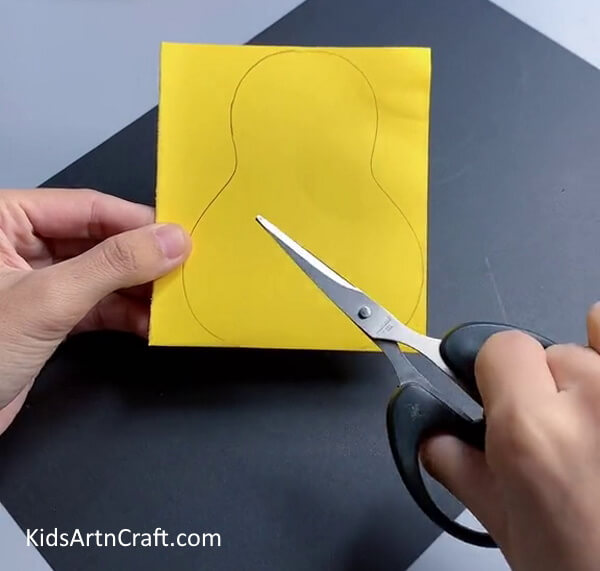

After folding the paper, draw a pear on the folded pear using a pencil.
Step 3: Cutting Paper Pear

Cut the pear from the paper using scissors.
Step 4: Pasting The Paper

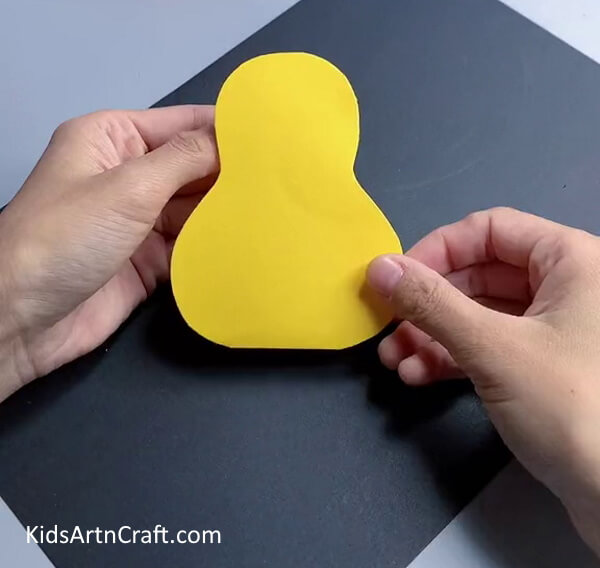
Unfold the pear. Now, paste the top edges of the pear using glue.
Step 5: Paper Pear Crafting
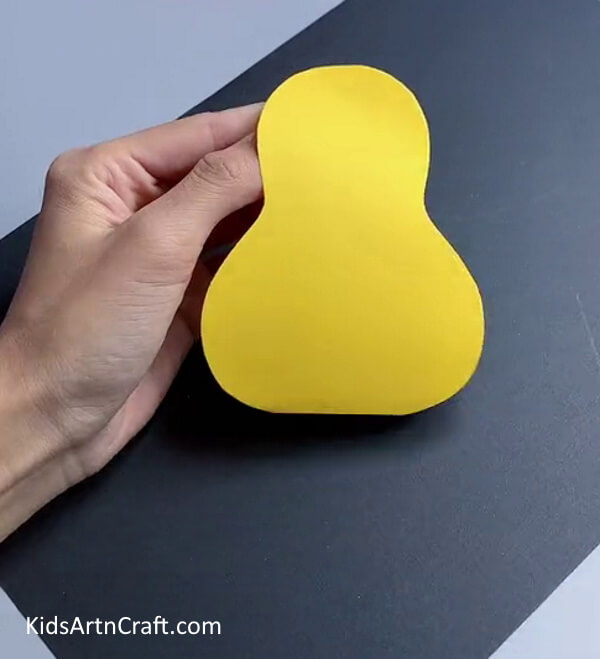

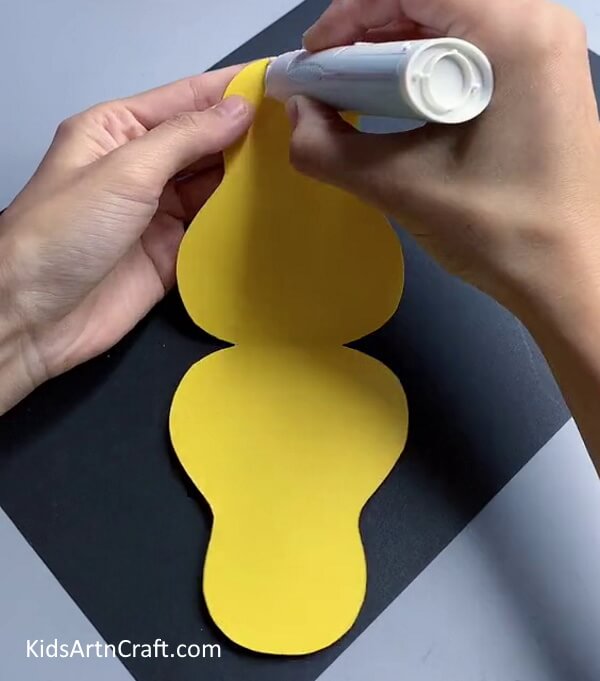
After pasting, your pear should look like this.
Step 6: Making Stem and Leaf
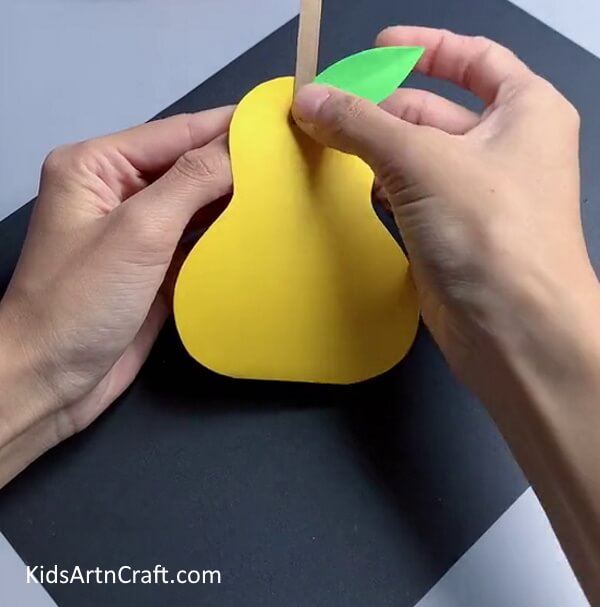

Cut a stem from brown paper and a leaf from green paper. Paste them on the top of the pear.
Step 7: Making Apple Using Paper
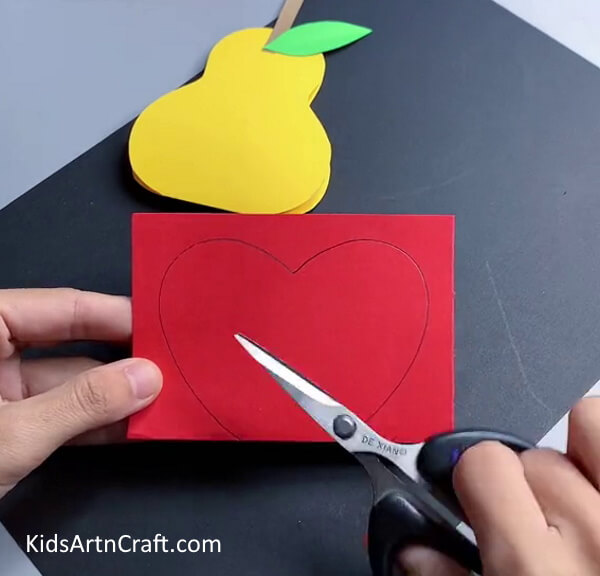

Let’s make an apple. Fold the red paper from the middle and draw an apple shape on it using a pencil. Cut the apple from the paper using scissors.
Step 8: Pasting The Craft
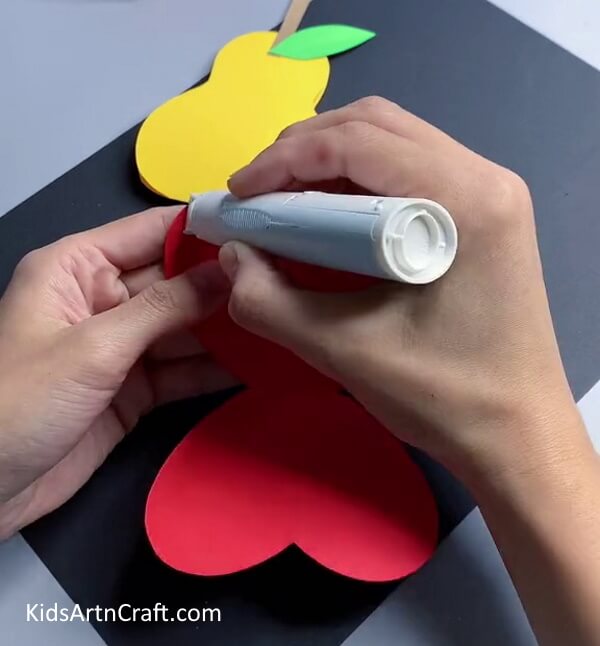

Paste the edges of the apple using glue.
Step 9: Pasting Stem
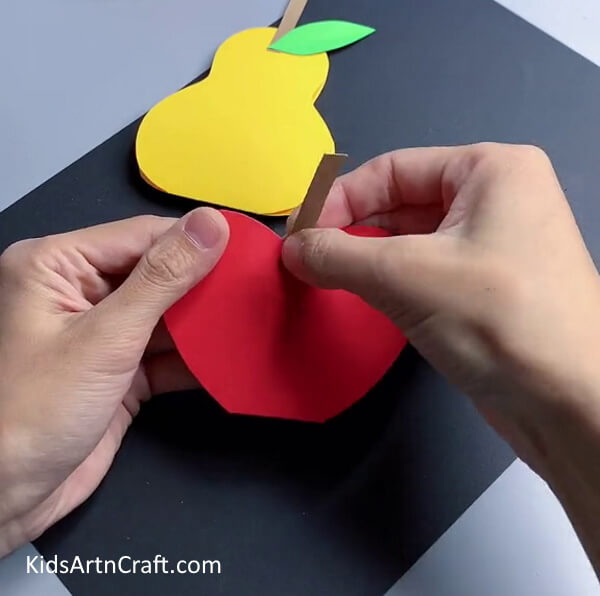

Cut out a stem from brown paper and paste it on the top of the apple.
Step 10: Adding Leaf
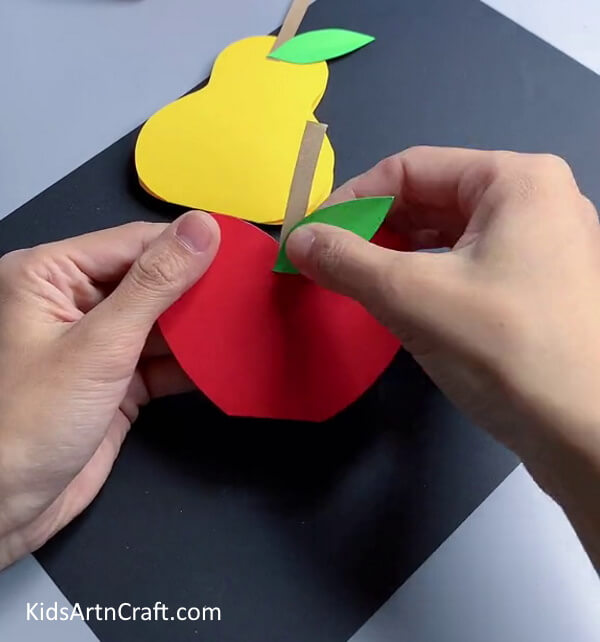

Cut out a leaf from green paper and also paste it on the top of the apple.
Step 11: Making Plate Using Cardboard
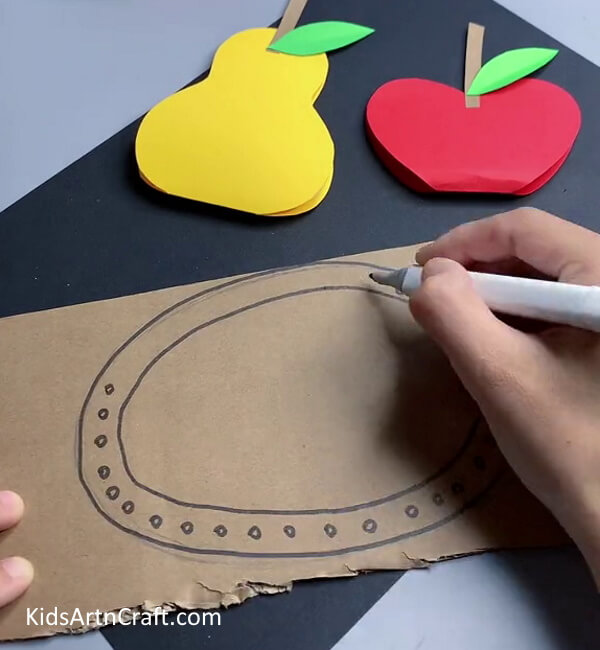

After making paper fruits, we make a plate. Draw a plate on cardboard using a black marker as shown in the above image.
Step 12: Cutting Cardboard
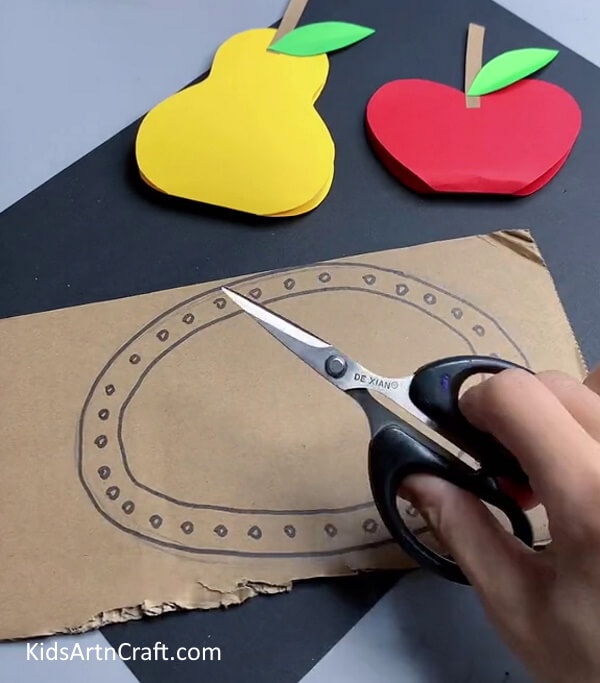

Now, cut out the plate from cardboard using scissors.
Step 13: Spreading Glue
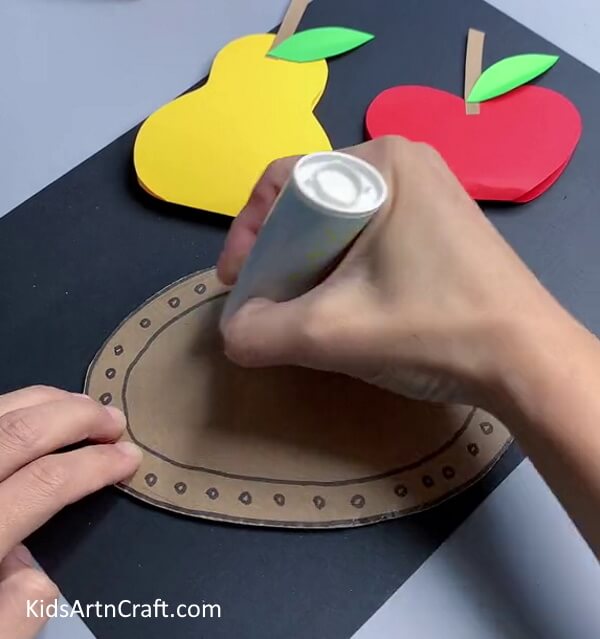

Spread some glue on the cardboard plate.
Step 14: Pasting Fruits On Plate
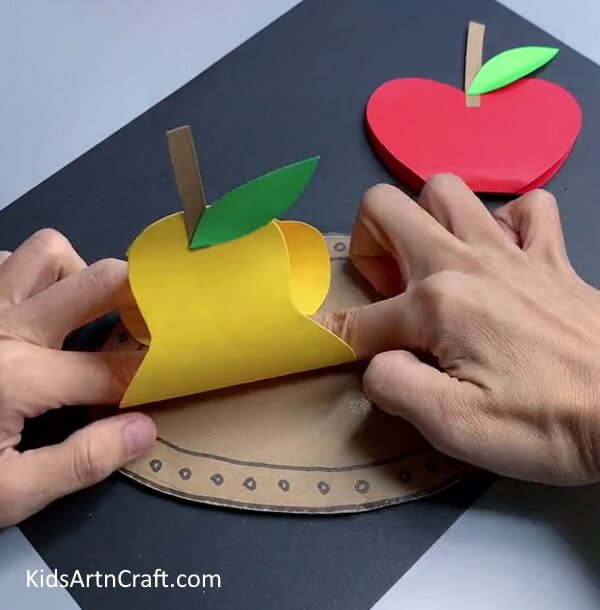

Finally, paste the paper fruits on the cardboard.
Final Image – Your 3d Paper Fruits Are Ready!


This 3D Paper Fruits Craft Tutorial for Kids has been a great way to help your kids learn and explore the creative world of crafting. With the help of this tutorial, they can create their own 3D Paper Fruits and use them as decorations or gifts. The possibilities are endless!
Crafting with kids is a great way to get creative and have fun. With this 3D paper fruits craft tutorial, you can teach your kids how to make their own 3D paper fruits and have a great time doing it.
FAQs Related To 3D Paper Fruits Craft
1. What materials do I need to make this craft?
You will need paper, glue, scissors, and markers.
2. How do I make the fruit shapes?
You can create the shapes by cutting out paper circles and then folding them in half.
3. How do I make the leaves for the fruit?
You can make the leaves by folding green paper in half and then cutting out leaf shapes.
4. What colors should I use for the fruits?
You can use any colors you like for the paper fruits.
5. How do I make the stems?
You can make the stems by cutting out thin strips of paper and then attaching them to the tops of the fruit shapes.
6. What age group is this craft suitable for?
This craft is suitable for children ages 5 and up.
Follow us on Youtube for art and craft tutorials and much more.
More Articles from Kids Art & Craft
- Easy Paper Craft Activities At Home Video Tutorial for All
- Easy Paper Crafts Video Tutorial for Everyone
- Super Easy Paper Craft Activities Video Tutorial for All
- Easy Craft Ideas Make At-Home Video Tutorial
- Easy Paper Craft Activities Video Tutorial for Kids