


DIY and Crafts
Easy Paper Plate Dream Catcher Tutorial

What Is a Dream Catcher?
Dream catchers come from Native American traditions, especially the Ojibwe tribe. They were originally handmade using natural materials like willow hoops and sinew, and were hung above sleeping areas to protect children from bad dreams.
According to traditional beliefs, the web inside the dream catcher filters dreams—good dreams pass through and slide down the feathers, while bad dreams get trapped and disappear with the morning light.
Winter break is coming up in a week and a half for us. How about you? Is yours sooner or a bit closer to Christmas? No matter what, you have at least 2 weeks to somehow entertain your children, and I have just the thing you can do to keep them busy and entertained! This Easy Paper Plate Dream Catcher is perfect for little hands and a small bit of adult supervision! With the DVD release of The BFG on Blu-ray, Digital HD & Disney Movies Anywhere, this is the perfect craft project to work on after watching the movie together. Just imagine all the fun colors and designs you can create together!
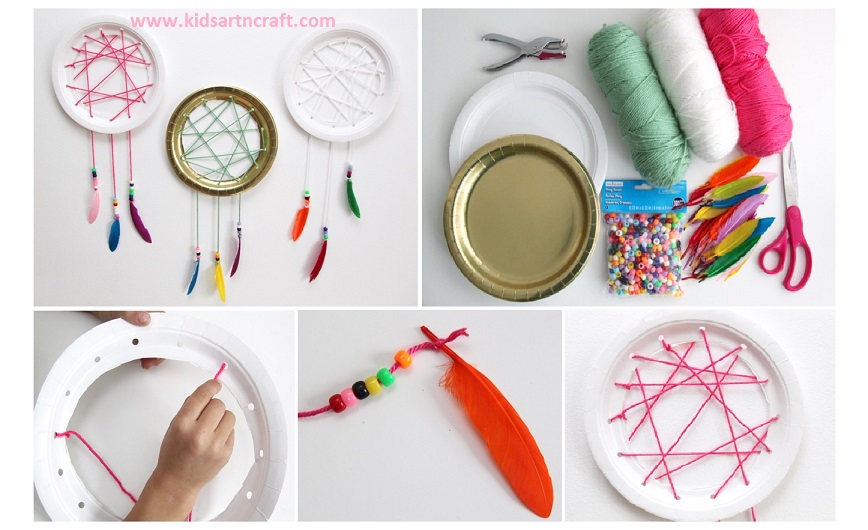
Easy Paper Plate Dream Catcher Craft for Kids
Simple DIY dream catcher made using a paper plate, yarn, beads, and feathers.
Materials Required:
Paper plate, yarn, beads, feathers, scissors, hole punch
Procedure:
Cut the center of the plate and punch holes around the edge. Thread yarn randomly across holes and attach feathers with beads at the bottom.
Creative Paper Plate Dream Catchers Design Ideas
Different styles of paper plate dream catchers with vibrant yarn and decorations.
Materials Required:
Paper plates, yarn, beads, feathers, scissors, hole punch
Procedure:
Prepare multiple plates by cutting centers and making holes. Weave yarn in different patterns and decorate with beads and feathers.
DIY Dream Catcher Craft with Yarn and Feathers
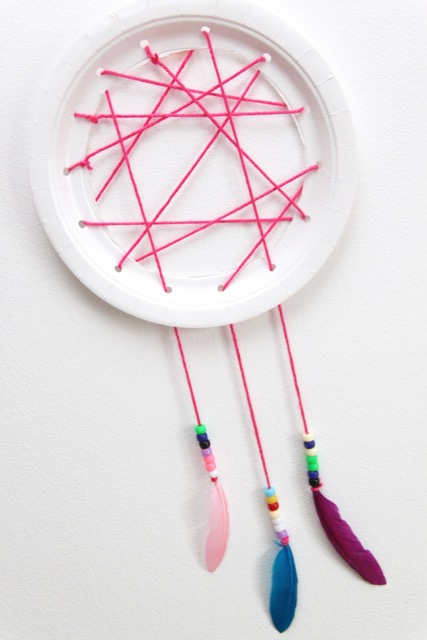
Beautiful handmade dream catcher featuring a yarn web and hanging feathers.
Materials Required:
Paper plate, pink yarn, beads, feathers, scissors, hole punch
Procedure:
Create a web by looping yarn through punched holes. Tie strings at the bottom and add beads and feathers.
Materials for Paper Plate Dream Catcher Craft

Essential materials needed to make a simple paper plate dream catcher.
Materials Required:
Paper plates, yarn, beads, feathers, scissors, hole punch
Procedure:
Gather all materials neatly before starting the craft. Ensure yarn, beads, and feathers are ready for decoration.
Cutting Paper Plate for Dream Catcher Craft
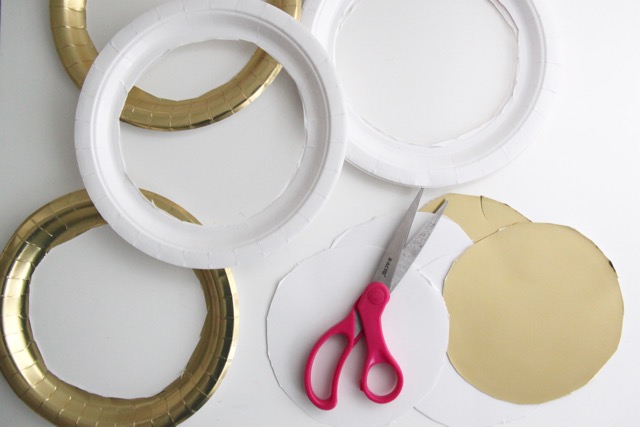
Cutting the center of paper plates to create the dream catcher frame.
Materials Required:
Paper plates, scissors
Procedure:
Carefully cut out the inner circle of the plate. Keep the outer ring to use as the dream catcher frame.
Punching Holes in Paper Plate Frame
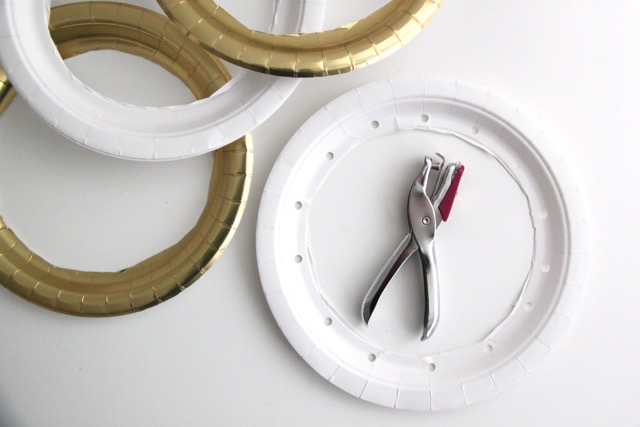
Making holes around the paper plate ring for weaving yarn.
Materials Required:
Paper plate ring, hole punch
Procedure:
Use a hole punch to make evenly spaced holes around the ring. Ensure holes are large enough for yarn threading.
Starting Yarn Weaving on Dream Catcher
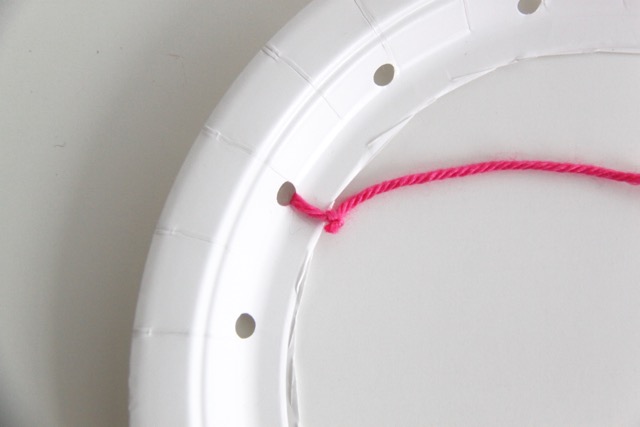
Beginning the yarn web by tying it through the first hole.
Materials Required:
Paper plate ring, yarn
Procedure:
Tie one end of the yarn to a hole securely. Start weaving yarn across the ring in random patterns.
Weaving Yarn Web on Paper Plate
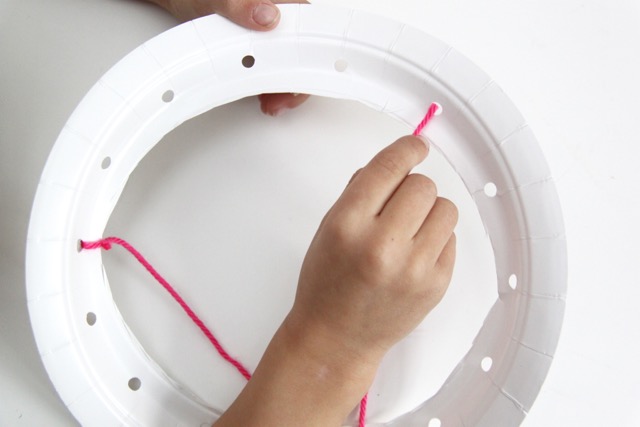
Kids weaving yarn across the frame to form a web design.
Materials Required:
Paper plate ring, yarn
Procedure:
Continue threading yarn from one hole to another. Create a crisscross pattern to form a web.
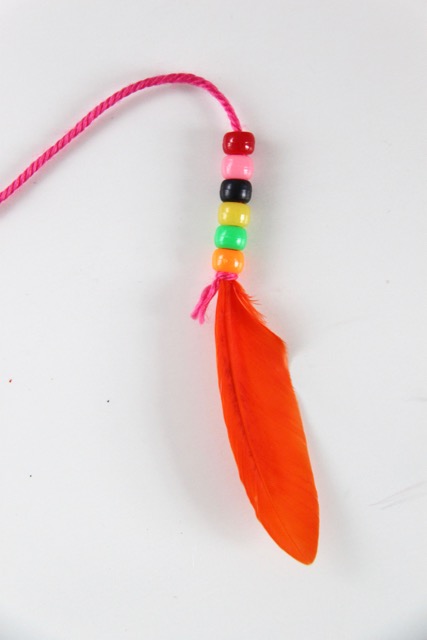
Adding Beads to Dream Catcher Strings
Adding colorful beads to yarn strings for decoration.
Materials Required:
Yarn, beads
Procedure:
Cut small yarn pieces for hanging strings. Thread beads onto yarn and secure with knots.
Attaching Feathers to Dream Catcher
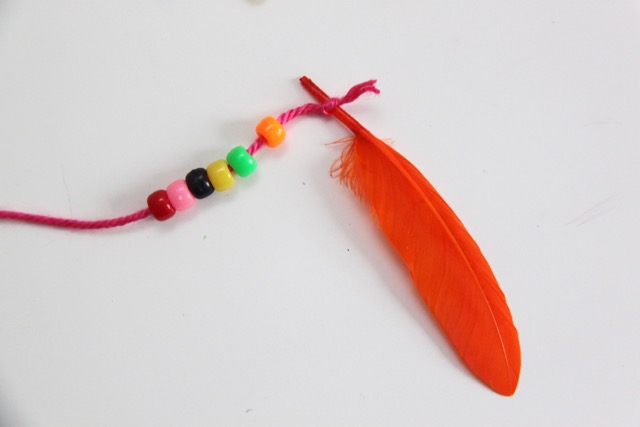
Final decoration step by attaching feathers to the beaded strings.
Materials Required:
Yarn, beads, feathers
Procedure:
Tie feathers at the end of each beaded string. Attach the decorated strings to the bottom of the frame.
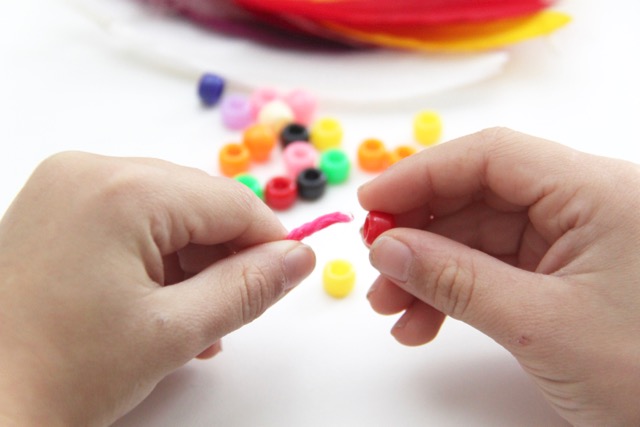
Beaded Feather String for Dream Catcher Craft
Decorative string with beads and feather ready to attach to dream catcher.
Materials Required:
Yarn, colorful beads, feather, scissors
Procedure:
Cut a piece of yarn and thread colorful beads onto it. Tie a feather at the end and secure with a knot.
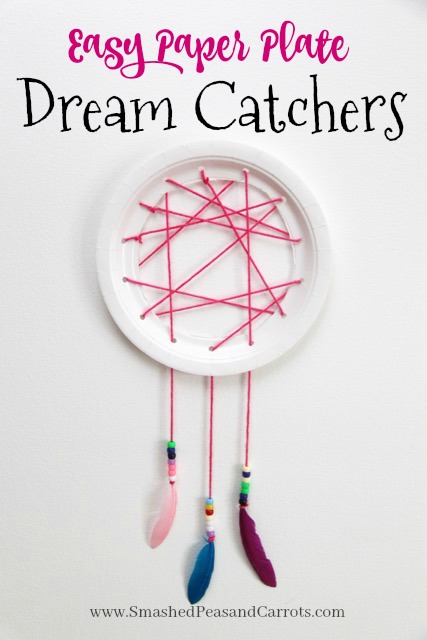
Finished Paper Plate Dream Catcher Craft for Kids
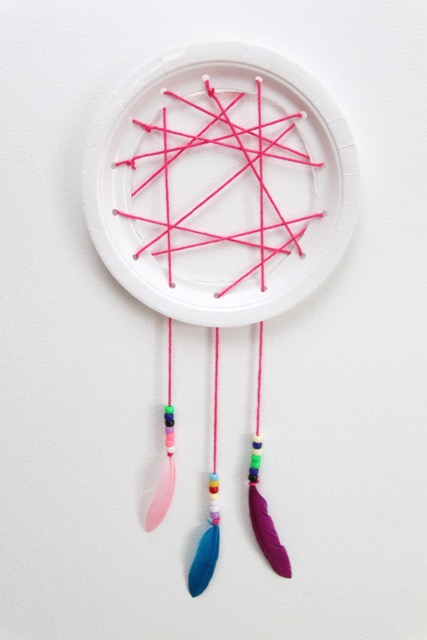
Beautiful finished dream catcher made using paper plate, yarn, beads, and feathers.
Materials Required:
Paper plate ring, yarn, beads, feathers, scissors, hole punch
Procedure:
Weave yarn across the plate to create a web design. Attach beaded feather strings at the bottom to complete the craft.
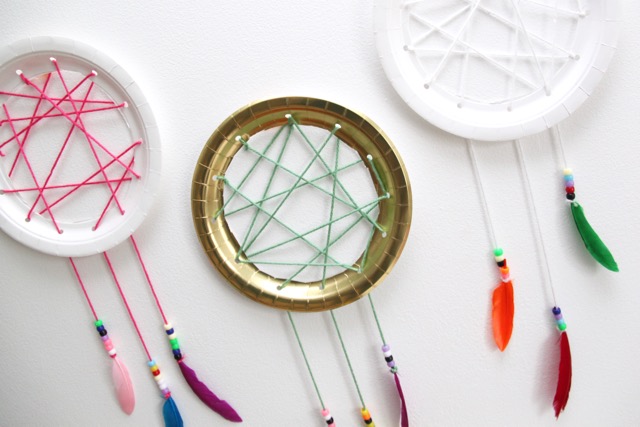
Different Styles of Paper Plate Dream Catchers
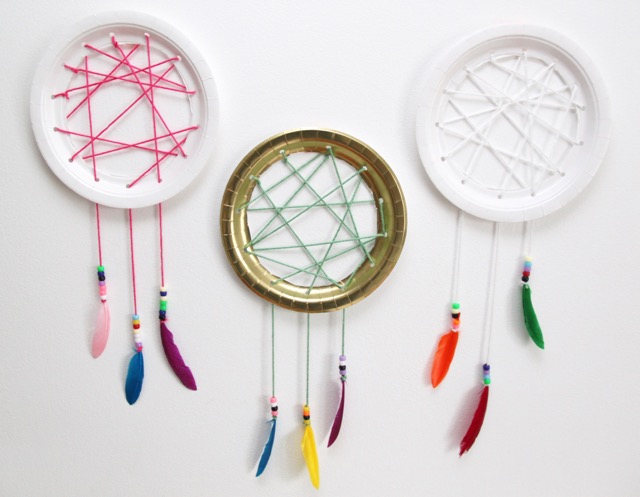
Creative variations of dream catchers using different colors and designs.
Materials Required:
Paper plates, yarn, beads, feathers, scissors, hole punch
Procedure:
Create multiple frames and weave yarn in unique patterns. Decorate each with beads and feathers for colorful variations.
Source: Smashedpeas and Carrots
Step-by-Step DIY Tutorial: Easy Paper Plate Dream Catcher Craft
Learn how to make a beautiful paper plate dream catcher with this easy step-by-step tutorial for kids. This DIY craft uses simple materials like yarn, beads, and feathers to create a colorful decoration. Perfect for school crafts, summer activities, or fun creative projects at home.
Benefits of This Craft for Kids
- Fine Motor Skills: Threading yarn and punching holes improve hand coordination and control
- Creativity & Self-Expression: Kids can design their own patterns, colors, and decorations
- Focus & Patience: Weaving requires concentration and step-by-step thinking
- Emotional Development: Helps children talk about fears or bad dreams
- Cultural Awareness: Introduces children to Indigenous traditions respectfully
This makes it perfect for:
- Preschool activities
- Homeschool learning
- Classroom art projects
Helpful Tips for Making This Craft Easier
- Pre-punch holes for younger kids
- Use thicker yarn or shoelaces
- Tape yarn ends for easy threading
- Decorate before weaving
- Use blunt plastic needles for safety
Creative Variations of Paper Plate Dream Catcher
- Rainbow Dream Catcher – Use multicolor yarn
- Nature-Themed – Add leaves, twigs, or natural feathers
- Glitter Dream Catcher – Use glitter glue or sequins
- Heart-Shaped Design – Cut the plate into shapes
- Night Sky Theme – Add stars and moon drawings
Relatable Craft and Activities
- Paper Plate Dream Catcher Craft
- Dream Catcher Craft for Kids
- Easy Paper Plate Crafts
- DIY Dream Catcher for Kids
- Preschool Craft Ideas
- Recycled Crafts for Kids
- Fine Motor Skills Activities
Safety Note
- Adult supervision required for scissors and hole punching
- Avoid small beads for toddlers
- Use child-safe materials
FAQs
Q1. What age is this craft suitable for?
Answer: Kids aged 4+ with supervision.
Q2. Can I make this without feathers?
Answer: Yes! Use ribbons, paper strips, or yarn tassels.
Q3. How long does it take?
Answer: Around 20–40 minutes.
Q4. Is this good for classrooms?
Answer: Yes, great for group learning and art lessons.
Q5. What materials can I substitute?
Answer: Use cardboard instead of plates and string instead of yarn.
This paper plate dream catcher craft is a fun, meaningful, and educational activity that helps kids explore creativity while learning about cultural traditions. Perfect for parents, teachers, and caregivers. Stay updated with our newest content—join our Telegram group today! Don’t forget to follow us on YouTube & Facebook for creative art and craft tutorials, fun ideas, and much more.
Reviewed By Jatin
Read More:
- Easy Paper Plate Reindeer Crafts
- Simple Paper Crafts For Kids You’ll Want To Make Too!
- International Earth Day Paper Plate Crafts for Kids
- Space Day Paper Plate Crafts for Kids
- Spider Paper Plate Crafts for Kids