Clay Crafts
Learn to make butterfly Using clay for children

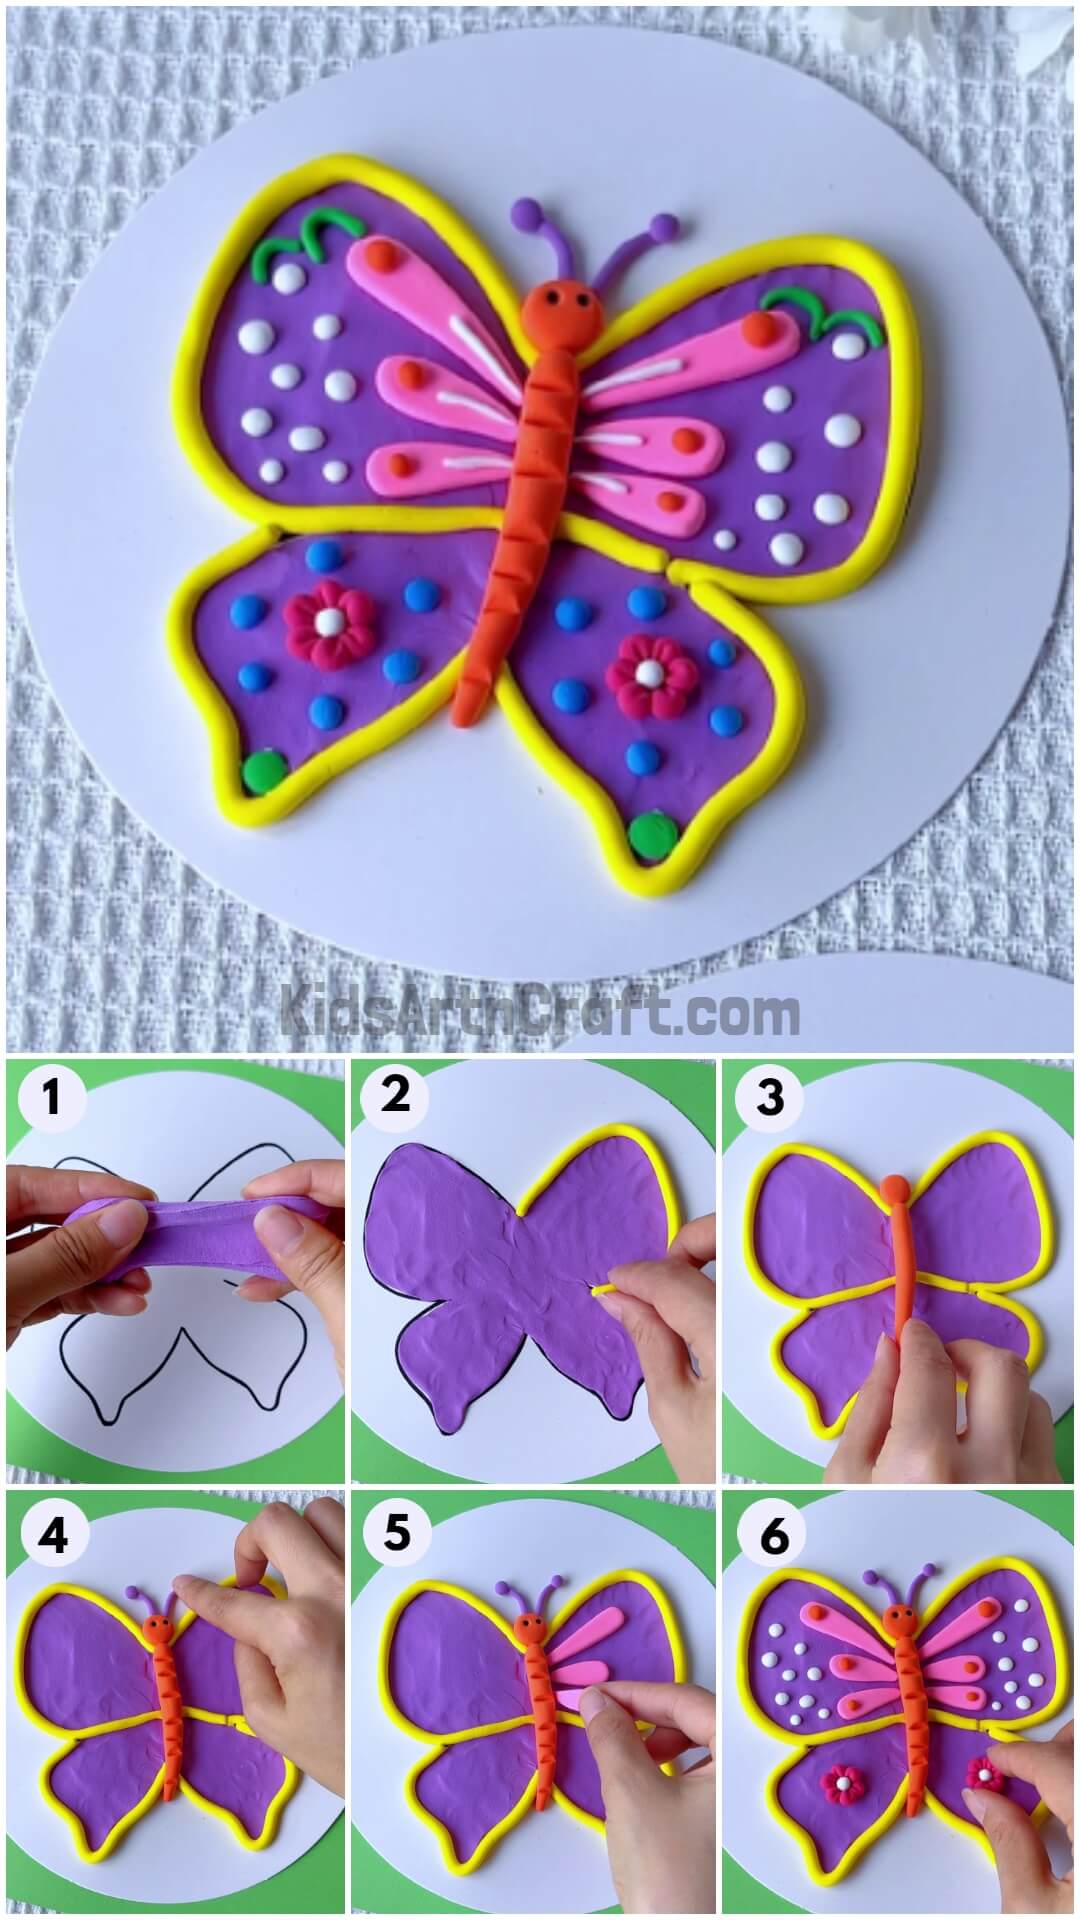
Learn To Make Butterfly Using Clay For Children

Materials Required
- Butterfly stencil on white craft paper
- Purple, yellow, orange, pink, dark pink, white, blue, and green Clay
- Clay tools and clay cutter
Procedure
Step 1: Starting Off With The Butterfly Stencil
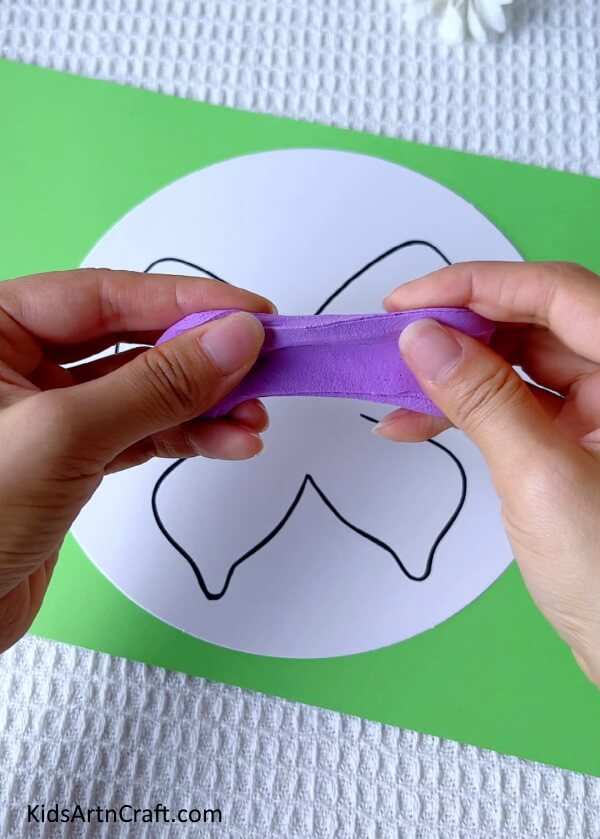

On white craft paper or normal printing paper, print a big butterfly stencil. You can also draw it with a black marker if that is preferred by you. This butterfly stencil will help you accurately make the clay butterfly. Once you have the stencil ready start tearing off pieces of clay and roll them into balls.
Step 2: Make The Base Of The Butterfly Using Purple Clay
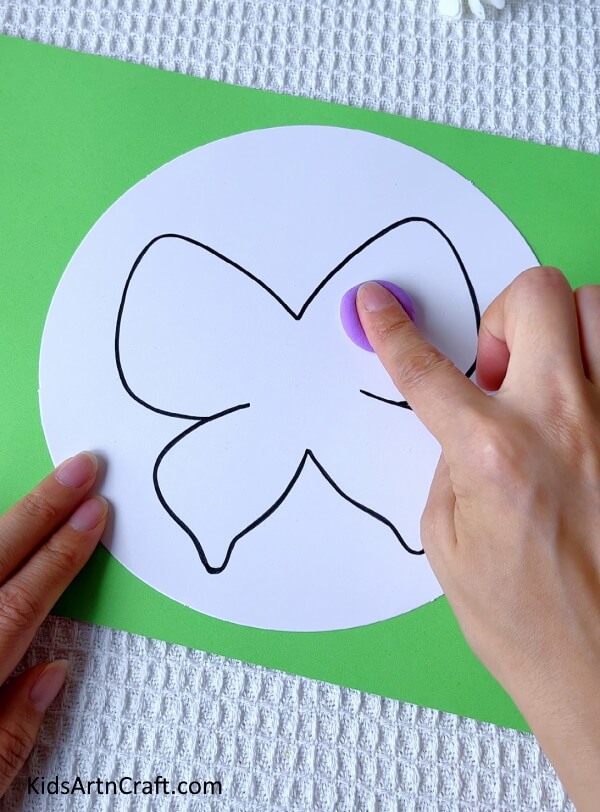

Press down these purple clay balls one by one onto the paper within the butterfly stencil. Place the first clay ball onto one wing. Press and spread the clay out slowly and as evenly as you can.
Step 3: Starting From The First Wing


Spread the clay within the borders of the first wing of the butterfly. Press the clay down with your fingers and drag it outwards to fill in the space.
Step 4: Filling The Butterfly With Purple Clay Completely
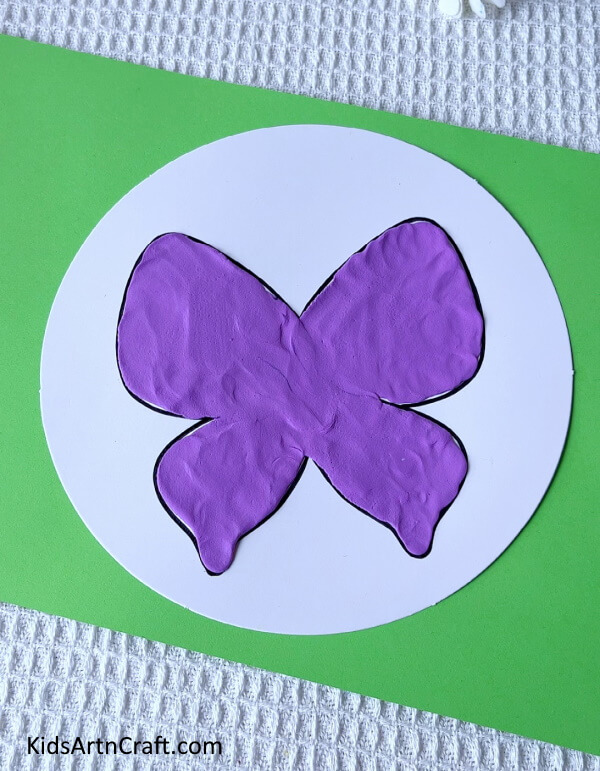

Slowly move on to cover the rest of the butterfly with more purple clay. Make sure to not use too much clay or too little. Try to keep the amount of clay consistent throughout the butterfly. This will give it an even look and feel. Keep pressing and spreading the clay around with your fingers until the whole butterfly is filled with purple clay. Make sure to fill in the space only within the borders of the butterfly stencil.
Step 5: Giving The Butterfly A Border Or Outline
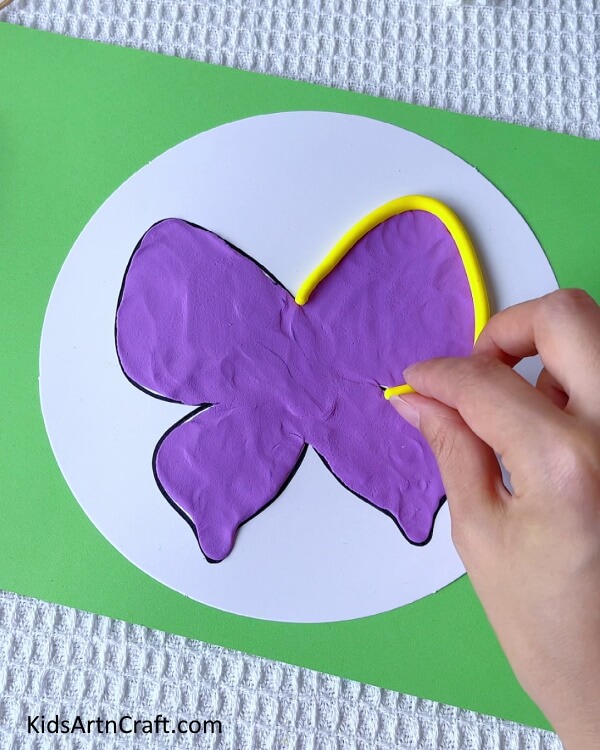

You will now grab yellow clay. Roll the yellow clay into long, thick, rope-like strings. Make four of these long strings of yellow clay. Pick up the first string and use it to border the upper part of the first wing. Slowly attach it to the butterfly, as shown in the image. Attach the rest of the strings similarly, outlining the structure of the butterfly and its wings.
Step 6: Make The Head Of The Butterfly
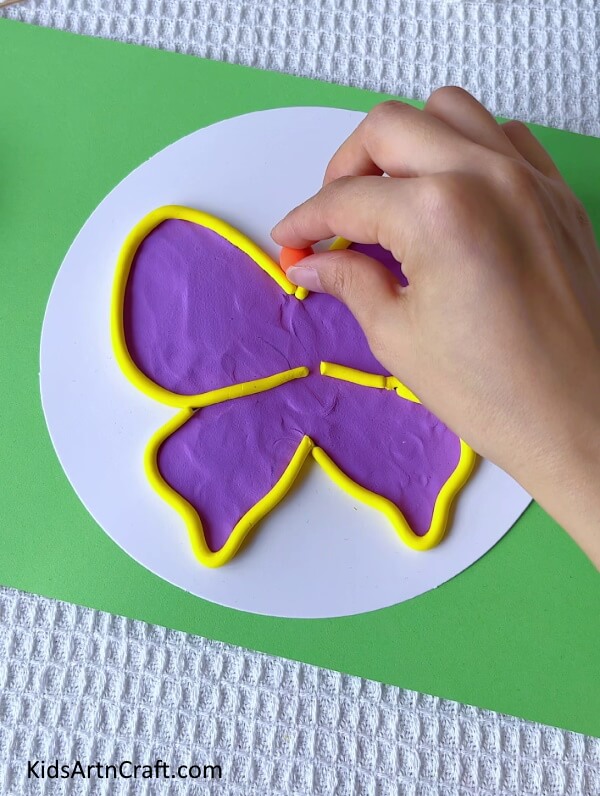

From orange clay, roll out a perfectly round ball, not too big, not too small. This orange clay ball will be the head of the butterfly. Attach this ball at the top intersection, where the two wings of the butterfly are meeting.
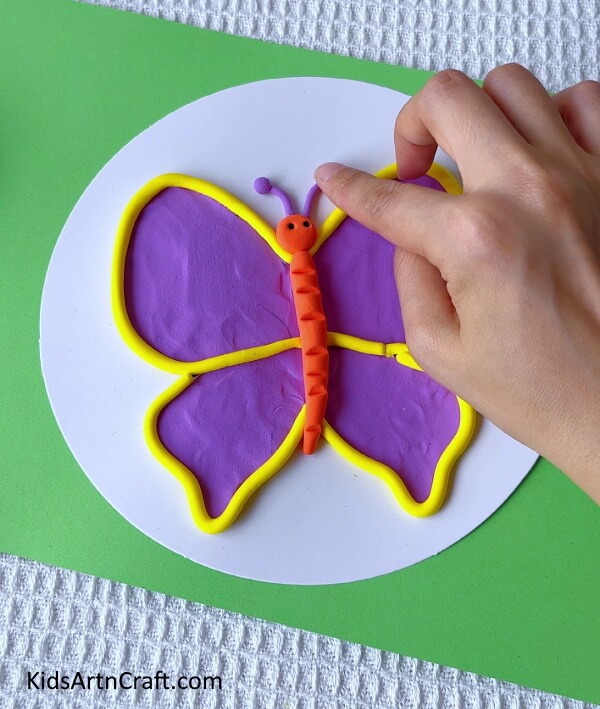
Step 7: Making The Body Of The Butterfly
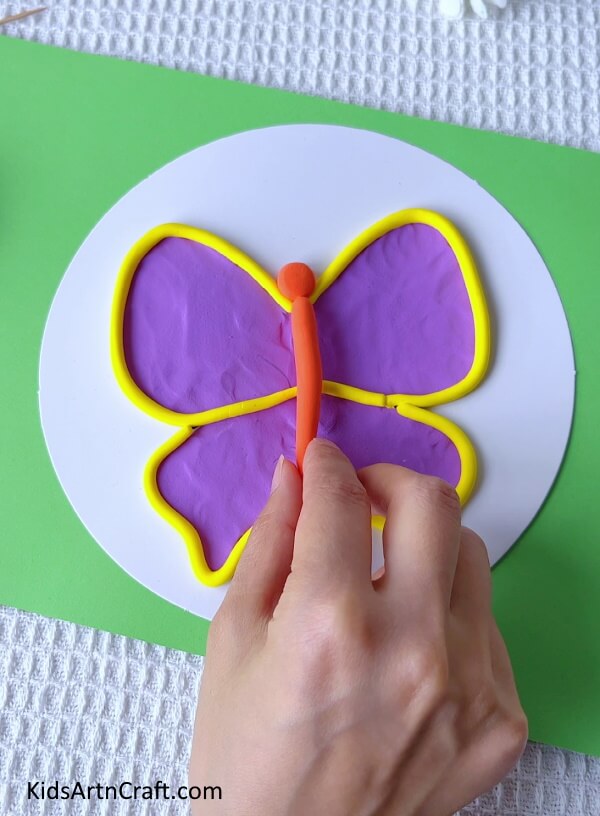

Next, from the orange clay again, roll out a long and a little thick body for the butterfly. Attach this piece of clay to the middle of the butterfly base. It should be placed right at the center to make it look even.
Step 8: Make A Design On The Body Using A Clay Cutter Or Clay Knife
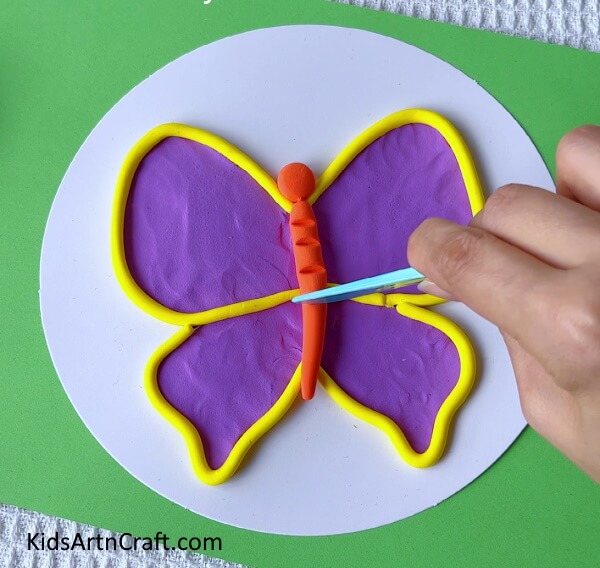

You will now pick up your clay cutter or clay knife and use it to make a design on the body of the butterfly. Make small cuts onto the body of the butterfly. Space these cuts out to not make it look shabby, like in the image attached.
Step 9: Making The Antennae Of The Butterfly

For the antennae of the butterfly, you will be taking tiny pieces of purple clay. From these pieces make two little strands and two little balls. Attach these to the head of the butterfly. With a black pen add two dots onto the head of the butterfly to complete the head.
Step 10: Decorating The Upper Wings Of The Butterfly
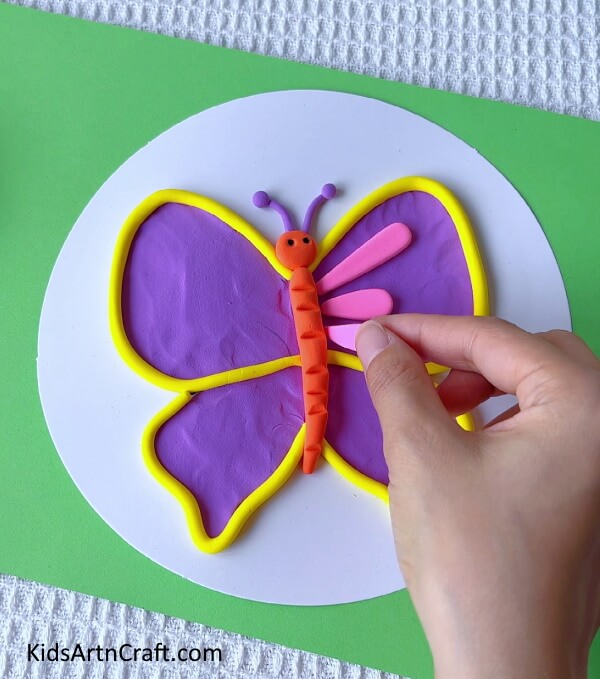

Now that the main body of your butterfly is done, you will move onto the wings again. For the decorations on the upper wings, you will take pink, orange, and white clay. Use them to add long strips and dots onto the wings. Refer to the image for a better idea. Use your clay tools to work more efficiently.
Step 11: Adding Two Clay Flowers To The Lower Wings
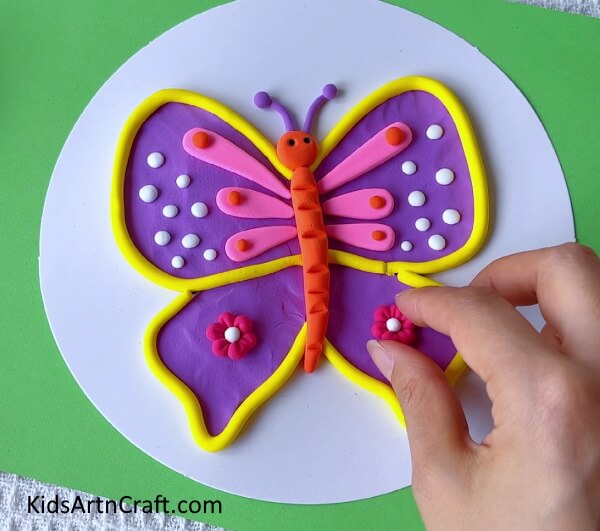

Make two small flowers with dark pink clay and white clay. Add each flower to either lower wing of the butterfly. Place the flower in the middle of each lower wing.
Woohoo! Your Pretty Butterfly Made Out Of Clay Is All Ready
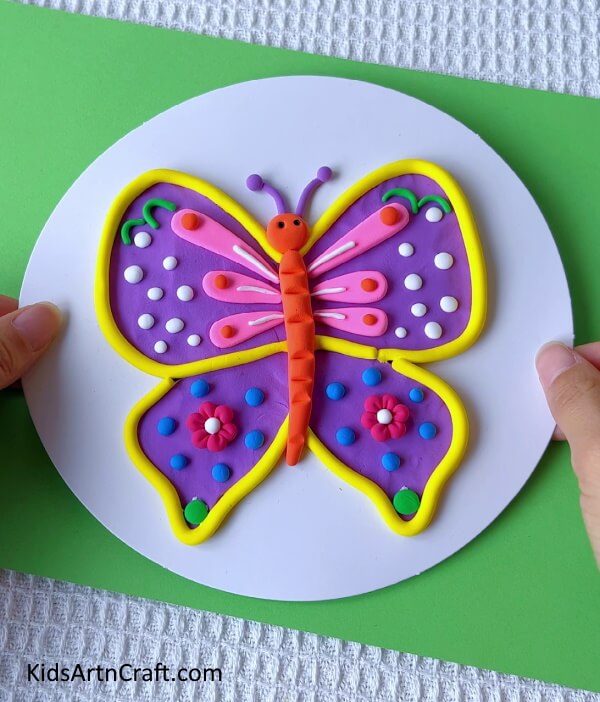

You can now use blue and green clay to add more dots and details to the wings of the butterfly. Let your creativity show and work on your craft.
For More Butterfly Craft Tutorial
Kids Crafting Origami Butterfly Craft Using Paper

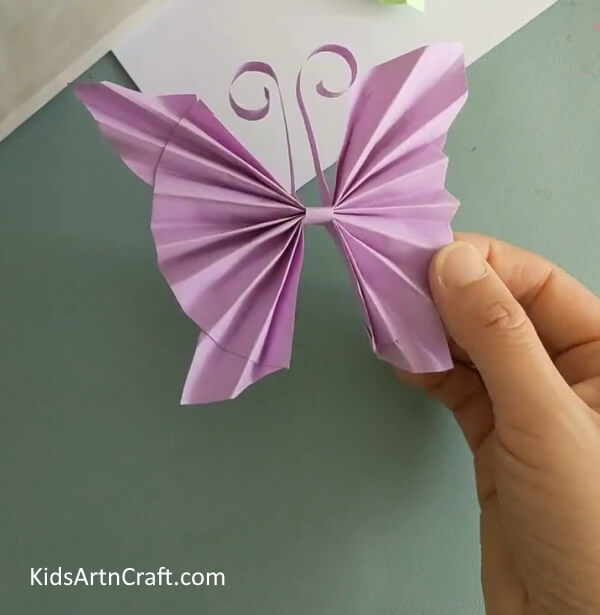
Image Source/Tutorial: Kids Art & Craft
This fun and easy craft is perfect for kids! Using just paper and a few simple steps, they can create their own origami butterfly. Kids will love the creative process and the end result of their beautiful butterfly.
Woohoo! Your pretty Butterfly made out of clay is all ready and done!! You can now showcase your masterpiece to everyone!!!
This craft is perfect for craft projects and decorations. It is super easy and engaging and will keep the kids interested and attentive throughout the process. They get to learn new skills and sharpen their art and craft skills and get more comfortable with the process of working with clay.
Hope you like this creative Butterfly Made from Clay Craft step-by-step tutorial for children, and that it helped your kids learn something new. We would love to hear your thoughts in the comment section below.
Be sure to visit our other articles for more craft and DIY ideas!
Thank You for visiting our website!
Follow us on Youtube for art and craft tutorials and much more.
More Articles from Kids Art & Craft
- DIY Easy Paper Chick Craft For Kids
- DIY Heart Shape Cat Craft for Valentine’s Day
- Heart Shaped Paper Mouse Craft Step by Step Tutorial
- How to Make Easy Paper Snowflakes Tutorial
- DIY Paper Tree Crafts for Kids Easy Tutorial