Painting
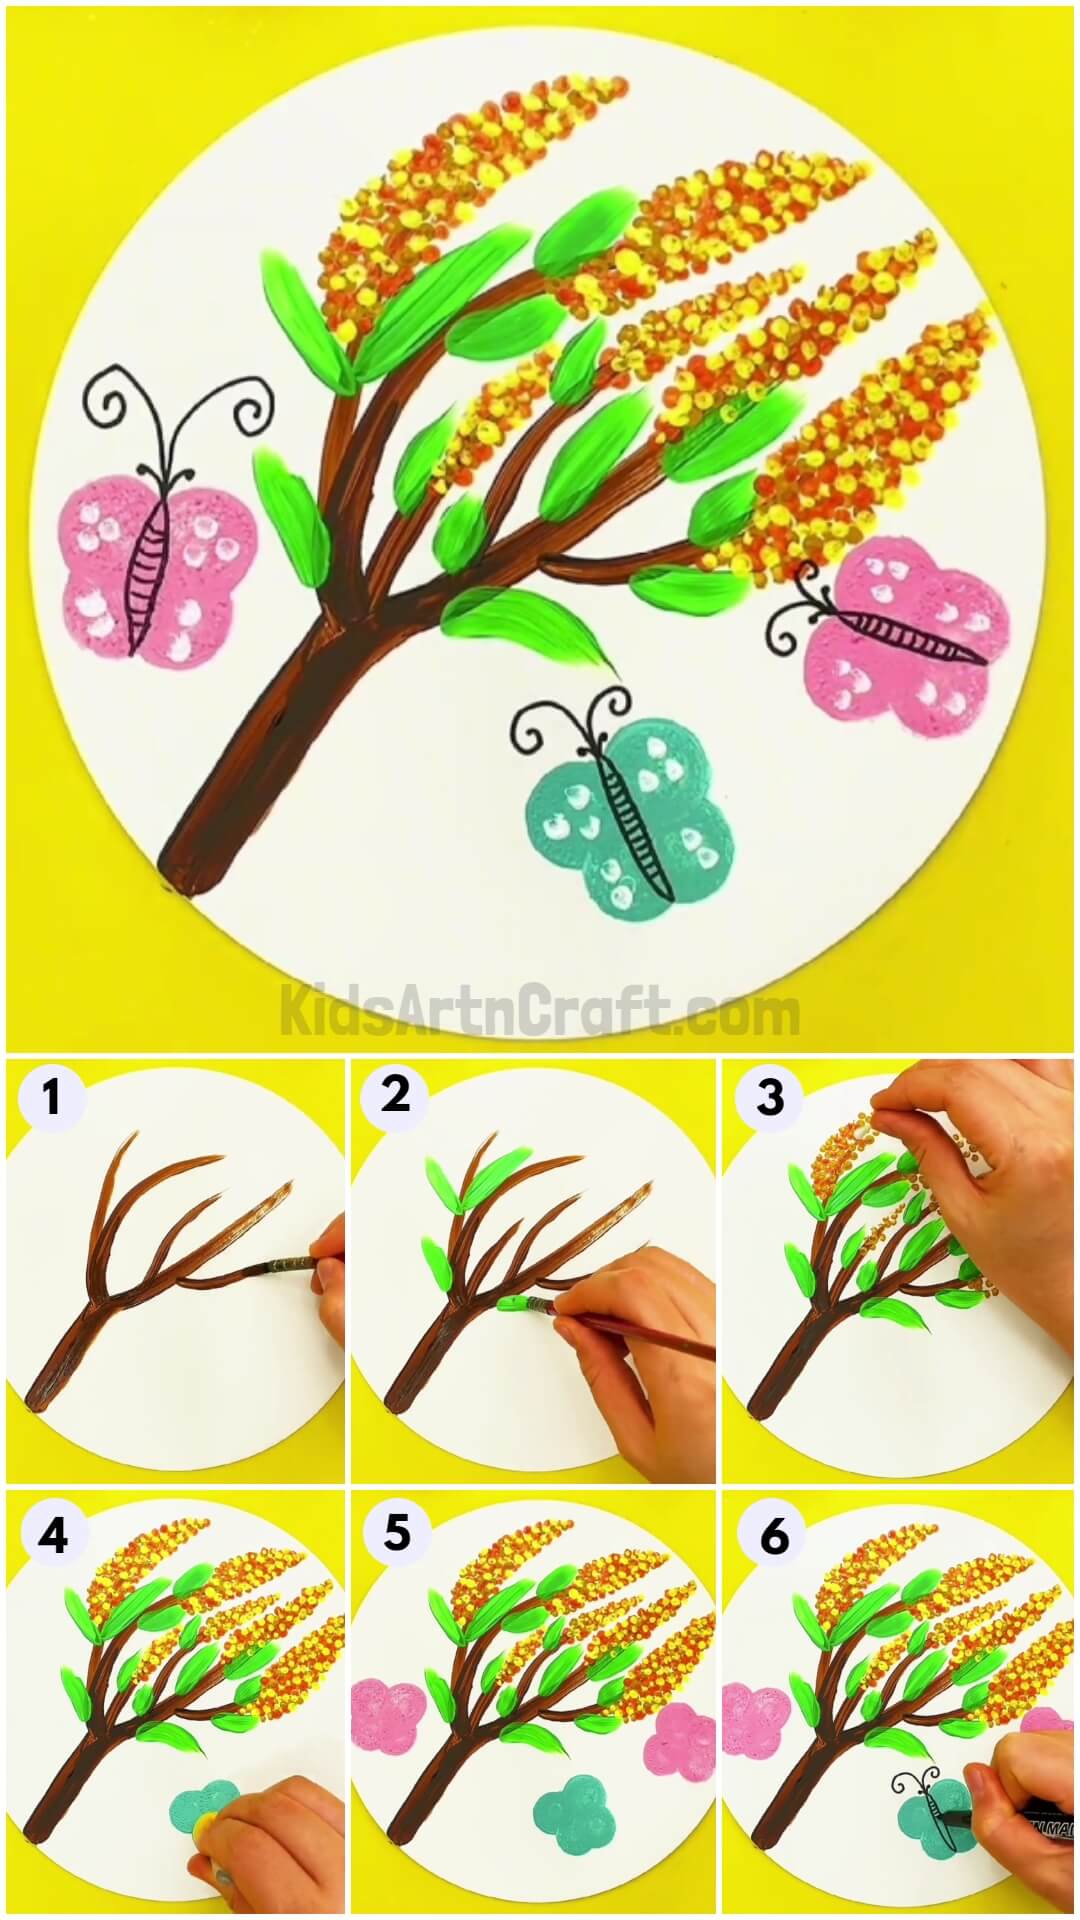
Beautiful Butterflies Over Flowers Painting Idea For Kids

Let’s create flowers using cotton buds! This easy step-by-step tutorial will guide you to make flowers that have a unique appearance!
Are you looking for making unique beautiful flowers, instead of those classic ones!? Well, search no more! Today, we brought you this amazing flower painting that you will be able to make like a pro with the help of our step-by-step tutorial! Everybody loves flowers and they are the most basic thing a child will learn to draw! So, we need to develop the scope of mind by making some changes to the classic old patterns and creating something unique out of them! These flowers will deliver the same as they have different appearances and are also made using cotton earbuds rather than a paintbrush!
Easy To Make Beautiful Butterflies Over Flowers Painting

Read More: Pretty Poppy Flower Garden Painting Art For Kids
Materials Required
- White Circular Paper Sheet
- Black Marker
- Flat Paintbrush
- Cotton Earbuds
- Paint Colors
- Circle Stamp
Procedure
Step 1: Making Tree Branches
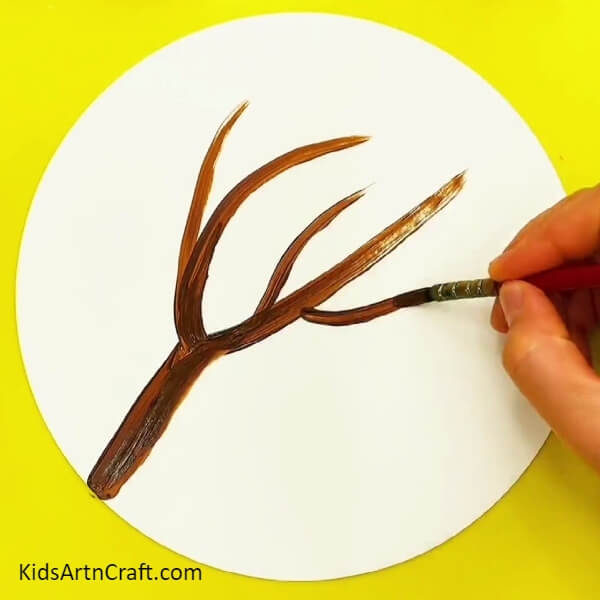

To begin this art, take a white circular paper sheet as the base of the artwork and a flat paintbrush. Dip the flat paintbrush into the brown paint and make a tree branch over the base coming from the bottom left.
Step 2: Making Leaves Over Branches
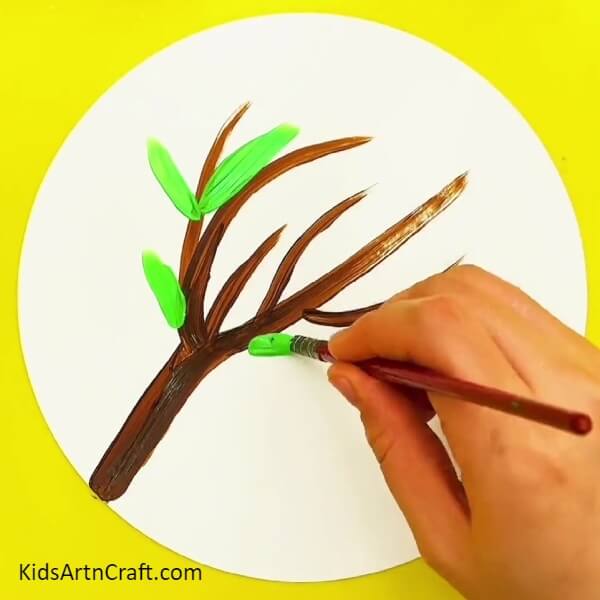
Dip the paintbrush into green paint and paint small strokes over the branches to make leaves over them.
Step 3: Making Golden And Orange Flowers
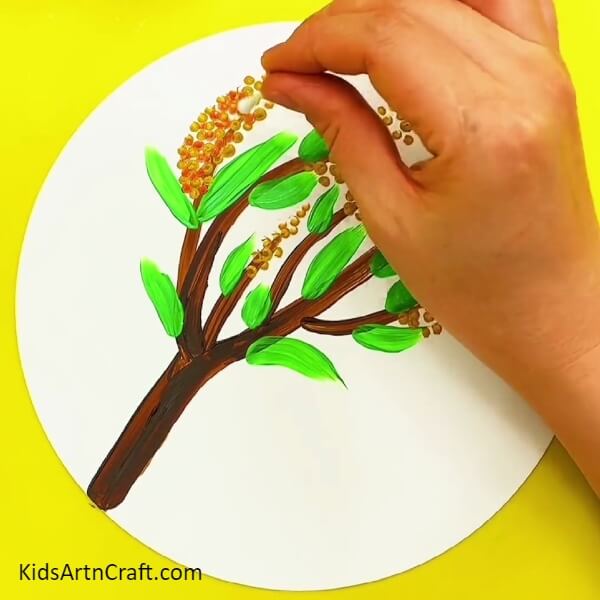
Dip a cotton earbud into golden paint and make random dots over the end of the branches coming outwards. Then, dip the cotton bud into orange paint and make orange dots over the same to make colorful flowers over the branches.
Step 4: Making Yellow Flowers

Dip the bud into yellow paint and dab over already made flowers to add yellow flowers over them.
Step 5: Completing Making Flowers
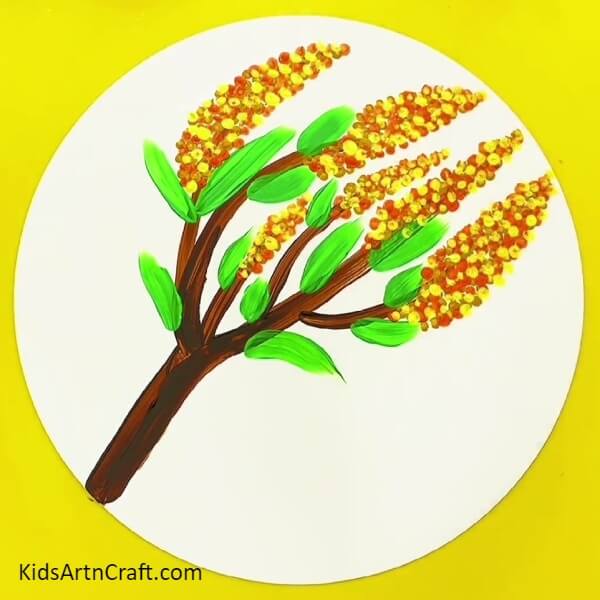
Dab over the yellow flowers all over randomly to make flowers of yellow, orange, and golden color combinations.
Step 6: Making Blue Butterfly
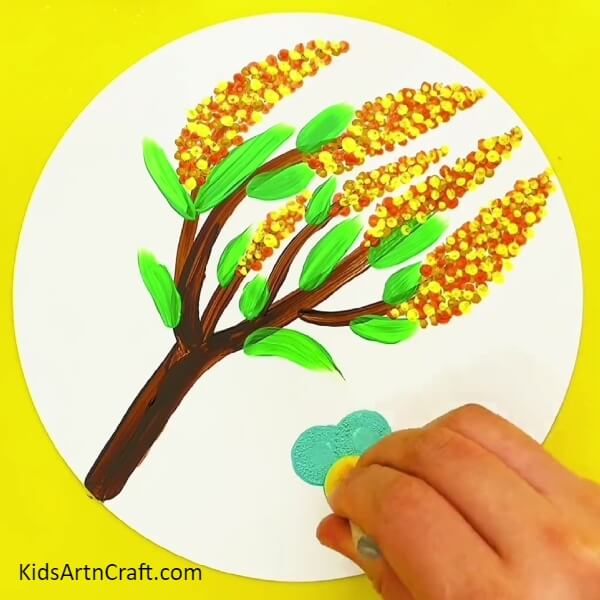
Dip a circle stamp into the blue paint and dab it below the tree branch to make a blue butterfly. Make sure to dab 2 circles, one slightly over the other and then again 2 circles below them a little inwards to make them look like wings.
Step 7: Making Pink Butterflies
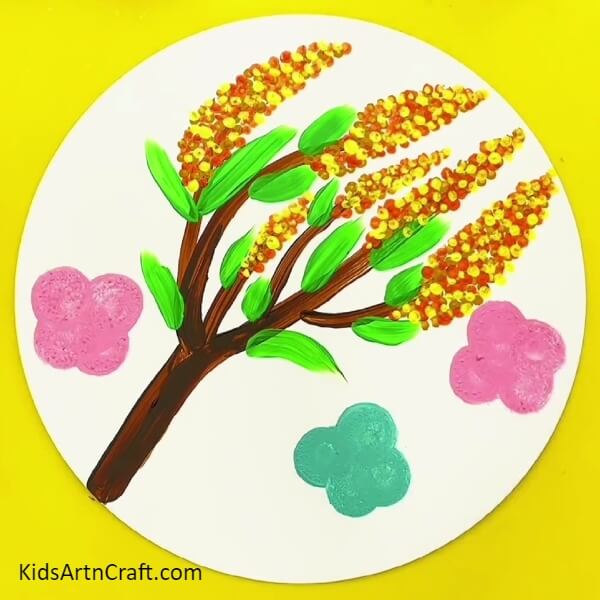
Dip the circle stamp into pink paint and do the same as before to make 2 pink butterflies, one beside the blue one, and the other above the tree branch.
Step 8: Drawing Details Of The Butterflies
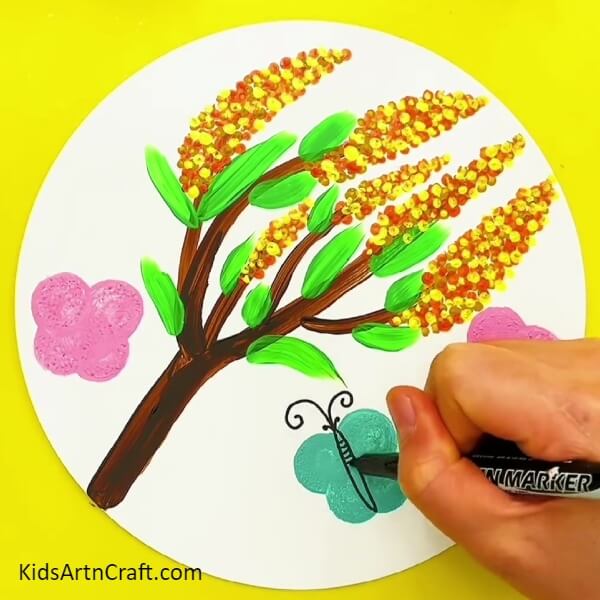
Using a black marker, draw the curvy enclosed body of the butterflies in the center. Also, make 4 curvy antennas above the body, 2 big and 2 small as shown in the image.
Step 9: Detailing The Wings Of The Butterflies
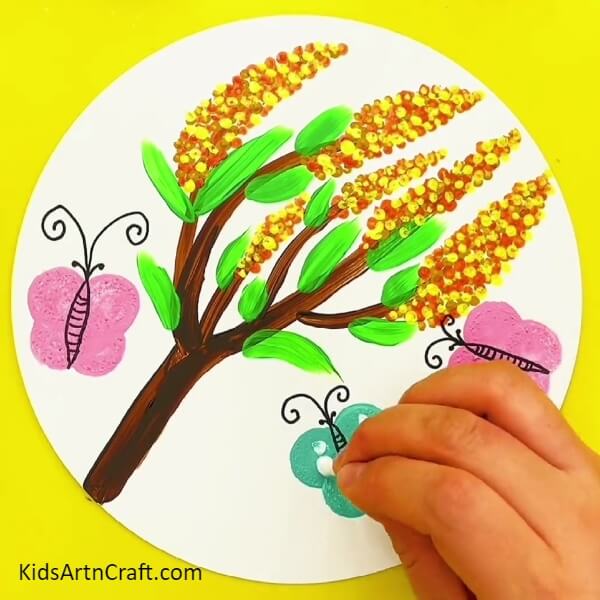
Dip the cotton earbud into white paint and dab it over the wings to detail them. Make sure to make 3-3 white patches over the upper part of the wings and 2-2 at the lower part.
The Final Look Of Your Amazing Flowers!
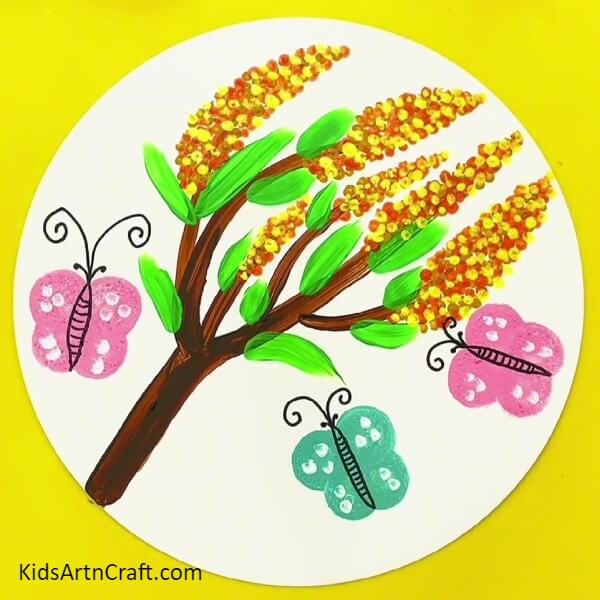
Whoa! Look at the astonishing results! Pretty butterflies are wandering over your beautiful and unique flowers!
This artwork was very easy to make and gave some unique results! This artwork is a hands-on sensory activity for the kids to drive those motor skills along with unleashing their creativity through it! Show it off to everyone and flaunt your artwork skills! You can even customize the whole artwork by adding various colors to it and making different color combinations! Your imagination is the limit!
Follow us on Youtube for art and craft tutorials and much more.
More Articles from Kids Art & Craft
- Awesome Canvas Painting Video Tutorial for Beginners
- Silhouette Couple paintings
- Easy Flower Stump Painting Art Tutorial for Kids
- Amazing Sunflower Painting Art For Kids
- Awesome Shoe Hacks Video Tutorial for Kids