Recycled Crafts
Macadamia Nutshell Caterpillar Artwork Craft Tutorial For Beginners

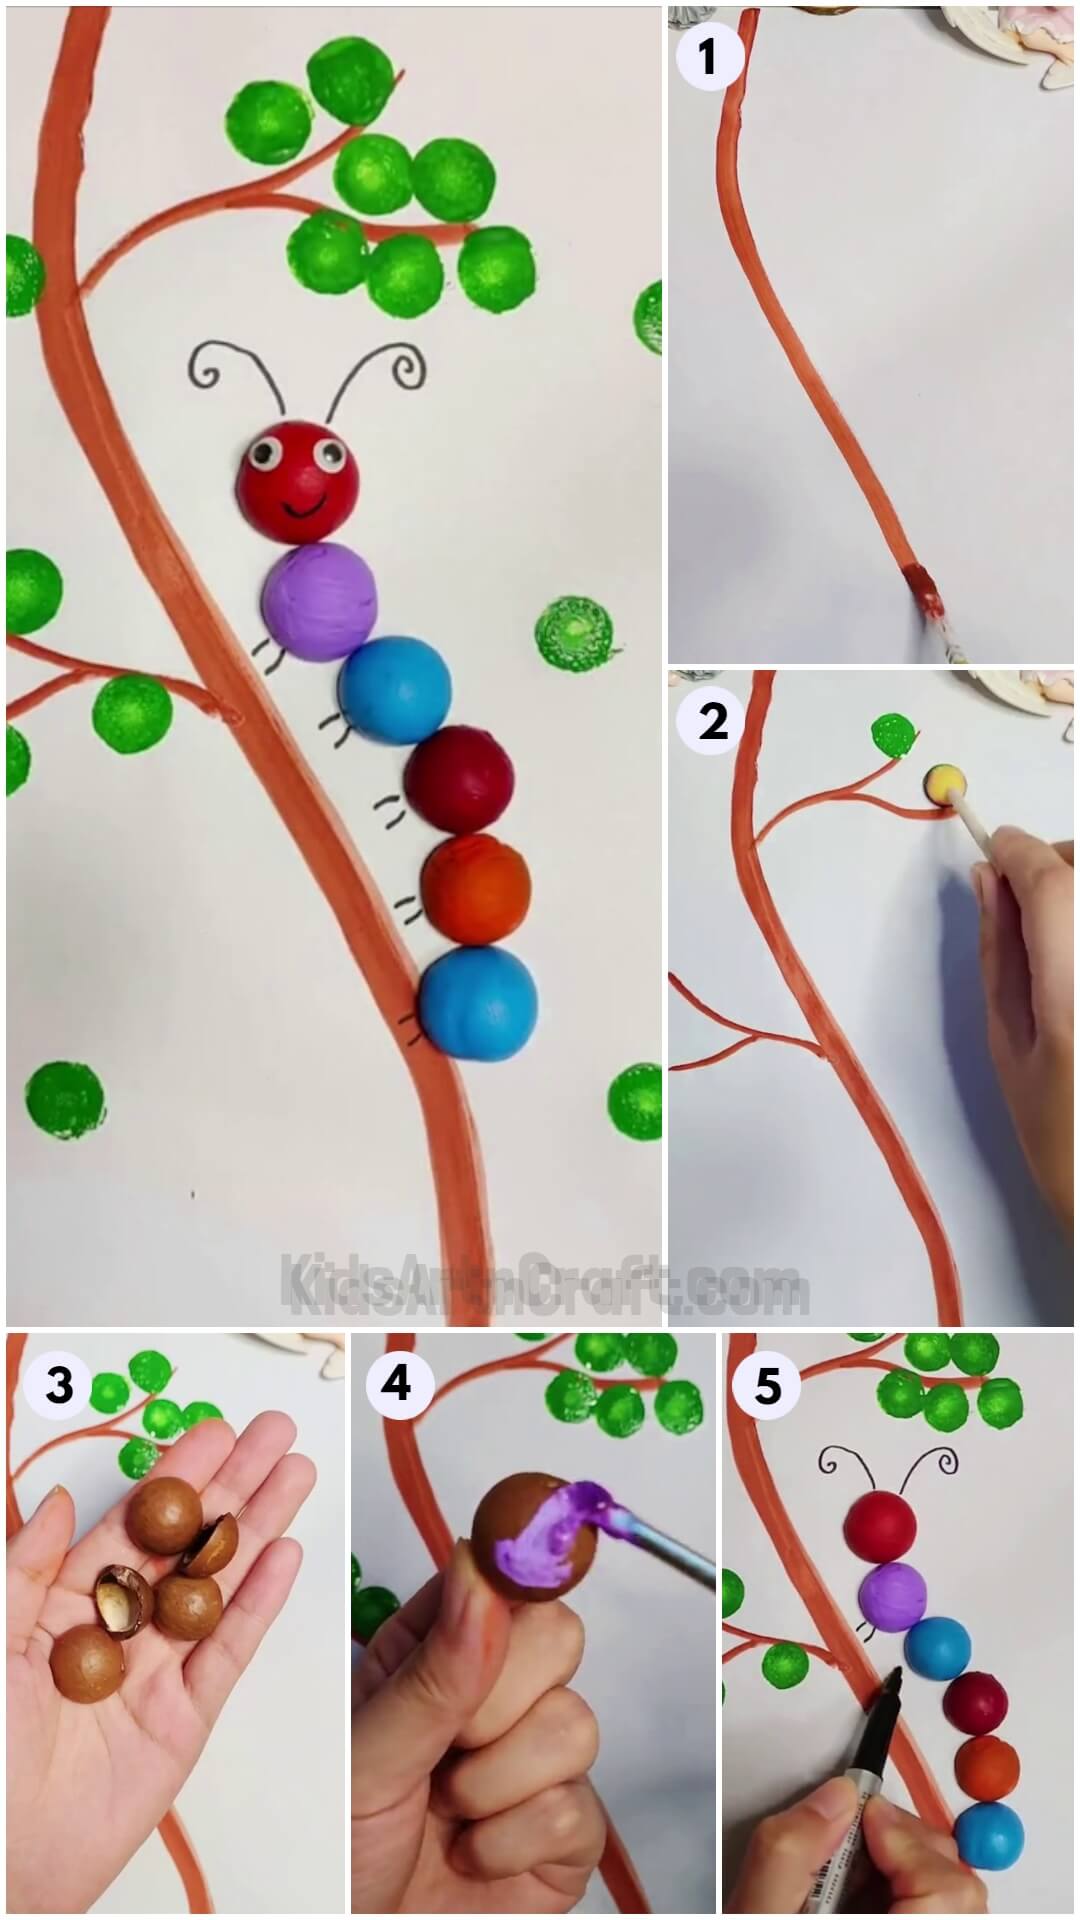
This step-by-step tutorial will help you to make a caterpillar craft using macadamia nut shells! A healthy and creative artwork for you!
Kiddos love to have fun with paints and colors! So this craft will give them an opportunity to let out their inner artist by getting all messy with paints! This step-by-step tutorial is on making a pretty caterpillar craft using macadamia nut shells! Do you know? Macadamia nuts are very nutritious and eating them can lead to a healthy lifestyle! This craft makes the whole macadamia nuts even more useful, the nut part for you being healthy and the shells to create something beautiful! Grab them to begin!
DIY Macadamia Nutshell Caterpillar Artwork Craft

Read More: Easy to Draw Tree Plant And Leaf Video Tutorial for All
Materials Required
- White Paper Sheet
- Glue
- Flat Paintbrush
- Paint Colors
- Circle Stamp
- Black Marker
- Macadamia Nutshell
- Googly Eyes
- Craft Tweezers
Procedure
Step 1: Painting A Tree Branch
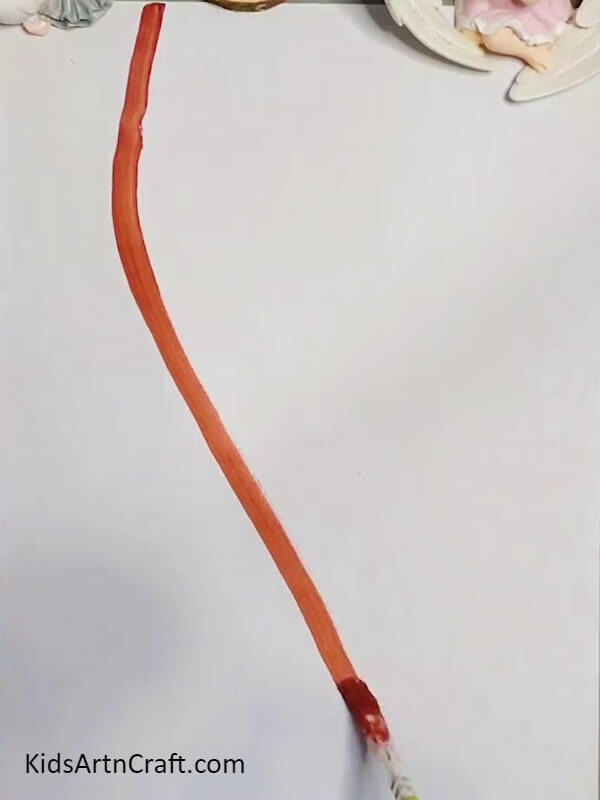

Begin this artwork craft by taking a white paper sheet as the base for your craft and a flat paintbrush into brown paint and making an irregular tree branch vertically over the base.
Step 2: Making Thin Branches

Make further thin irregular branches over from the already made one as shown in the image.
Step 3: Stamping Leaves
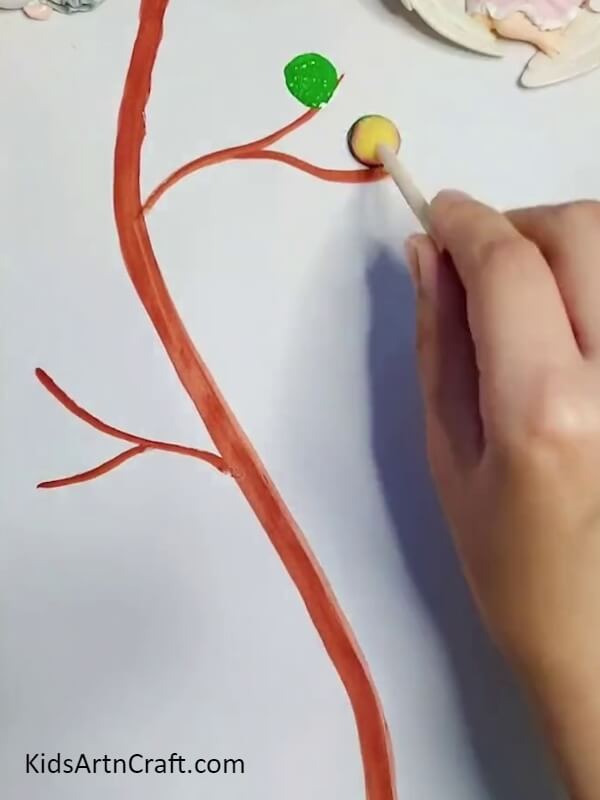
Dip a circle stamp into green paint and start stamping leaves to the thin branches of the tree.
Step 4: Completing Stamping Leaves
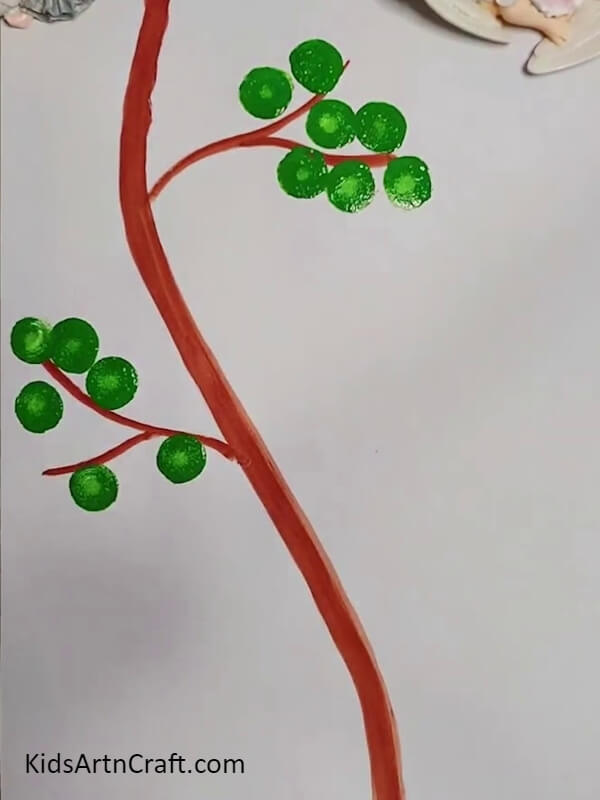
Stamp leaves on the other thin branch too to cover them randomly.
Step 5: Taking Macadamia Nut Shells
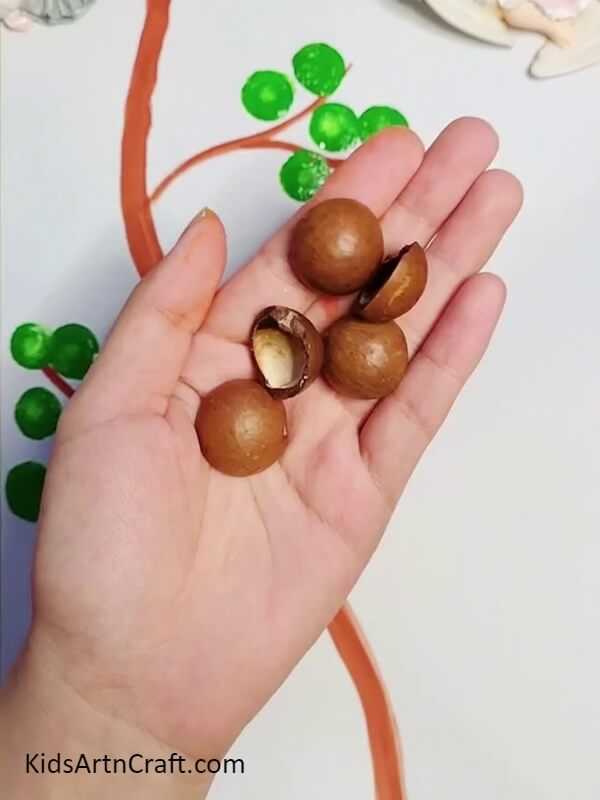
Take some half-half macadamia nut shells.
Step 6: Coloring The Shells
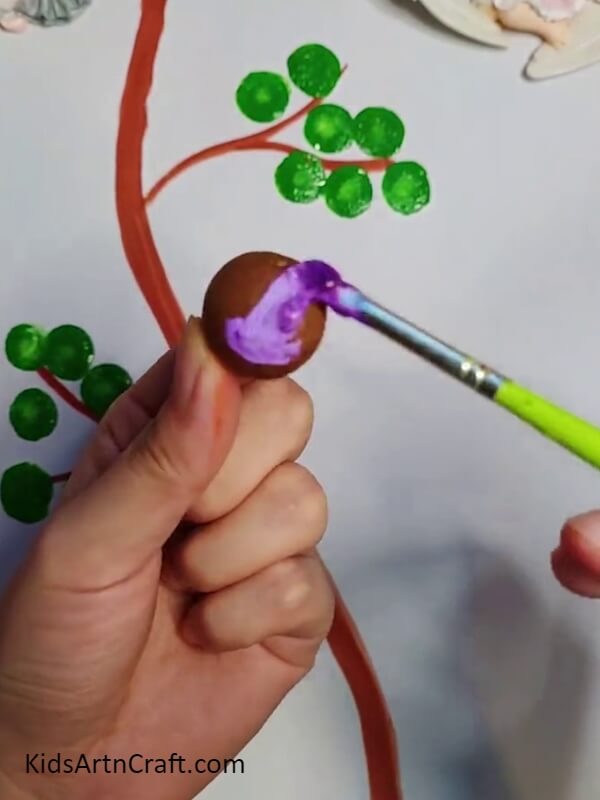
Using the paintbrush, paint a nutshell purple. In the same way, paint 2 red, 2 blue, and an orange.
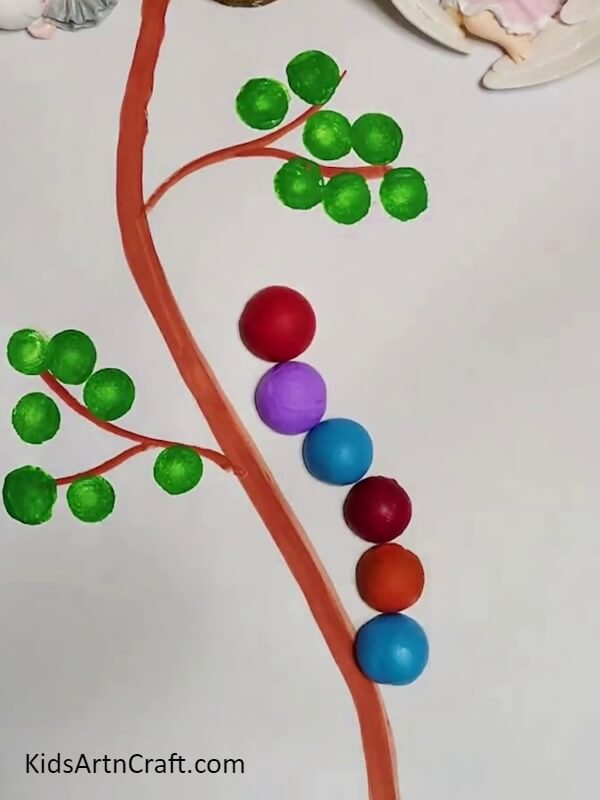
Step 7: Pasting The Red Nutshell
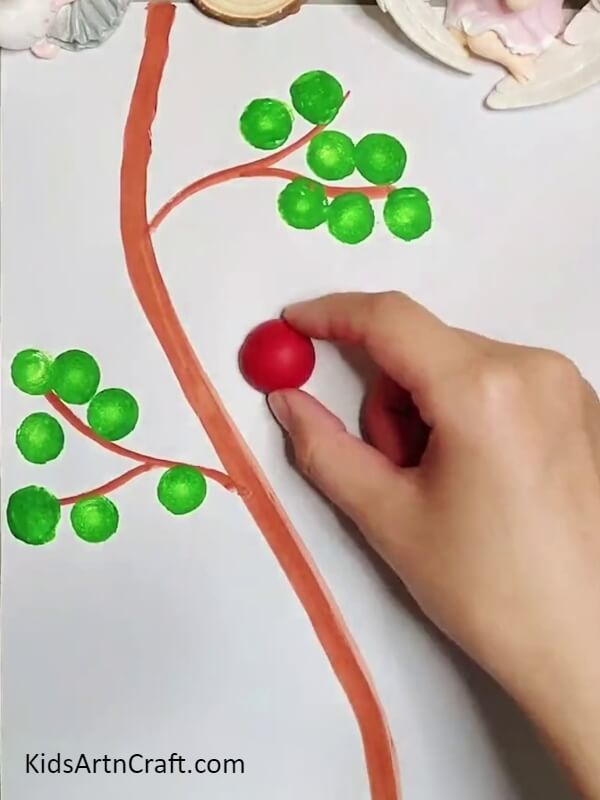
Paste the red nutshell a little over the tree branch on the right as shown in the image using glue.
Step 8: Pasting All The Painted Nutshells
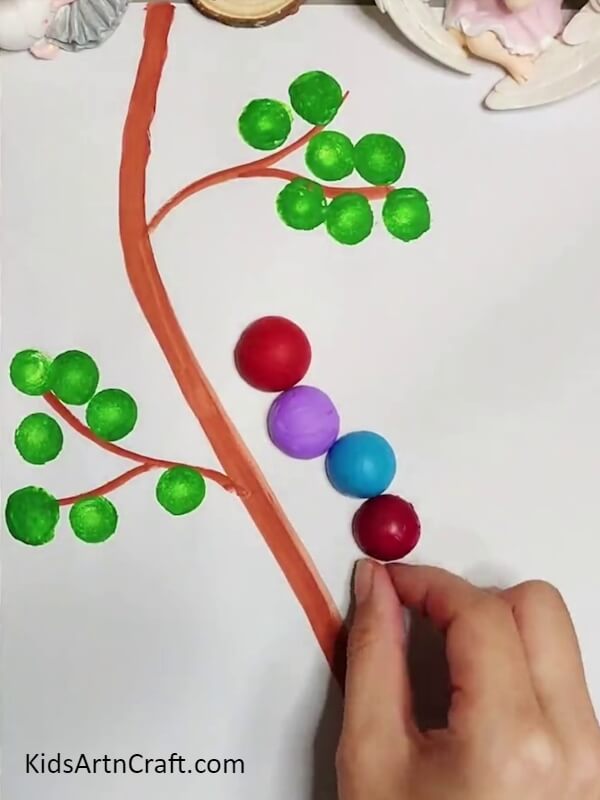
One by one paste all the painted nutshells behind one another to make a wavy line. This will be the body of the caterpillar.
Step 9: Completing Making The Caterpillar’s Body
Paste all the painted nutshells in the same order as shown in the image to complete the body of the caterpillar
Step 10: Drawing Antennas And Legs Of The Caterpillar

Using a black marker make the curvy antennas of the caterpillar above the red nutshell on the base. Also, draw the lined legs of the caterpillar below every nutshell leaving the red one.
Step 11: Making Smile And Eyes Of The Caterpillar
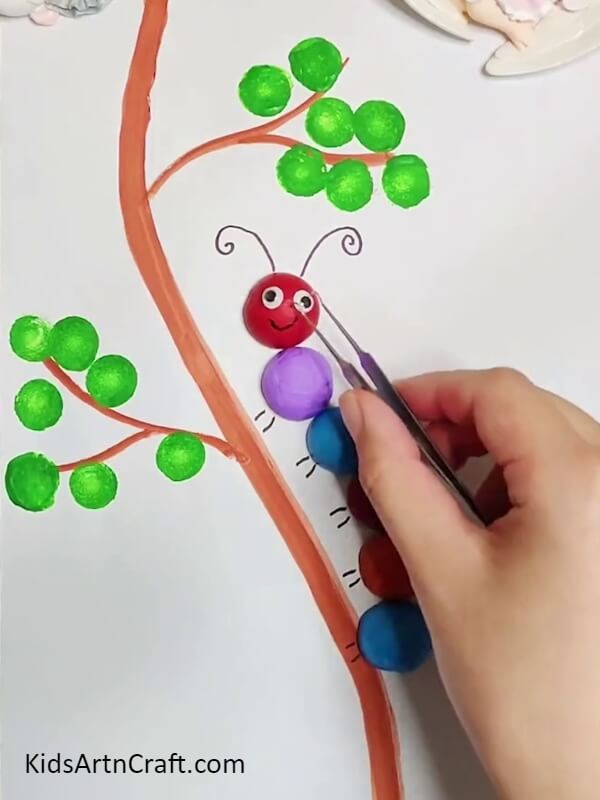
Using the marker, draw a curvy smile over the red nutshell which is the face of the caterpillar. Now using the craft tweezers hold the googly eyes and paste them onto the red nutshell side by side over the smile to make the eyes of the caterpillar.
Step 12: Stamping Some Fallen Leaves Over The Base
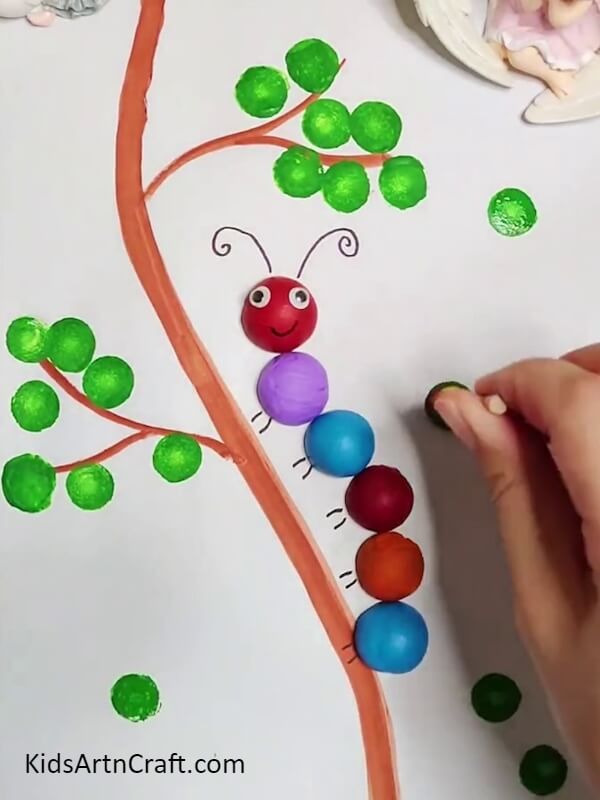
Dip the circle stamp into green paint and stamp some leaves randomly over the base to make them look like the fallen ones.
This Is The Final Look Of Your Caterpillar Over Tree Craft!
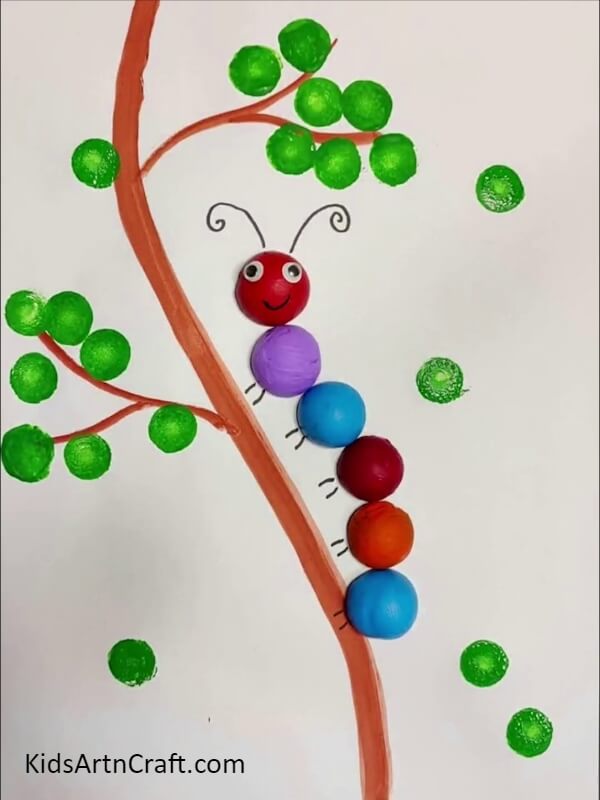
Congratulations! You have finally completed making this colorful caterpillar artwork!
Are you stunned by the results? Well, I know you are! Look at the vibrant colors! They will definitely catch everyone’s eyes! This artwork can also come in the category of the Kandinsky circle artwork as most of the things made in this artwork are in the shape of circles. This artwork will teach you so many other amazing facts if you search for them! You can even customize the color of your caterpillar and also make it even more attractive by adding something textures and designs to it!
We hope you liked the article and the craft idea! Share it with your buddies to create this craft al together! Do give it a like and tell your crafting journey to us in the comments section! We would love to hear from you!
Follow us on Youtube for art and craft tutorials and much more.
More Articles from Kids Art & Craft
- DIY Creative Clay Craft Activities Video Tutorial for Kids
- DIY Homemade Clay Art & Crafts Video Tutorials for Kids
- Step-by-Step Drawing Tricks Video Tutorial for Beginners
- Simple Animal Drawings Video Tutorial for Beginners
- How to Make a Clay Bird Easy Artwork tutorial for kids