DIY and Crafts
Ice Cream Stick Craft Ideas For Kids

“Unleash your child’s creativity with ice cream stick craft ideas. Get inspired and enjoy hours of crafting fun!”
In the summer season, we all love to eat lots of ice cream. As we keep on eating ice cream, we can collect more and more popsicles. When you have enough ice cream popsicles, you can start with making some great fun Popsicle stick crafts for kids. Such craft items surely provide smiles and happiness along with a green footprint as we save the environmental pressure on Mother Earth by reducing the waste. Let us look at some beautiful popsicle crafts.
Ice Cream Stick Craft Ideas For Kids
1. DIY Kids Crafts: How to make Popsicle / Ice Sticks Moving Puppet
This is easy to make popsicle craft. Clean the surface of the popsicle and dry it. Paint the popsicle sticks in solid paint. Take a pinhole maker and make two holes at the top. Also, make a hole at the base of the popsicle stick. Pass a rubber band through the horizontal holes. Now tie a thread at one of the rubber band layers. Pass the thread through the third hole and add a bead at the base. Use this bead t pull the rubber band, this will help to open and close the mouth of the figure. Stick googly eyes above the rubber band mouth.
2. Moveable stick puppets
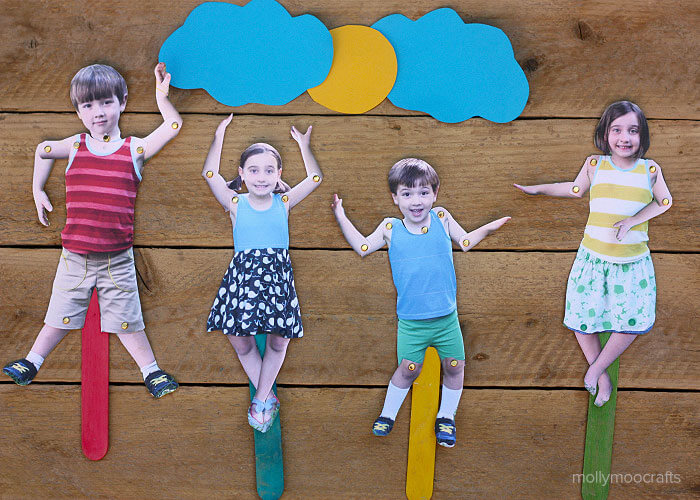
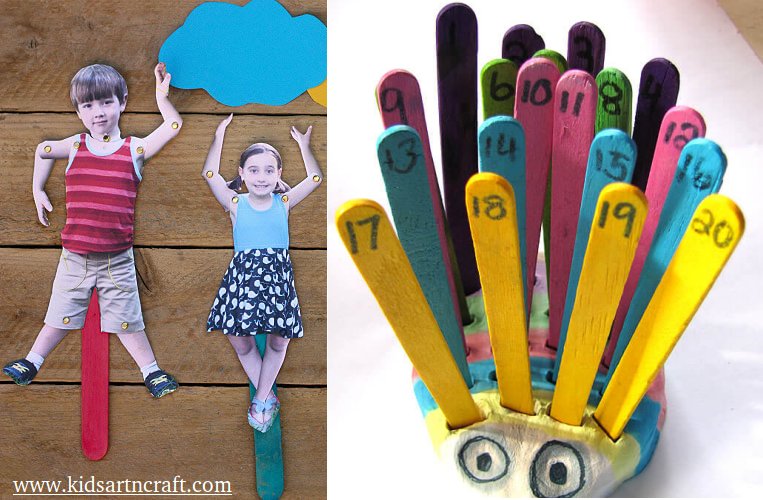
You can make these beautiful and playful moving stick puppets on the popsicle sticks. Take some pictures of yourself and your cousins. Now cut all the joints and make them movable with the help of pins. Now stick the figures on the base of the popsicles. Now whenever you will move the popsicle sticks, you will have some lucid and beautifully moving puppet figures.
3. DIY: How to Make Popsicle Stick Craft “Box” at Home
You can create some beautiful storage boxes using popsicle sticks. Collect a lot of popsicle sticks. Now align the side of the popsicle by side and stick them together for the base and the lid of the crafty box. Now make the high rise sides of the box to complete the edges of the box. Now keep the lid on top to check if everything is in place. Now add quilling designs on the top of the lid to beautify the crafty box. This way you get a multi-purpose crafty box to use.
4. Alphabet flower garden
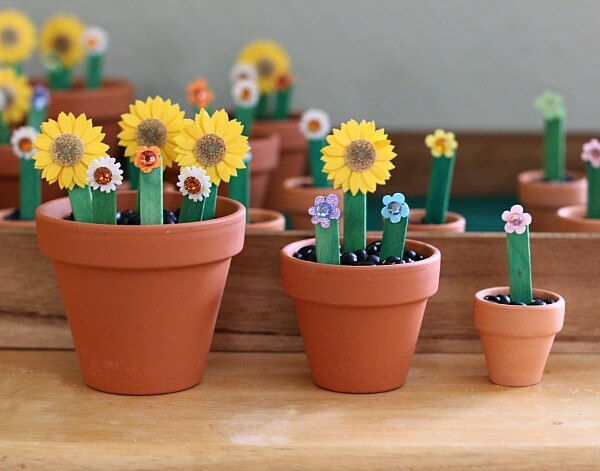
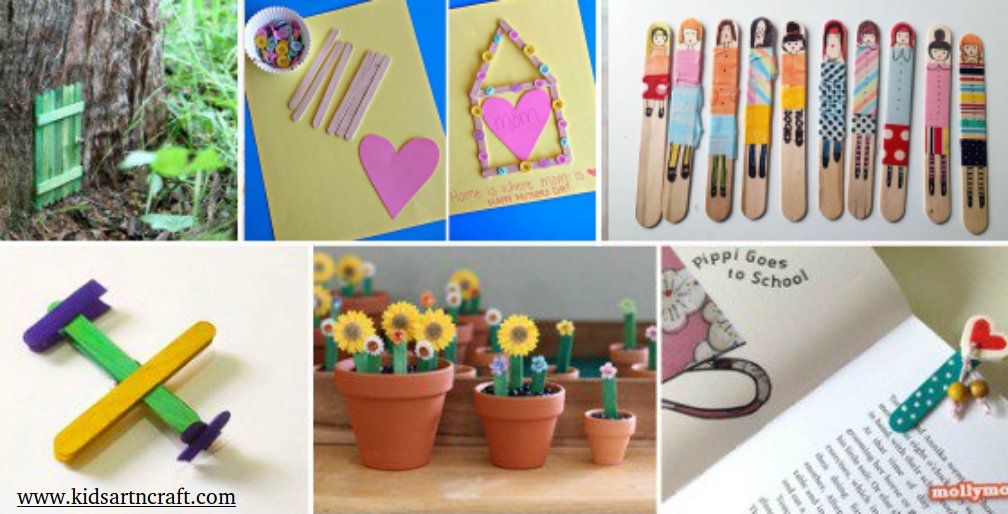
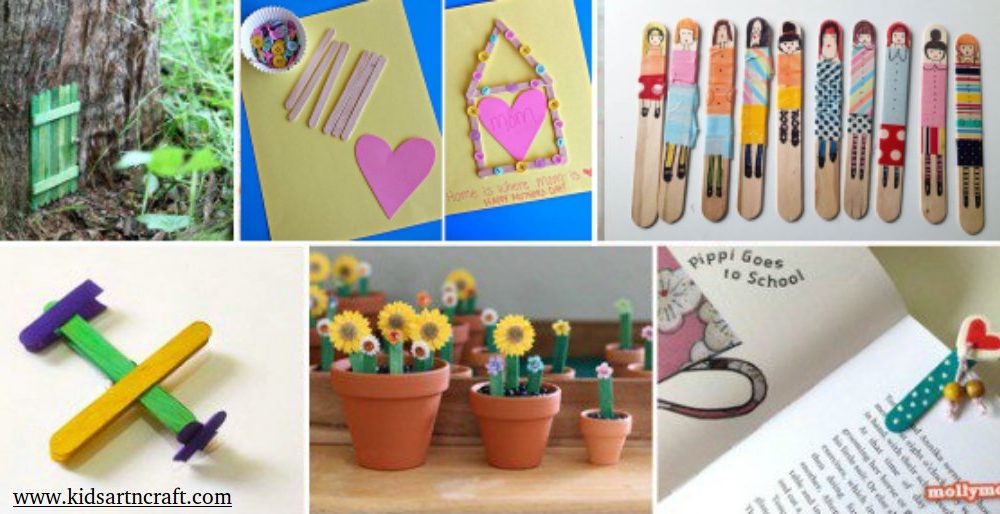
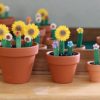
If you have got some old pots which are small in size and are not good enough to hold plants. You can surely make this beautiful popsicle plants garden out of them. Clean the pots inside out. Fill these pots with pebbles. Paint the clean and dry popsicle sticks in green color.
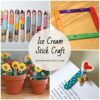
Cut out some beautiful and bright flowers from foam felt. Add sequins to the middle of the flower. Stick the flower on one end of the popsicle stick. Push the popsicle into the pebble filled pot. Stick more such popsicles to complete your craftwork.
5. DIY: How to make Ice cream stick “Photo frame” at Home
This is a beautiful Mom photo frame. It can be easily made and uses material which is easily available. You can start by taking the size of the photograph you wish to place inside the frame. Now start building your photo frame. You can use two different colored popsicles. Paint half of the popsicles in bright color and leave the other half as it is.
Build the base of the frame out of the popsicles which are uncolored. Make a base for the photo frame to help it stand. Now add the colored popsicles on top of the basic frame structure. Decorate the photo frame with glitter dots. Stick the photograph of your mother at the back.
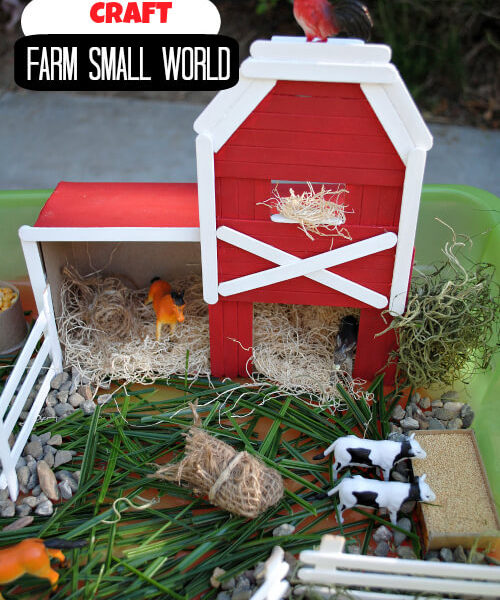
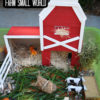
6. Popsicle stick barn house
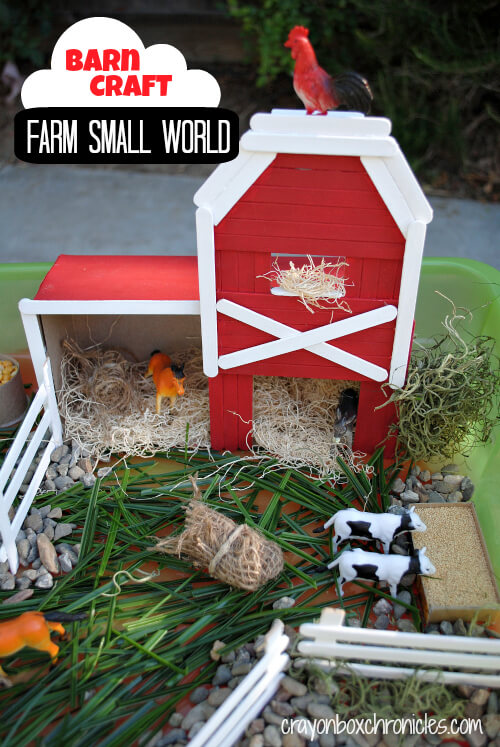
This is a fun activity which can be easily accomplished. You can start by collecting, cleaning and painting the popsicle sticks. First of all, draw a layout of the barn on a sheet of paper. Now start building the walls of the barn by aligning and sticking the popsicle sticks side by side. Make the main building with a high rise and an additional side barn which has animals inside the barn. Build the fences for the barn using white painted popsicle sticks. Add hay and plastic toy animals for the added effect.
7. DIY: Popsicle / ICE Sticks Tissue Paper Holder -Christmas / New Year Special
This is a very useful craft item. You can make this useful napkin holder craft using popsicle sticks. Paint the popsicle sticks in bright paint. Measure a usual napkin holder for reference. Now using those measurements build the base of the napkin holder. Stick the popsicle sticks on the sides of the base using a hot glue gun. Once you have stuck all the parts of the napkin holder, decorate the front and back of the napkin holder. Your napkin holder is now ready to show off the napkins it holds.
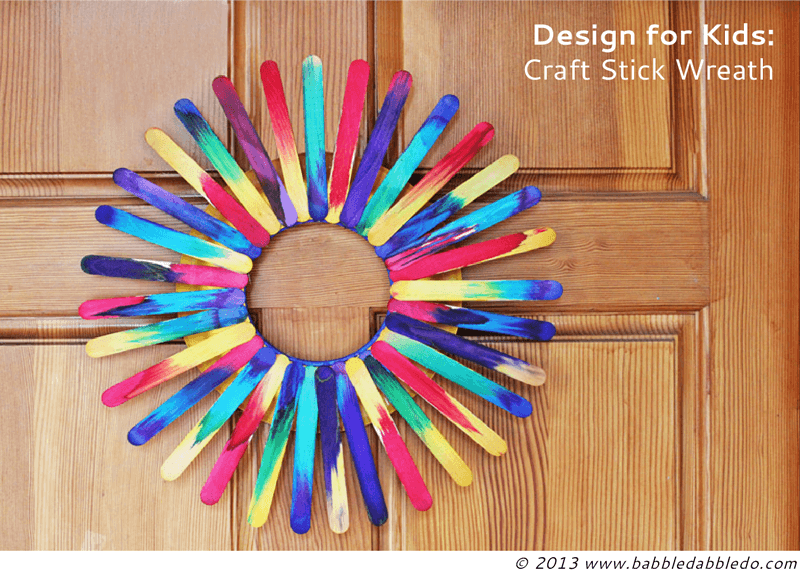
8. Popsicle stick wreath

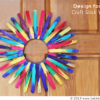
We all love to make wreaths at different festivals. Wreaths are easy to make and give proper area coverage. We can make this colorful popsicle wreath using popsicle sticks. Clean and dry the popsicle sticks. Now take colorful sketch pens. Start shading the popsicle sticks in sections using the sketch pens. Do not leave gaps in between. Blend the colors into each other. Now cut a ring out of cardboard sheet. You may also use a wire ring. Stick these colorful popsicle sticks around the cardboard ring. This makes for a beautiful wreath.
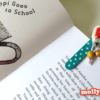
9. Kids Craft Bookmark – ICE Sticks + Foam Sheet
Bookworms or avid readers would surely love this bookmark DIY project. Start by cleaning and drying the popsicle sticks. Now cut one of the popsicle sticks in half. Now paint this half popsicle stick and one more popsicle stick in the same color. Add dots or other patterns on the half popsicle stick. Now stick this half popsicle stick on the full popsicle stick.
Cut a heart shape from soft foam sheet. Thread a twine and beads through the felt foam heart. Stick the heart on the mast of the bookmark. This will surely be a great companion for all the writers and readers.
10. Popsicle stick bookmarks
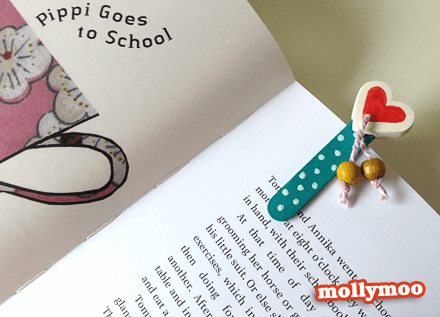
This is a beautiful bookmark creation. First of all, take a clean popsicle stick and paint it in a bright color. Now add contrasting color dots on the surface. Use a foam felt sheet to cut out a heart from it. Cut a smaller heart shape from a contrasting color felt sheet. Stick the smaller heart shape on the bigger heart shape. Thread twine through the hole made in the foam sheet hearts. Seal the twine with beads. Stick the hearts on the popsicle.
11. Homemade weaving looms
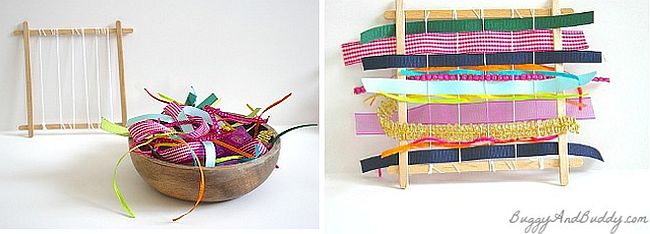
This can serve as a great fun time activity for the kids. Take four popsicles. You may paint them or leave them as they are. Now join these popsicles end to end, making a square structure. Take a thread and stretch it over the opposite sides of the frame structure. Now give your child small lengths of crepe paper or colored strips. Help your child to loom through the threads on the square structure. This looks really beautiful.
12. Popsicle stick and button Mother’s Day card
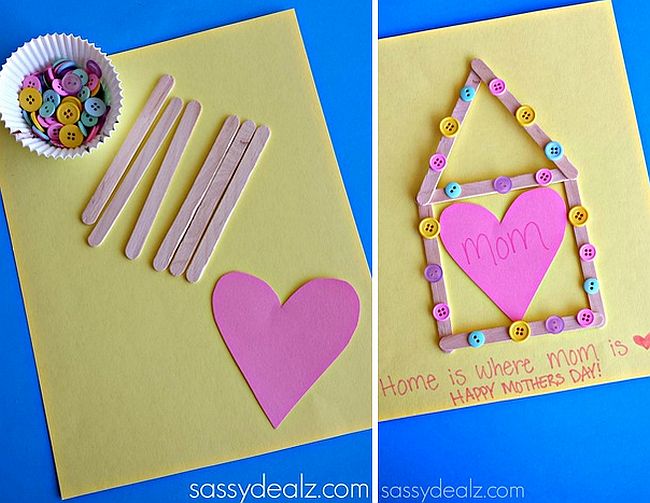
Take some popsicle sticks to make this beautiful popsicle sticks based Mother’s Day card. Form a design on a drawing sheet using popsicle sticks. Once you have made the design, add buttons on the popsicle sticks to decorate the card. Now add a big heart in the middle of the design. Write “Mom” in the heart. Write your good wishes and gratitude for your mother on the card. Your mother will surely love this beautiful card.
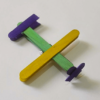
13. Popsicle stick glider
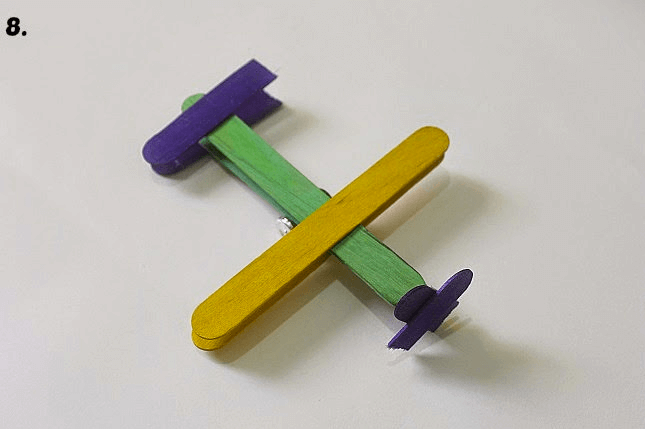
You can easily make this stick glider. Take some popsicle sticks. Paint them in different colors. Now take two popsicle sticks, form the base of the glider with these two popsicle sticks. Use styrofoam between the two popsicle sticks. Half a popsicle stick and stick it in the front of the glider. Take two differently colored popsicle sticks and stick them in the middle of the glider perpendicular to the main body of the glider. Also add two halves of a popsicle at the back in the shape of a propeller.
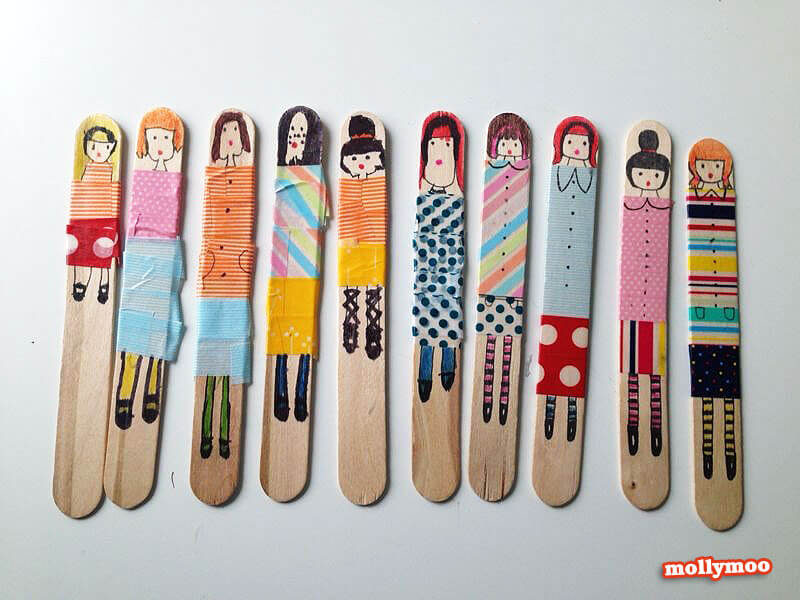
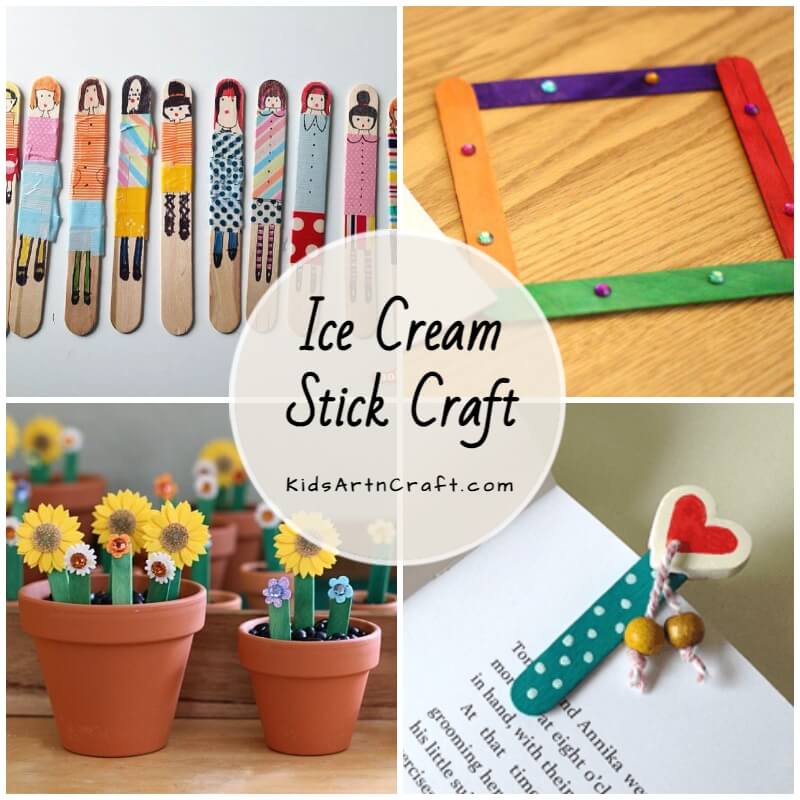
14. Washi tape popsicle stick dolls
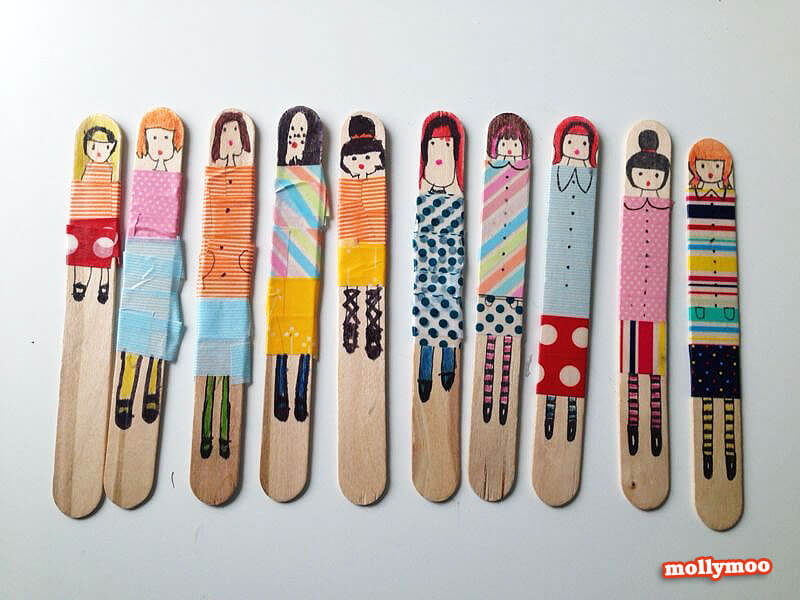
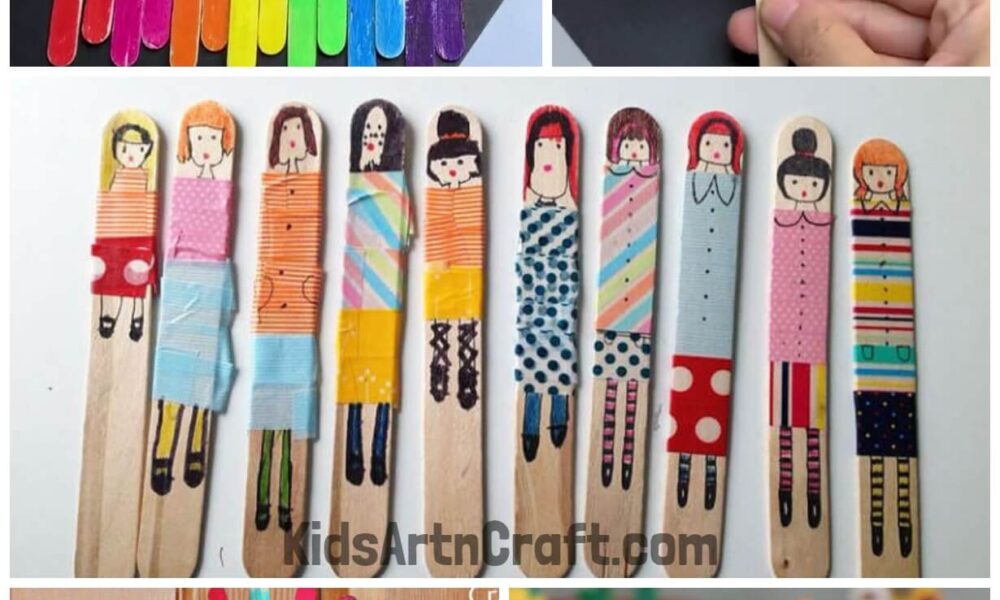
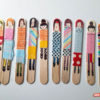
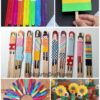
If your child is fond of making human figures, or if you love to tell stories using characters you can go for this popsicle sticks characters DIY project. Take some clean and dry popsicle sticks. Draw the figures on the popsicle sticks. Draw the face, legs, shoes, etc. for the character. Use buntings, gift wrappers, toffee wrappers, colored paper strips, etc. as the clothes of these popsicle stick figures. Detail the clothes of the figures using black sharpie pen. These figures look pretty.
15. Popsicle stick play mat
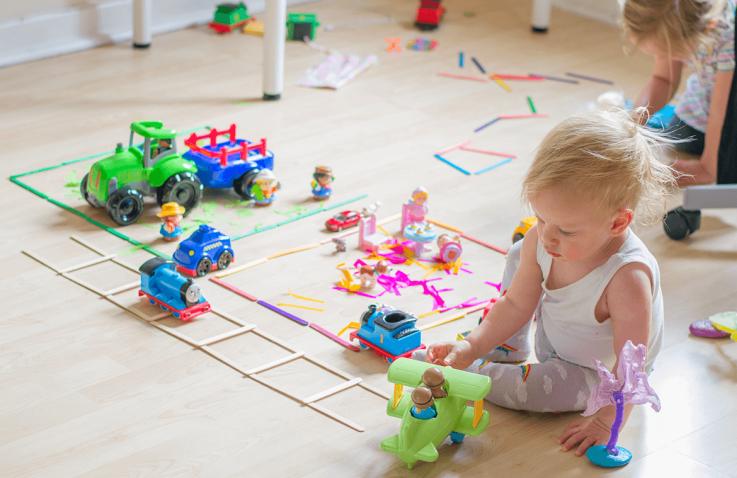
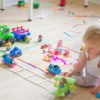
This is a beautiful and colorful play mat for your kids. Take some popsicles. Clean these popsicles and paint them in different colors. Now stick these popsicles together to create different shapes. This way you can shape different mat shapes. You can even leave it to your child’s description to align the playmate by not joining the popsicles and let your children join the popsicles to form a play mat.
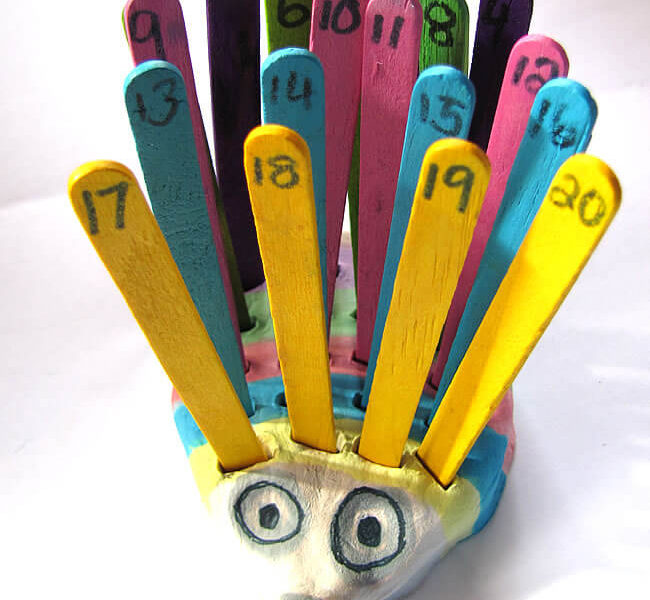
16. Counting hedgehog
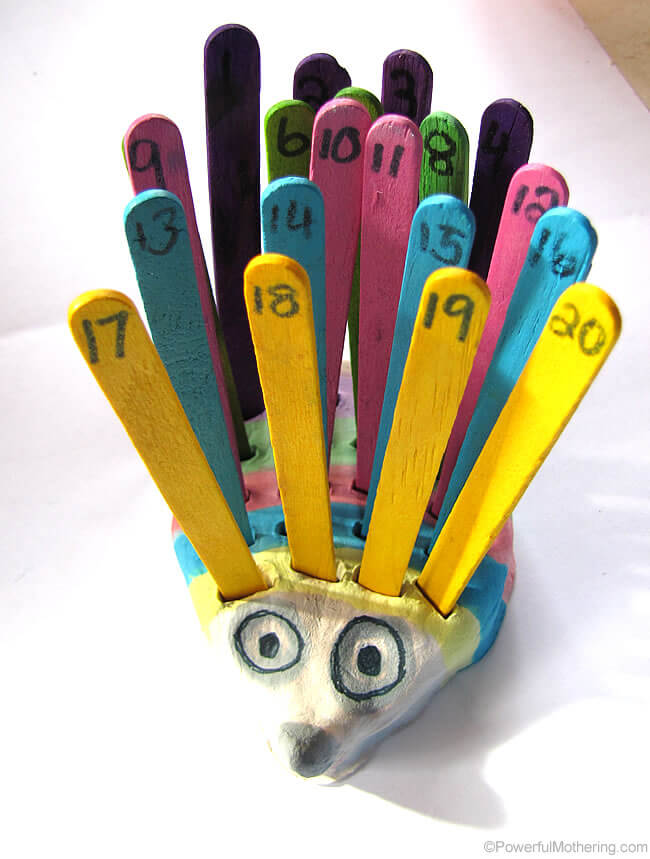
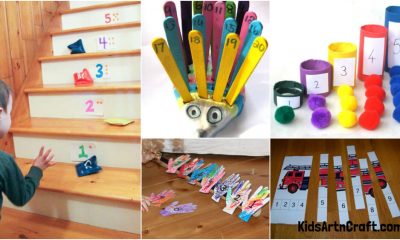
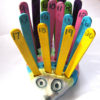
This is an interactive way to help your kids to learn to count. Create a beautiful hedgehog using plaster of paris mix. Make the basic shape of the hedgehog. Make gaps for the popsicles to be fit at the back of the hedgehog. Now paint the hedgehog in different colors. Take some clean popsicles and paint them too in bright colors. Make sure you have a certain set of similar colored popsicles. Now write the counting on the top of the popsicles.
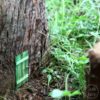
17. Popsicle stick fairy door
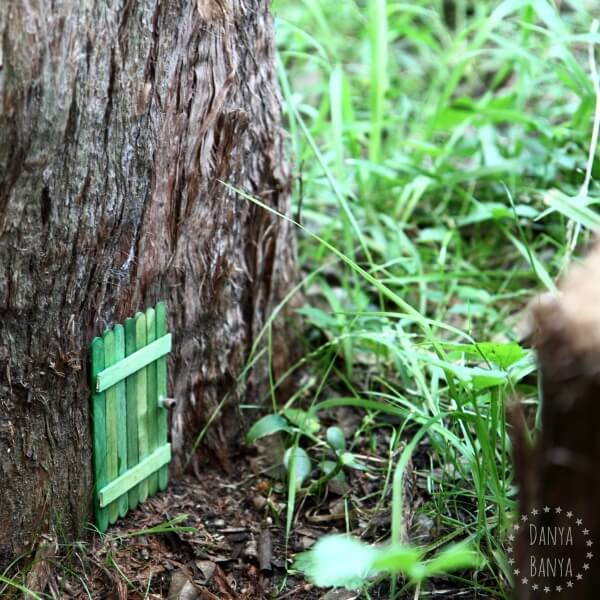
Fairies are beautiful fantasy creatures. We all love to play with such cute little fairies and they make our childhood beautiful. Let us create a tiny fairy door at the base of a tree with the help of popsicles. Clean and dry some popsicles. Now paint these popsicles in a bright-coloured paint. Join the side of the popsicle by side to make it look like a door. Now use two popsicles horizontally to secure the door. Add a black doorknob and stick the door to the base of a large tree. This is your favourite fairy princess’s home.
18. Popsicle stick word spacers
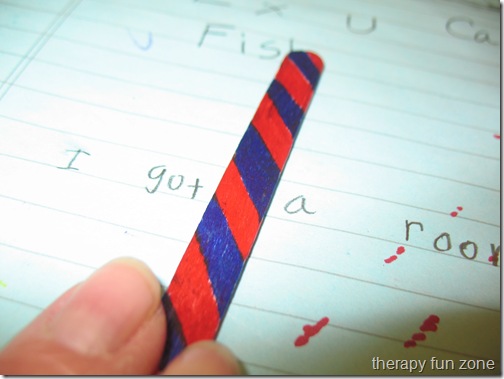
This is a great addition to your child’s writing practice. You can help your child have beautiful handwriting with this word spacer. Take a clean popsicle and make a pattern on it. Now fill in the pattern with sketch pens of different colors. You can use this colorful word spacer to enhance the gaps between the words your child writes.
19. Popsicle stick barn animals
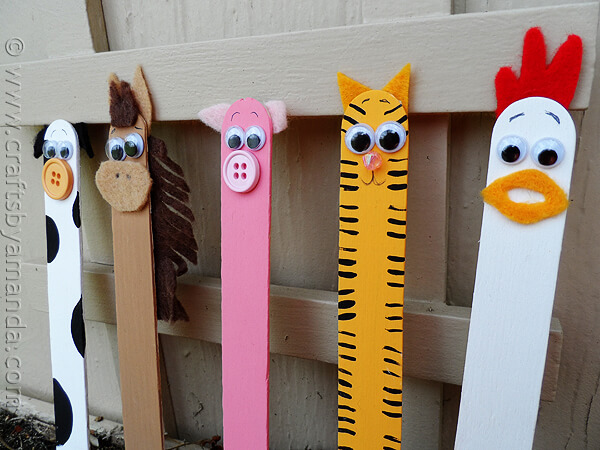
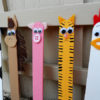
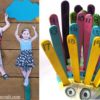
Animal farm is a great storybook. We may create a lot of animals easily using the popsicles. Start with a base coat for the popsicle. Now cut out the ears, nose, mouth, etc. for the animals you intend to make from colorful felt cloth. You may even use buttons to make different features. Stick on googly eyes for the right effect. Add black sharpie pen details to the popsicle animal puppets to make them look realistic.
20. Popsicle stick picture frame
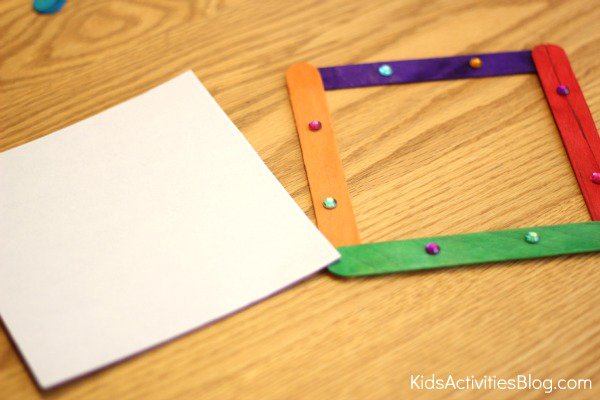
This is a beautiful and bright Popsicle picture frame. Your kids can easily make such a picture frame. Start with clean and dried popsicles. Paint these popsicles in bright colors. You may choose the neon colors as well. You can choose the four popsicles to be of the same color or each to be of a different color. You may decorate the picture frame with sequins, buttons, glitter, etc. Add a photograph at the backside to have a beautiful effect.
We hope you liked all these easy to make popsicle craft ideas for your kids to make. We wish you all the smiles this season. We would love to hear from you, you may leave your comments and feedback in the comments section below. Do check out other such interesting articles at our website. We will soon come up with more such articles.
Creating a Cardboard Ice Cream Artwork
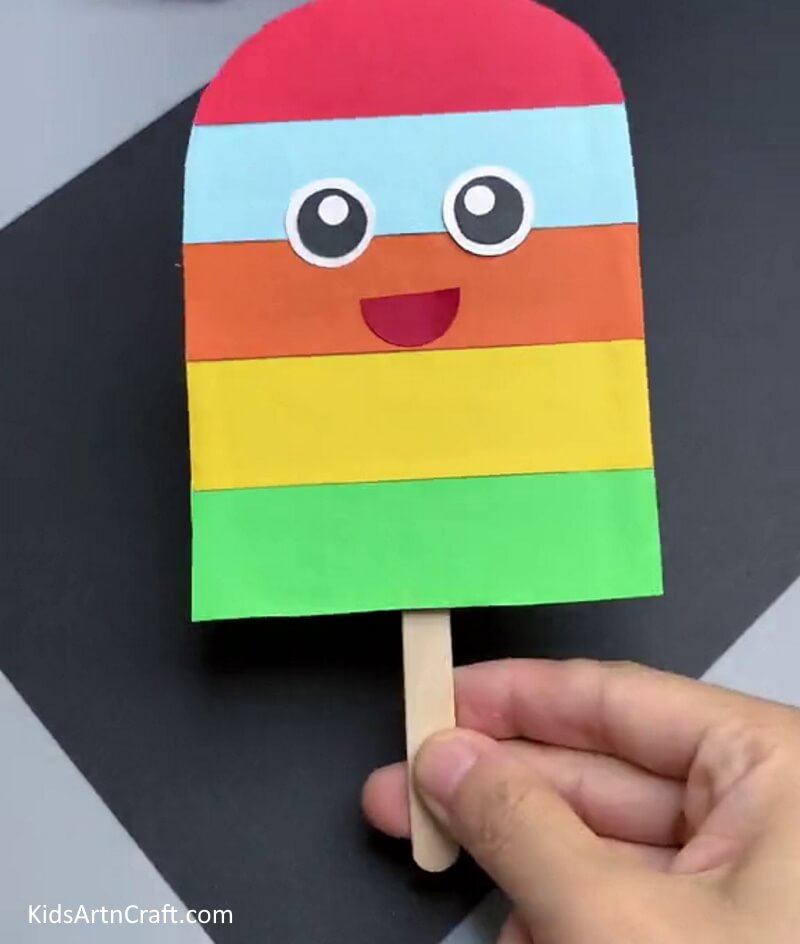
Image Source/Tutorial: Kids Art & Craft
Creating a Cardboard Ice Cream Artwork is an enjoyable and creative way to spend an afternoon. With a few materials and some imagination, this craft is perfect for any age and skill level. It’s a great way to bring some fun and color to any room.
Craft a Cloud Rainbow with Paper and Popsicle Sticks
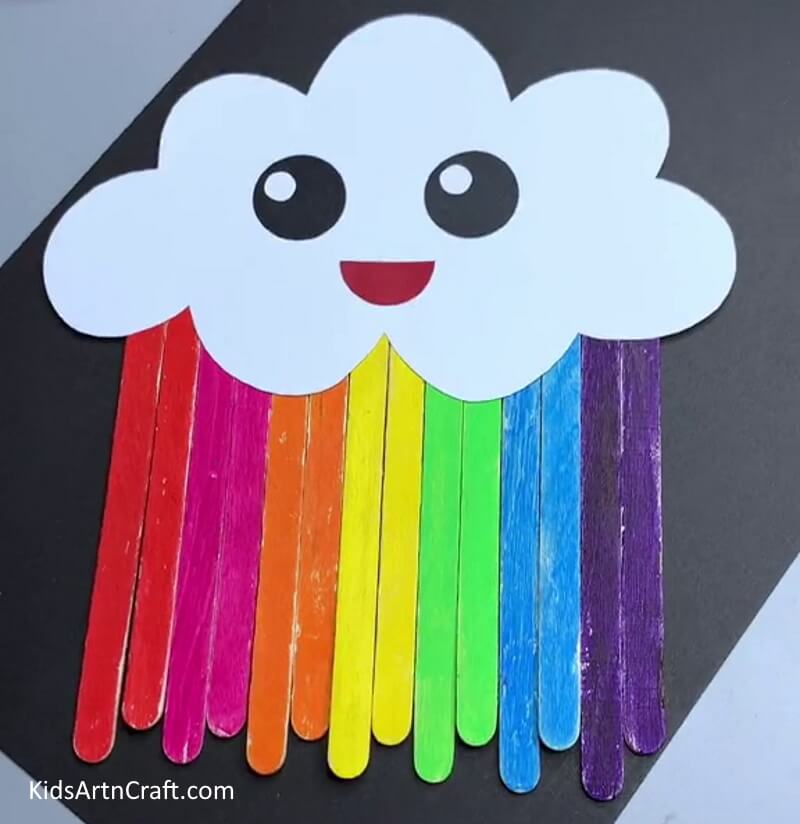
Image Source/Tutorial: Kids Art & Craft
This project is fun and easy to do! With just paper, popsicle sticks, and a few other materials, you can create a beautiful rainbow in the sky. All you need to do is cut out the shapes of clouds and rainbows, attach them to the popsicle sticks, and hang them up. Enjoy your colorful creation!
Thank you for visiting us!
Follow us on Youtube for art and craft tutorials and much more.
Read More:
- Christmas Popsicle Stick Crafts for Kids
- DIY Recycled Plastic bottle flowers with Popsicle sticks decoration (Tutorial)
- Homemade Popsicles Craft For Kids
- Popsicle Sticks Projects and Ideas for School
- DIY Popsicle Stick Houses – Make Your Own Home


