Clay Crafts
How To Make Clay flower Artwork easy Tutorial for Kids

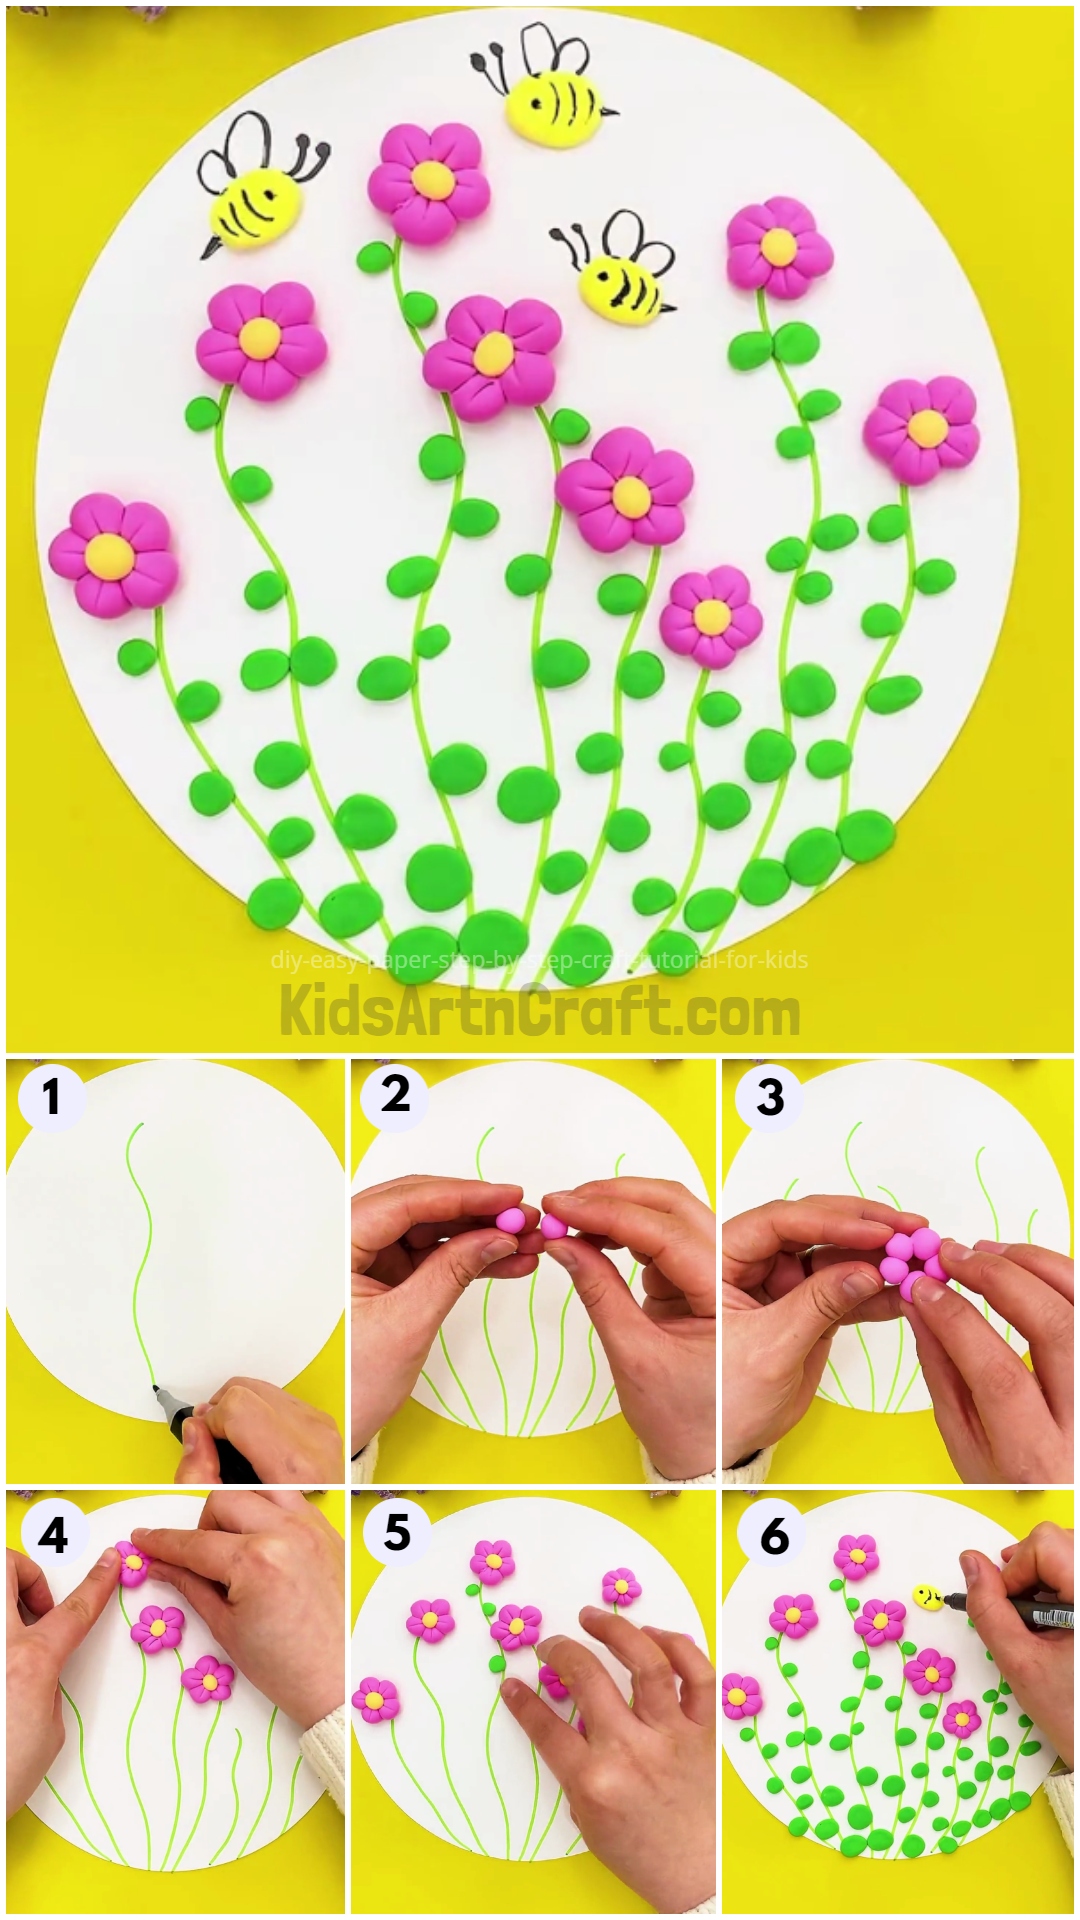
Make a beautiful clay flower artwork craft in just some simple steps and with budget-friendly supplies in minutes! This tutorial will guide you to each step of this clay craft making!
Welcome to the wonderful world of craft tutorials for making beautiful flowers! This clay craft is an easy way to get your kids involved in a fun learning activity instead of wasting time on their devices! This craft will bring delight o the kids while exploring their artistic minds! Using the clay gives the craft a 3D effect which will surely catch everyone’s eyes! Decorate your room with this amazing creation! This tutorial includes step-by-step easy instructions for making this craftwork like a pro! The craft is suitable for kids of all ages and will definitely be a banger! Grab your clay and equipment to create this craft now!
Simple Flower Clay Artwork For Kids

Read More: DIY Clay Giraffe Step-by-Step Tutorial For Kids
Materials Required
- White Circular Paper Sheet
- Colored Clay (Pink, Green, And Yellow)
- Light Green Sketch Pen
- Black Marker
Procedure
Step 1: Drawing Wavy Stems Of The Flowers
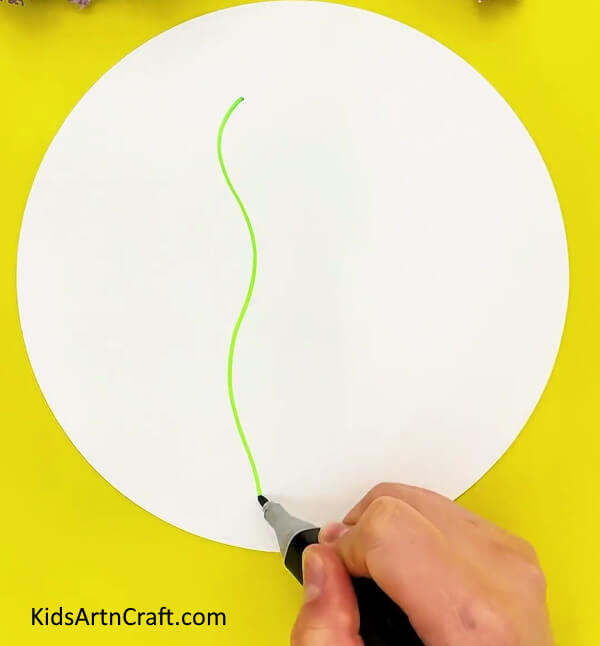

For the first step, take a white circular paper sheet and using a light green sketch pen draw random wavy stems over the sheet.
Step 2: Taking Out A Piece Of Pink Clay


Now, take a pink-colored clay, stretch it, and pluck out a small piece of clay from the whole.
Step 3: Making Small Round Clay Balls
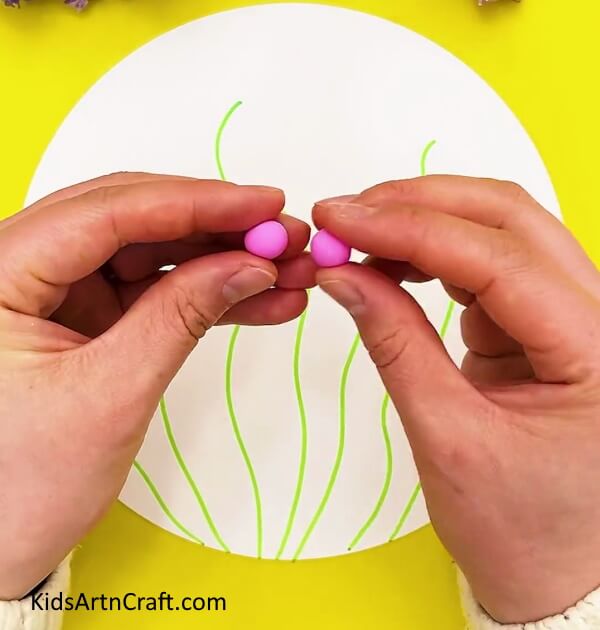

From the clay, make small round balls out of it.
Step 4: Making A Flower
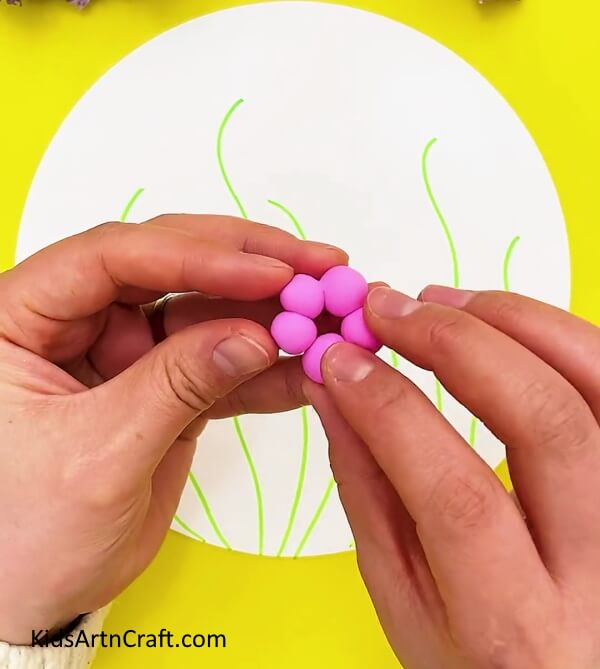

Attach and press 5 clay balls in a circle to form a flower.
Step 5: Completing And Sticking The Flower
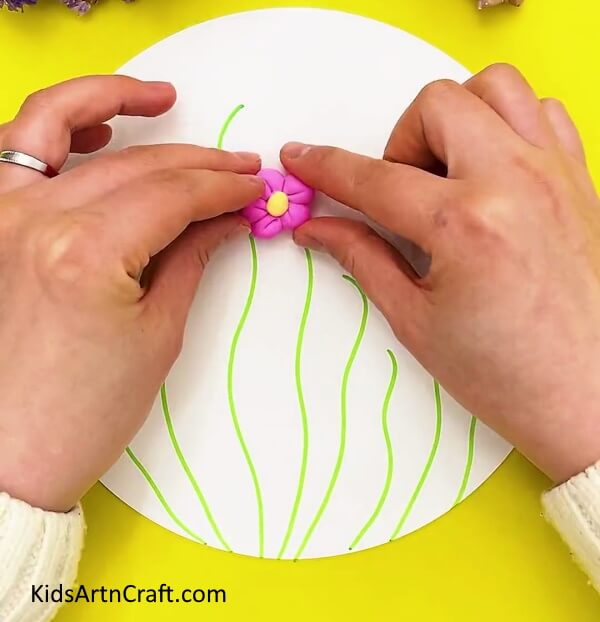

Using a clay tool, make small lines over the petals and stick over a yellow clay circle in the middle of the flower to complete it. Now, gently press and stick the flower over the paper and a stem.
Step 6: Sticking More Flowers
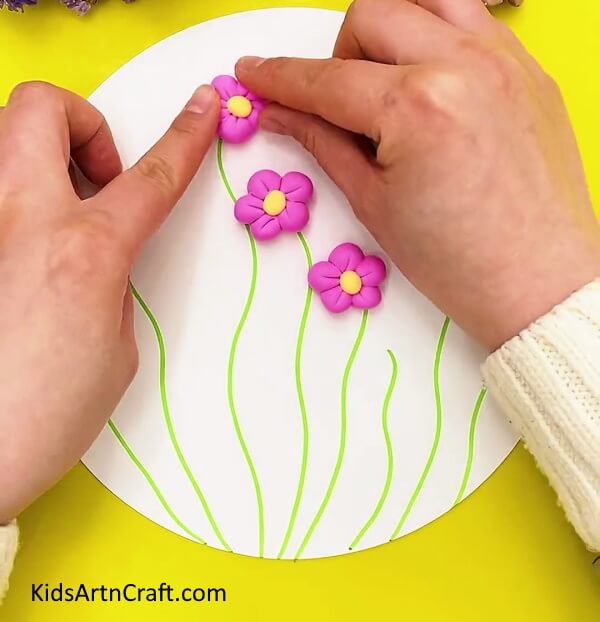
Following the previous same steps, make more flowers and stick them one by one over each stem.
Step 7: Completing Sticking The Flowers
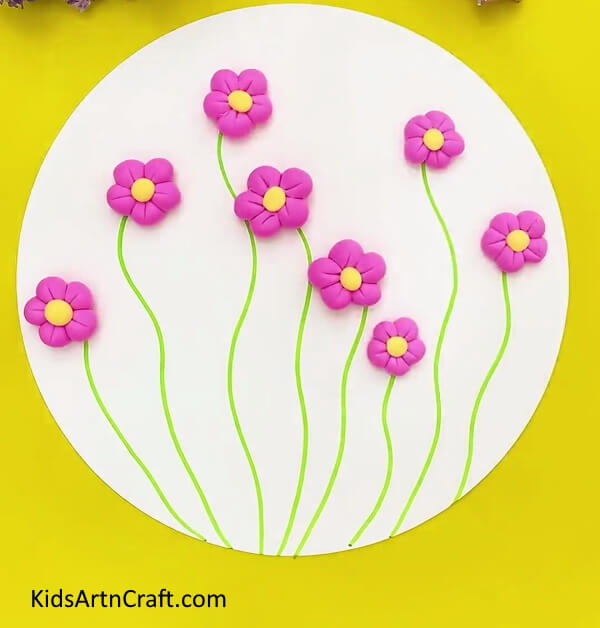

Make sure to stick flowers over each and every stem.
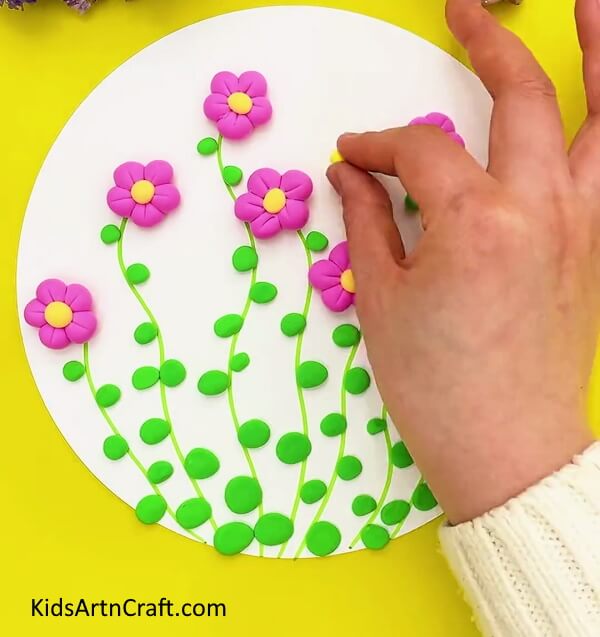
Step 8: Making Leaves
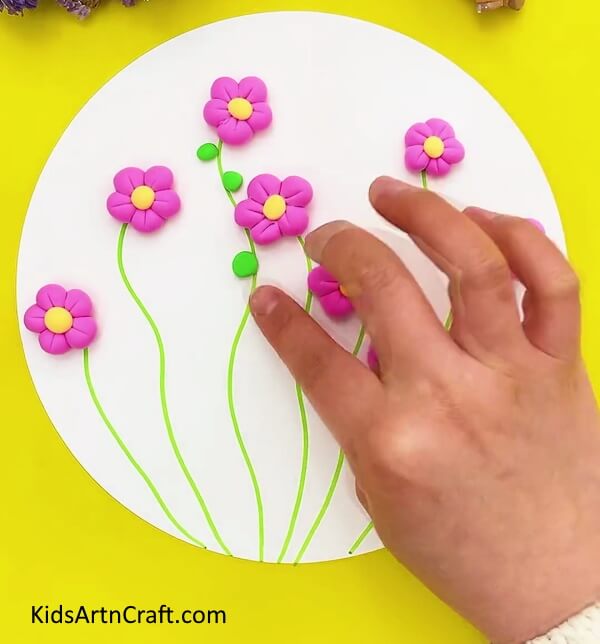

For making leaves, make tiny round green clay balls and press to flatten them and stick them over the sheet along the stems.
Step 9: Making A Bee

Dough a yellow clay into a small ball and press it over the paper and above the flower to give it an oval shape for making a bee.
Step 10: Detailing The Bee
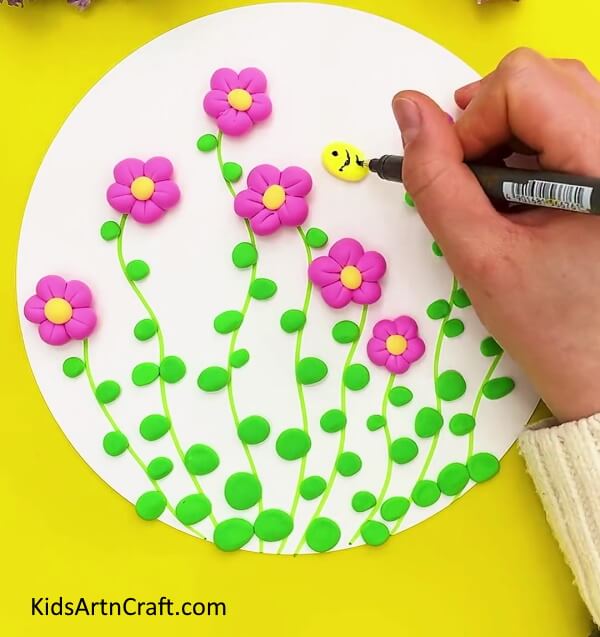
Add details to the bee with a black marker and draw an eye, curvy stripe lines on the clay body, wings, antennas, and the spikey tails at the back.
Now, The Final Look Of Your Clay Flower Craft!
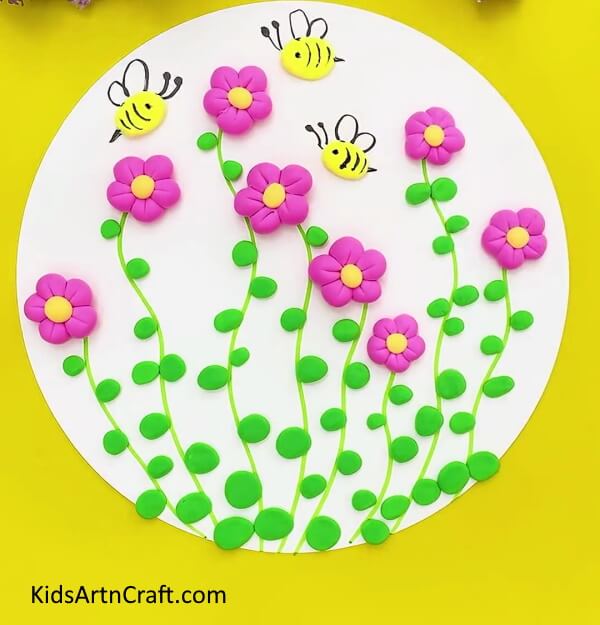

For the final step, make 2 more bees by following the same previously mentioned steps.
Voila! Your amazing clay bees over flowers craft is ready in no time! Show it off to your friends and family and flaunt your crafting skills by teaching them to make it too! This artwork craft will suit best as a kid’s room decor! Let them unleash their creativity through this artwork and let them wander into their pretty imagination of beautiful flowers!
Follow us on Youtube for art and craft tutorials and much more.
More Articles from Kids Art & Craft
- How to Make Clay Flower Easy Tutorial for Kids
- Clay watermelon ice cream easy craft tutorial
- How to Make Worm Using Clay For Kids
- How to Make a Clay Bird Easy Artwork tutorial for kids
- DIY Miniature Clay Cake Craft Activities for Kids