Clay Crafts
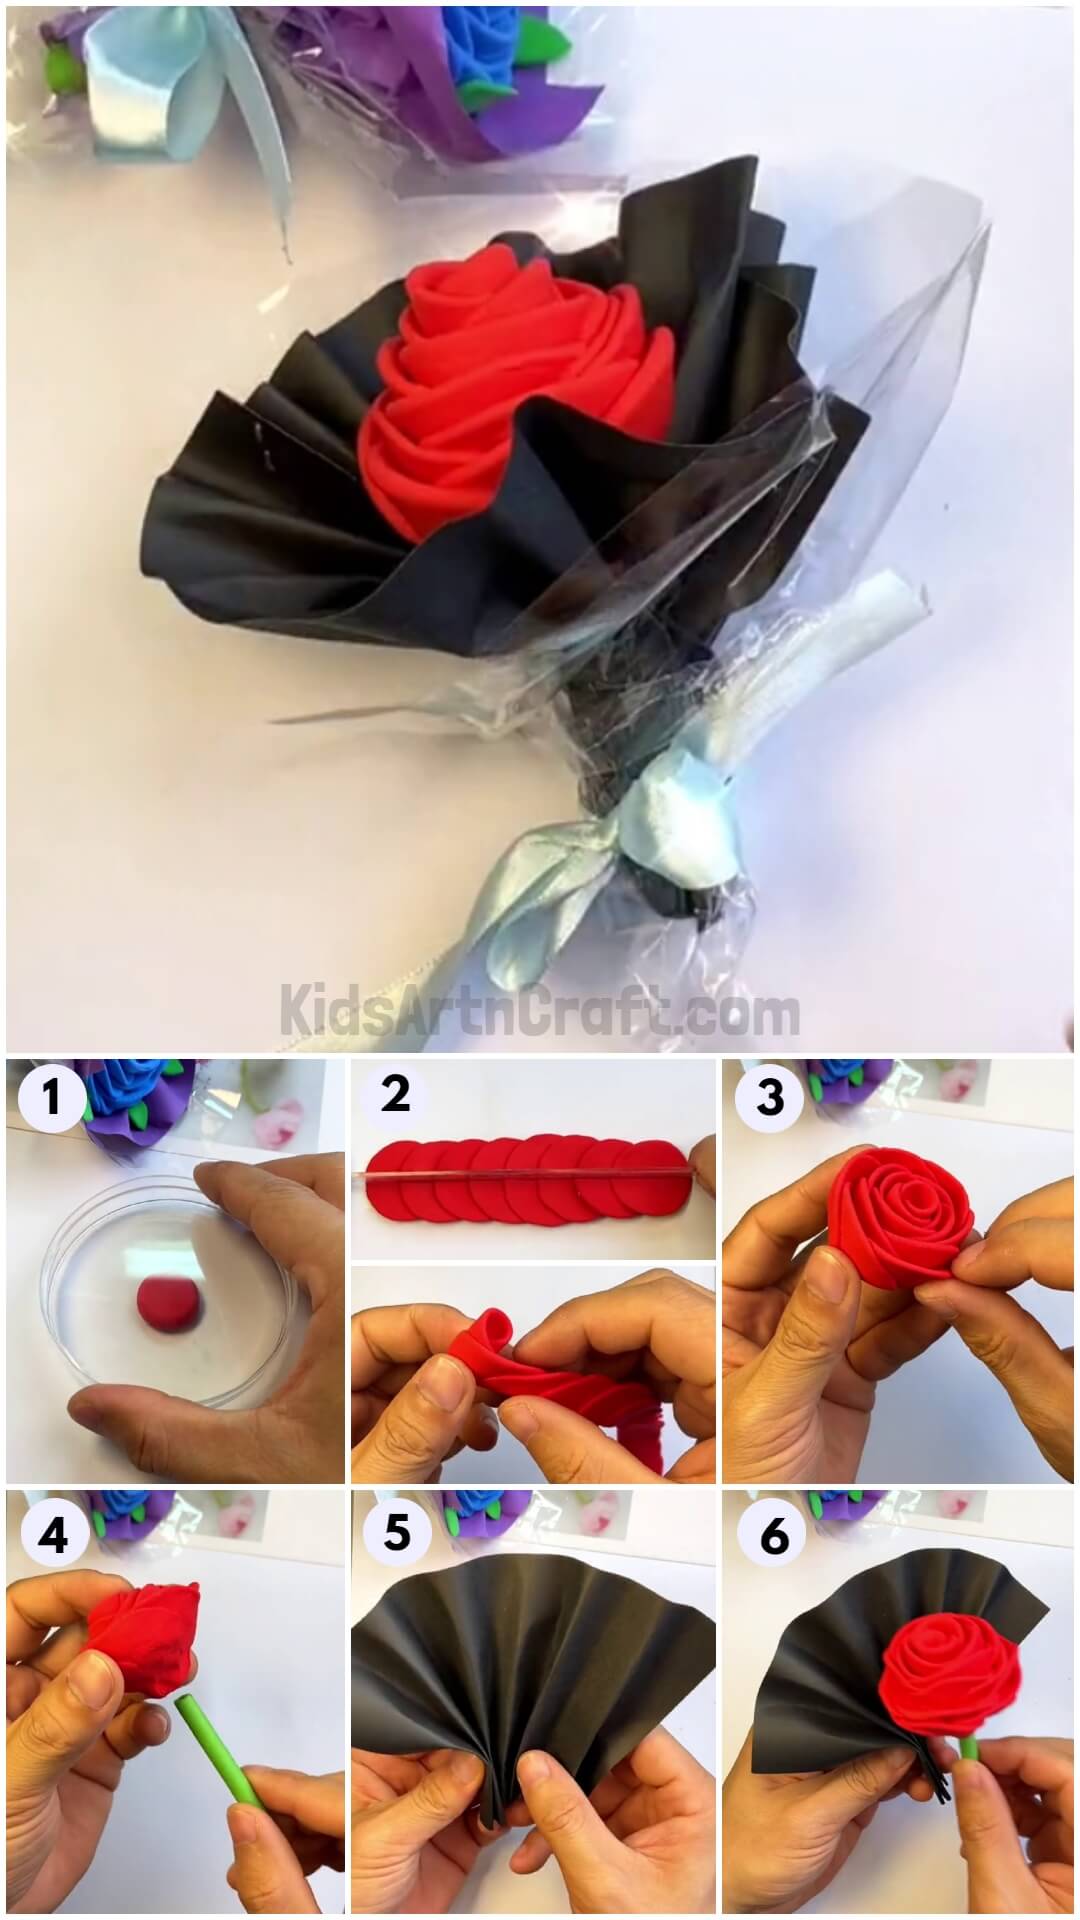
Easy to make Clay Rose Bouquet Craft For Kids

Take some time with your kids to make a cheerful clay rose bouquet! This fun activity is great for a day when it’s raining outside and your kids will be thrilled with the results.
In this tutorial, we bring to you yet another flower craft, using clay doughs and sheets of paper. The flower that we will be designing in this tutorial is the red rose. It is very simple to make and you also get to have a lot of fun with clay doughs while moulding them. So, collect all the material required, and let’s begin the tutorial.
DIY Clay Rose Bouquet Craft

Read More: DIY Clay Giraffe Step-by-Step Tutorial For Kids
Material Required
- A black sheet of paper
- A green paper straw
- Red clay dough
- Transparent plastic cover
- A ribbon
- A pair of scissors
- Any flat surface
- A scale
Procedure
Step 1: Starting With The Red Clay
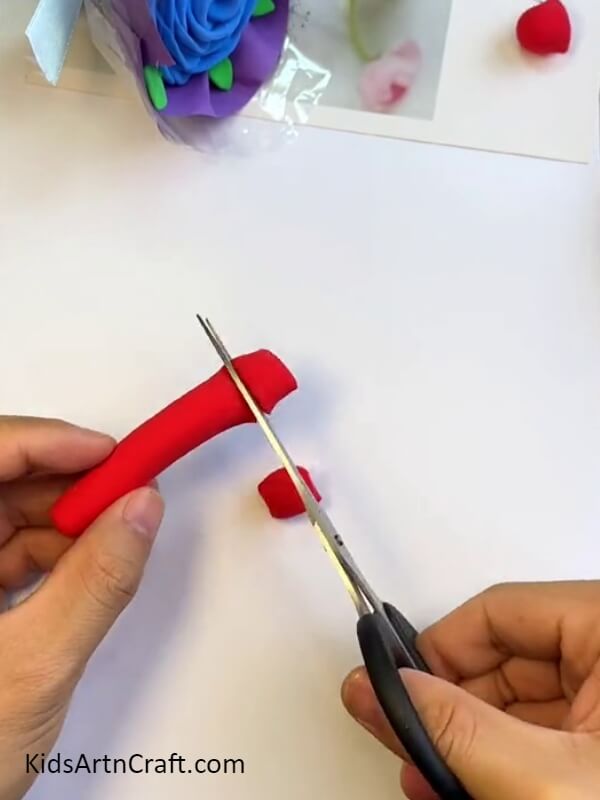

Take some red clay and roll it on the table. Now, cut the roll into eight equal pieces using a pair of scissors. See the picture below for reference.
Step 2: Flatten The Clay Pieces
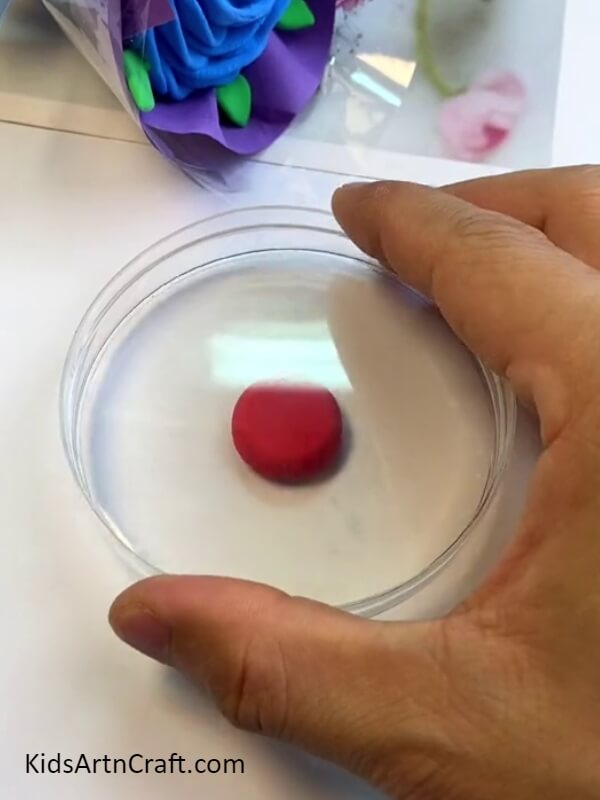
Place one of the clay pieces on the table and using a flat surface, apply pressure on it to convert it into a flattened circle. See the picture below for reference.
Step 3: Make Another Such Shape
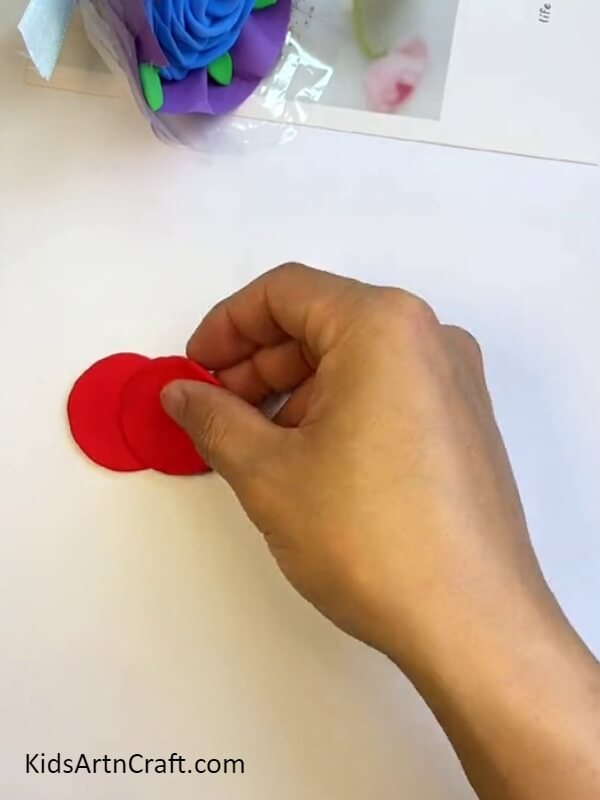
Similarly, flatten another piece and place it on the previously flattened piece by covering half of its surface with this freshly flattened piece. See the picture below for reference.
Step 4: Place All The Pieces On Top Of Each Other
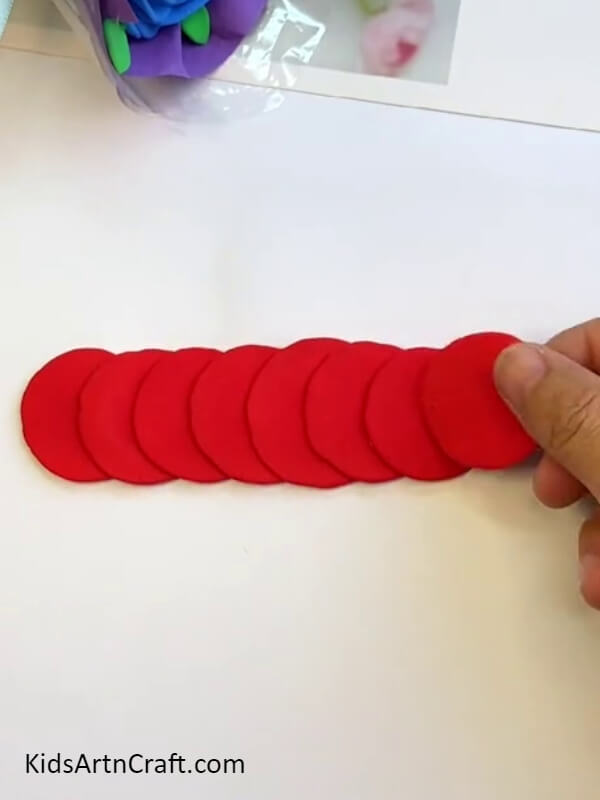
Repeat the flattening process on all the clay pieces and place them on top of each other exactly like you placed the two pieces in the previous step. See the picture below for reference.
Step 5: Cutting The Clay Pieces Using A Scale
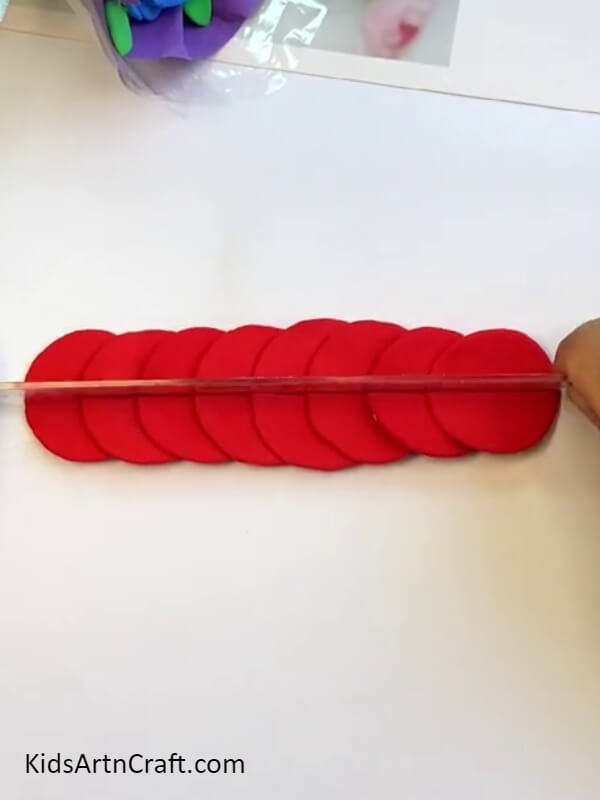
Using a measuring scale, cut the entire clay sequence into a half by placing the scale, horizontally, throughout the middle section of the clay sequence. See the picture below for reference.
Step 6: Separating The Two Halves
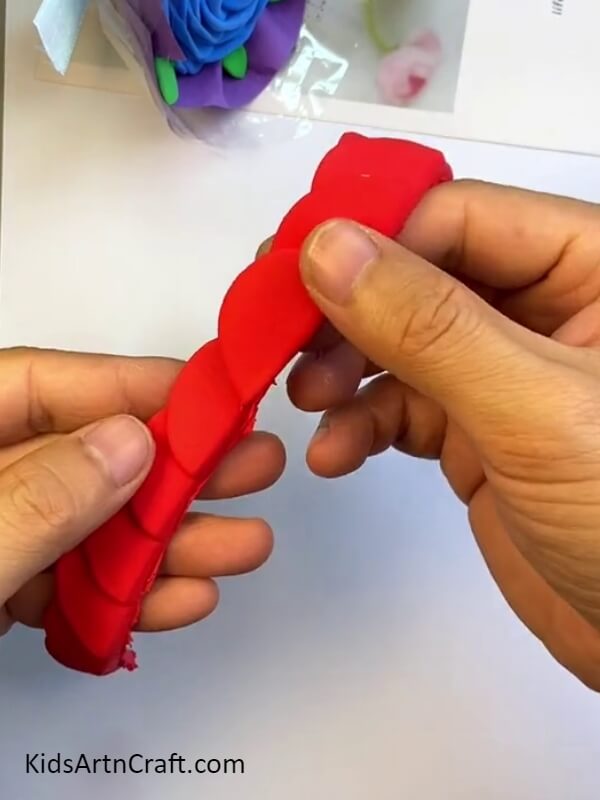
Separate the two halves and lift one of the halves up in both your hands as shown in the picture below.
Step 7: Fold The Clay Sequence
Start making a fold on the left end of the clay sequence. The fold should be made towards the back side of the sequence. See the picture below for reference.
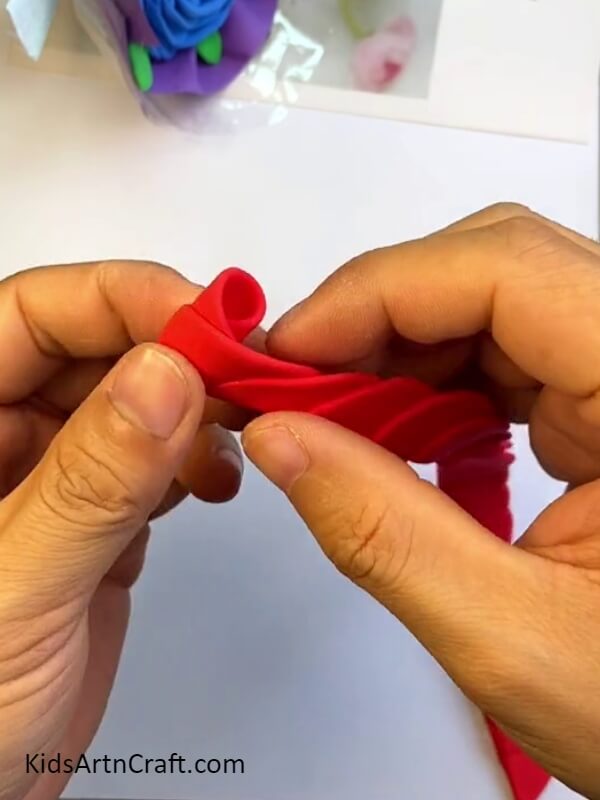
Step 8: Completing The Rose Shape
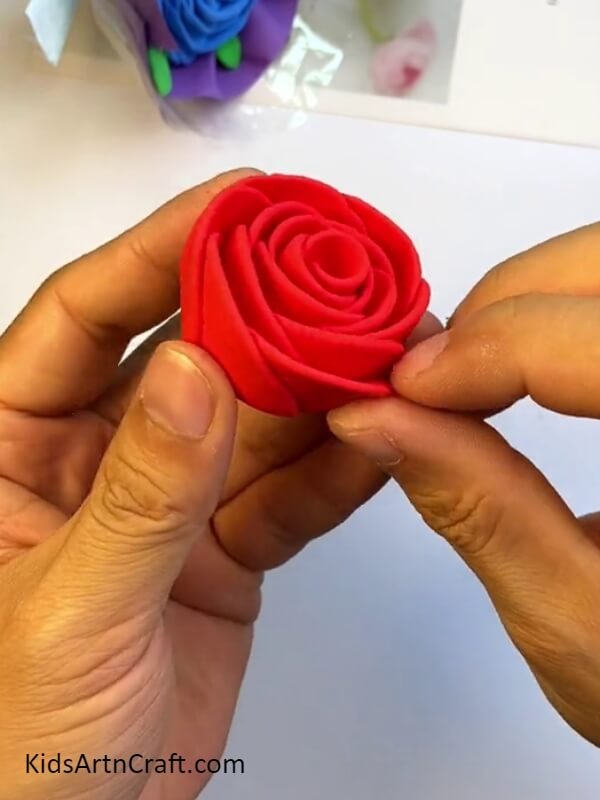
Continue folding the clay as a roll until you reach the other end of the clay sequence. See the picture below for reference. This completes the process of making the rose.
Step 9: Connect The Stem To The Rose
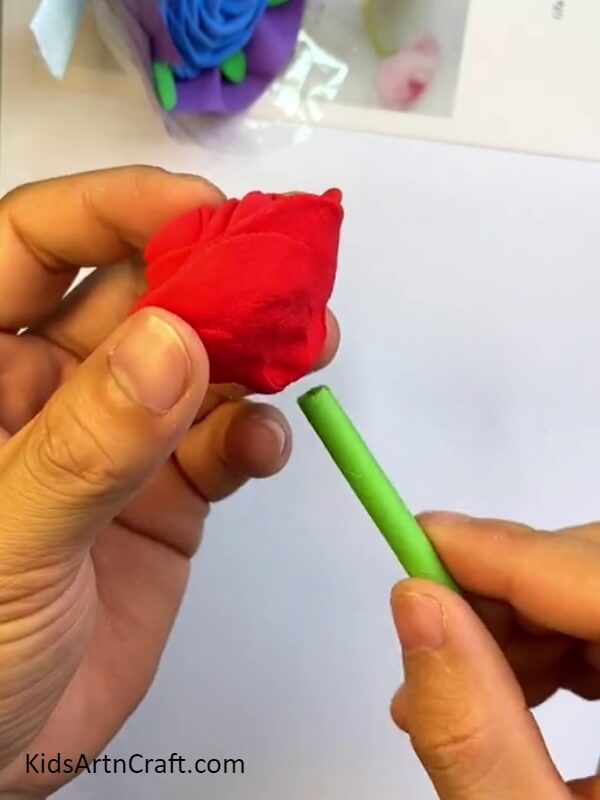
Take a green paper straw and fit it in the sequence right at the bottom of the rose as shown in the picture below.
Step 10: Working On The Sheet Of Paper
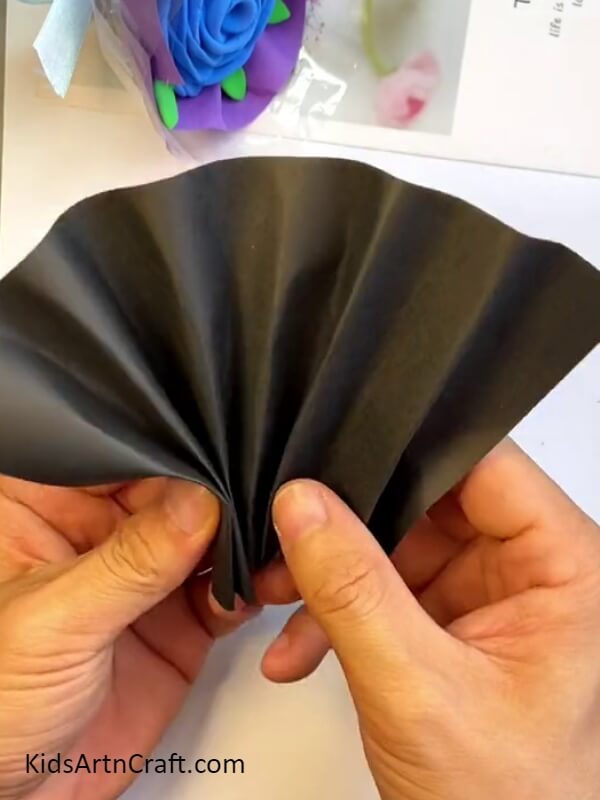
Take a black sheet of paper and make a small vertical fold at its bottom. Do not extend the fold up to the top. Make another fold on the sheet below this fold. Following this pattern fold the entire sheet compressing the bottom of the sheet into a small area. This shall create mild creases throughout the test of the sheet as shown in the picture below.
Step 11: Adjust The Rose In The Sheet
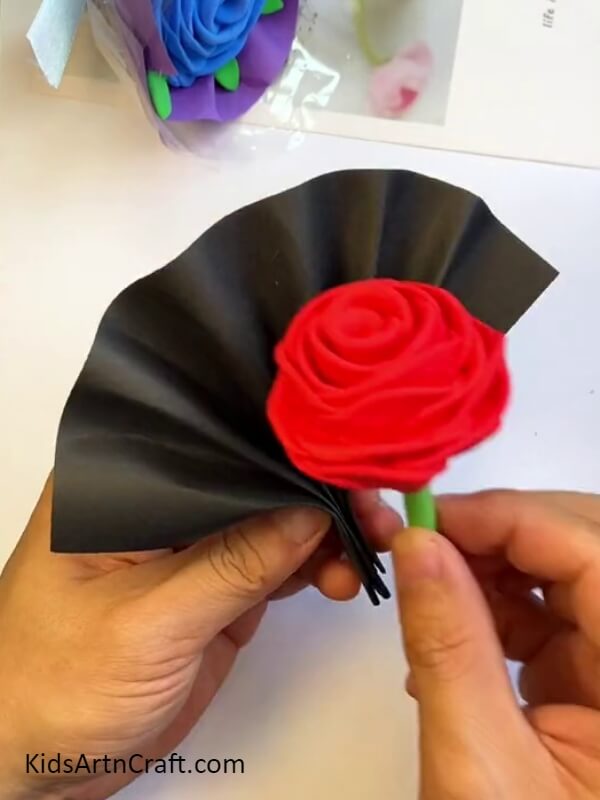
Fit the rose in the fold lying right in the middle of the black sheet as shown in the picture below.
Step 12: Wrapping The Sheet Around The Rose
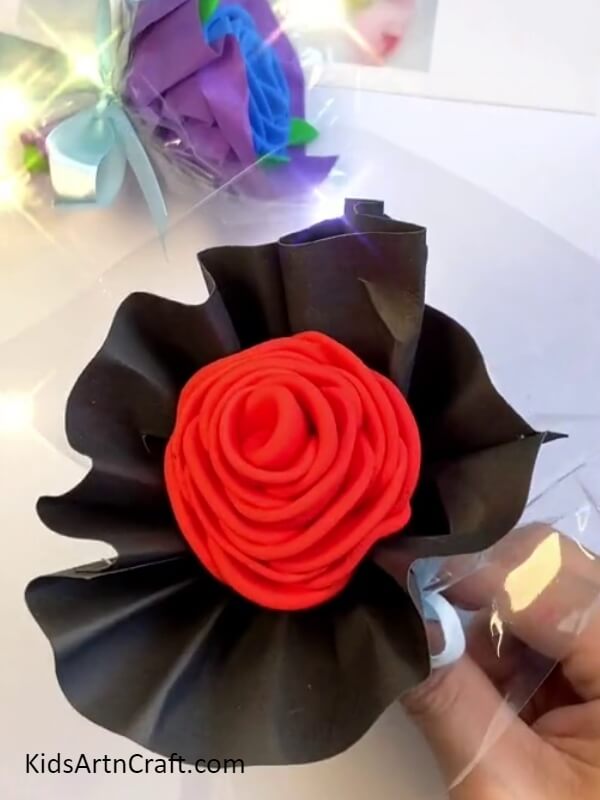
Now, opening the sheet, wrap it around the flower pressing it at the point where the stem lies. Finally, wrap the plastic cover around the black sheet right at the stem of the rose. See the picture below for reference.
Finally, The Tying The Ribbon On The Plastic Cover
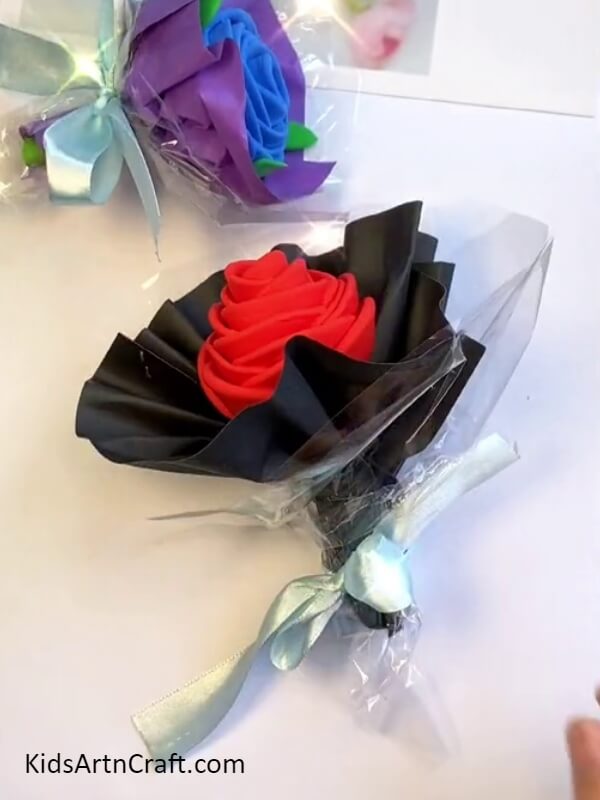
Take a ribbon and tie it around the plastic cover making a two-loop knot on the ribbon as shown in the picture below.
Some More Flower Craft Tutorial
Pretty Rose Flower Craft Using Paper

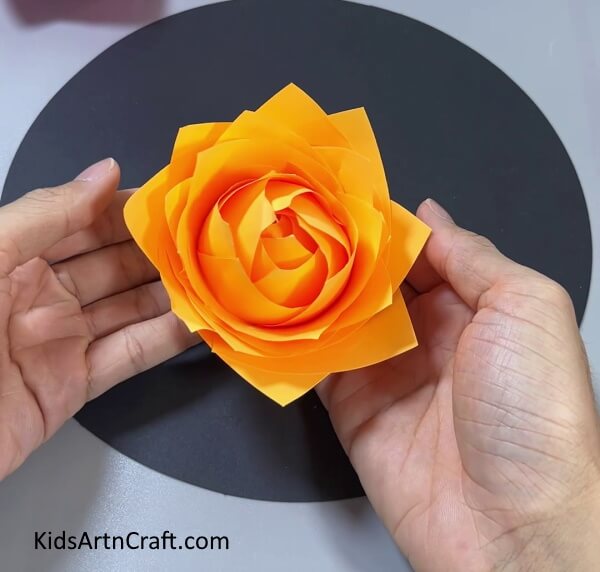
Image Source/Tutorial: Kids Art & Craft
This craft is a great way to add a touch of beauty to your home. Using paper, you can make a pretty rose flower that looks like the real thing! It’s a fun and easy project that anyone can try and enjoy.
This completes the process of making this bouquet craft. You can gift it to someone on a special occasion or place it in a vase as decoration in your living room. Today, you learned great molding skills and working with new craft materials like plastic covers and ribbons. Keep practicing the skills that you learn in these tutorials and keep inventing new ideas to add originality to your craft. Good luck
Follow us on Youtube for art and craft tutorials and much more.
More Articles from Kids Art & Craft
- How to Make Clay Flower Easy Tutorial for Kids
- Clay watermelon ice cream easy craft tutorial
- How to Make Worms Using Clay For Kids
- Simple & Tasty Ice-Cream Craft Using Clay – Step-by-Step Tutorial
- DIY Miniature Clay Cake Craft Activities for Kids