Clay Crafts
Easy Clay Fall Leaves Ant Craft For Kids

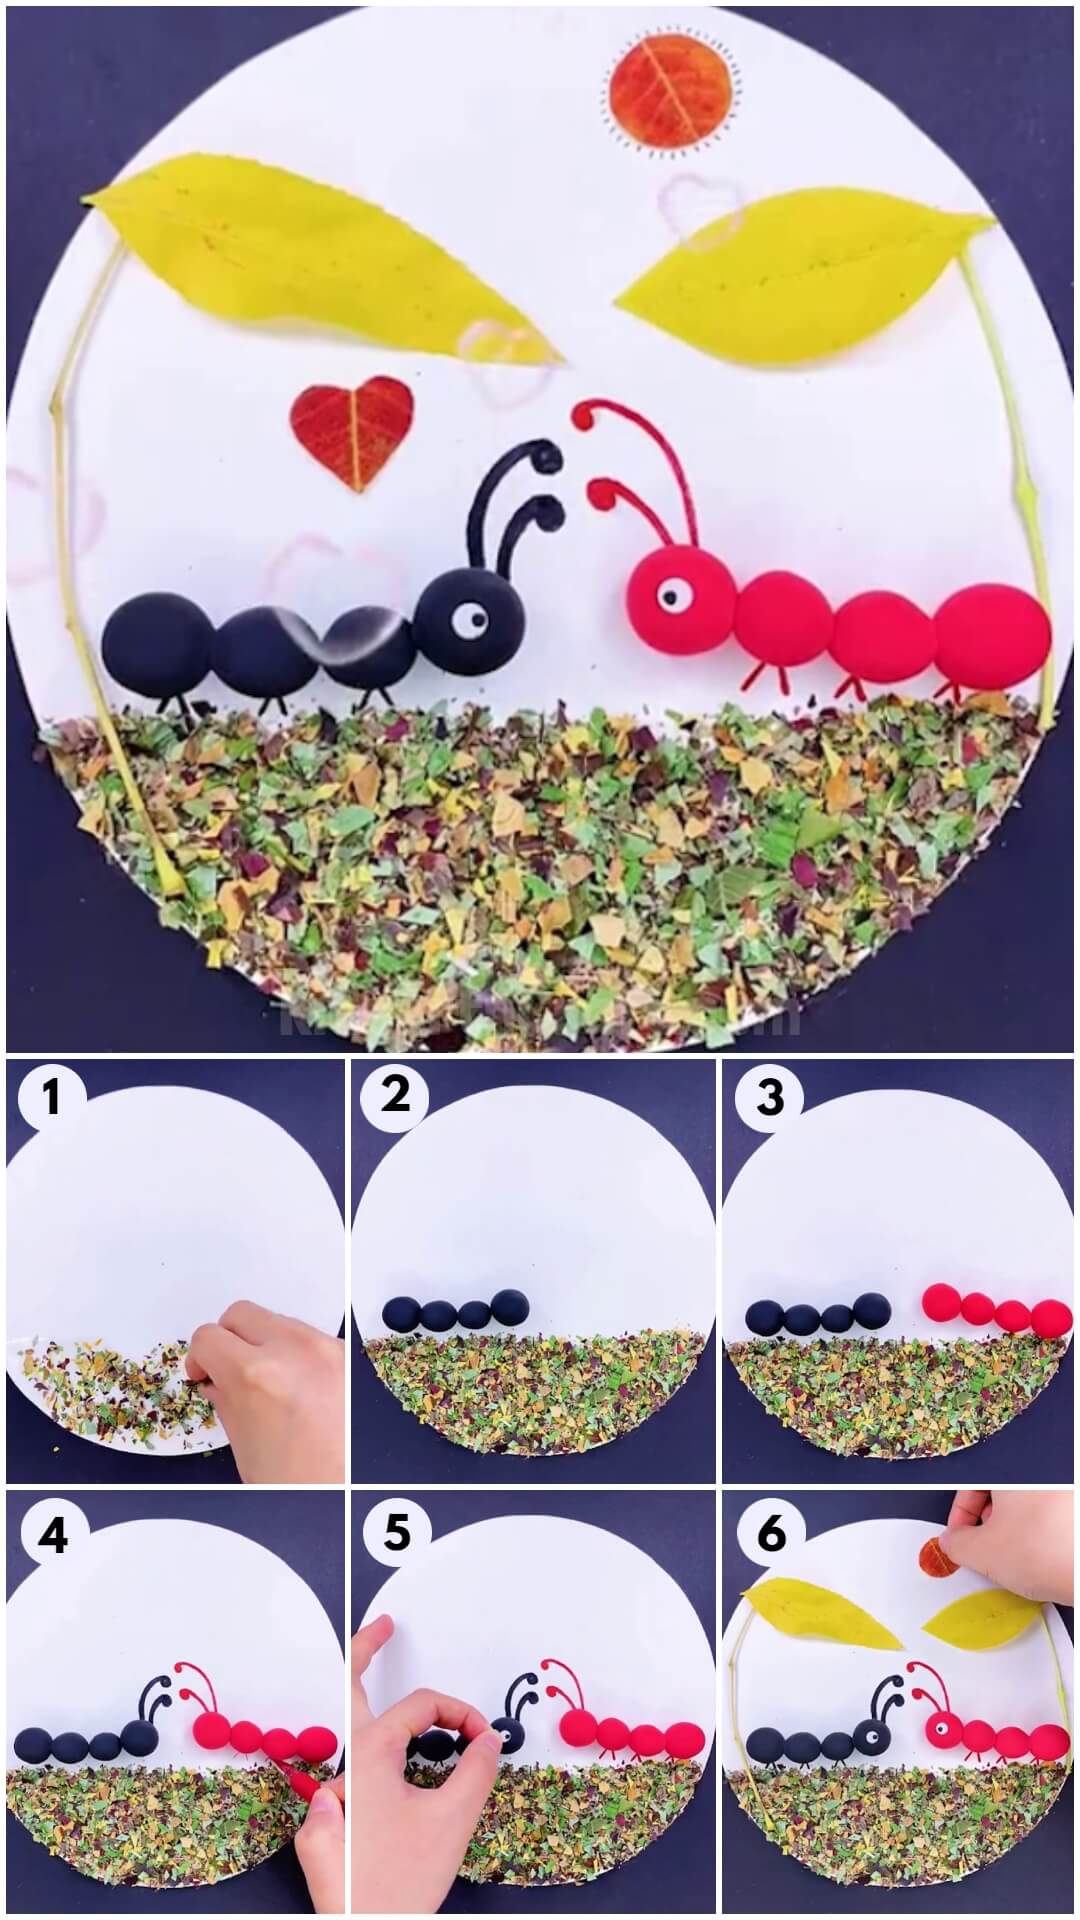
This craft is great for kids of all ages! With just some air-dry clay and a few materials, kids can make seasonal leaves. It’s easy to follow the instructions with the help of the pictures!
Ants are one of the most hardworking creatures on earth and this tutorial will be teaching to make them through craft. It is extremely easy and fun to make. This craft involves the use of a lot of craft materials like clay dough, leaves, and pencil shavings. Remember to collect the fallen leaves instead of plucking some from trees. So, collect all the material required and get ready to have a playful time with it. Let’s go.
Simple Clay Ant & Fall Leaves Crafts For Kids
Read More: DIY Miniature Clay Cake Craft Activities for Kids
Materials Required
- A white sheet of paper
- A pair of scissors
- Yellow and red leaves with stems
- Pencil shavings
- Red and black clay dough
- Liquid glue
- A pencil
- A red and a black sketch pen
- Black and red pen
Procedure
Step 1: Starting With The Sheet Of Paper
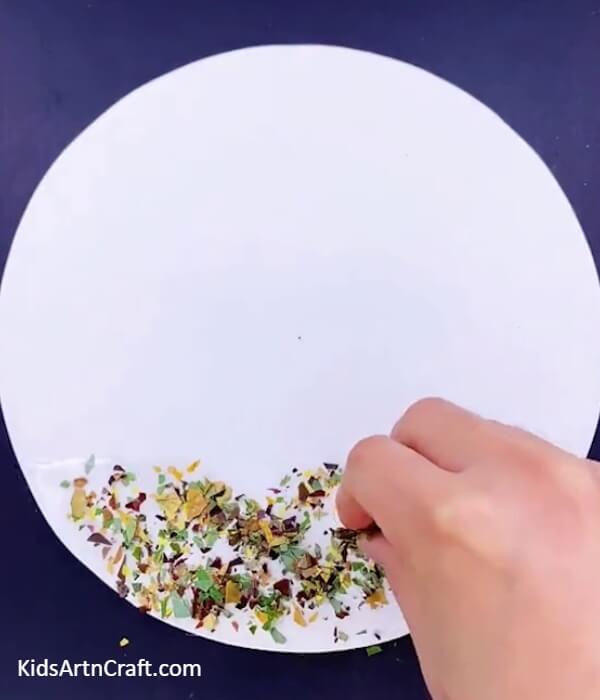
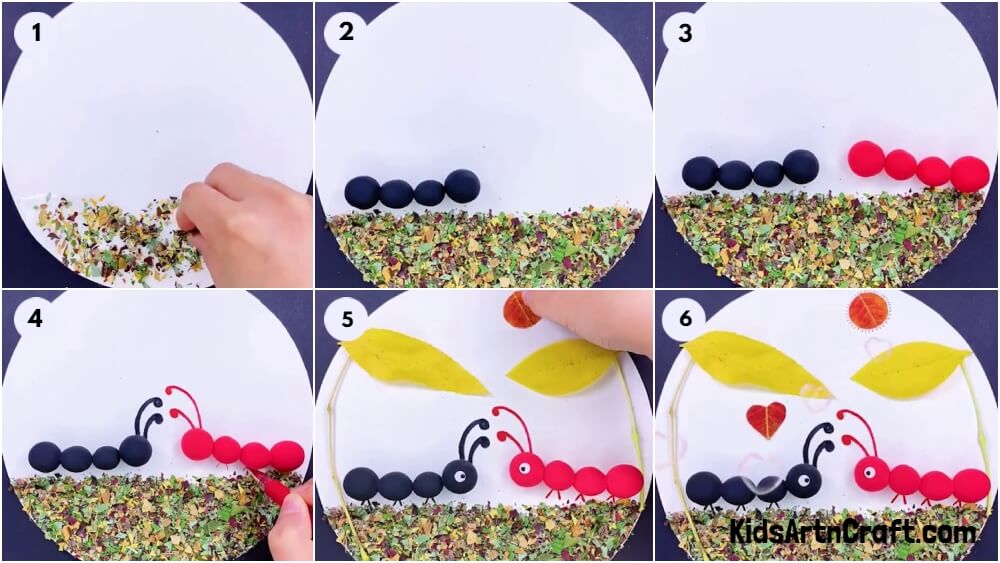
Take a white sheet of paper and cut a big circle out of it. Place the circle on the table and apply liquid glue covering a quarter of the sheet at the bottom. Now, take some pencil shavings and crush them decreasing the size of each shaving considerably. Sprinkle the shavings on the surface you applied glue earlier. See the picture below for reference. Cover the area completely with the shavings.
Step 2: Working With The Clay
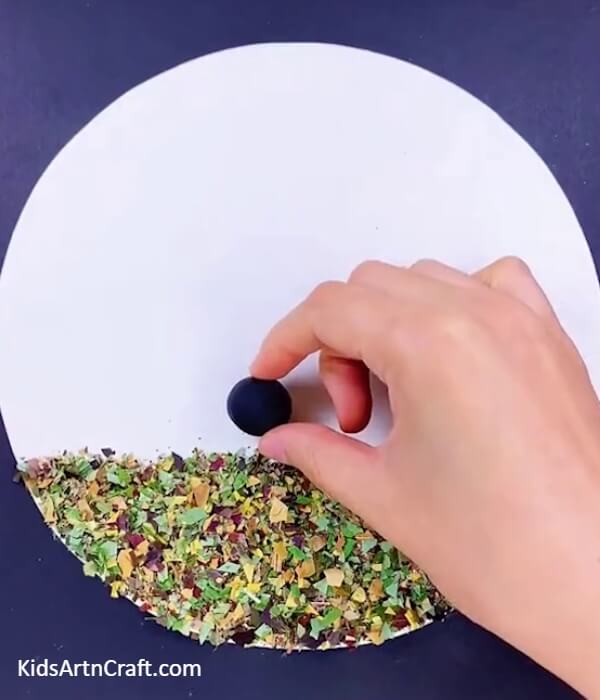
Take some black clay and mould a medium-sized ball out of it. Place this ball above the pencil shavings, a little towards the left side of the middle of the sheet. See the picture below for reference.
Step 3: Completing The Black Ant
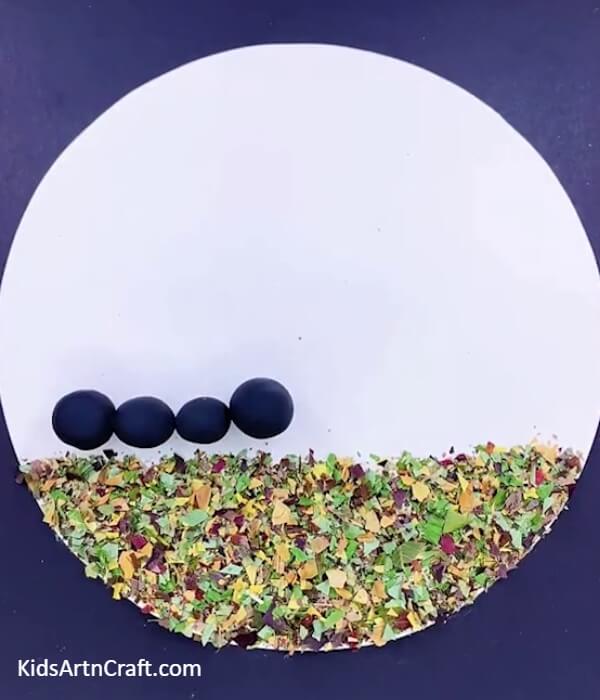
Working on the same clay, mould three more balls, first of the same size as the previous one and the other two a little smaller than it. Place the smaller two behind the ball placed in the previous step and the last one right behind them just at the end. See the picture below for reference.
Step 4: Making The Red Ants
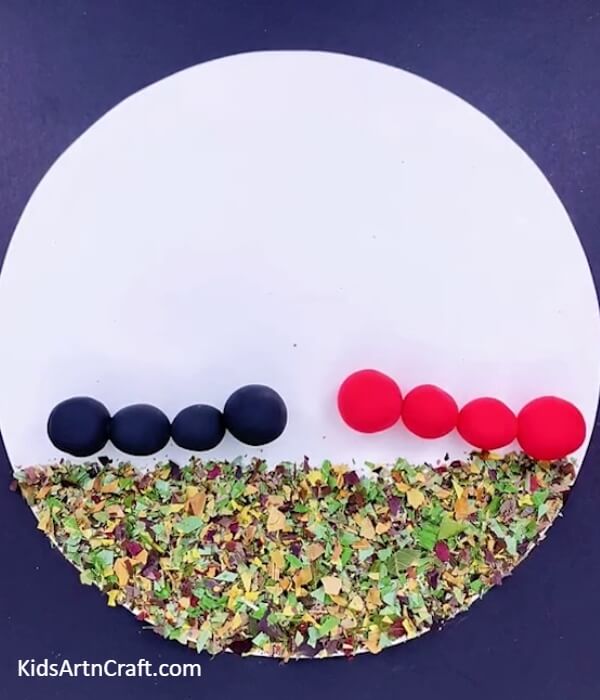
Take some red clay and form four similar balls, two big and two small. Now, place them on the other of the black ant following the same pattern that you followed while placing the black ant. See the picture below for reference.
Step 5: Making The Antennas
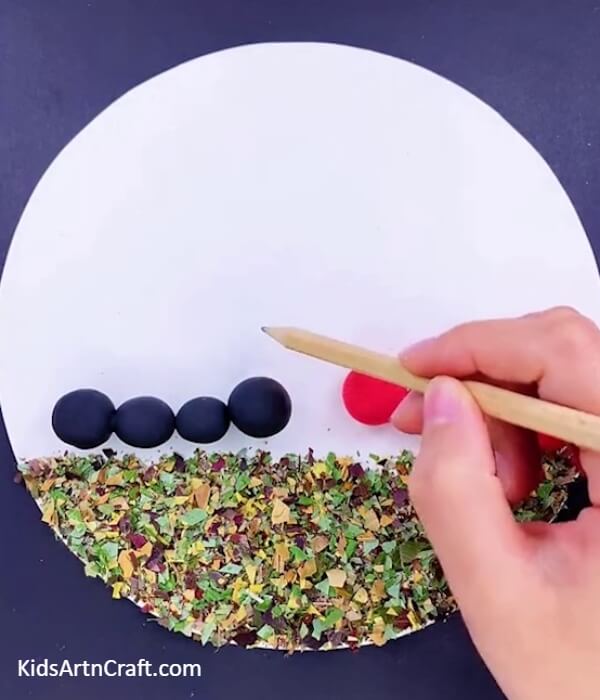
With the help of a pencil make two prominent antennas on the sheet right above the heads of the ants. See the picture in step six for reference.
Step 6: Outlining The Antennas
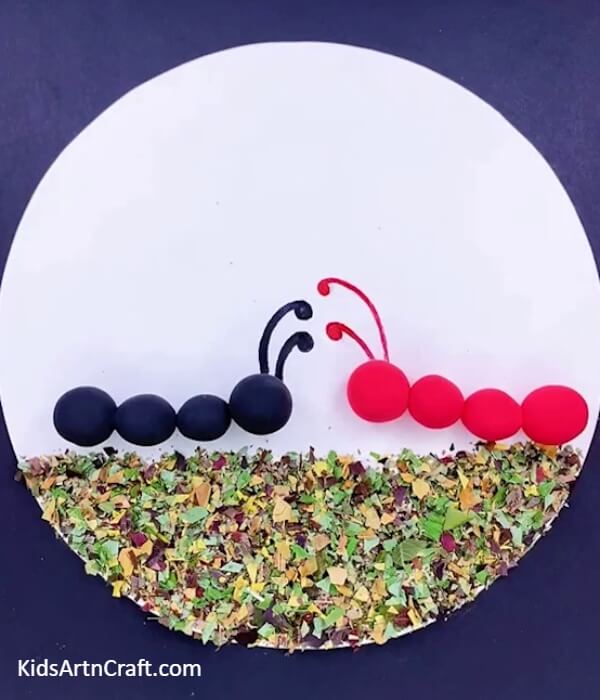
Take a black sketch pen and outline the antennas that you drew on the black ant. Now, outline the antennas of the red ant with red sketch pen as shown in the picture below.
Step 7: Adding Legs To The Ants
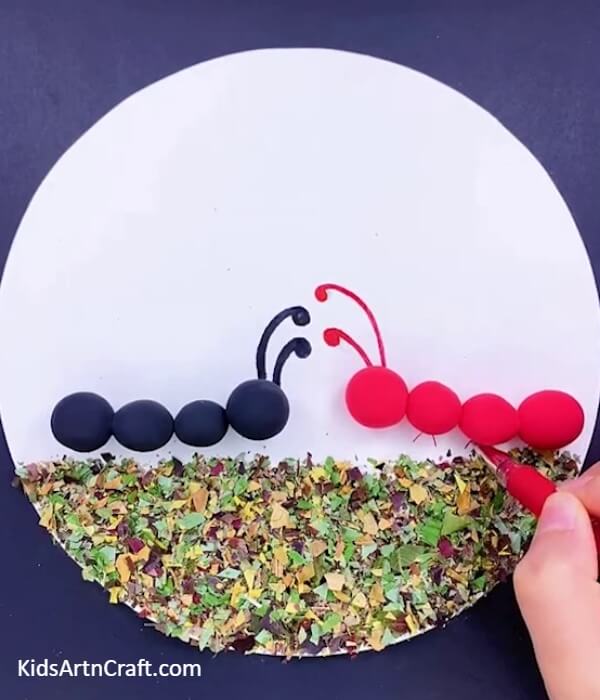
Take a red pen and draw two small legs below the red clay ball placed on the second spot. Make similar legs below the rest of the two balls positioned behind it. Repeat the process on the black ant as well using a black pen. See the picture below for reference.
Step 8: Pasting Eyes On The Ants
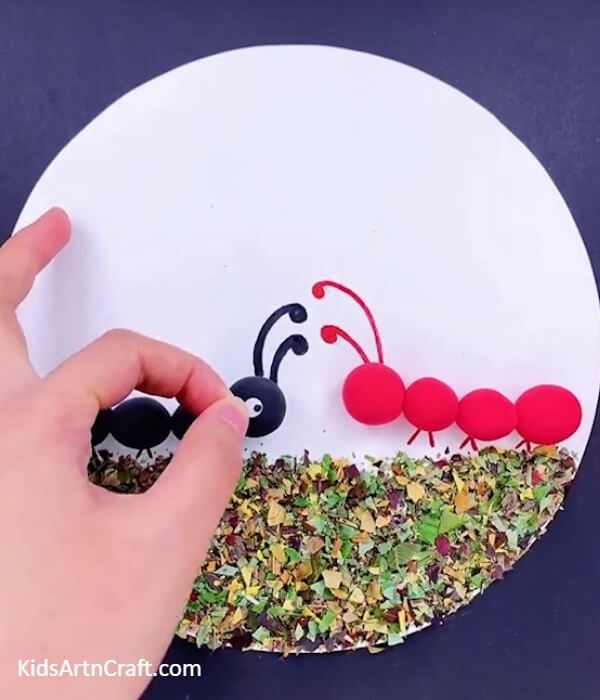
Take a white sheet of paper and cut two tiny circles out. Now, make a black dot on the right end of one circle and the left end of the other. Finally, paste one circle on the heads of both ants. See the picture below for reference.
Step 9: Pasting The Leaves
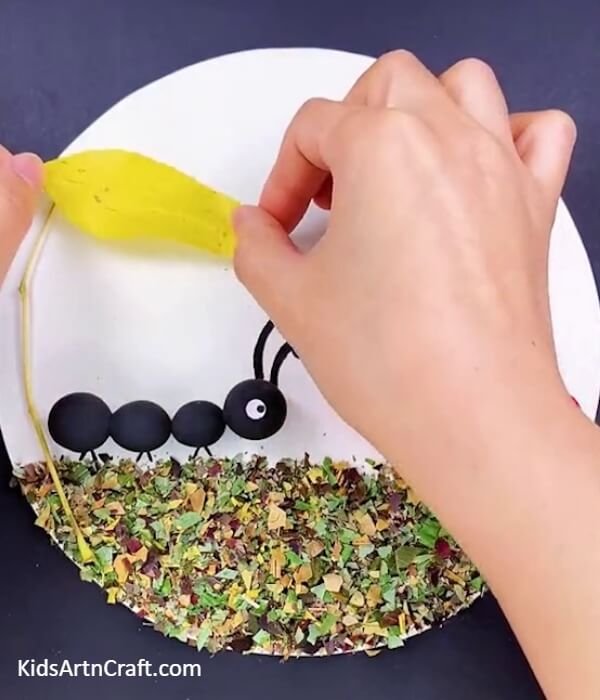
Take a yellow leaf and paste it on top left side of the circular sheet. Now, paste the stem on the left side of this leaf starting from the leaf right to the bottom of the sheet. See the picture below for reference.
Step 10: Pasting A Leaf On The Other Side Of The Sheet
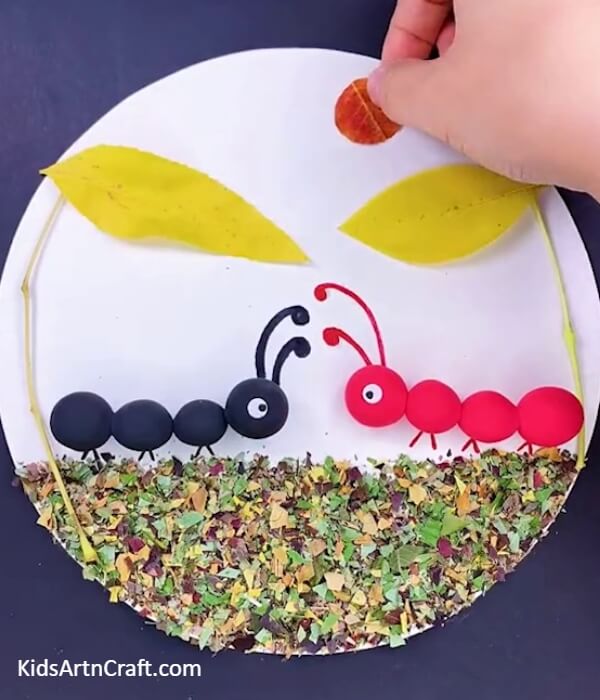
Take a similar leaf and repeat the previous step on the opposite side of the leaf you just pasted. Now, take a small, round orange leaf and cut off its petiole. Finally, paste it on the top end of the sheet, above the tip of the leaf that you pasted on the right side. See the picture below for reference.
Congratulation! Making Tiny Dots Around The Small Leaf
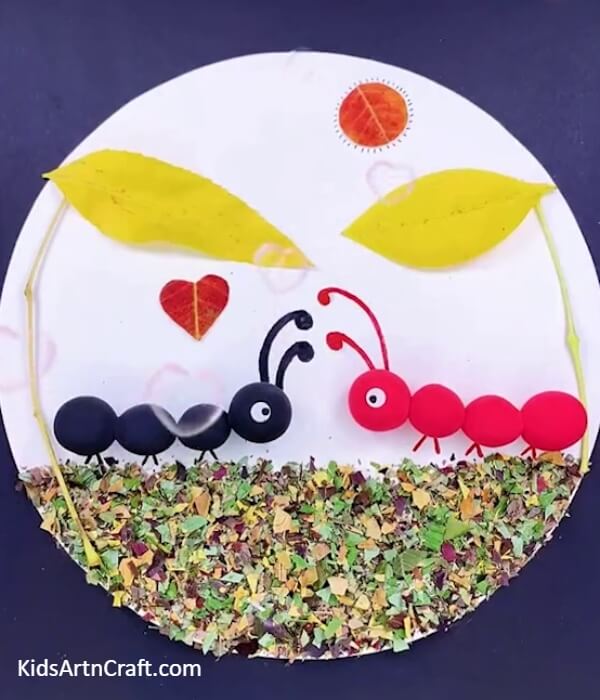
Take a red pen and draw tiny dots around the circumference of the circular leaf you just pasted. This leaf shall act as the sun and the leaves on the sides as the trees and the pencil shavings as the grass beneath the ants. See the picture below for complete reference.
There you have it, our tedious ants with long antennas and powerful will. You learned to work with unique craft materials like pencil shavings and clay dough. You learned great pasting skills as well. You can paste it into your art book or submit it as an art project in school. Keep practicing the techniques you learn in these tutorials and keep growing. Good luck and goodbye.
Some More Ant Craft Tutorial
Creating Ant Clay Craft for Children
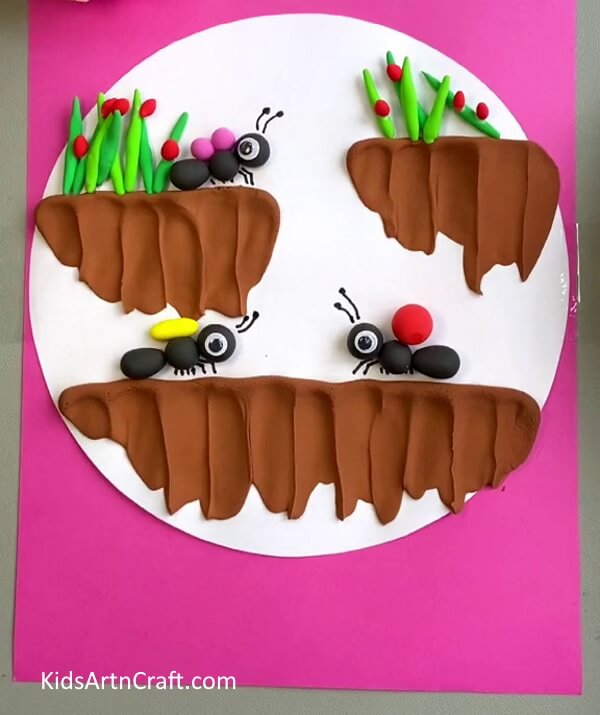
Image Source/Tutorial: Kids Art & Craft
Creating ant clay crafts is an enjoyable activity for kids of all ages. It’s a great way to teach them about shapes, colors, and the natural environment. Plus, it’s a fun way to spend quality time together!
Follow us on Youtube for art and craft tutorials and much more.
More Articles from Kids Art & Craft
- How to Make Clay Flower Easy Tutorial for Kids
- How to Make Worm Using Clay For Kids
- DIY Clay Giraffe Step by Step Tutorial For Kids
- Fresh Leaf Hedgehog Craft Tutorial For Kids
- How To Make Easy Fall Tree Craft From Leaves


