


Clay Crafts
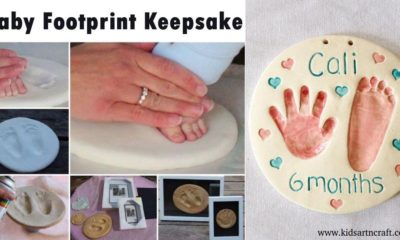
Shell Goldfishes Clay And Paper Craft Tutorial

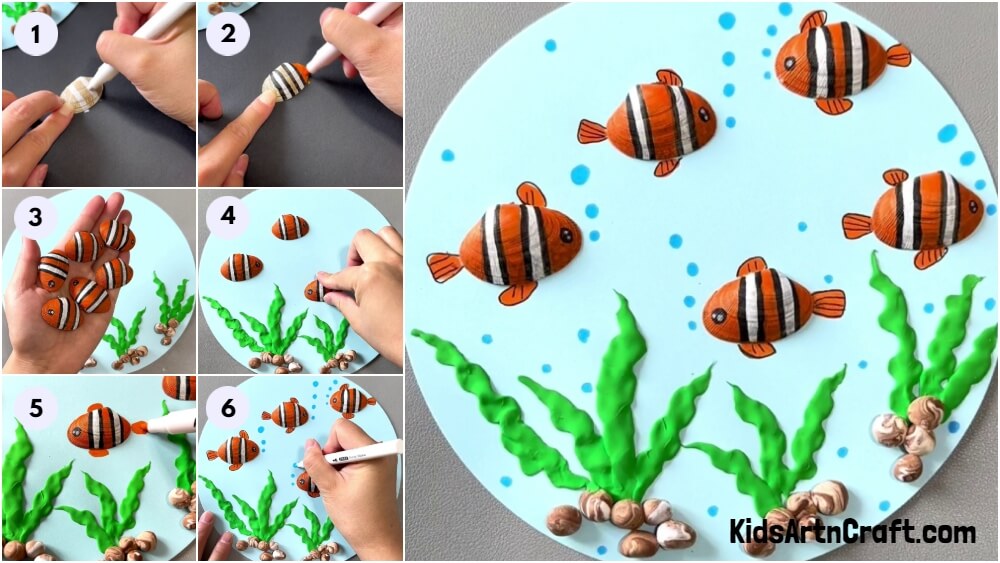
Enlighten your craft collection with it! This step-by-step tutorial will help you through sea shell goldfish, clay, and paper craft-making!
This step-by-step tutorial is about an underwater craft! You will be able to make a clay scenery with sea shell goldfish on paper! This craft is full of variety and will be a unique addition to your craft collection! Craft making is a perfect activity to do for driving your motor skills, creativity, and imagination! With just simple materials you can create this craft in no time and can be a budget-friendly decor as well! What are you waiting for? Grab the benefits and the materials listed below to begin!
DIY Shell Goldfishes Clay And Paper Craft
Read More: Bee Flowers Clay Craft Tutorial For Beginners
Materials Required
- Blue Circular Paper Sheet
- Colored Clay (Green, Brown, And White)
- Colored Markers (Blue, White, Black, And Orange)
- Double-sided Tape
- Black Pen
Procedure
Step 1: Gathering Materials
To begin this craft, take a blue circular paper sheet as the base of your craftwork and green clay.
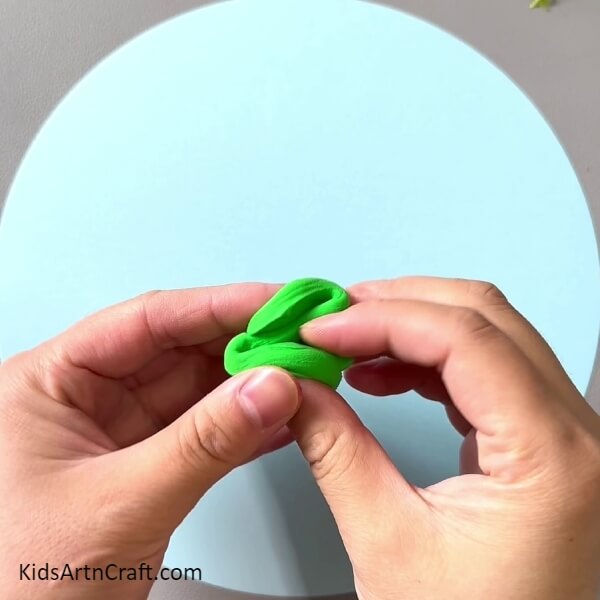
Step 2: Making Sea Leaves And Mixing Clay
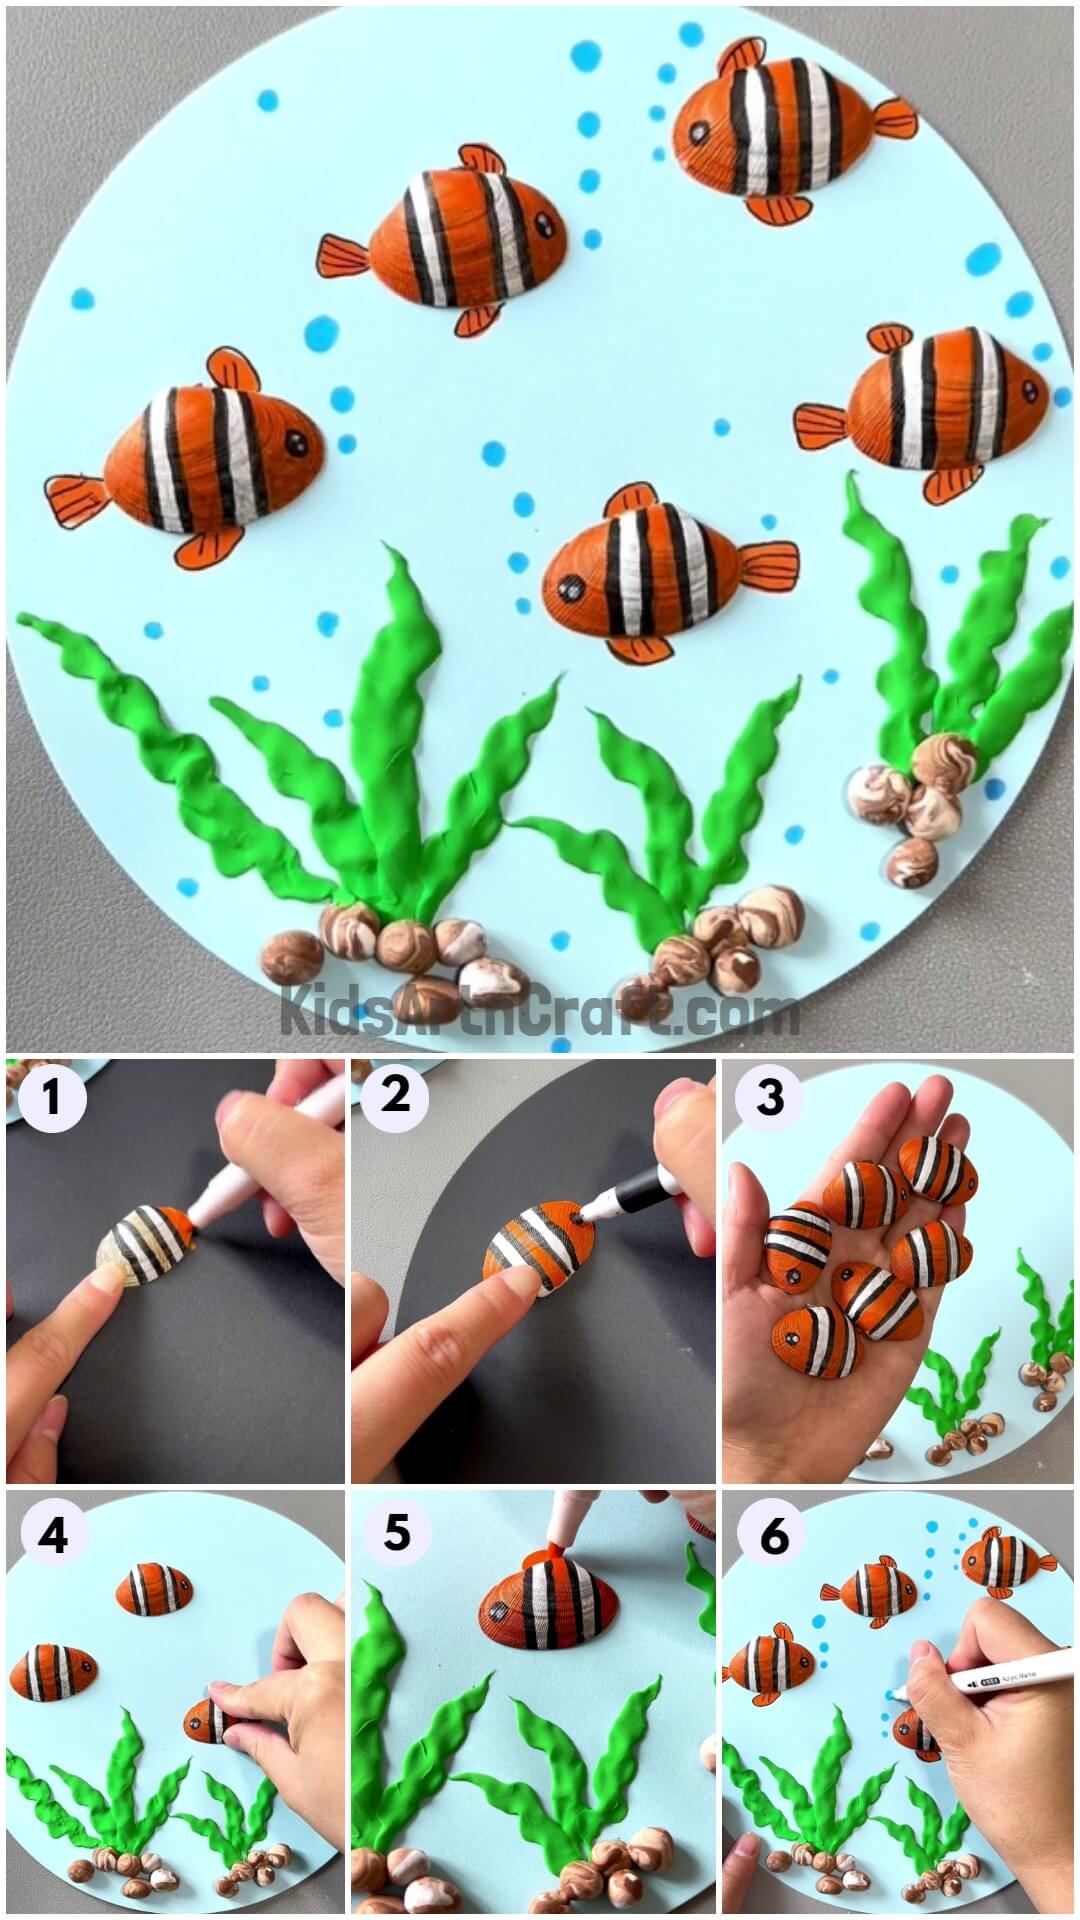
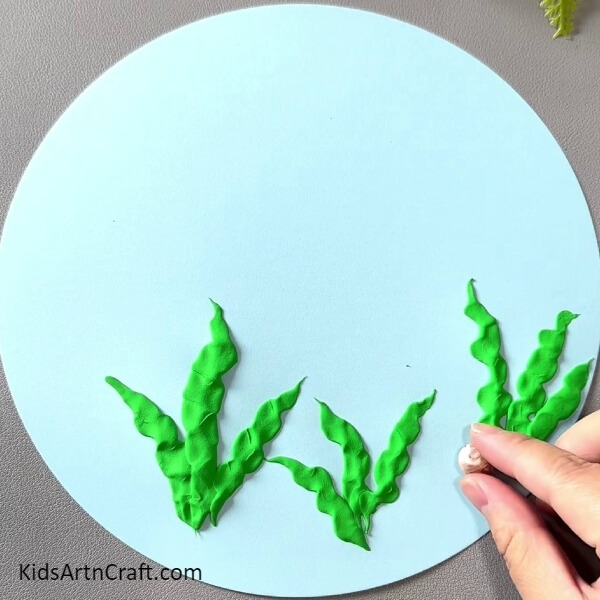
Mold the green clay into thin strips and stick them onto the blue base at the bottom in a wavy manner to make the sea leaves. Make sure to make 3 sea leaves in a bunch and make 3 bunches.
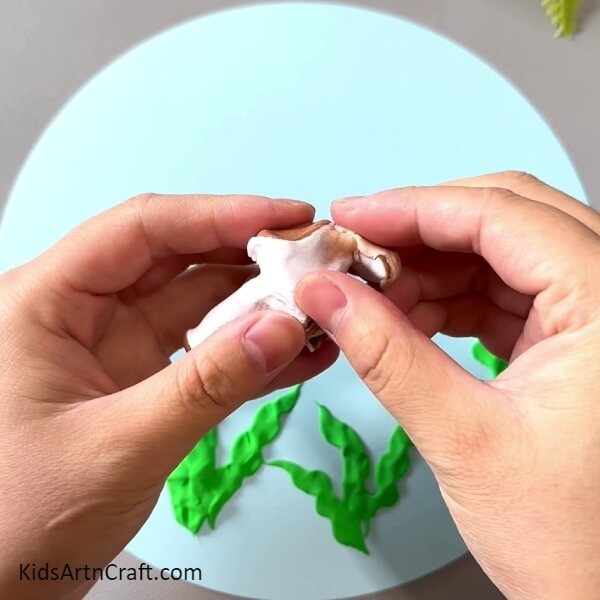
Now, take white and brown clay, mix and dough them to make brown and white lines and pattern structured clay.
Step 3: Making Pebbles
Dough the mixed clay into balls and oval shapes and start sticking them beneath the sea leaves bunches to make pebbles beneath them.
Step 4: Taking Sea Shells
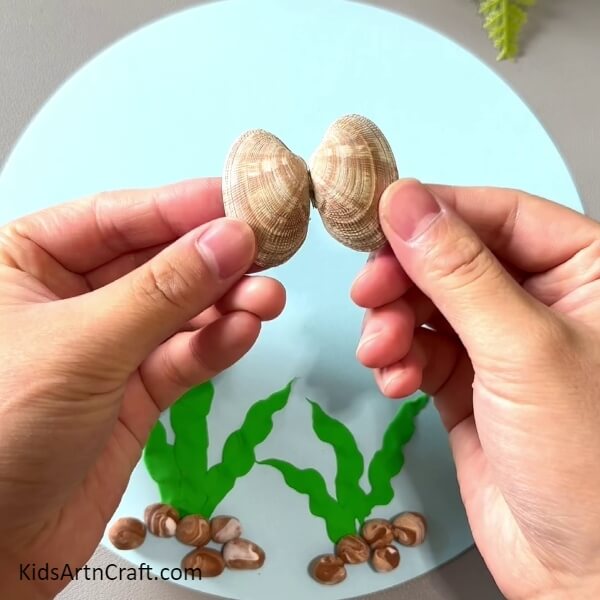
For the next step, take sea shells.
Step 5: Making Lines From White Marker
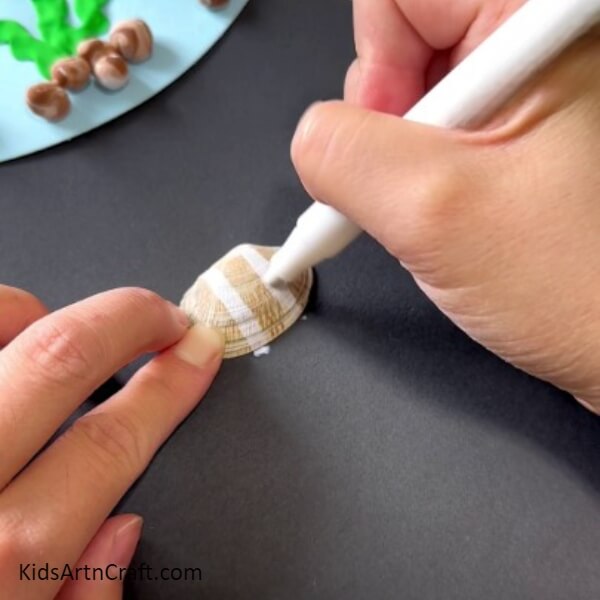
Using a white marker, make 2 thick lines over the sea shell as shown in the image.
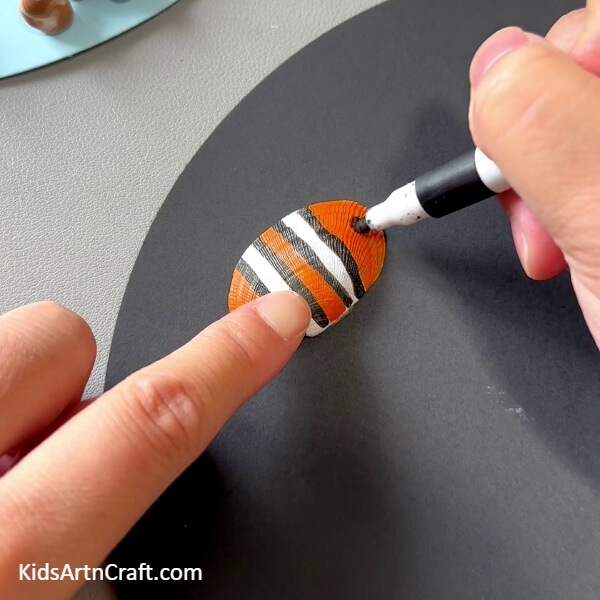
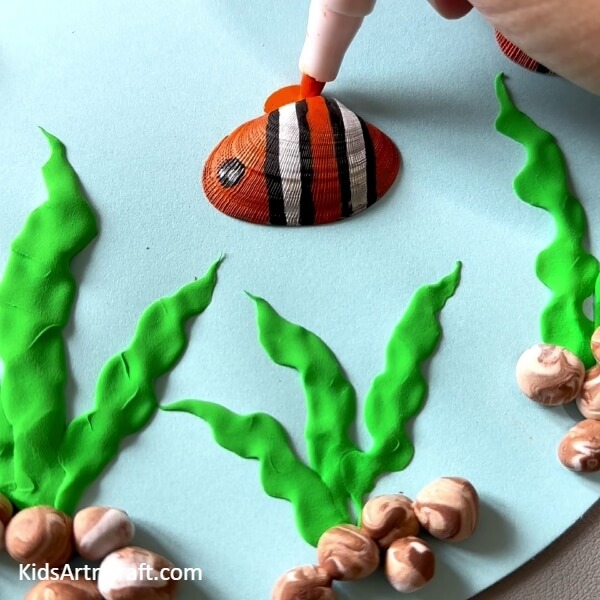
Step 6: Making A Goldfish
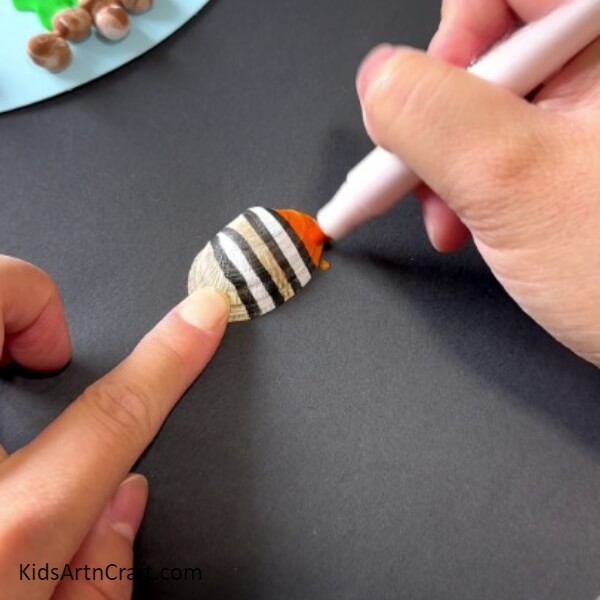
Outline the white lines with a black marker thin lines and use the orange marker to color the remaining part of the sea shell to make a goldfish.
Step 7: Drawing The Eye Of The Goldfish
Using the black marker, make a broad dot over the corner orange part of the goldfish to make the eye, and using the white marker make 2 tiny dots in the black one to add shine to the eyes.
Step 8: Making More Goldfish
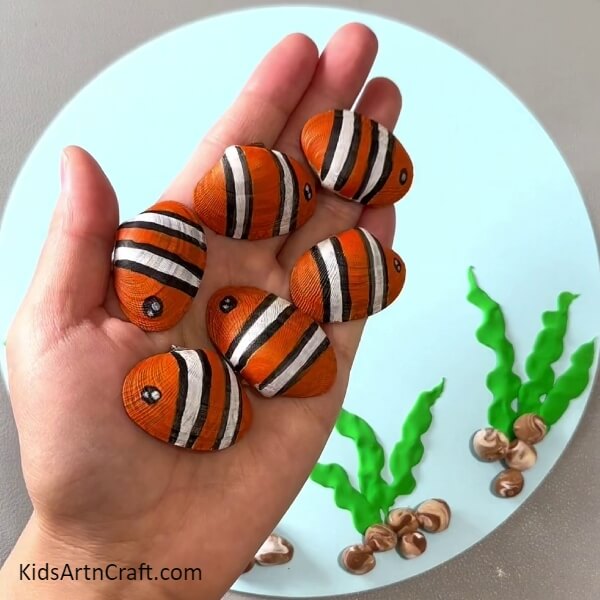
Following the same previous steps and make 5 more goldfish from the sea shells.
Step 9: Pasting The Fish On Base
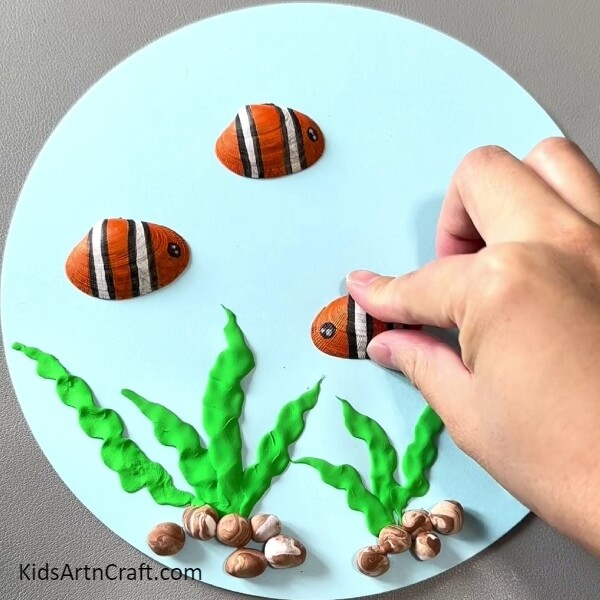
Using double-sided tape, paste the goldfish on the blue base to add fish to the sea.
Step 10: Making Fins Of The Fish
Using the orange marker, make curvy fins on each side if the fish body over the base.
Step 11: Making Tail Of Fish
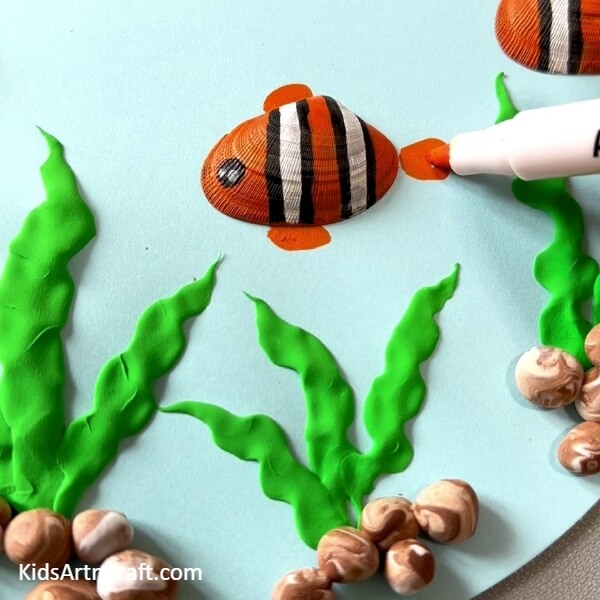
Using the orange marker, make the curvy triangular tail of the fish at their back on the base.
Step 12: Detailing The Fins And Tails And Making Bubbles
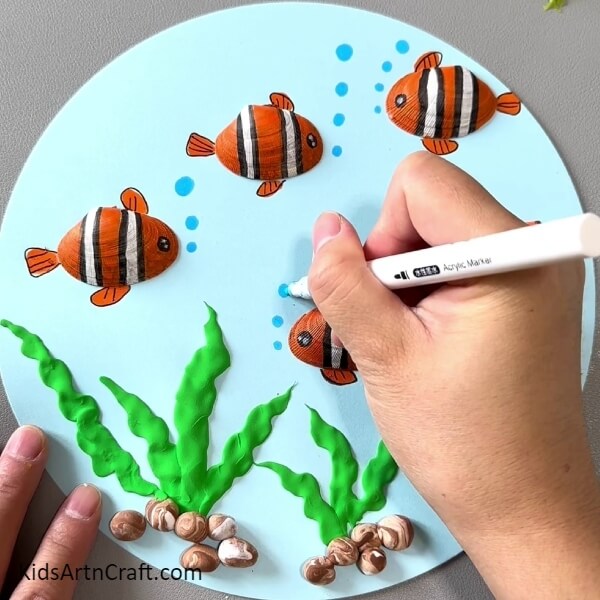
Using a black pen, outline the fins and tails and make lines over them to detail them. Now, using a blue marker, make bubbles over the base making them look like coming out of the fish and some randomly.
This Is The Final Look Of Your Goldfish In Sea Craft!
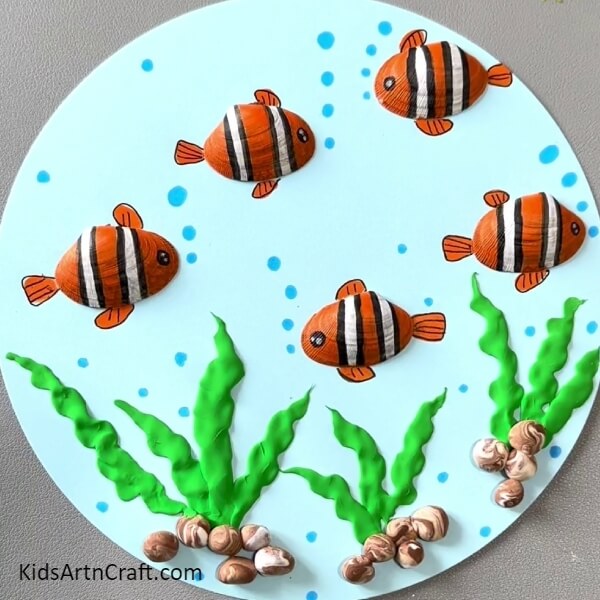
Congratulations! Your cute goldfish in Seacraft is ready to thrive!
You can take a minute to admire your creation! This brings an end to this tutorial. You can now use up your craft any way you want, decorate it in the home, make it as a school art project, add it to your craft collection, give it to your loved one, anything! This craft will definitely thrive everywhere! If you want to add a touch of your creativity, you can go for it too! Make it as unique as you are!
We are hoping you loved the article! If so, then don’t forget to give out a like and share with your knowns! Also, give you feedback in the comments sections to let us know your thoughts!
Follow us on Youtube for art and craft tutorials and much more.
More Articles from Kids Art & Craft
- Beautiful Tinker Bell House Craft Using Plastic Bottle And Super Clay
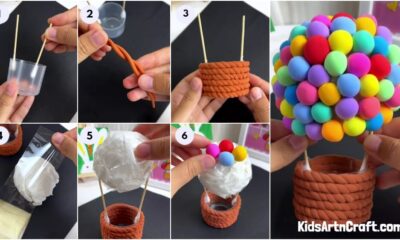
- Hanging Plant Pot Clay Craft Tutorial For Kids
- How to Make Worms Using Clay For Kids
- DIY Clay Giraffe Step-by-Step Tutorial For Kids
- DIY Clay Modelling Tree Artwork Easy Tutorial For Kids