


Recycled Crafts
Ice Cream Stick Trolley Model Craft Tutorial For Beginners

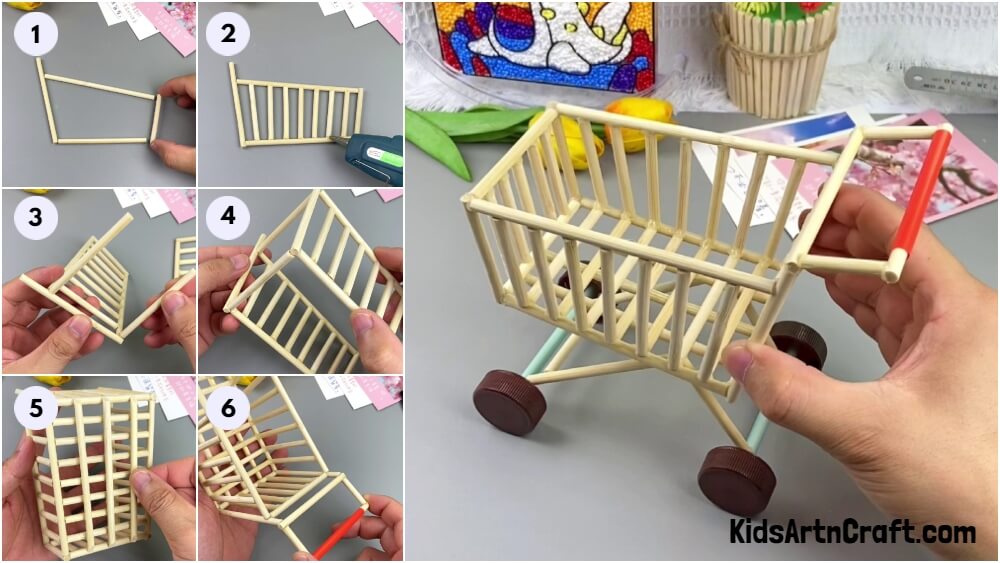
Create your little trolley to carry around the tiny materials you have! This step-by-step tutorial will guide you on making it in no time!
Welcome craft lover! We exclusively brought a unique craft today for you! Could you even think of getting a trolley in a tiny version? Well, whatever the answer may be, this craft is inspired by that thought! With this step-by-step tutorial, you will easily make a trolly model that even works! In just the blink of an eye your trolley with be completed and with full proficiency as well! Read the article carefully and whole to get yourself a tiny wooden stick trolley! With no further delay, let’s begin!
DIY Ice Cream Stick Trolley Model Craft
Read More: Cycle Making From Paper Cup And Plastic Straw
Materials Required
- Pack Of Wooden Sticks
- Craft Cutter
- Hot Glue Gun
- Plastic Straws (Red And Blue)
Procedure
Step 1: Taking Wooden Sticks
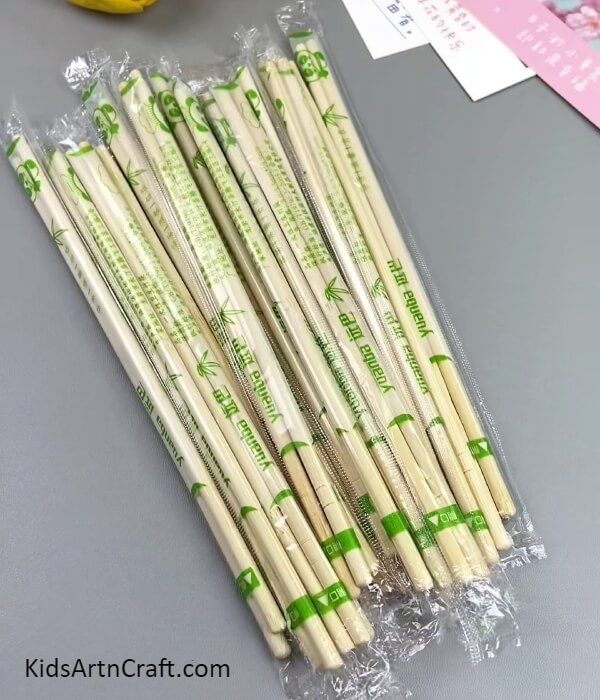
Begin this craft by taking a pack of wooden sticks.
Step 2: Arranging The Sticks
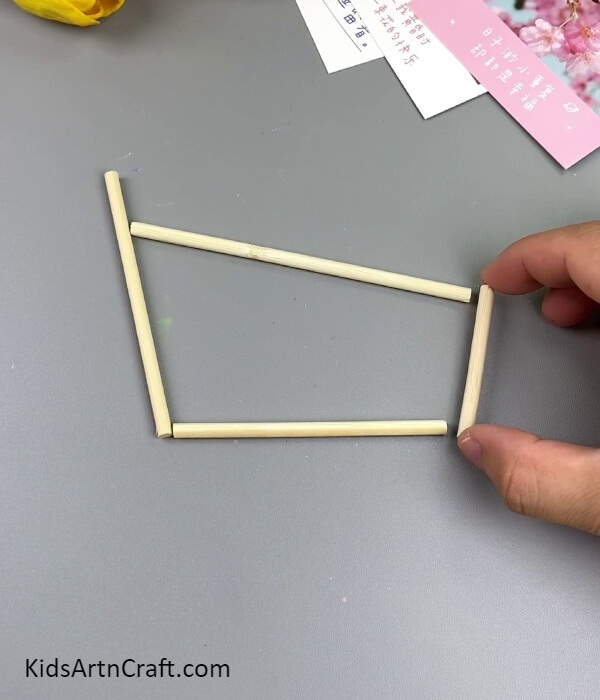
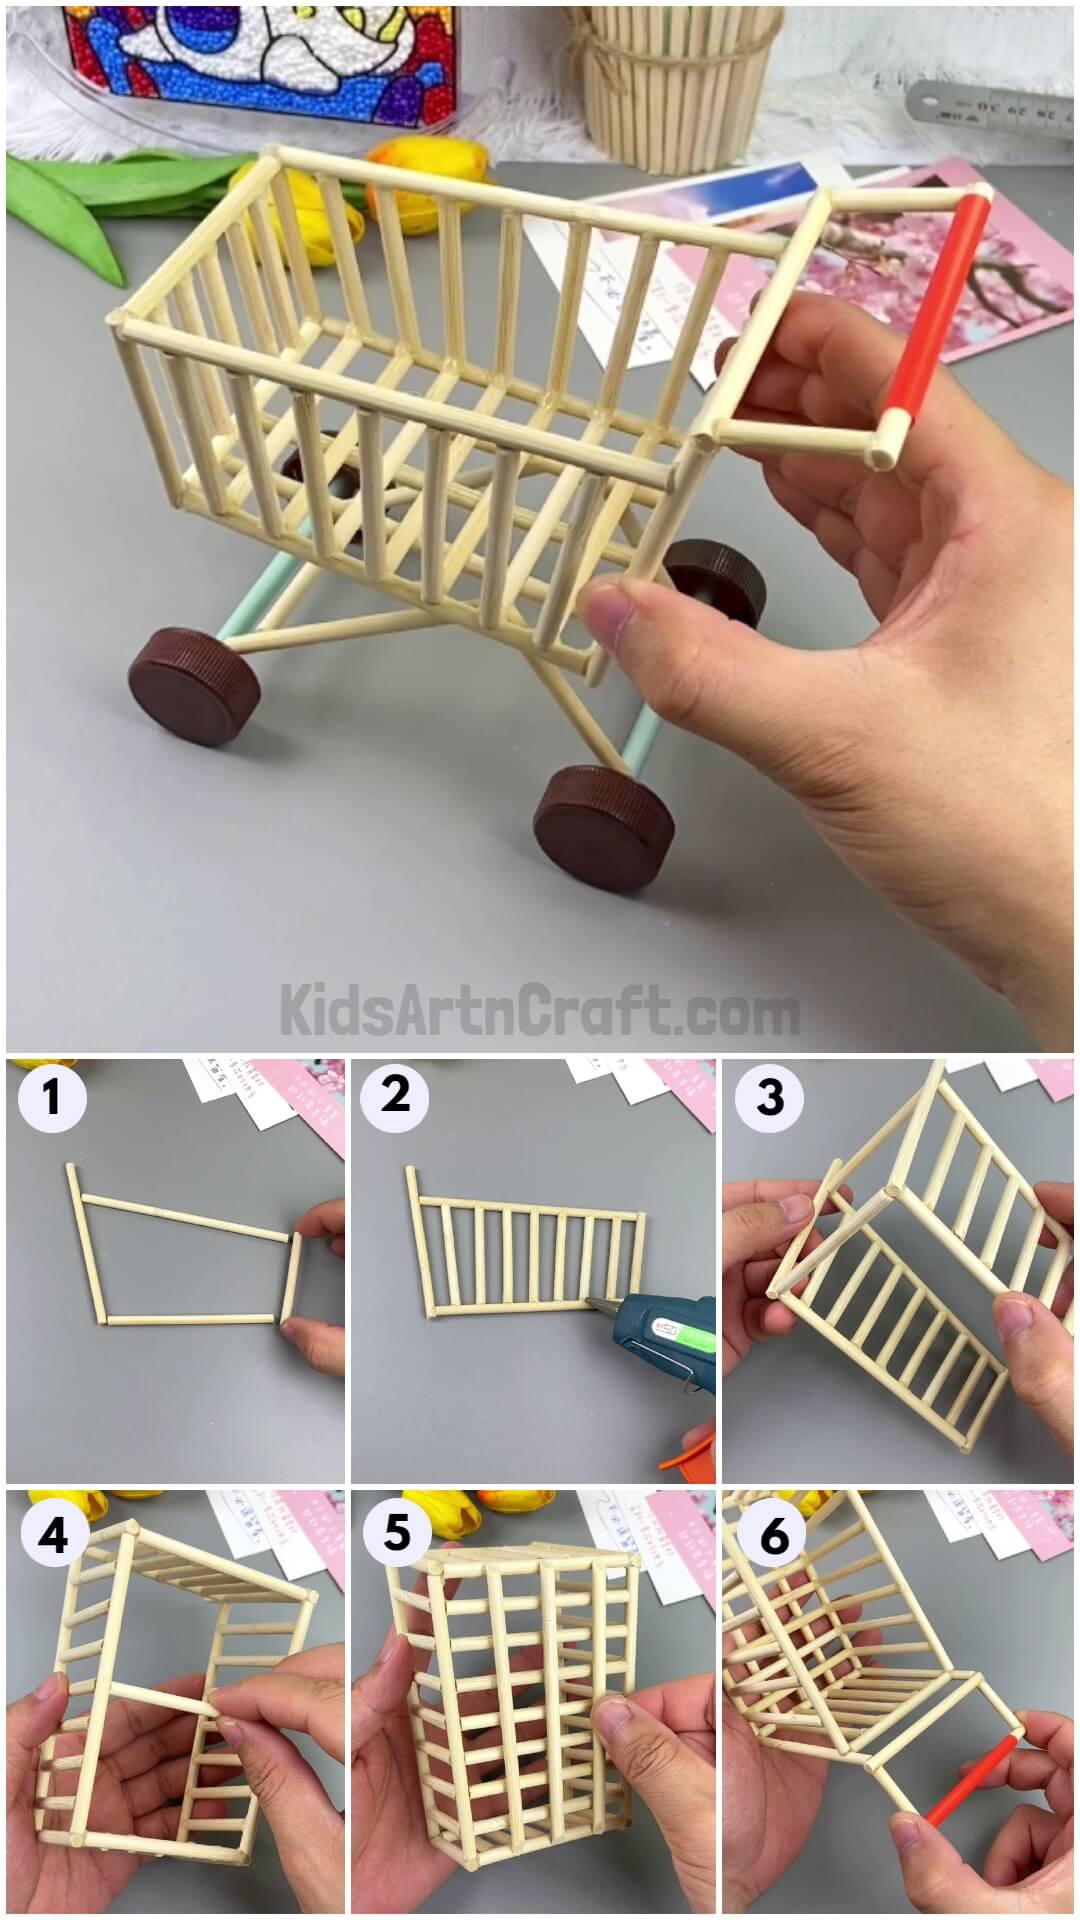
Cut the wooden sticks in the sizes using a craft cutter, shown in the image, and arrange them in the way of a trolly side.
Step 3: Making The Trolley Side Part
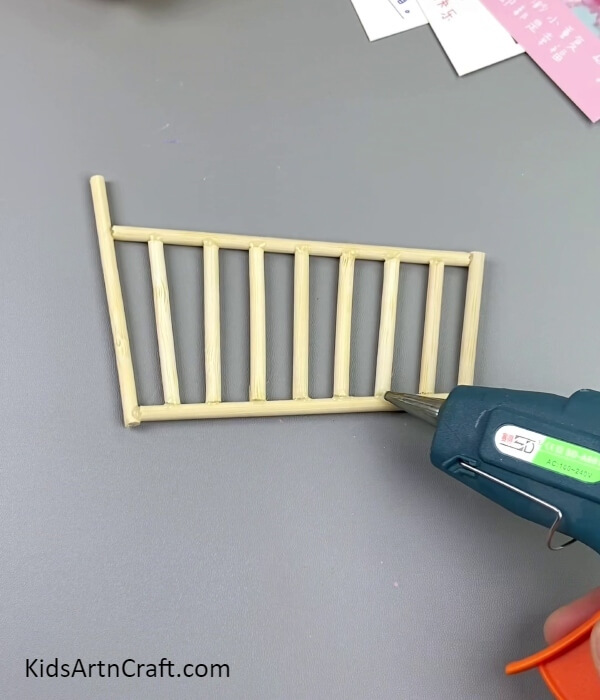
Paste the arranged parts together with the hot glue gun and cut out more sticks in increasing order and paste them into the stuck base one by one at a similar distance aligning with the base using hot glue. This will be the trolley’s side part.
Step 4: Pasting Sticks On The Trolley Side Part

Cut 2 sticks of the same size and paste them over the slightly outward stick of the trolley side part perpendicularly over the joints using hot glue.
Step 5: Pasting The Other Trolley Side Part
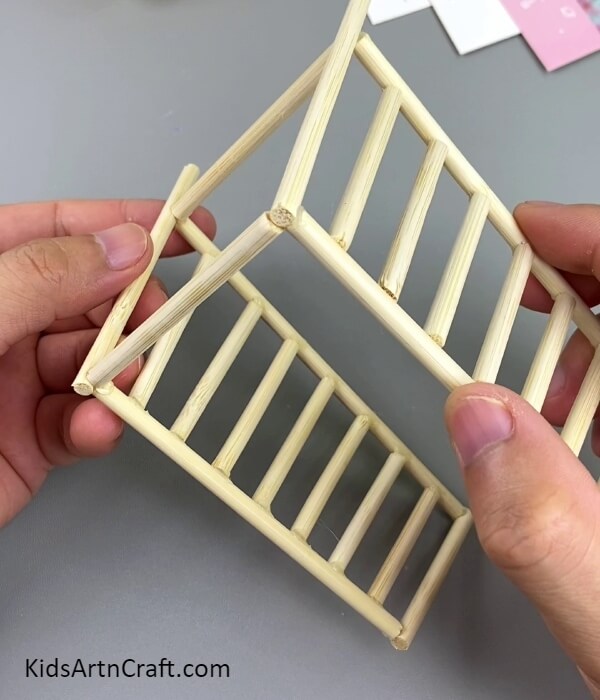
Following the previous same steps, make another trolley side part with the same dimensions and paste it over the previously pasted perpendicular sticks with hot glue to overlap it with the first trolley side part.
Step 6: Joining The Open Ends Of Both Parts With Sticks
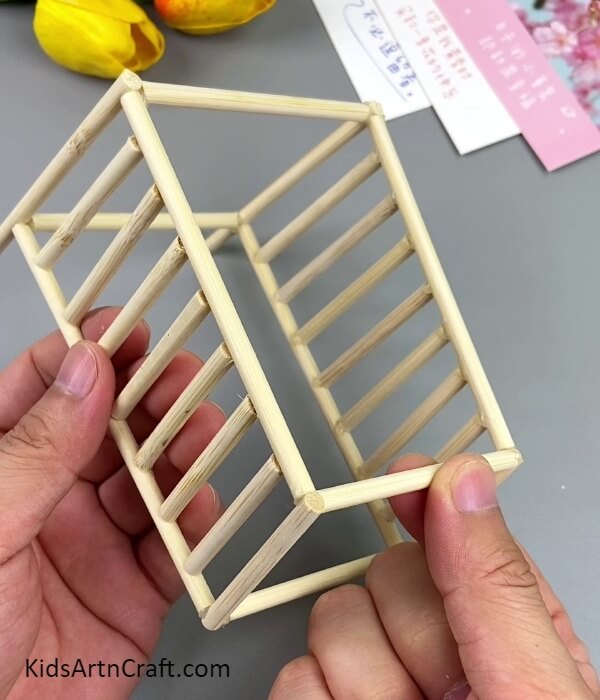
Paste 2 more stick pieces on the open ends of the trolley side parts to enclose in a box-like figure.
Step 7: Making The Bottom Base Of The Trolley

Paste a stick piece at the bottom base of the trolley using hot glue as shown in the image. Make sure to not stick it on the side where there is an extra part coming out of the trolley side part.
Step 8: Completing The Trolley Bottom Base
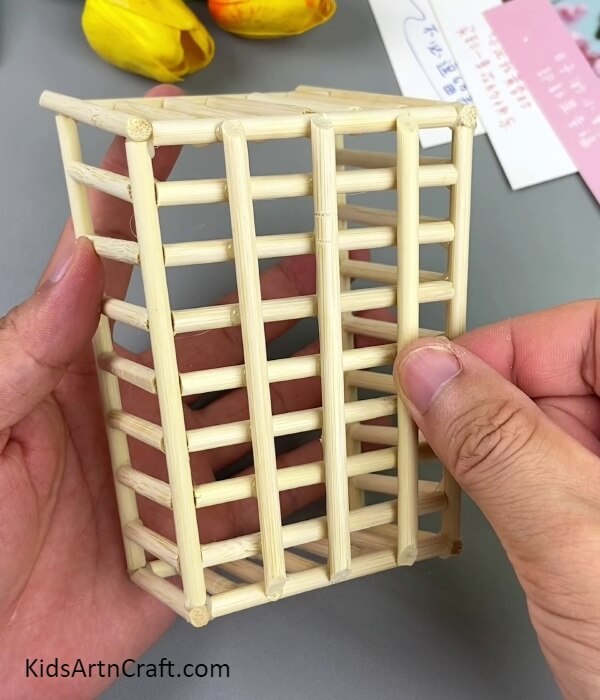
One by one paste the sticks on the base beside the stick previously pasted to make the horizontal division of the base. Now, for the vertical division, paste 3 long sticks over the horizontal ones to make cheques and complete the bottom base of the trolley.
Step 9: Making The Trolley Handle
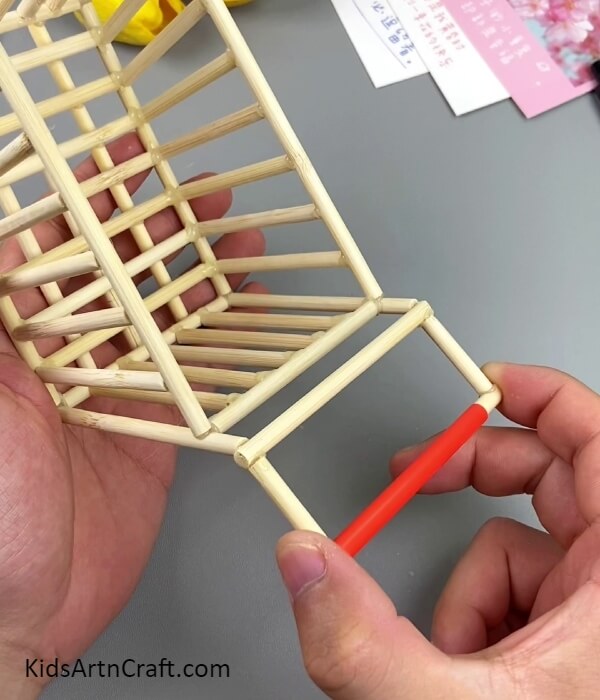
Over the extra stick part of the trolley side parts, paste a stick piece over them together horizontally and again paste 2 small stick pieces on the corners of the horizontal ones and then again a stick piece over them horizontally with a red straw piece in it to make a rectangular handle.
Step 10: Sticking Glue On Bottle Cap
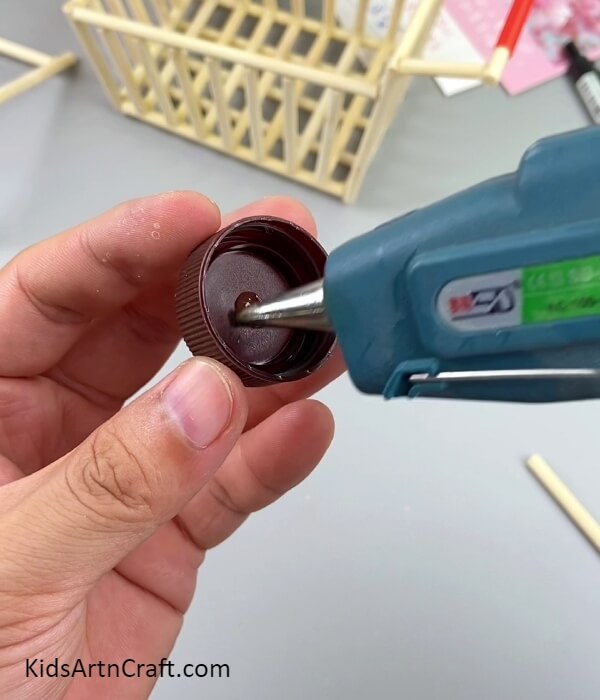
Take a bottle cap and apply a hot glue drop in the inward center of it.
Step 11: Pasting A Stick To The Bottle Cap
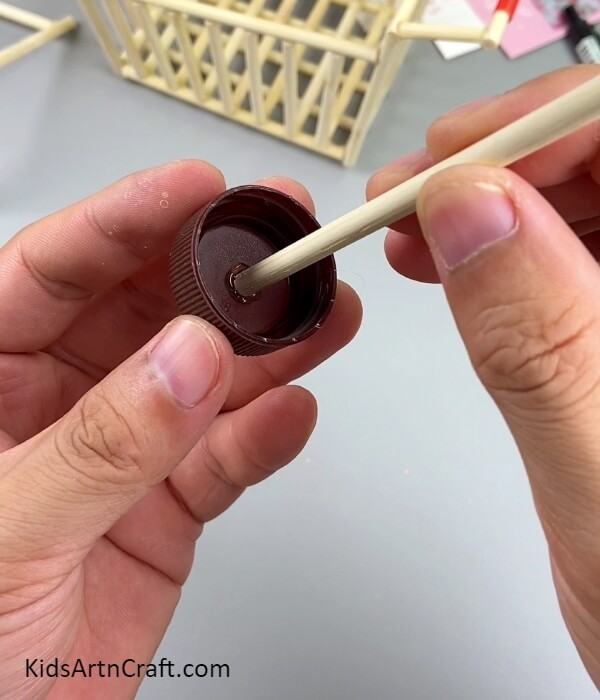
Paste a stick over the hot glue drop on the bottle cap.
Step 12: Inserting A Blue Straw Piece
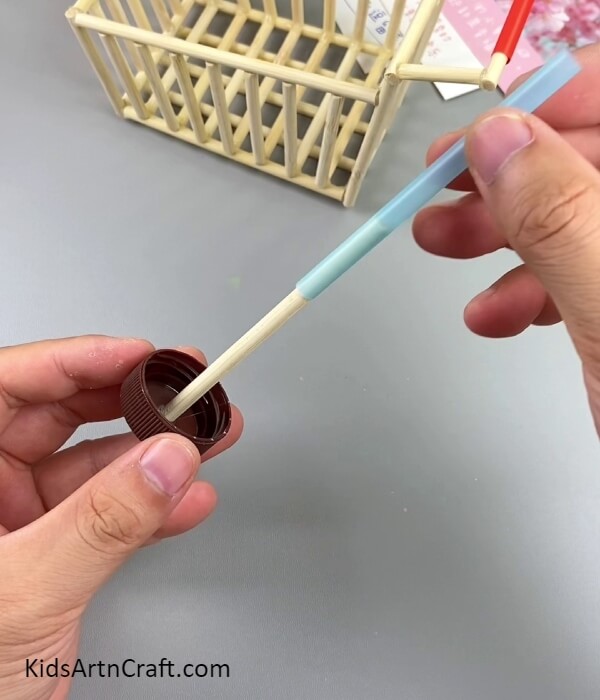
Insert a blue straw piece in the stick of the bottle cap.
Step 13: Making A Set Of Wheels

Paste a bottle cap on the other end of the stick from inward with a hot glue drop. This becomes a set of wheels for your trolley.
Step 14: Pasting Sticks On The Set Of Wheels
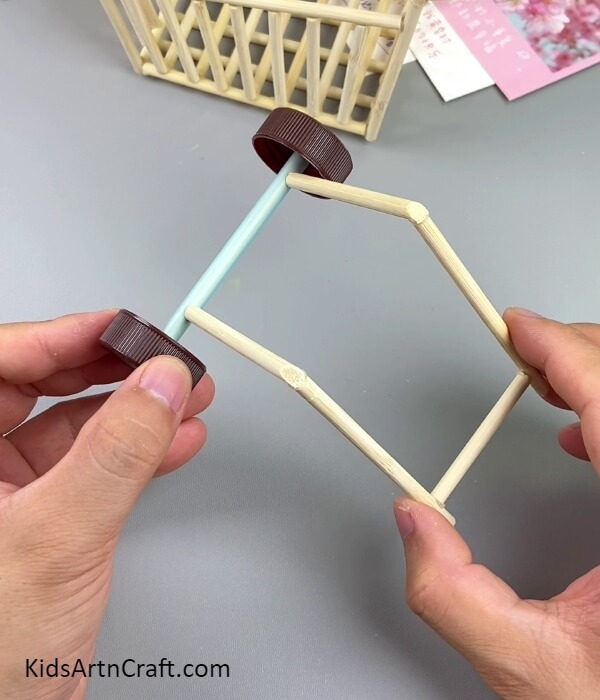
Paste 2 small stick pieces over the blue straw stick sides upward tilted and again 2 long stick pieces to these stick pieces, downward tilted and enclose the ends of them with a stick using hot glue.
Your Wooden Stick Trolley Is Ready!
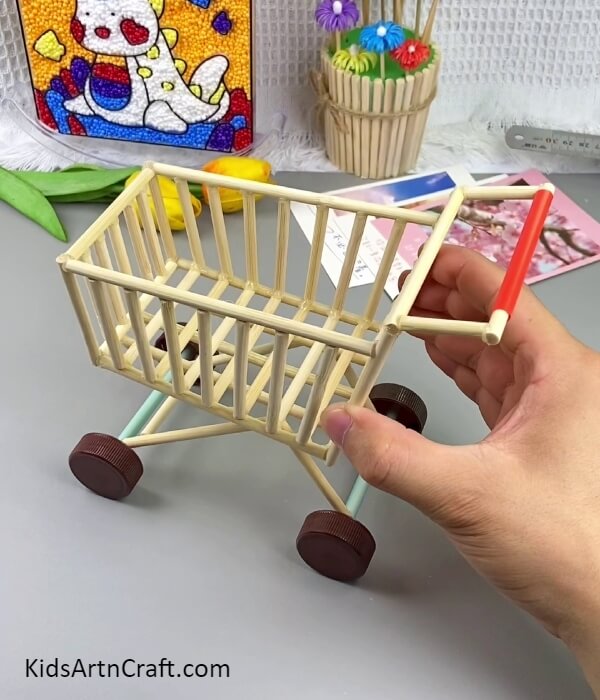
Paste another blue straw stick on the end of the downward tilted sticks and make the set of wheels over it, the same way, you made the previous one. Then, stick these 2 sets of wheels beneath your trolley using hot glue.
Woohoo! Your trolley is ready to hold the tiny little items and roam around!
Simply wow right? Never thought it turn out to be so amazing and realistic! Well, you have your tiny trolley now, you can keep your tiny makeup products, stationery products, or anything that is cute and little! Carry it around the house to have fun! You can use it for playing pretend or for your doll house! Such an amazing creation! You can even add colors to it by painting or coloring your wooden sticks! Make it stunning!
We are hoping you loved the article! If so, then don’t forget to give out a like and share with your knowns! Also, give you feedback in the comments sections to let us know your thoughts!
Follow us on Youtube for art and craft tutorials and much more.
More Articles from Kids Art & Craft
- DIY Foam Net Home Craft For Kids
- Learn To Make Recycled Bottle Butterfly Tutorial
- Easy Leaf Art and Craft Step-by-Step Tutorial For Kids
- Fruit Foam Net Pineapple Craft Idea for Kids
- Easy Bubble Wrap Monsters Craft Tutorial For Kids


